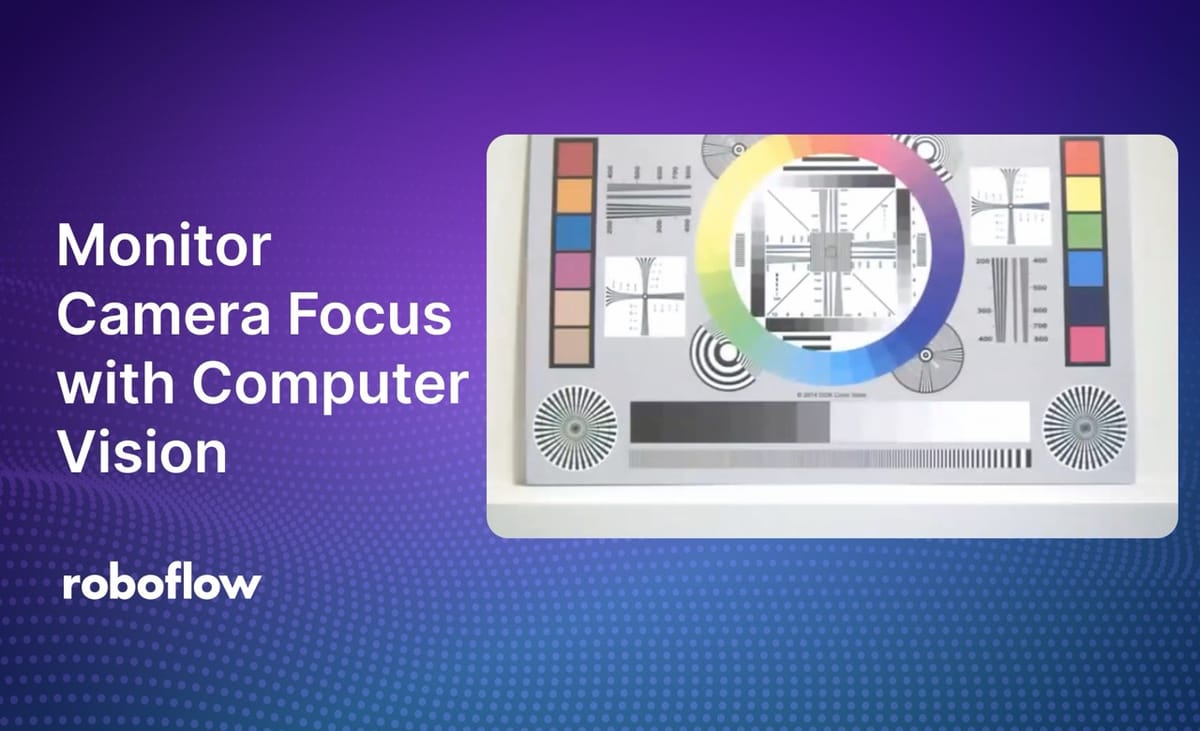
When you are deploying computer vision systems, it is essential that all cameras from which data is collected are properly focused.
A camera that is out of focus will collect images that your model may not be able to interpret effectively. This may lead to missed detections, and the costs associated with your detection system operating at a lower rate of accuracy. For example, if you are deploying a defect detection system, you may miss several defects, leading to products advancing further down the assembly line than they should.
Using computer vision, you can build a system that consistently measures camera focus. This can be done without writing any manual camera focus code.
You can use the output from the computer vision system to write custom logic that integrates into your wider manufacturing system. For example, employees could receive an alert if a camera goes out of focus so that the issue can be addressed.
Here is an example of the system showing the camera focus measurement changing as we adjust the camera focus:
The left shows the camera focus changing as an engineer manually dials in the camera to the correct focus. The right shows the internal visualization from the algorithm the workflow uses under the hood to compute focus values.
Without further ado, let’s start building a camera focus monitoring system!
Measure Camera Focus with Computer Vision
There are several ways to measure camera focus programmatically. A common approach is to detect the presence of a gaussian blur in camera frames. If the distribution of pixels in a frame is sufficiently similar to a gaussian distribution, it means that it is likely the image is blurry. This can then be used to set thresholds of what constitutes an in focus or blurry camera.
Roboflow Workflows, a low-code, web-based computer vision application builder has a Camera Focus block that you can use to consistently measure camera focus from frames in a camera.
This block can be integrated with any custom logic built in Workflows. For example, you could build a Workflow that deploys an object detection model and, on every frame, runs a camera focus check.
There are over 50 “blocks”, or functionalities, available in Workflows, from camera focus to using object detection models to Open AI LLMs.
To see what is possible with Workflows, refer to the Roboflow Workflows Template Gallery.
Let’s build a workflow that computes camera focus and returns the degree of focus in a frame.
Step #1: Create a Workflow
To get started, first create a free Roboflow account. Then, navigate to the Roboflow dashboard and click the Workflows tab in the left sidebar. This will take you to the Workflows homepage, from which you can create a workflow.
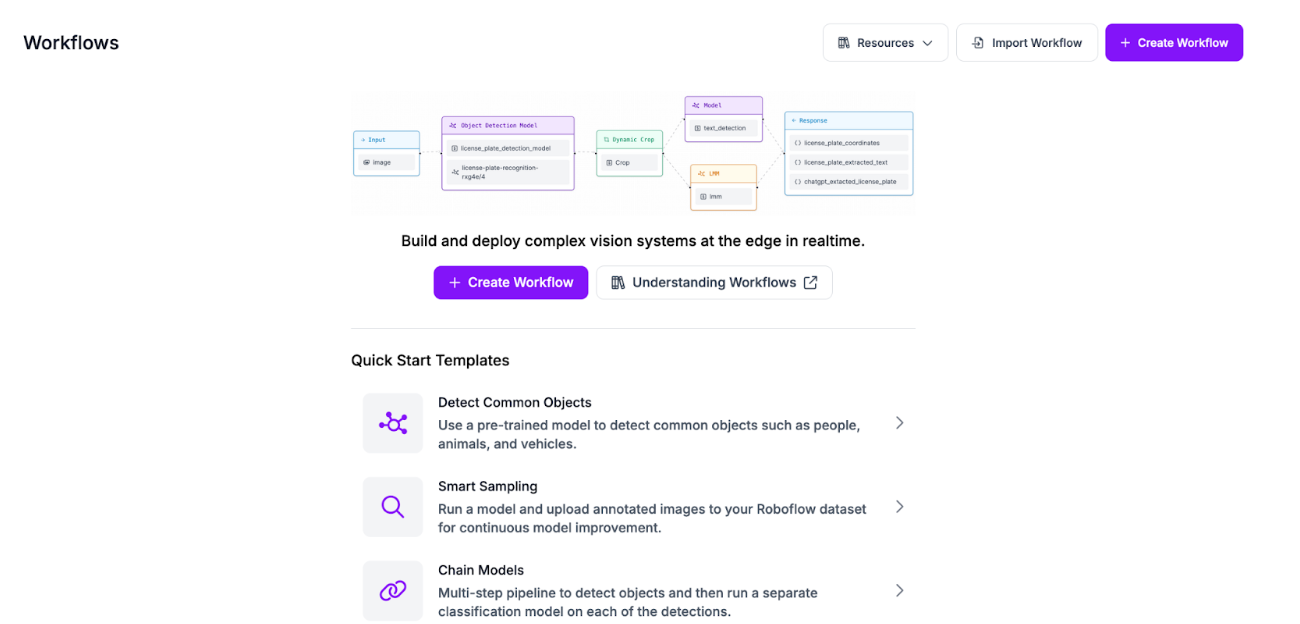
Click “Create Workflow” to create a Workflow.
A window will appear in which you can choose from several templates. For this guide, select “Custom Workflow”:
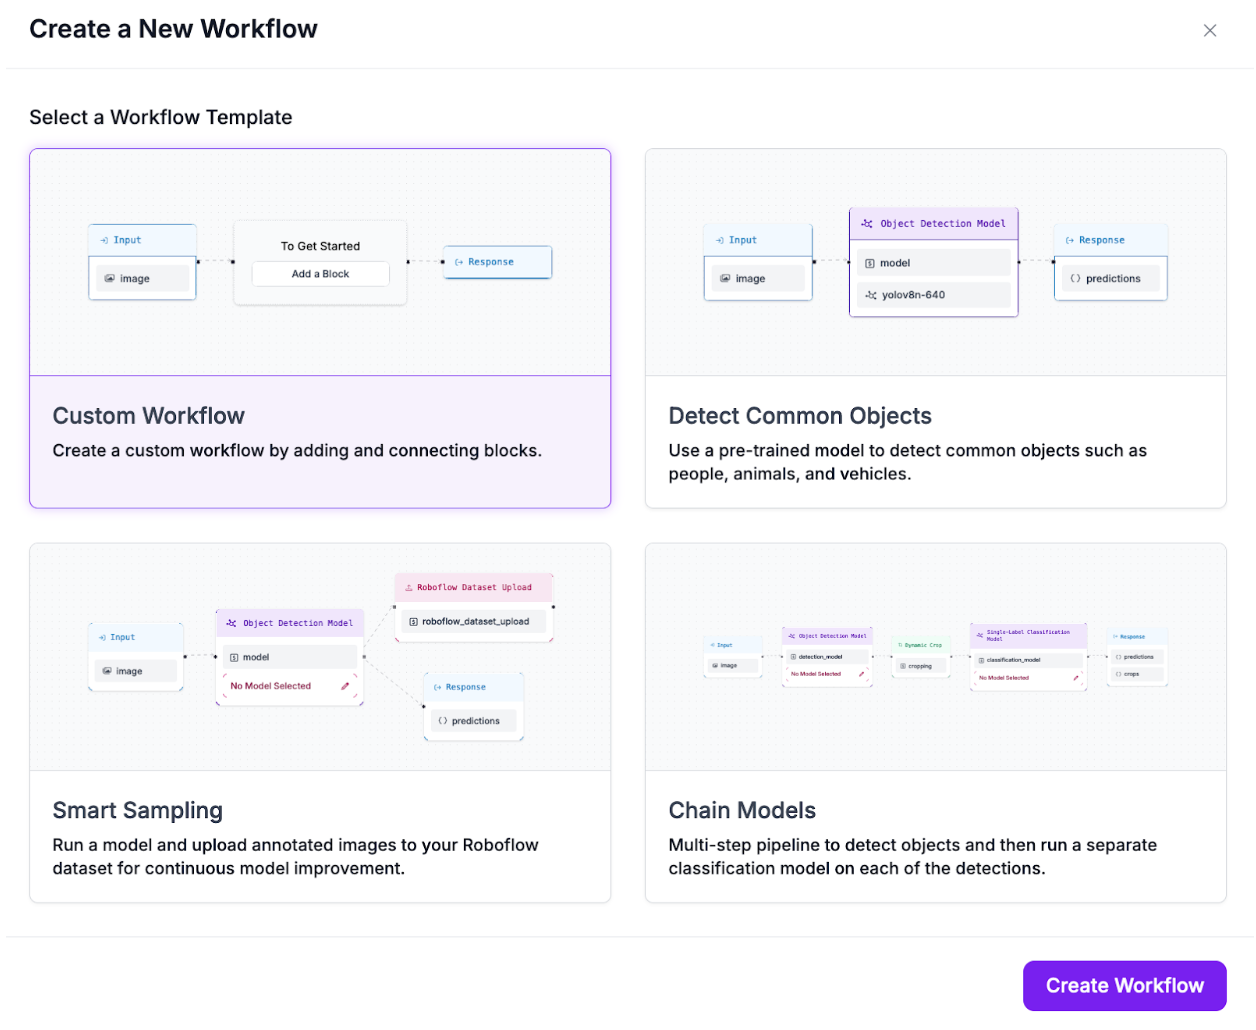
Click “Create Workflow” to create your Workflow.
You will be taken into the Workflows editor in which you can configure your Workflow:
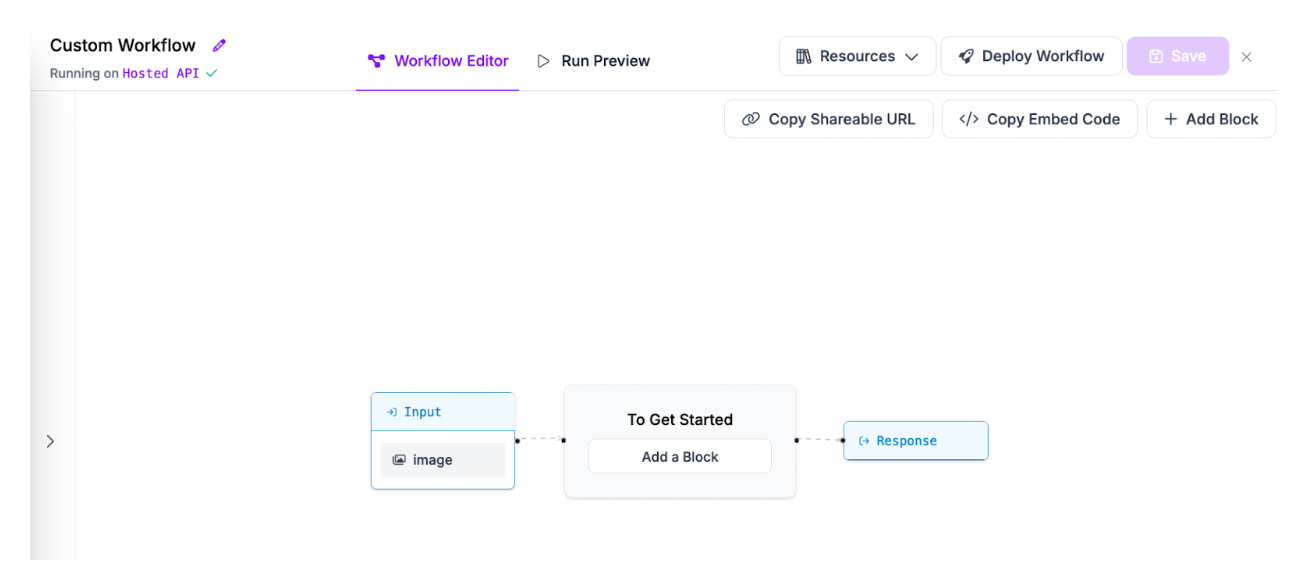
With a blank Workflow ready, we can start using the camera focus Workflow functionality.
Step #2: Add a Camera Focus Block
Click “Add Block” in the top right corner of the Workflows editor, then select the “Camera Focus” block:
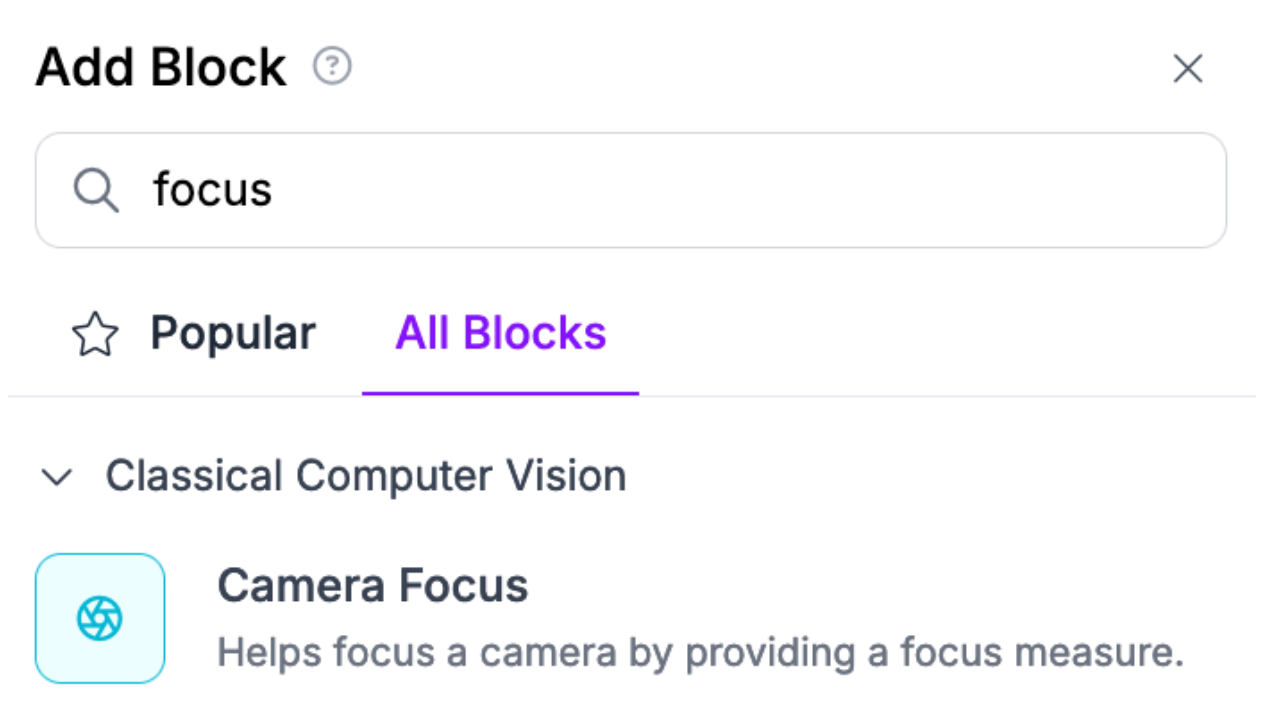
This block accepts an input image, calculates camera focus, then returns results in a JSON format. This data could then be integrated with your manufacturing system with code to send custom alerts depending on the system you use.
Once you have added the Camera Focus block, you can add any other logic you want.
With Workflows, you can build applications that use:
- Your fine-tuned models hosted on Roboflow;
- State-of-the-art foundation models like CLIP and SAM-2;
- Visualizers to show the detections returned by your models;
- LLMs like GPT-4 with Vision;
- Conditional logic to run parts of a Workflow if a condition is met;
- Classical computer vision algorithms like SIFT, dominant color detection;
- And more.
Step #3: Test the Workflow on an Image
Here is an example of a Workflow that runs a camera focus calculation:
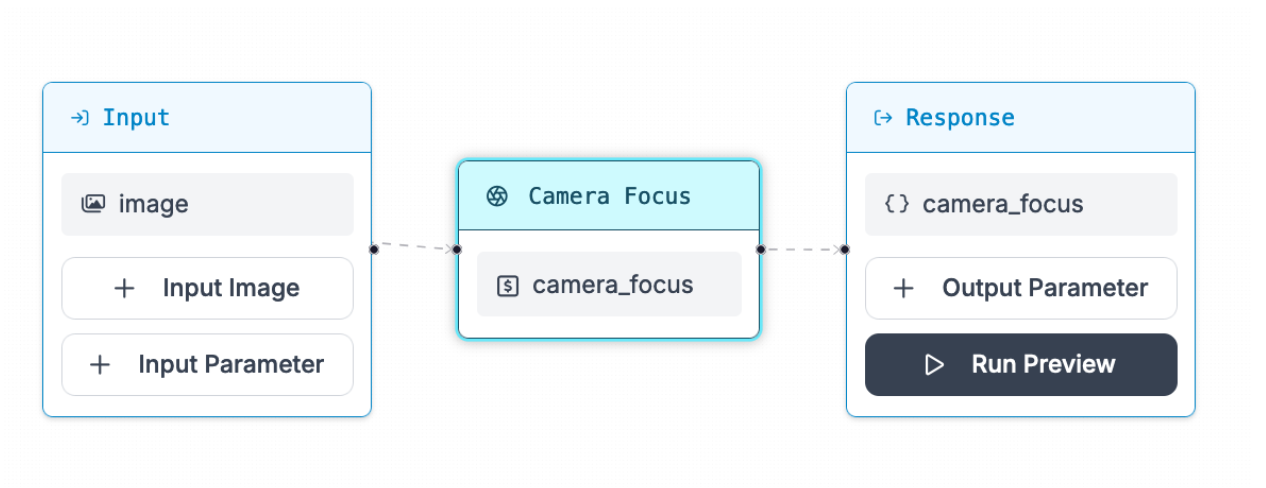
To test the Workflow, click “Run Preview”, then upload an image:
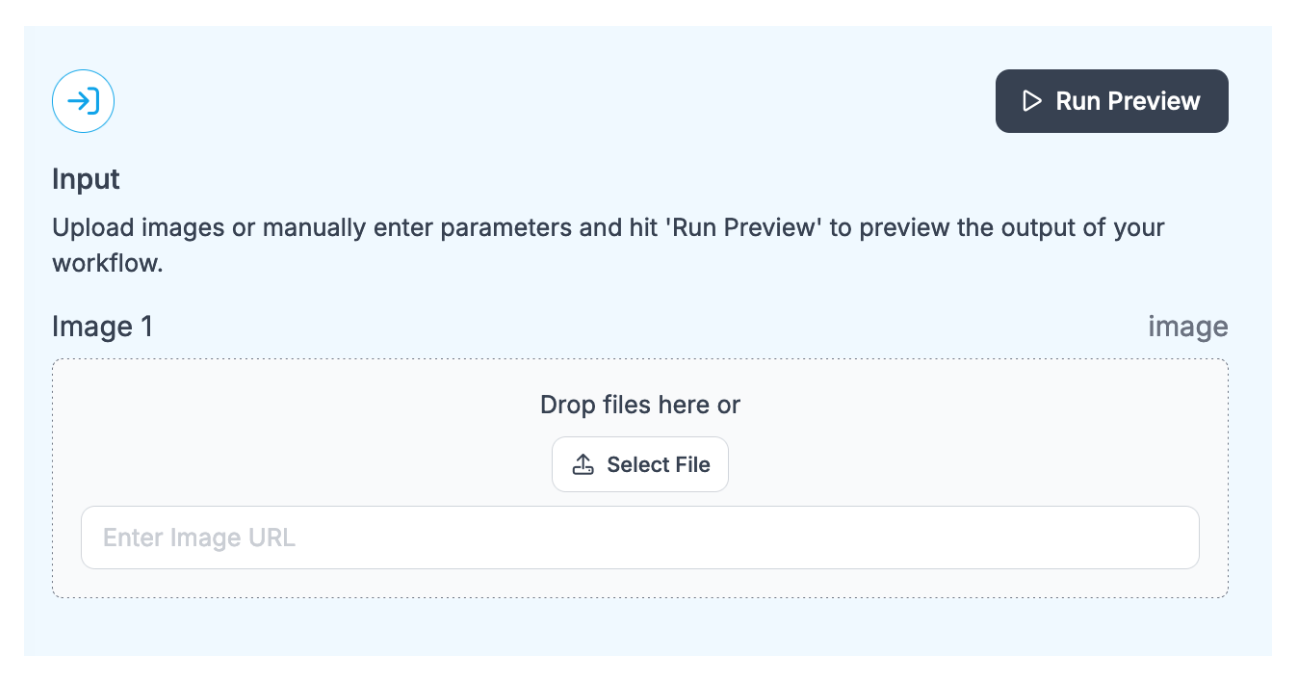
Click “Run Preview” in the input section to run your Workflow.
There will be a JSON value in the Output section of the page that shows the degree of camera focus.
In the web editor, you can only test Workflows on individual images. With that said, this feature shines when deployed on a video. Let’s talk about deployment, then test on a video.
Deploy Your Workflow
You can deploy a Workflow in three ways:
- To the Roboflow cloud using the Roboflow API;
- On a Dedicated Deployment server hosted by Roboflow and provisioned exclusively for your use, or;
- On your own hardware.
The Workflows deployment documentation walks through exactly how to deploy Workflows using the various methods above.
Deploying to the cloud is ideal if you need an API to run your Workflows without having to manage your own hardware. With that said, for use cases where reducing latency is critical, we recommend deploying on your own hardware.
If you deploy your model in the Roboflow cloud, you can run inference on images. If you deploy on a Dedicated Deployment or your own hardware, you can run inference on images, videos, webcam feeds, and RTSP streams.
To deploy a Workflow, click “Deploy Workflow” on any Workflow in your Roboflow Workspace. A window will then open with information about how you can deploy your Workflow.
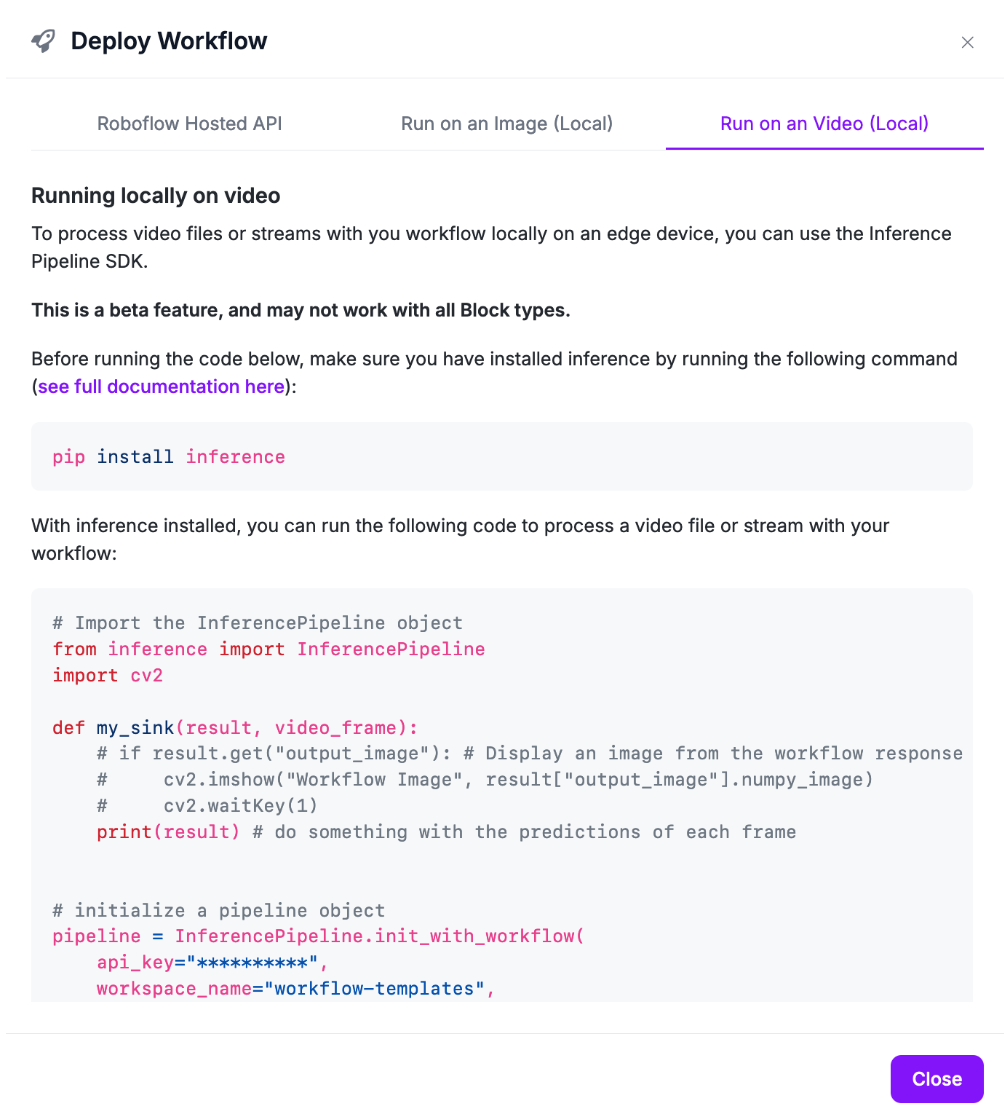
Let’s test the Workflow on a video. Use the “Deploy on a Video” code snippet to deploy the Workflow onto your own hardware, then pass in a custom video input.
You can use the following code to see a real-time camera feed as well as the focus level at the same time:
# Import the InferencePipeline object
from inference import InferencePipeline
import cv2
import numpy as np

def my_sink(result, video_frame):
    # Get focus image
    focus_image = result.get("camera_focus_image").numpy_image
    # Convert to color
    focus_image = cv2.cvtColor(focus_image, cv2.COLOR_GRAY2BGR)
    # Get input image
    input_image = result.get("input_image").numpy_image

    # Concatenate the images
    if focus_image is not None:
        result_image = np.concatenate((input_image, focus_image), axis=1)
    else:
        result_image = input_image

    # Display the result image
    cv2.imshow("Result Image", result_image)
    cv2.waitKey(1)


# initialize a pipeline object
pipeline = InferencePipeline.init_with_workflow(
    api_key="KEY",
    workspace_name="WORKSPACE",
    workflow_id="WORKFLOW_ID",
    video_reference=0, # Path to video, device id (int, usually 0 for built in webcams), or RTSP stream url
    max_fps=30,
    on_prediction=my_sink
)
pipeline.start() #start the pipeline
pipeline.join() #wait for the pipeline thread to finish
Above, replace:
- KEY with your Roboflow API key.
- WORKSPACE with your Roboflow Workspace ID.
- WORKFLOW_ID with your Workflow ID.
All of these values are available on the "Run on a Video (Local)" tab on the deploy tab of your Workflow in the Workflows Editor.
Here is an example of the Workflow working on a real time video feed:
The Workflow successfully measures camera focus. You can then update the code to send an alert using your own internal systems to notify you when camera focus leaves a specific threshold.
Conclusion
You can use Roboflow Workflows to measure camera focus. In this guide, we walked through how to use the Camera Focus block in Roboflow Workflows. We tested the block on an image, then deployed the Workflow on a video to see how the system performs in real time.
You can extend the Workflow we discussed in this guide to build a complex vision pipeline, such as a system that checks camera focus, runs an object detection model, and collects images for use in active learning.
To learn more about what is possible with Roboflow Workflows, refer to the Workflows Template Gallery.
Cite this Post
Use the following entry to cite this post in your research:
James Gallagher. (Sep 4, 2024). How to Monitor Camera Focus with Computer Vision. Roboflow Blog: https://blog.roboflow.com/computer-vision-camera-focus/
