
Teams already using AWS S3 as a data lake can automate image ingestion into Roboflow by pairing an S3 event trigger with an AWS Lambda function that calls the Roboflow Upload API whenever a new image lands in a designated bucket folder. The post walks through creating the S3 bucket, packaging the Roboflow Python library as a Lambda Layer, wiring up the trigger, and verifying that images appear as unassigned items in the Roboflow project, creating a hands-off pipeline from raw data capture to annotation queue.
AWS S3 is a cloud storage service that can be used to store and share data. Roboflow is an end-to-end computer vision platform that allows users to annotate and label data then train and deploy machine learning models.
In this blog, we will show you how to use AWS S3 in conjunction with Roboflow to store and share your image data across platforms.
Many people and businesses use AWS S3 as their storage infrastructure and data lake infrastructure of choice. Having the ability to drop your images into your S3 data lake and then have those images pushed to your Roboflow project in an automated way is a key feature in a computer vision workflow.
We will do this with the following:
- AWS S3 and an S3 trigger when an image is dropped into the bucket/folder
- AWS Lambda to run a script on image put into the S3 location defined
- AWS Lambda layers to have our Roboflow PIP package installed and running in our Lambda function
- Roboflow Upload API and PIP package
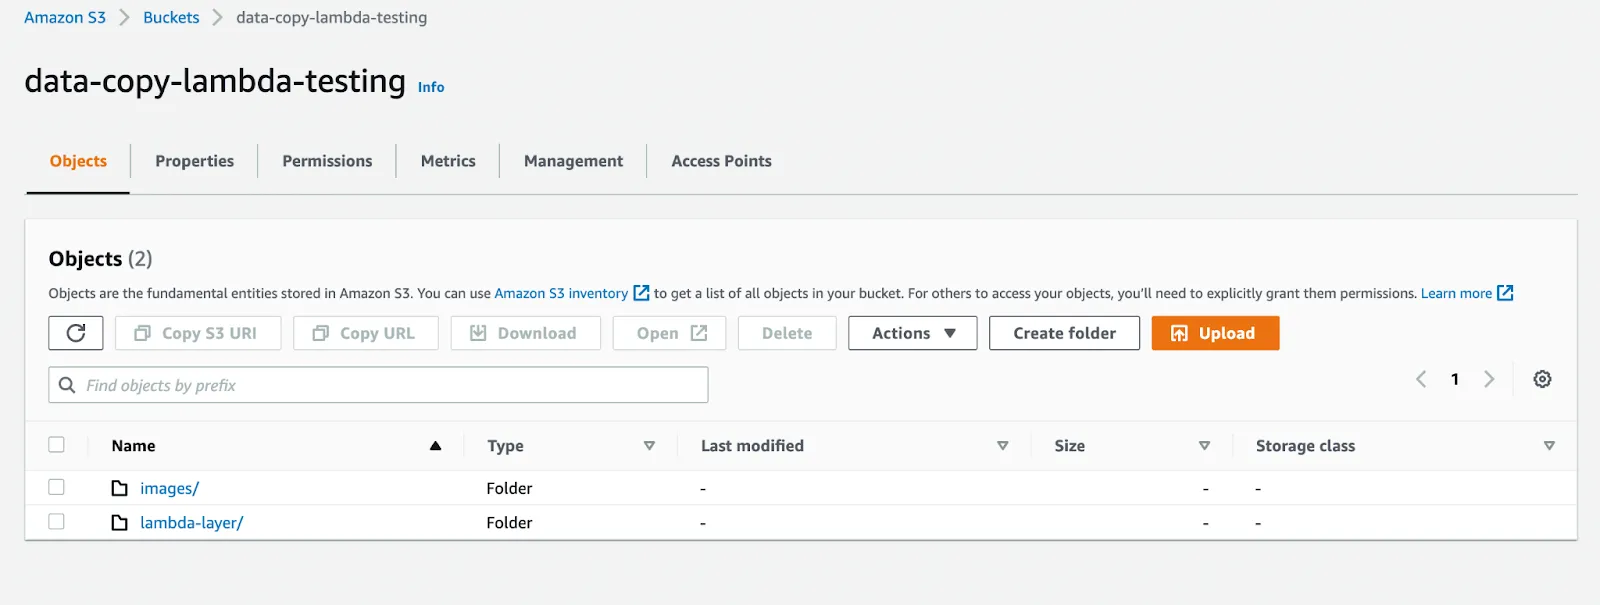
To get started we will create an AWS S3 bucket for our image data. You can follow this link to create your own S3 bucket. We also created an image folder within our bucket where we will drop in images.
We will also create a lambda-layers folder to store lambda layers once created.
Next, create a lambda layer locally. Here are a couple links on what a Lambda Layer is, why we use them, and how to develop one locally:
In a nutshell, a Lambda Layer provides a convenient way to package libraries and other dependencies that you can use with your Lambda functions. Using layers reduces the size of uploaded deployment archives and makes it faster to deploy your code.
We will be utilizing Lambda Layers to package the Roboflow library along with a couple other dependencies. The requirements.txt has the following packages:
(Although not all packages utilized in this post, they are good to have when working with Roboflow and image data)
Once you have your layer zip package, upload it to your lamba-layers folder within your S3 bucket.
It is also worth noting that we ran into some errors with Lambda when trying to run the script with the above layer. The message said we needed to install libgthread-2.0.so as there was an issue with my openCV.
Luckily there is a public layer to use and attach:
arn:aws:lambda:us-east-1:770693421928:layer:Klayers-python38-libgthread-so:1
This is also why we added opencv-python-headless to the requirements file.
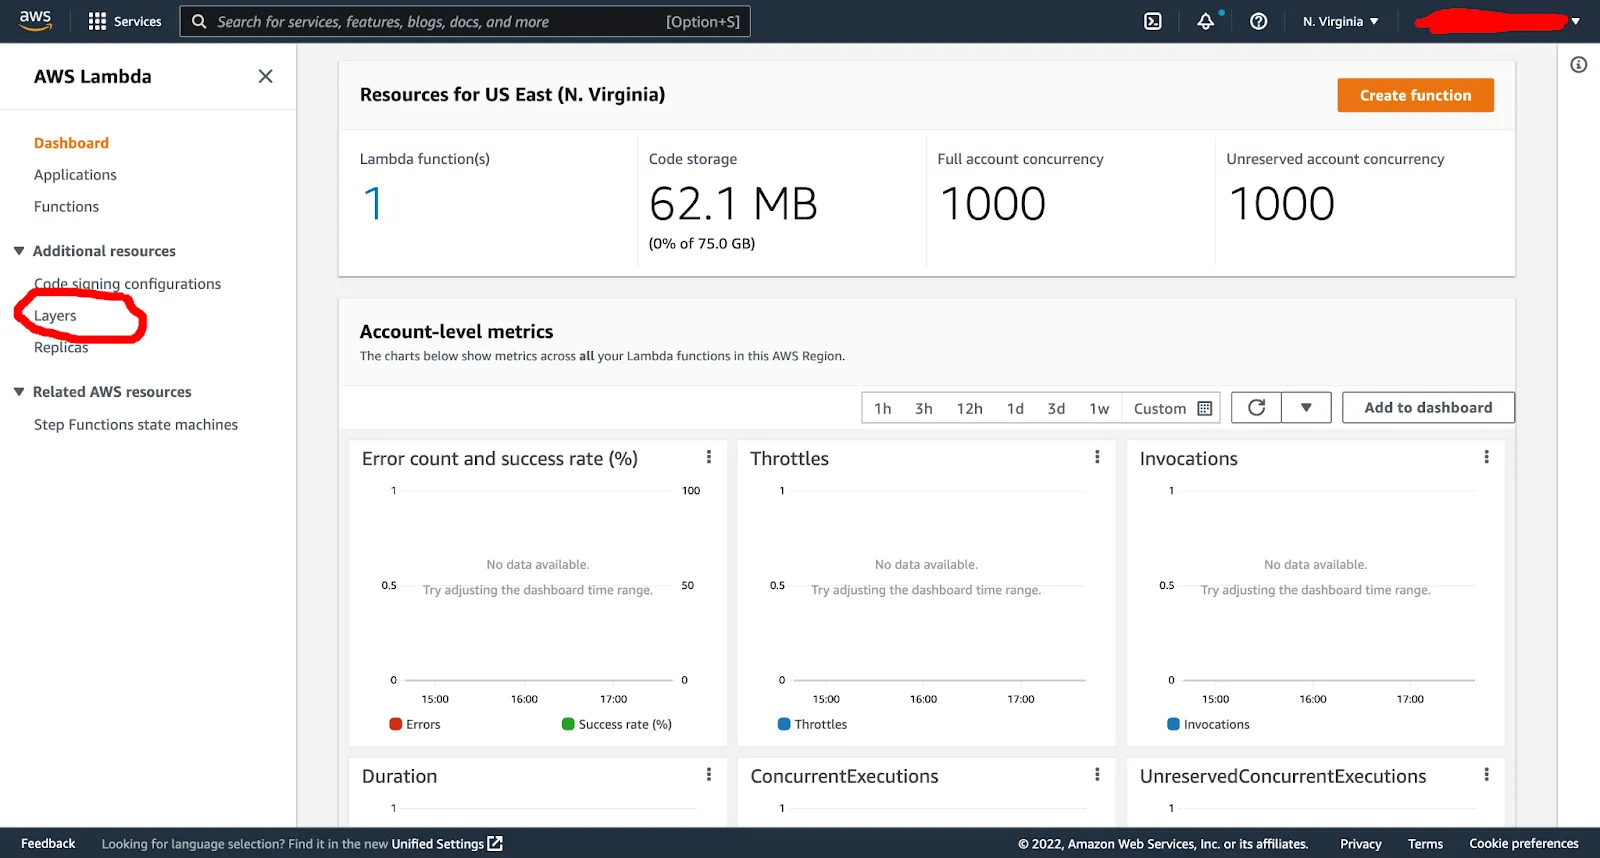
To create a Lambda Layer, go to the Lambda dashboard and under additional resources > layers:

Name your layer “Roboflow Layer” and point it to the S3 location of your layer zip. You can also select your runtime (for us it was python 3.8) and your architecture (choose one value or both values for architecture) then click create.
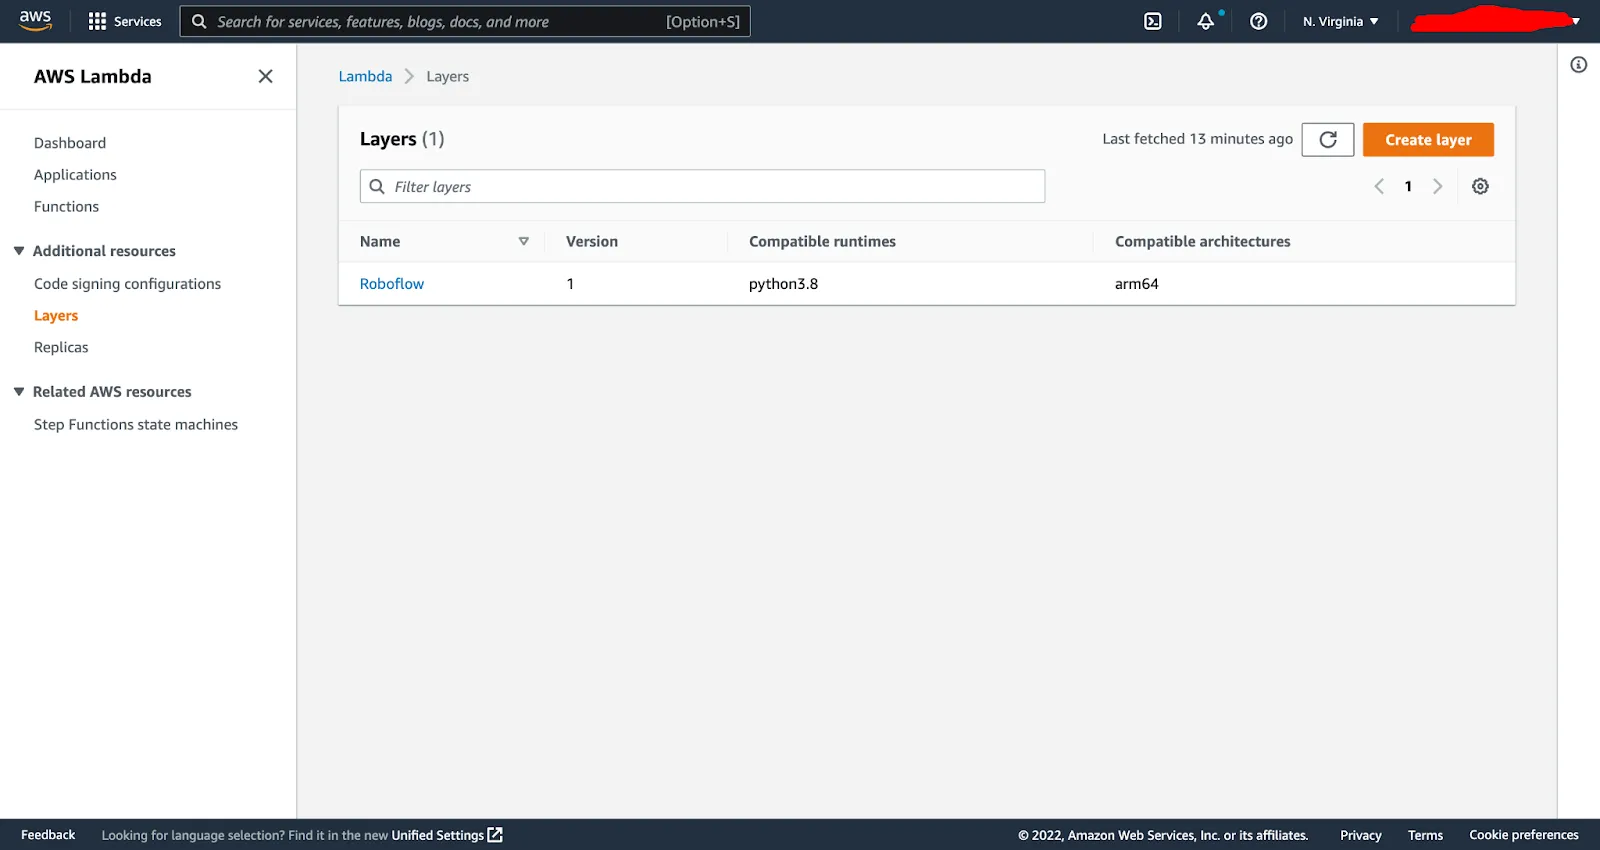
Your Lambda Layer should now be created in the Layers section of your Lambda dashboard:
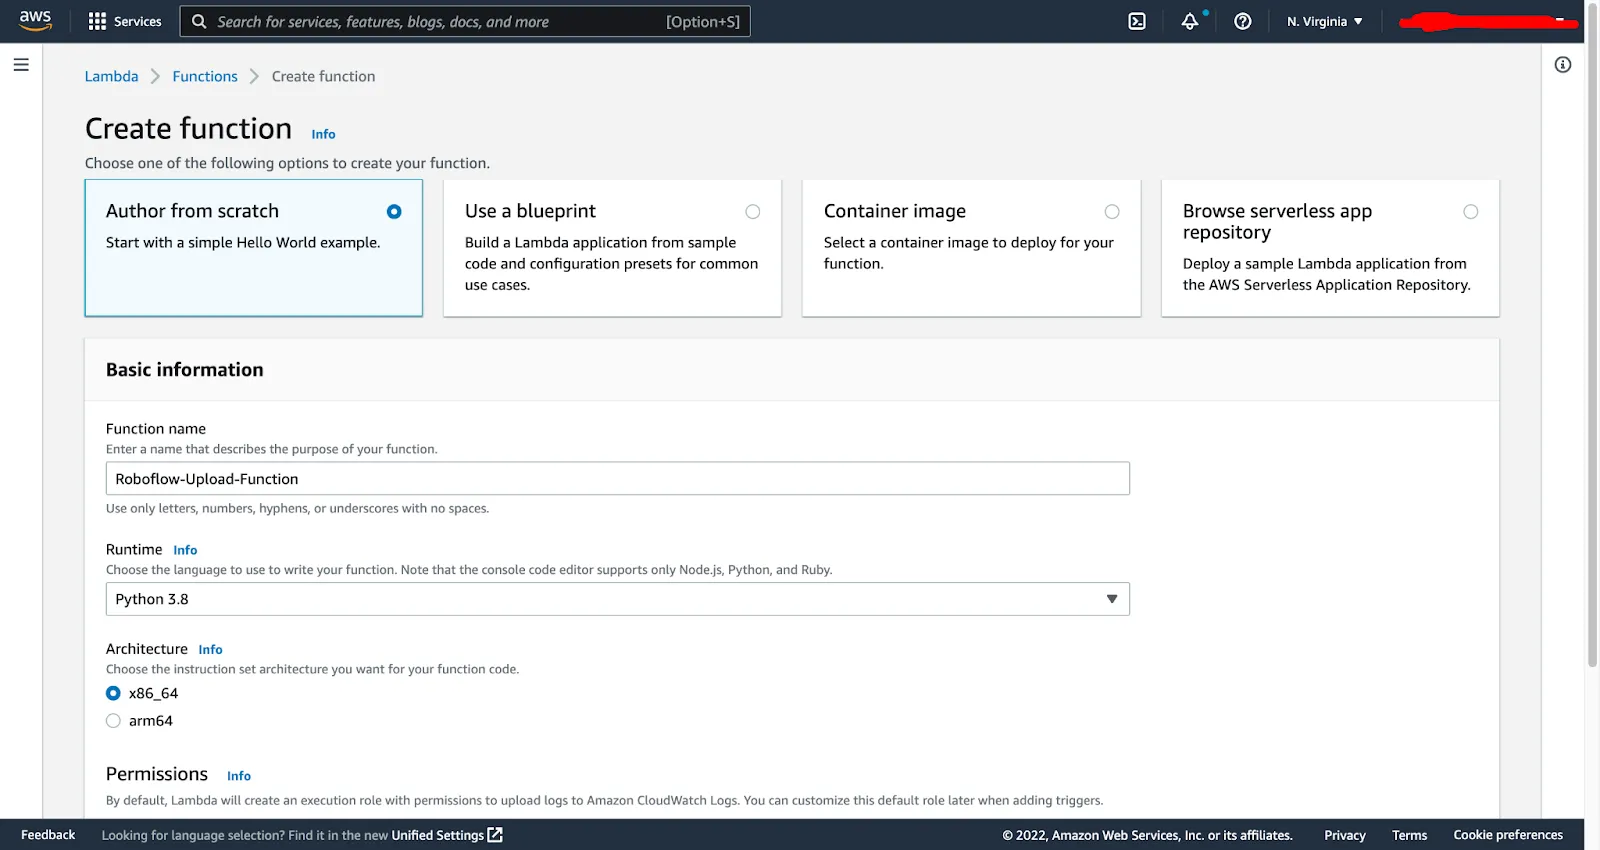
You can now move on to creating the Lambda function itself. Click on functions in the Lambda console > create function. You can now give your function a name, select the runtime of Python 3.8 and the architecture. This will also create a default Lambda role for you which we will modify later on to allow S3 access.
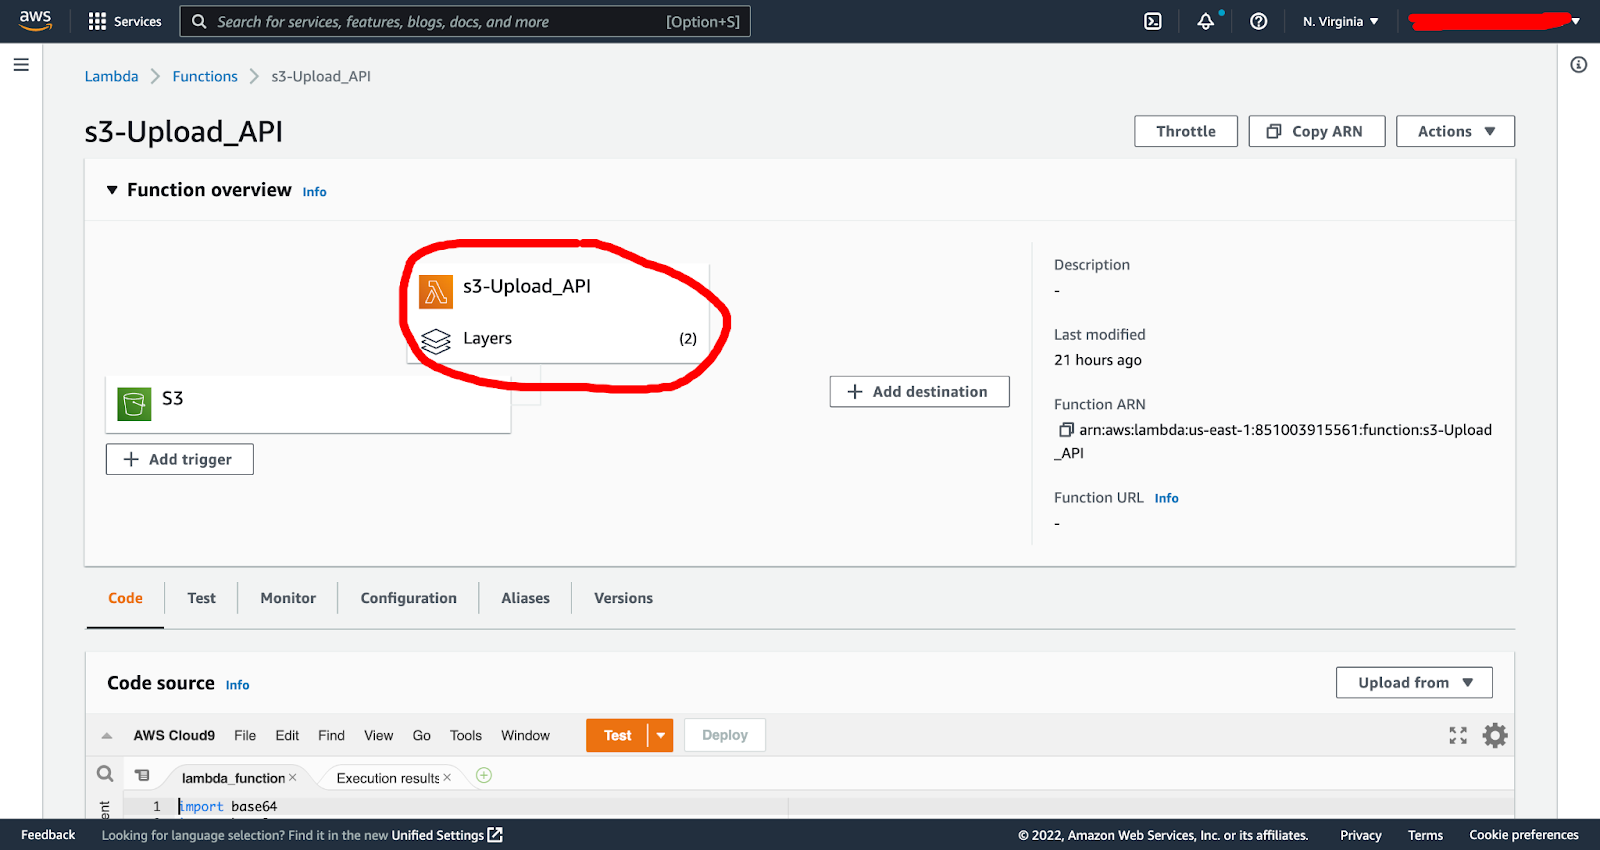
Once the function is created, go into the function and into the code tab:
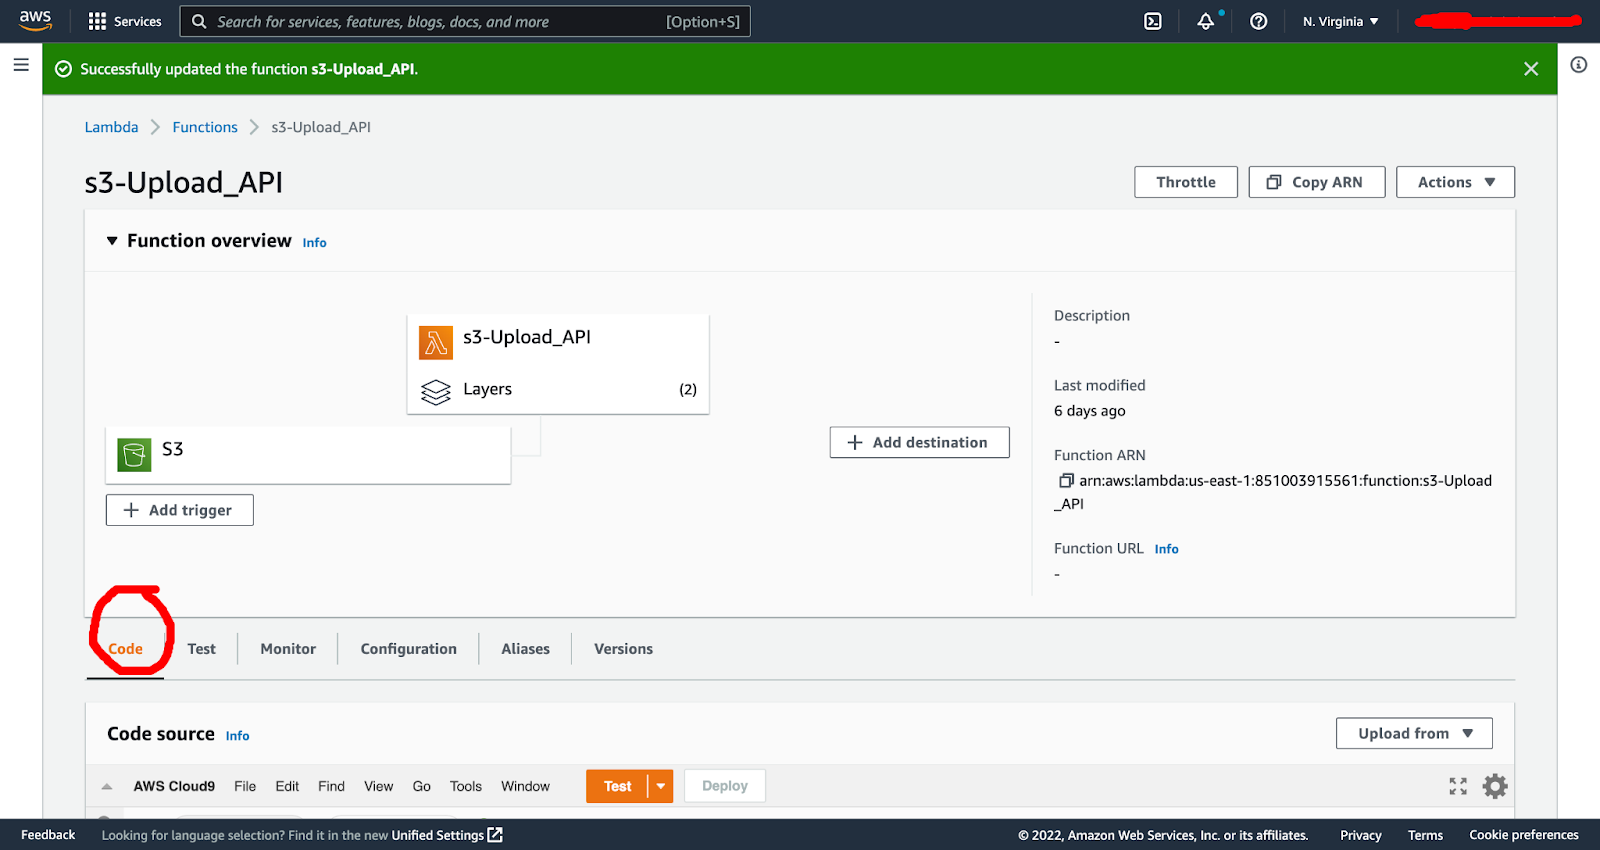
Within the code tab, copy and paste in the below code, putting in your Roboflow API key, your workspace and your project:
What this does is read the object from your S3 bucket, downloads it to the Lambda tmp directory with a unique ID, and then pushes it up to your Roboflow workspace/project.
You can now click the deploy button to push your Lambda code to a ready state.
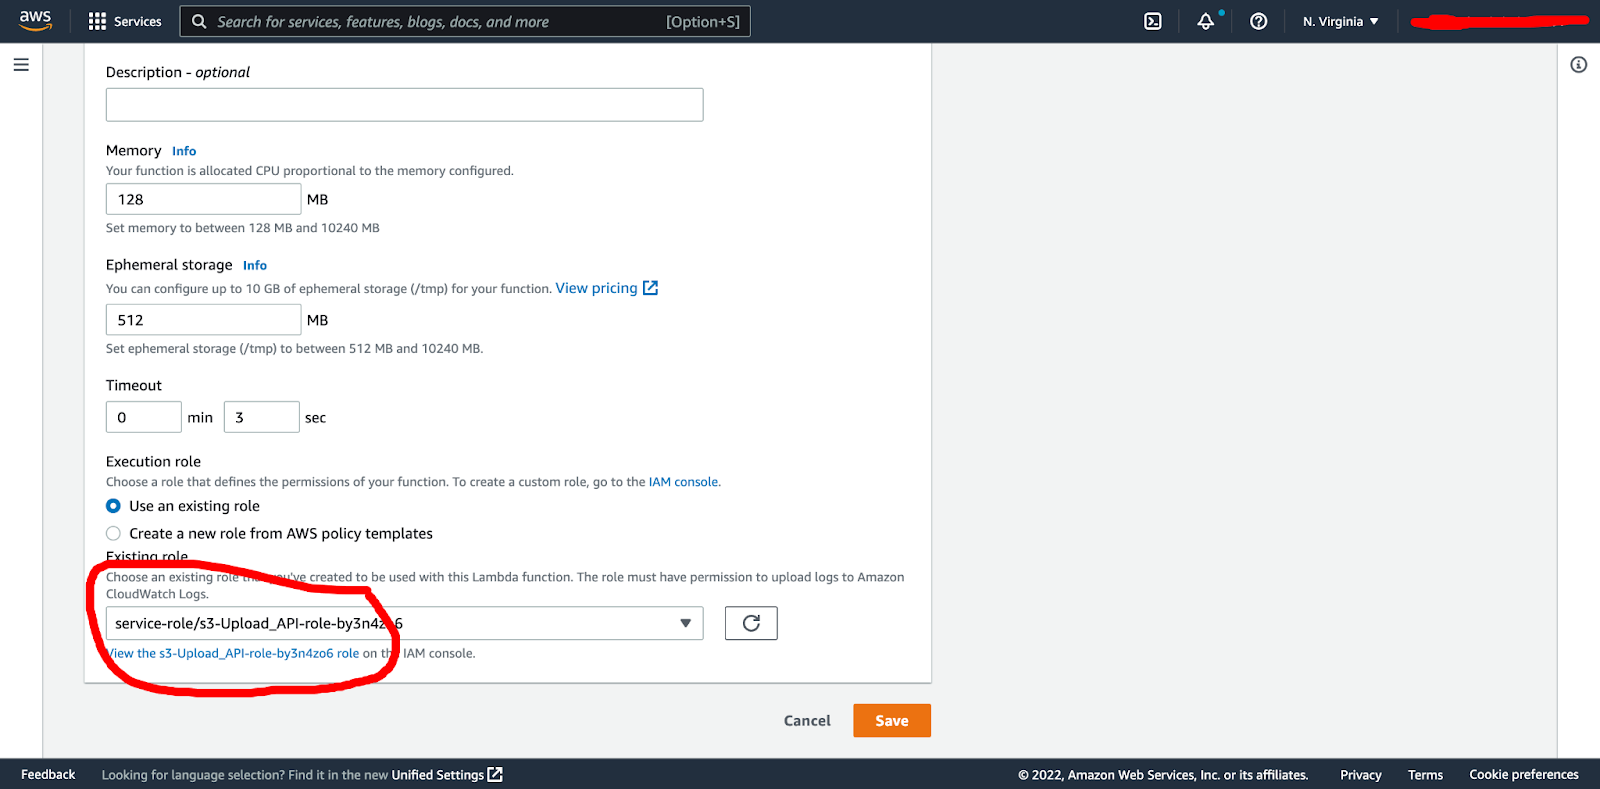
Next we will go back and update our Lambda function permissions to allow S3 access. First we go to the configuration tab and edit button:
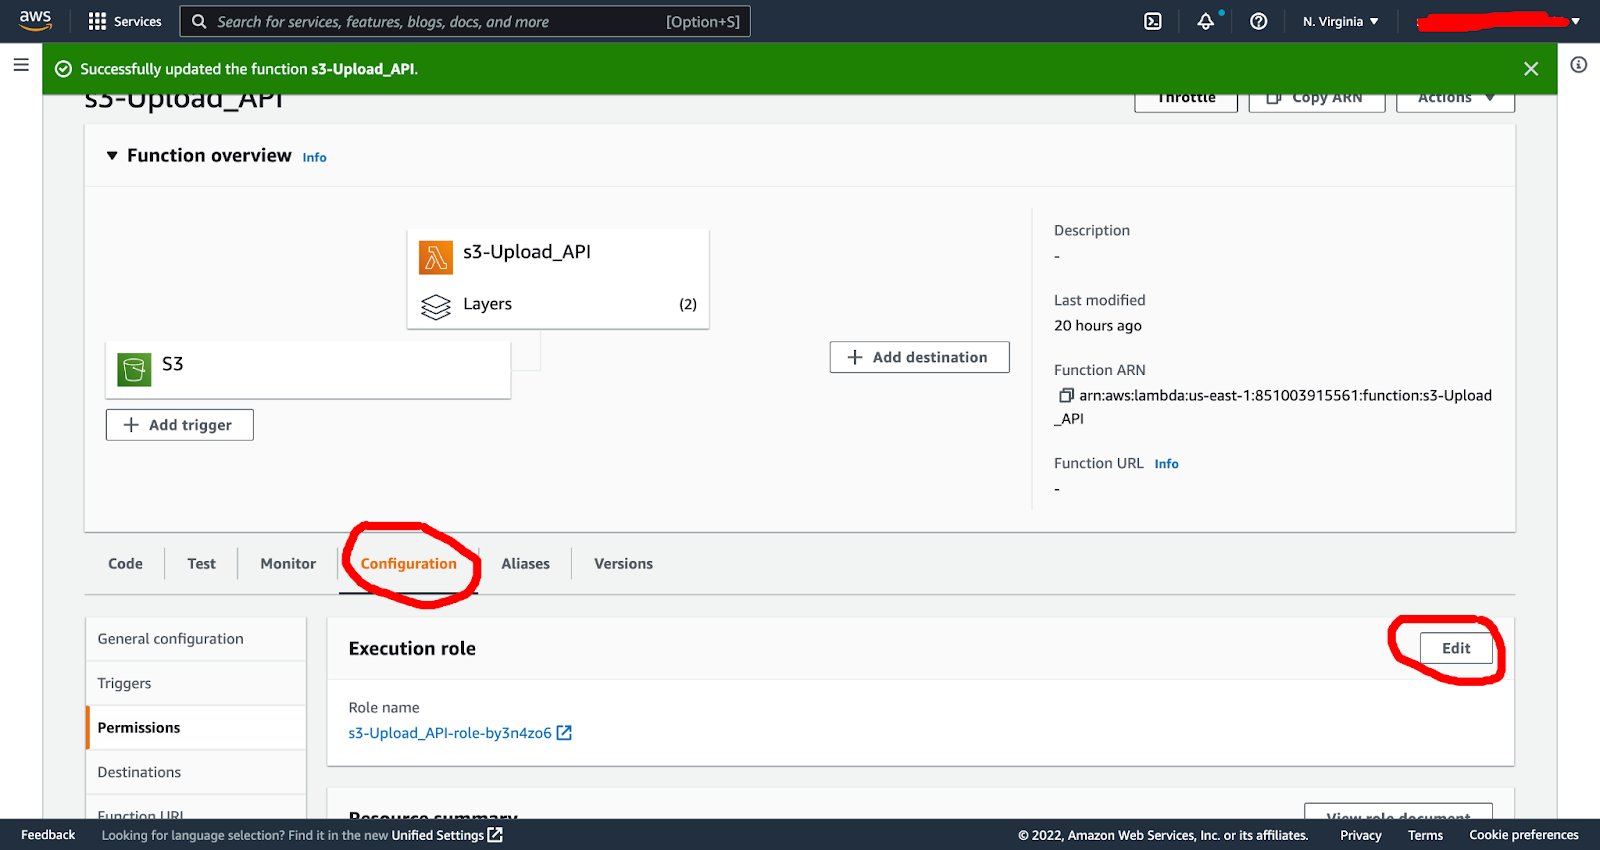
This will open up the assigned lambda role. You then click the “view {role} role in IAM console”:
From here you can search and add S3 full access (full access for the demo, but you would want tighter permissions in a production environment).
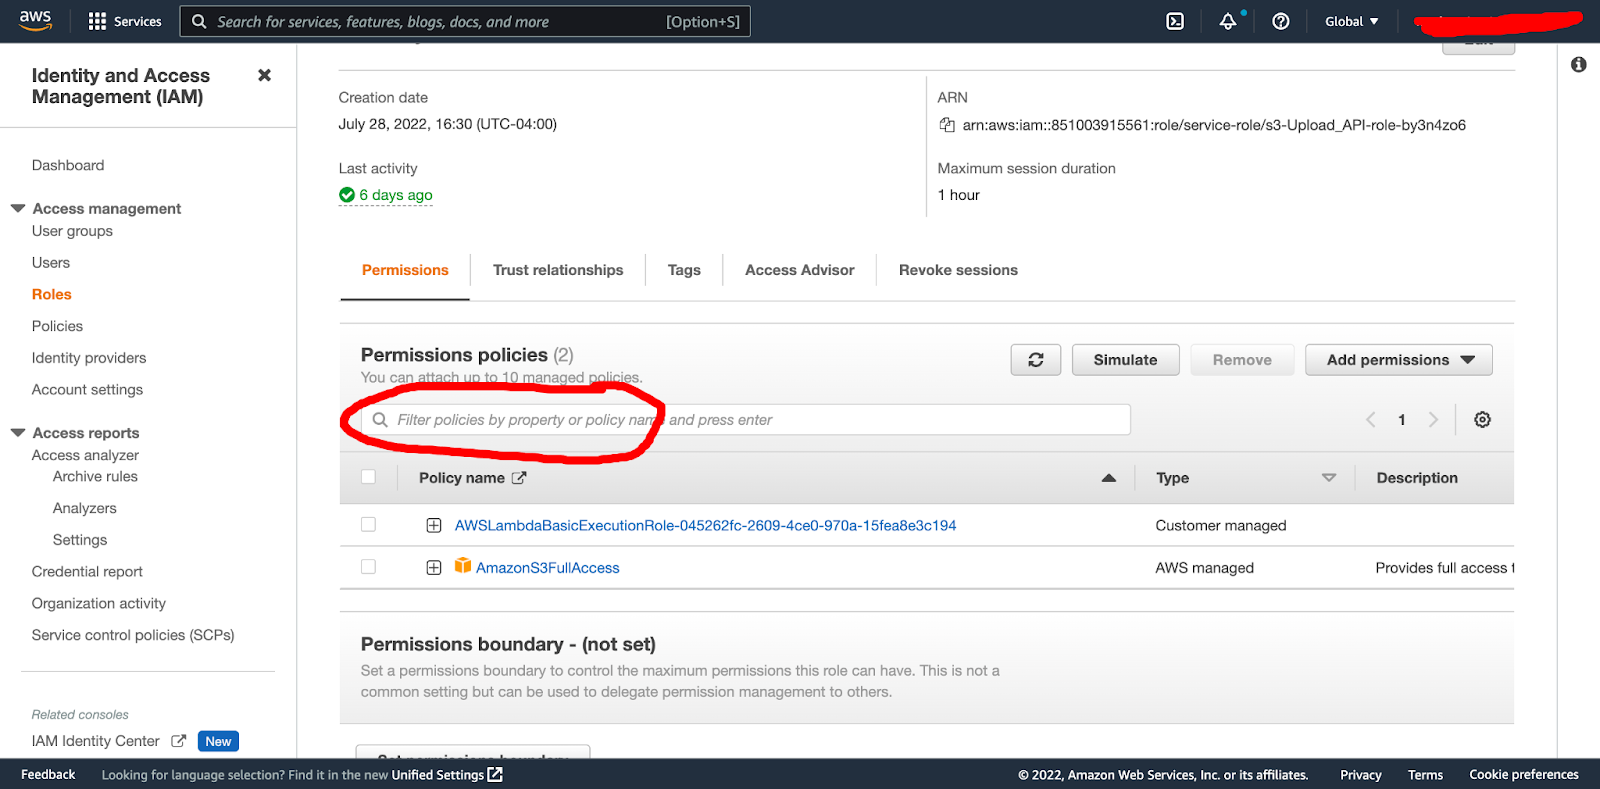
Voila, your Lambda function now has full S3 access and can read from your defined S3 bucket/folder!
Our next step is to add our previously created Lambda Layers to our function. In the main function dashboard, you can click on the layers, which then drops you into the layers section, where you click “add”:
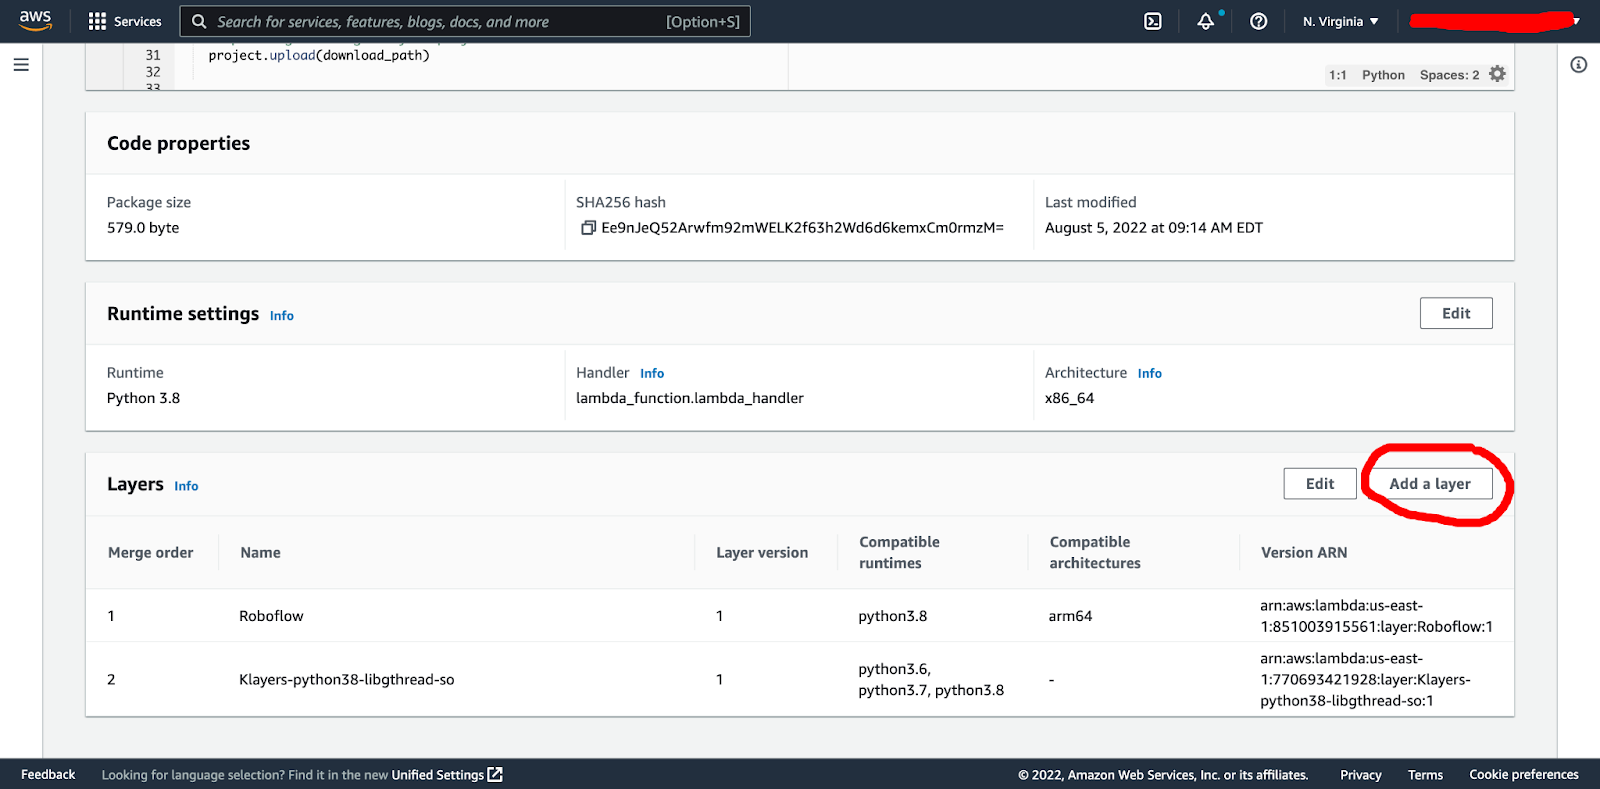
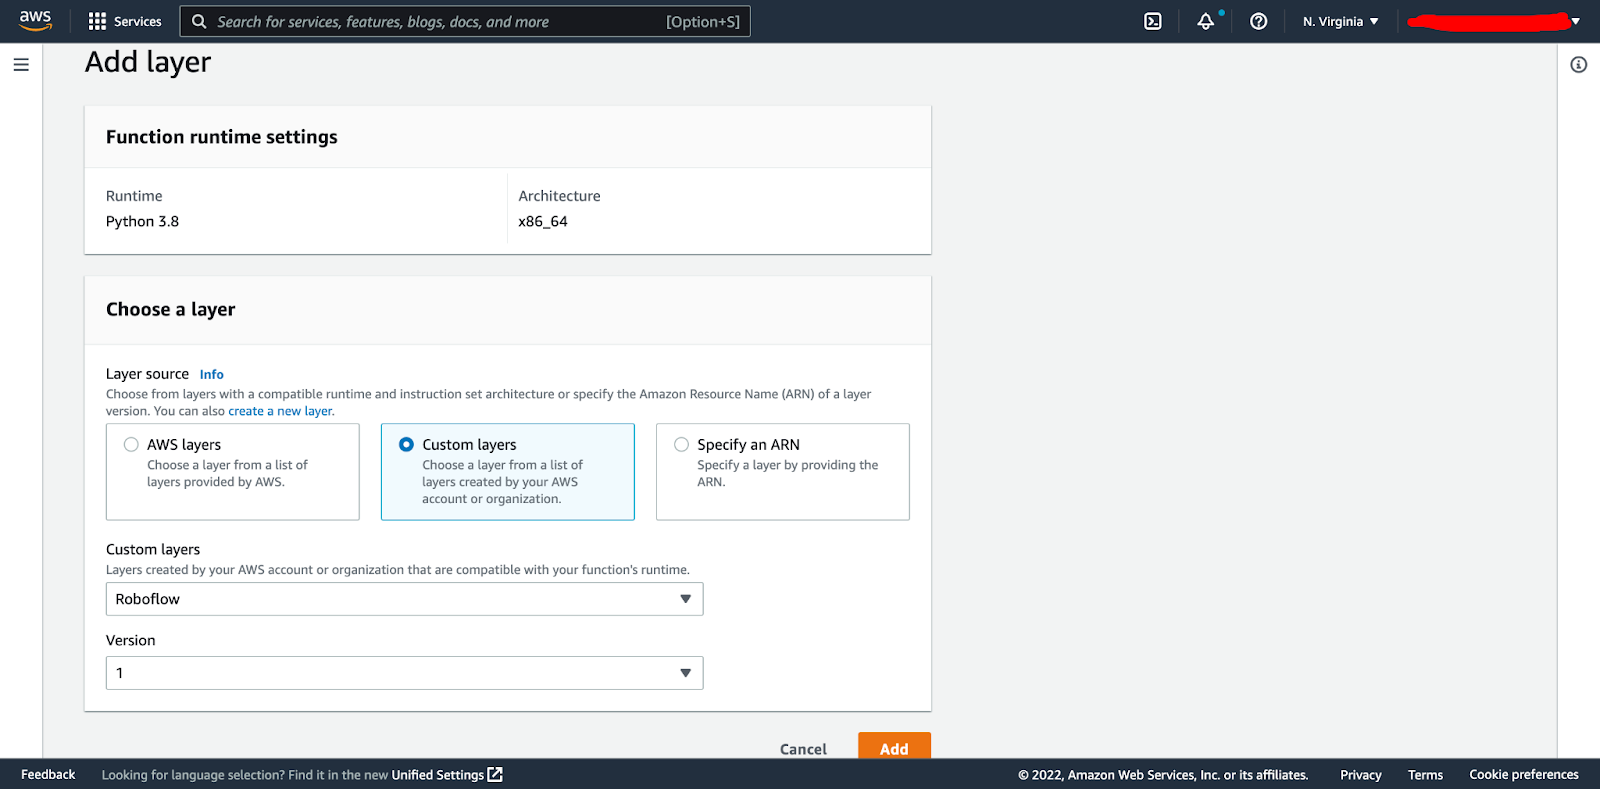
Here you get taken in to the Lambda layer dashboard, where you select your previously created custom Roboflow package layer and click “add”:
We then have to add our second layer for libgthread-2.0 as mentioned above. We do this by clicking the specify the public ARN for that layer, clicking verify and then add:

The 2 layers and associated packages should now be attached to our function.
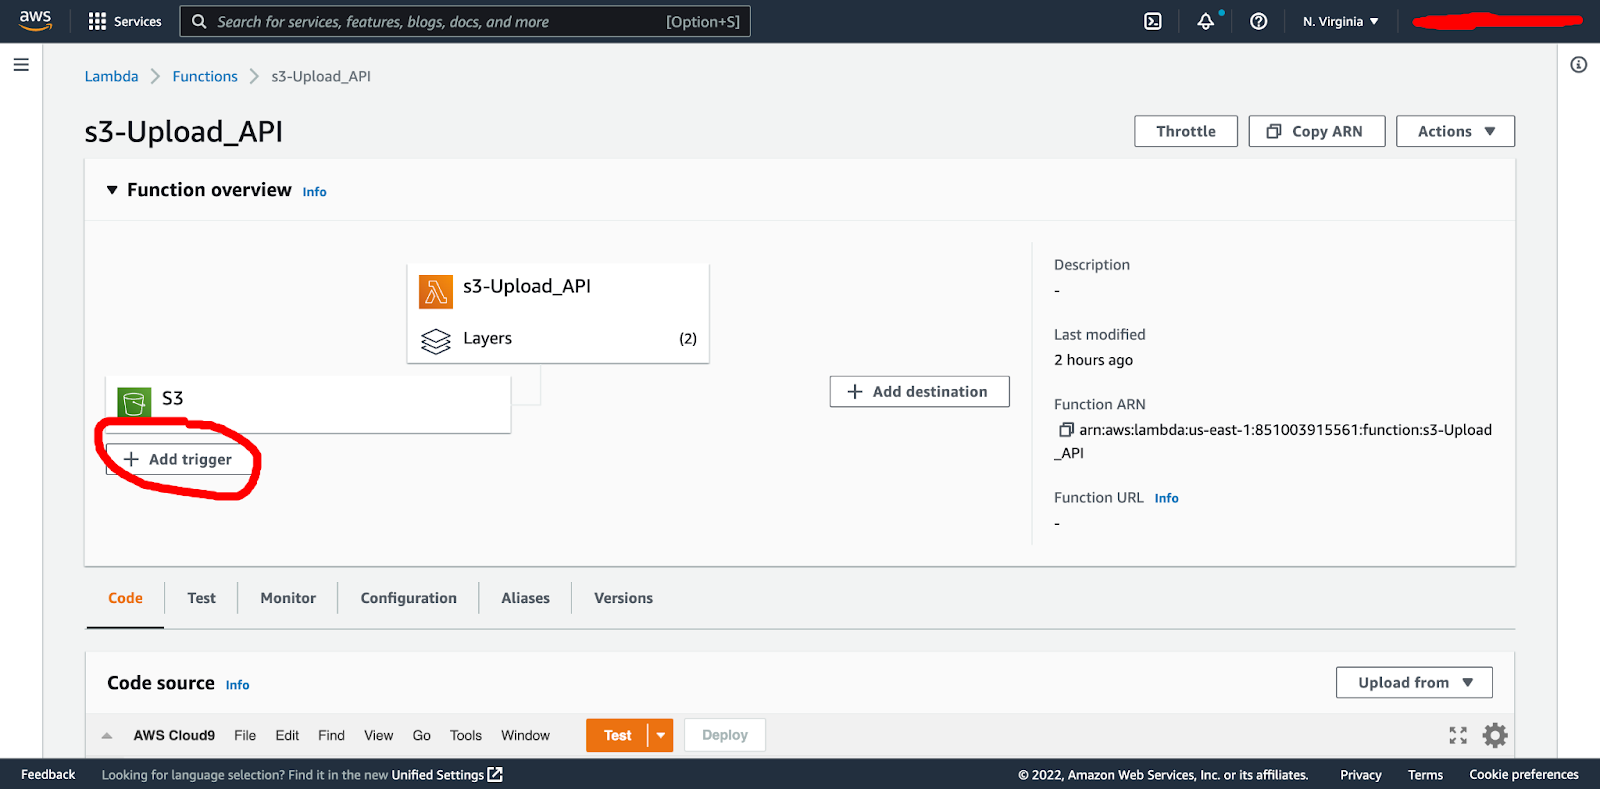
The final step is to create our S3 trigger. Here we go back to our Lambda function dashboard and click on add trigger:
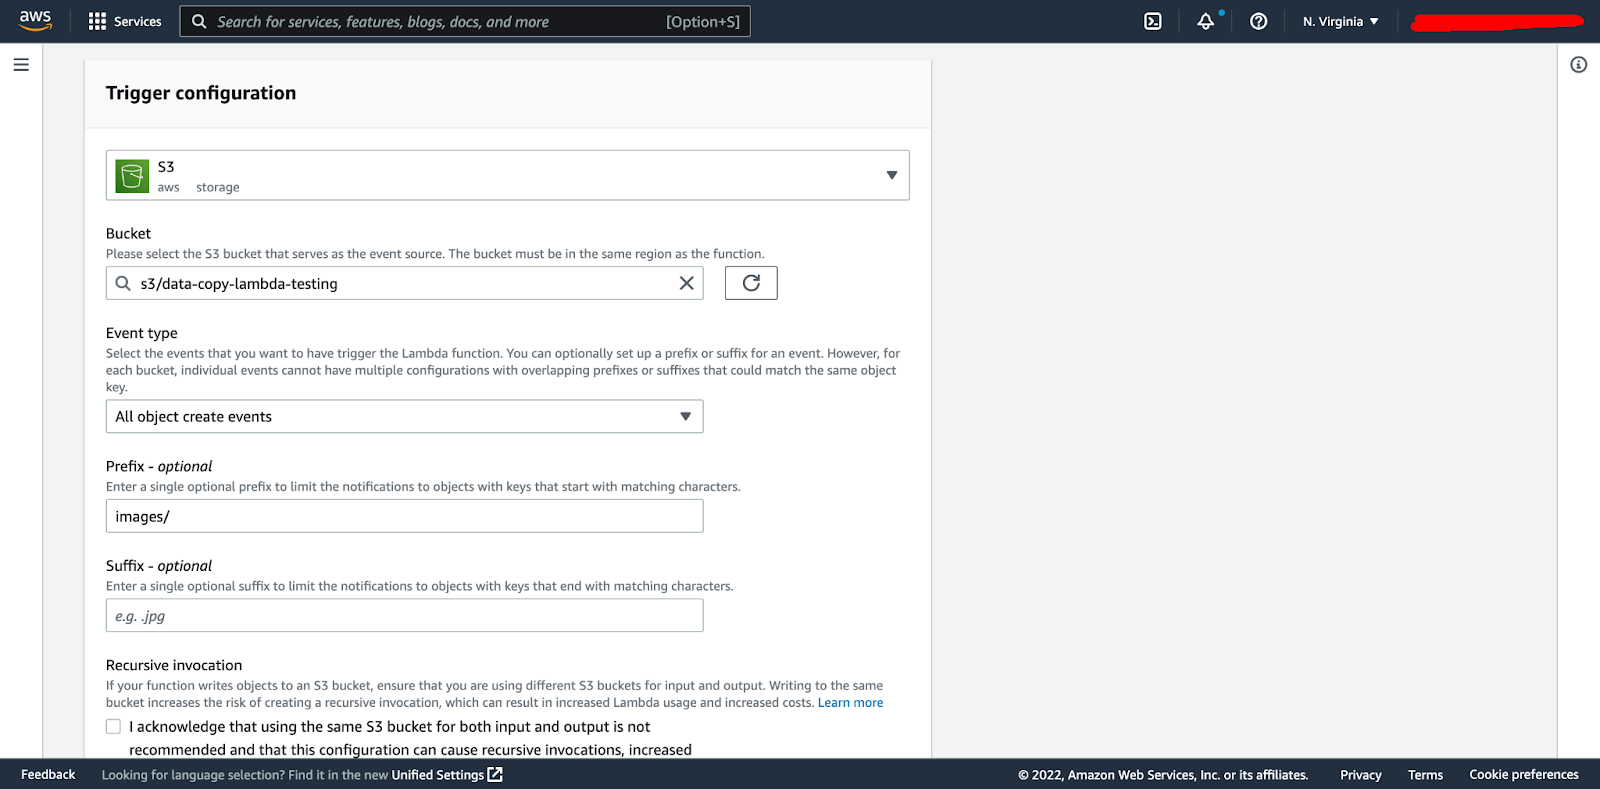
This will take you into the trigger configuration. Here we define S3 as our trigger source, our previously created S3 bucket, the event type of “all object create events”, a prefix (we created an images subfolder in our bucket), and click “add”.
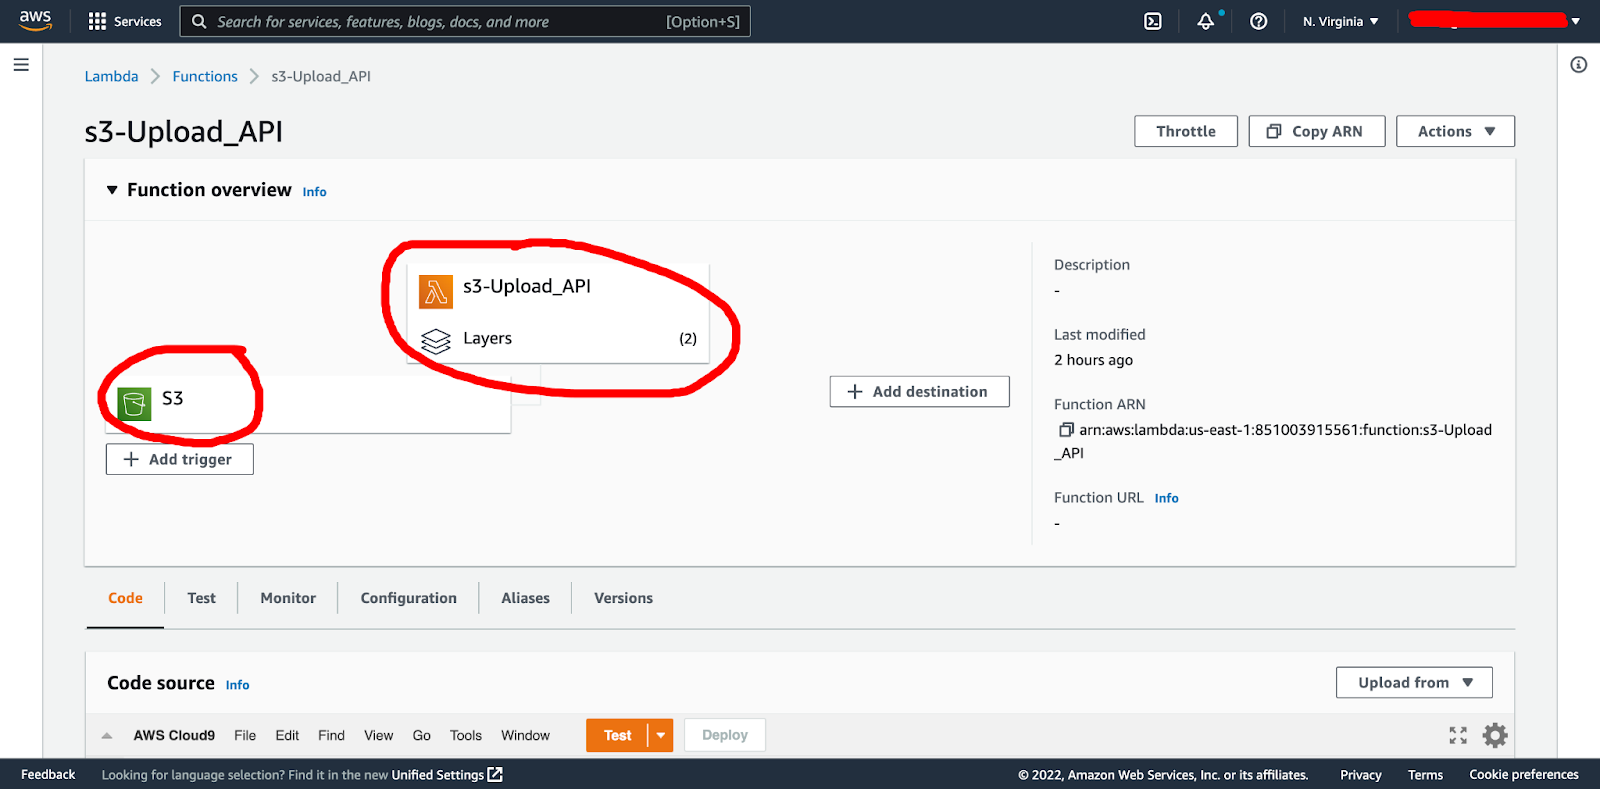
And we are all set. Back in the Lambda function dashboard, we should see our 2 layers attached and our new S3 trigger:
Now go to your S3 bucket and drop an image into the images folder and the Lambda function should take care of taking the image and copying it over to your Roboflow project.
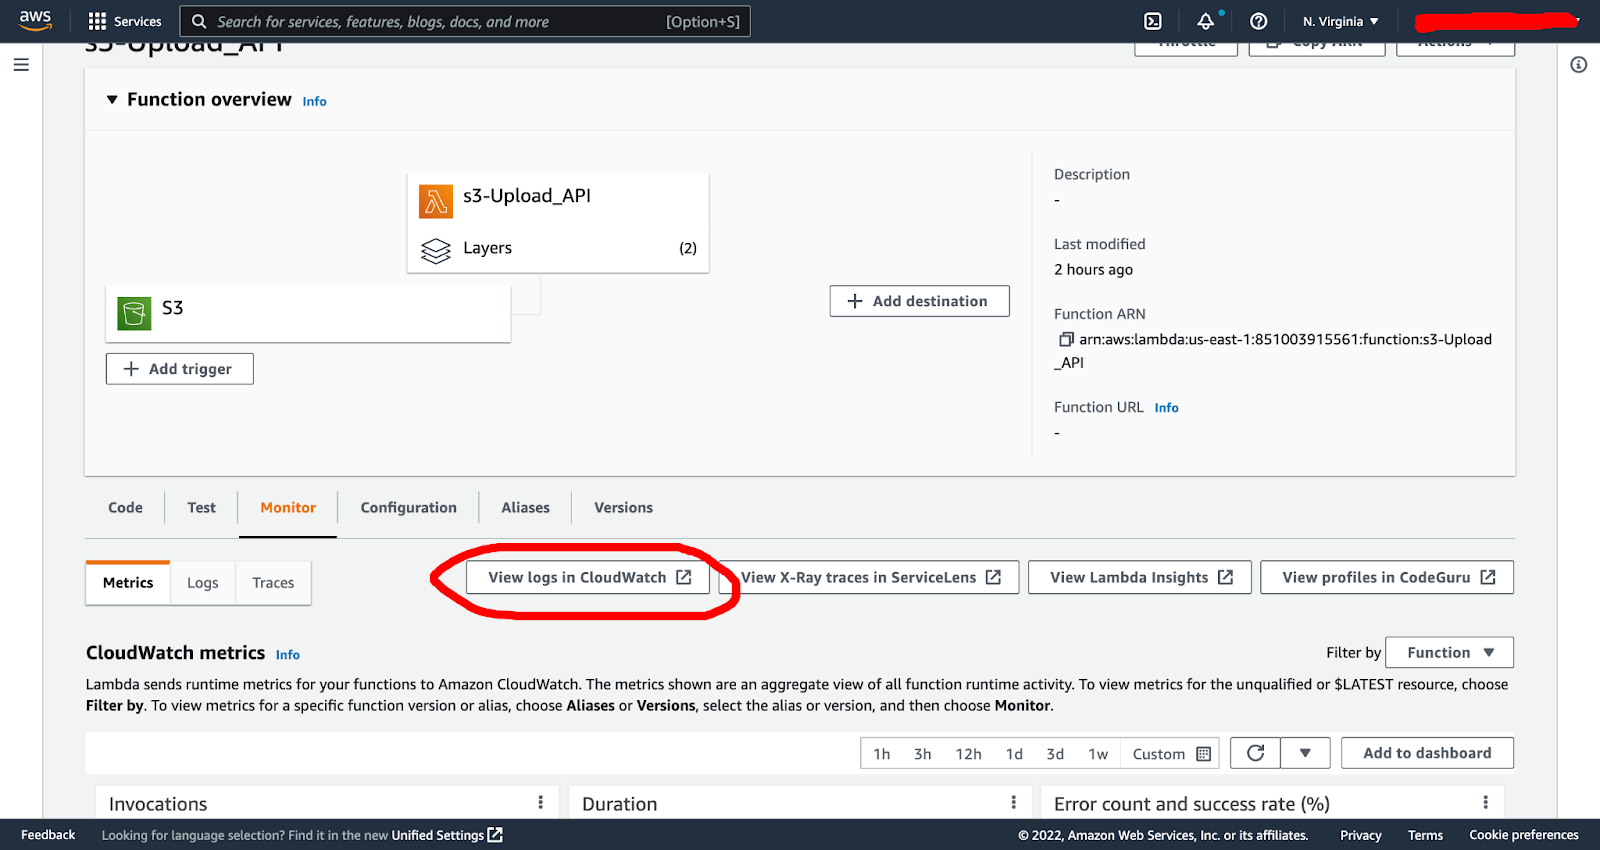
A side note, you can also monitor and debug any Lambda function issues by going into the monitor tab in your function dashboard and clicking “view logs in CloudWatch”:
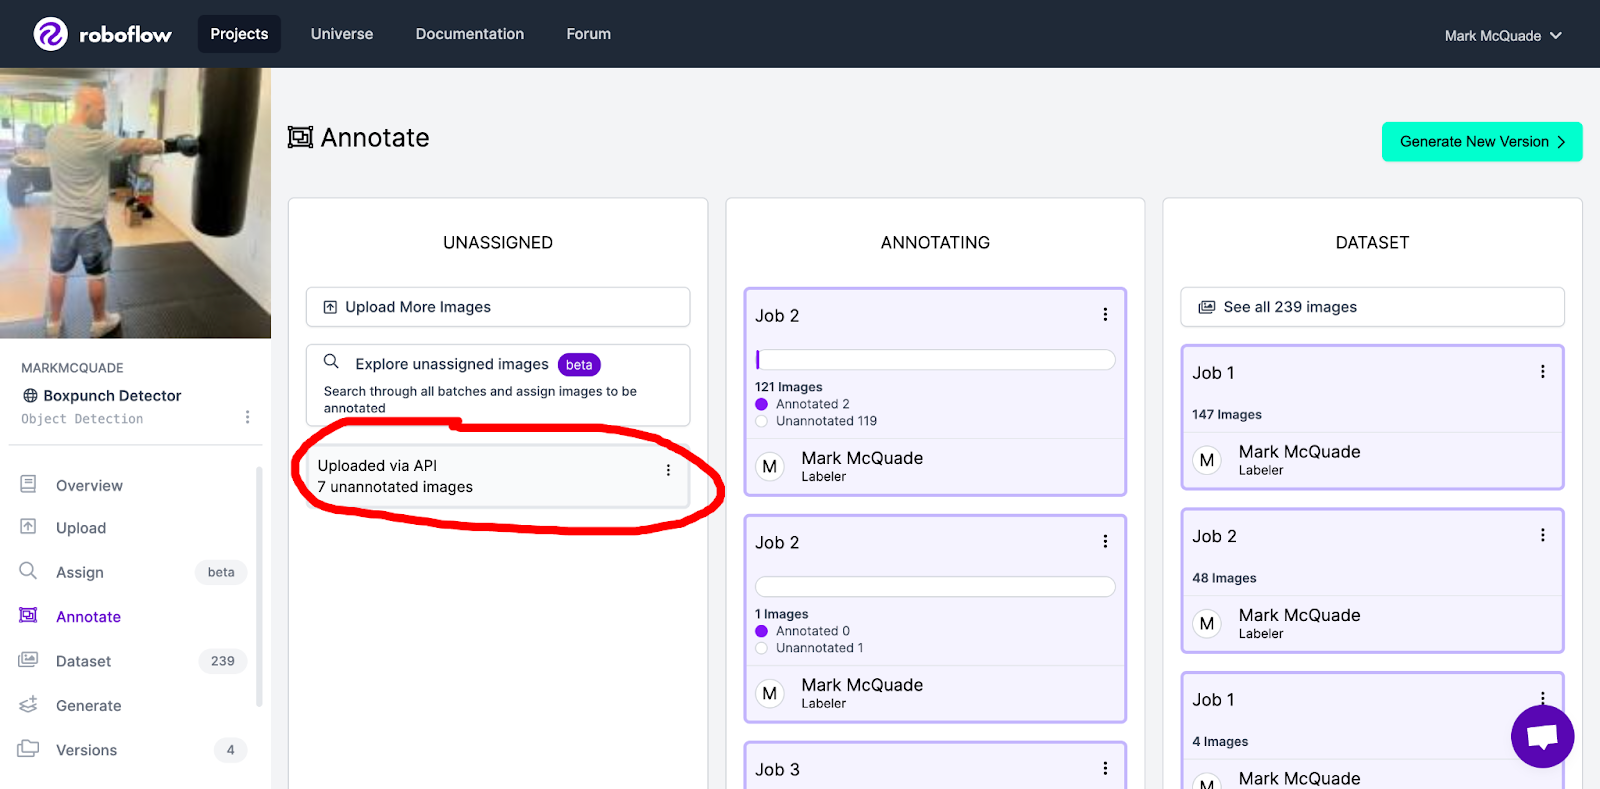
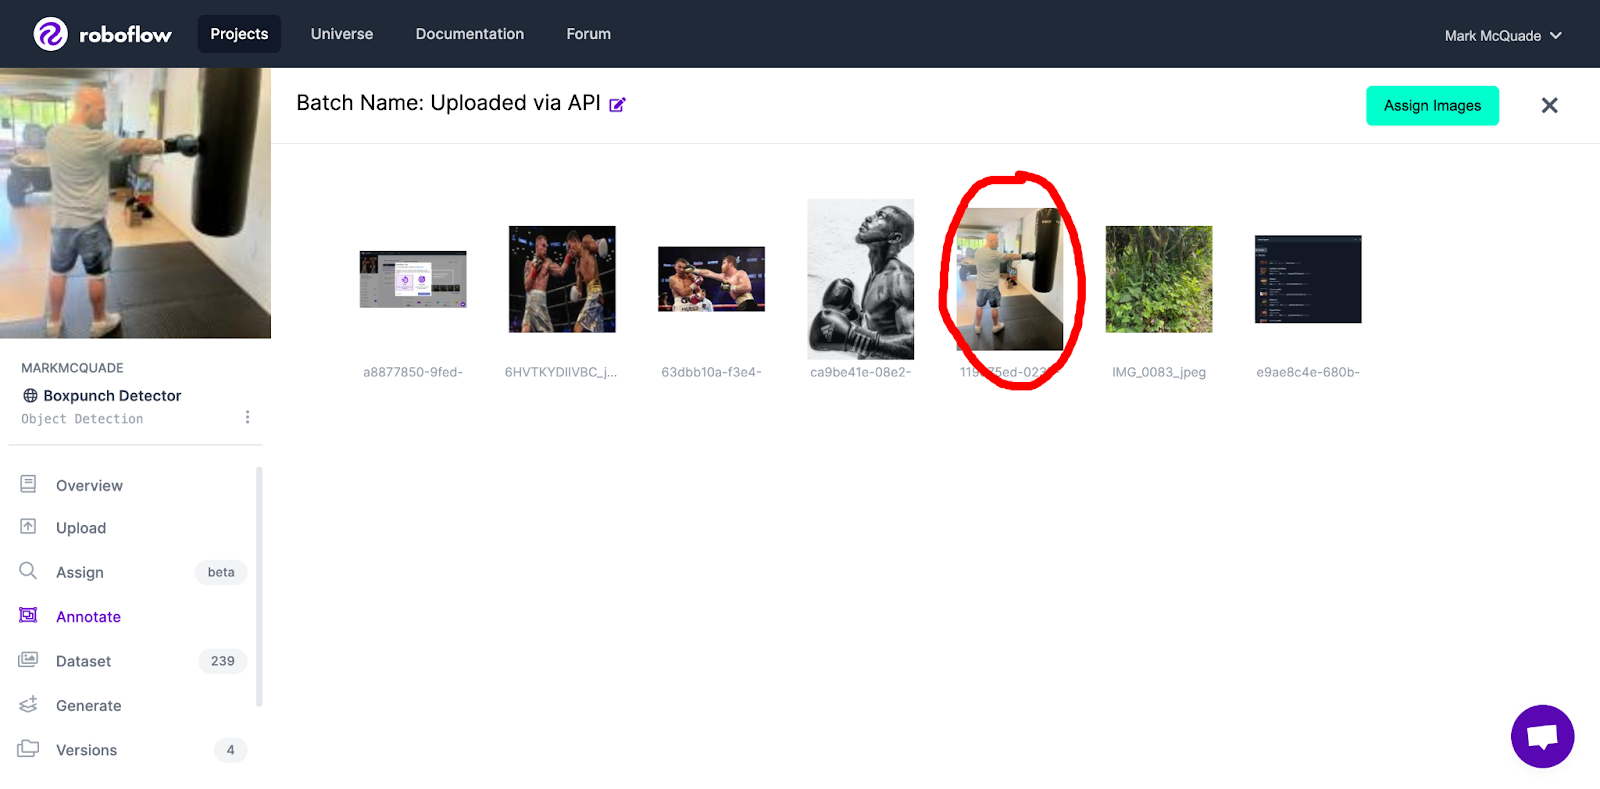
The end result should be pushing an image into your Roboflow project as an unassigned image.
Conclusion
You now have a full image pipeline for your computer vision projects by connecting your S3 bucket to Roboflow. This expands your available data sources and helps bring tools you already use into your ML pipeline.
Cite this Post
Use the following entry to cite this post in your research:
Mark McQuade. (Aug 18, 2022). How to Use S3 in Your Computer Vision Pipeline. Roboflow Blog: https://blog.roboflow.com/how-to-use-s3-computer-vision-pipeline/