
This tutorial walks through training a YOLOv5 model in PyTorch and then optimizing and deploying it using Intel's OpenVINO toolkit. OpenVINO converts the trained model for accelerated inference across CPUs, GPUs, FPGAs, and VPUs, which matters for edge deployments where compute is constrained. The guide compares PyTorch and OpenVINO inference commands side by side so you can measure the performance difference on your own hardware.
Deep learning has gained significant attention in recent years for its ability to solve a wide range of complex problems in fields such as computer vision, natural language processing, and speech recognition. One of the key challenges in deploying deep learning models is the need to optimize them for different hardware platforms, as different architectures have different capabilities and constraints.
OpenVINO (short for Open Visual Inference and Neural Network Optimization) is a toolkit developed by Intel that allows developers to optimize and deploy deep learning models on a variety of hardware platforms, including CPUs, GPUs, FPGAs, and VPUs. The toolkit includes a number of pre-trained models and tools for model optimization and performance analysis, making it easier for developers to deploy their deep learning applications on edge devices with limited computing resources, making it suitable for real-time object detection applications.
YOLOv5 (short for "You Only Look Once") is a popular object detection model that has achieved state-of-the-art results on various benchmarks. It is based on a single-stage detection pipeline and is known for its fast inference speed and good accuracy. YOLOv5 implementation in PyTorch framework made it easier for the developers to modify the architecture and export to many deployment environments straightforwardly.
In this post, we describe how to use OpenVINO to optimize and deploy a YOLOv5 model. We provide a step-by-step guide for setting up the OpenVINO environment, training a YOLOv5 model in Pytorch, optimizing the model with OpenVINO, and deploying the optimized model on a variety of hardware platforms. We also discuss the use of tools provided by OpenVINO for performance analysis and debugging. We will run inference on both Pytorch and OpenVINO backend, and demonstrate the performance benefits when the model is optimized with OpenVINO.
Use this Github repository for the full notebook as you follow along.
Setting up YOLOv5 with OpenVINO
To download and set up YOLOv5 with yolov5s.pt, you can follow these steps:
Download YOLOv5
You can download YOLOv5 from the official GitHub repository (https://github.com/ultralytics/yolov5). To download the repository, you can use the "Clone or download" button on the GitHub page, or you can use the following command in a terminal:
git clone https://github.com/ultralytics/yolov5  # clone
cd yolov5
python export.py --weights yolov5s/yolov5s.pt --imgsz 640 --batch-size 1 --include openvino
This will download the YOLOv5 repository to your local machine, move to the yolov5 directory.
YoloV5 export.py scripts support multiple model formats for conversion. OpenVINO is also represented among supported formats. We need to specify --include openvino parameter for exporting. As the result, directory with name yolov5m_openvino_model will be created with following content:
- yolov5m.yaml - meta information for usage model with inference demo.
- yolov5.xml, yolov5.bin - OpenVINO Intermediate Representation (IR) model generated by Model Optimizer.
Install the Dependencies
YOLOv5 requires a number of dependencies to be installed, including TensorFlow, PyTorch, and OpenCV. You can install these dependencies using the following command:
pip install -r requirements.txtDownload Model Weights
yolov5s.pt is a pre-trained YOLOv5 model that can be used for object detection. You can download yolov5s.pt from the "weights" directory in the YOLOv5 repository. Alternatively, you can download yolov5s.pt directly from the following link: https://github.com/ultralytics/yolov5/releases/download/v6.2/yolov5s.pt. Note if you decide to skip this step, the following step will automatically download yolov5s.pt if it does not exist in the yolov5 directory.
Run YOLOv5
Once you have downloaded and installed YOLOv5 and the dependencies, you can run YOLOv5 using the following command:
python detect.py --weights yolov5s.pt --img 640 --source /path/to/image/or/videoThis will run YOLOv5 on the specified image or video, using yolov5s.pt as the weights file. The --img flag specifies the input size of the image or video, and the --source flag specifies the path to the image or video file.
The output images or videos can be found under the “.\yolov5\runs\detect\exp\” directory.
Training a YOLOv5 Model
To train a YOLOv5 model, we first need to prepare our data. This typically involves splitting our data into training and validation sets and possibly also creating a test set for evaluating the final model. We will also need to convert our data into a suitable format for training.
For this example, we will use a dataset of football (soccer) players. This example uses a YoloV5 in PyTorch annotation format.
Once our data is prepared, we can start building our YOLOv5 model.
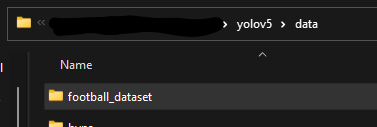
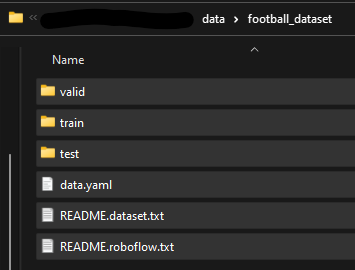
First, under the “data” folder, create a new folder called “football_dataset.” Place the downloaded images and annotations from Roboflow in the “football_dataset” folder.
Under the “data” folder, open “coco128.yaml” file, save as “custom-football.yaml”, and change the following:
# YOLOv5 🚀 by Ultralytics, GPL-3.0 license
# COCO128 dataset https://www.kaggle.com/ultralytics/coco128 (first 128 images from COCO train2017) by Ultralytics
# Example usage: python train.py --data coco128.yaml
# parent
# ├── yolov5
# └── datasets
#     └── coco128  ← downloads here (7 MB)
# Train/val/test sets as 1) dir: path/to/imgs, 2) file: path/to/imgs.txt, or 3) list: [path/to/imgs1, path/to/imgs2, ..]
path: ../datasets/coco128  # dataset root dir
train: images/train2017  # train images (relative to 'path') 128 images
val: images/train2017  # val images (relative to 'path') 128 images
test:  # test images (optional)
# Classes
names:
0: person
1: bicycle
2: car
3: motorcycle
4: airplane
5: bus
6: train
7: truck
8: boat
9: traffic light
10: etc…
Original “coco128.yaml” File
# YOLOv5 🚀 by Ultralytics, GPL-3.0 license
# Train/val/test sets as 1) dir: path/to/imgs, 2) file: path/to/imgs.txt, or 3) list: [path/to/imgs1, path/to/imgs2, ..]
path: ./data  # dataset root dir
train: football_dataset/train  # train images (relative to 'path') 128 images
val: football_dataset/valid  # val images (relative to 'path') 128 images
test:  football_dataset/test # test images (optional)
# Classes
names:
0: ball
1: goalkeeper
2: player
3: referee
Updated and Saved as “custom-football.yaml”
Under the “yolov5/models/yolov5s.yaml” file, open it and change the number of classes (nc) to 4 and save this file as “football.yaml”.
Once our model is defined, we can train it using the “train.py” script. We will need to specify the training data, the number of epochs (iterations over the training data), and the batch size (the number of samples per gradient update). We can also specify a range of other training parameters, such as the learning rate, the optimizer, and the loss function. To train the dataset, you can use the following command in a terminal:
python train.py --data ./data/custom-football.yaml --epochs 300 --weights yolov5s.pt --cfg ./models/football.yaml --batch-size 32Updated and Saved as “custom-football.yaml”
Saved models are located in “yolov5\runs\train\exp\weights\” directory with the best performing model, “best.pt”, placed in this directory. Let us rename the “best.pt” to “football.pt” and save it in the yolov5 directory.
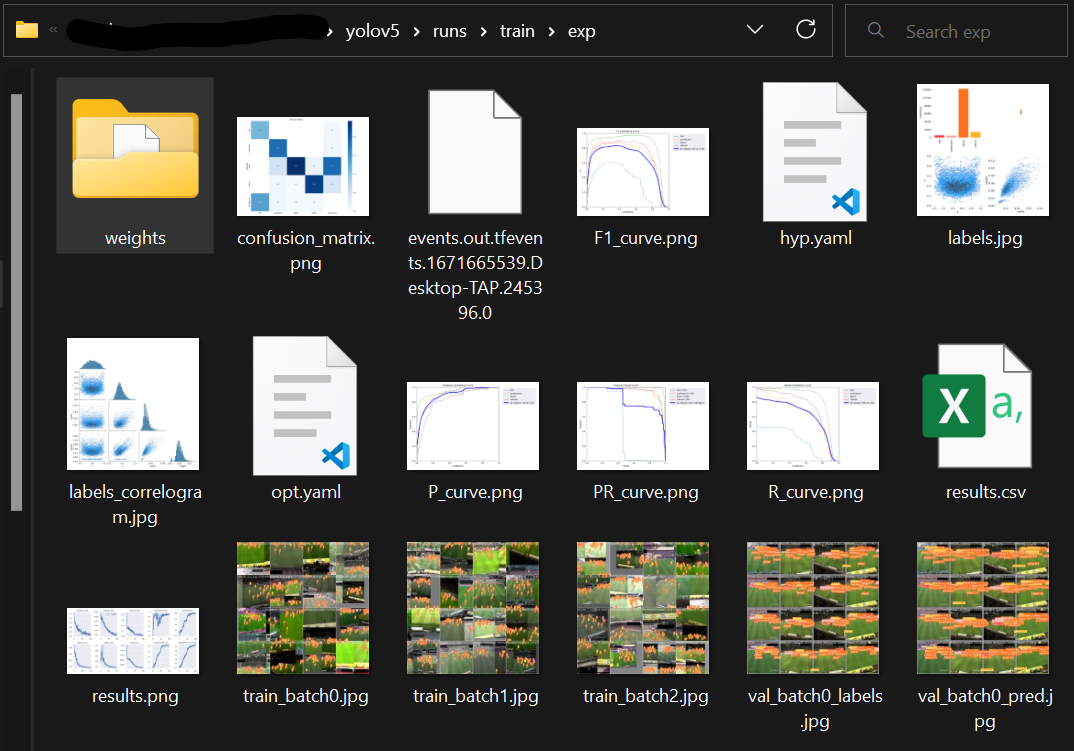
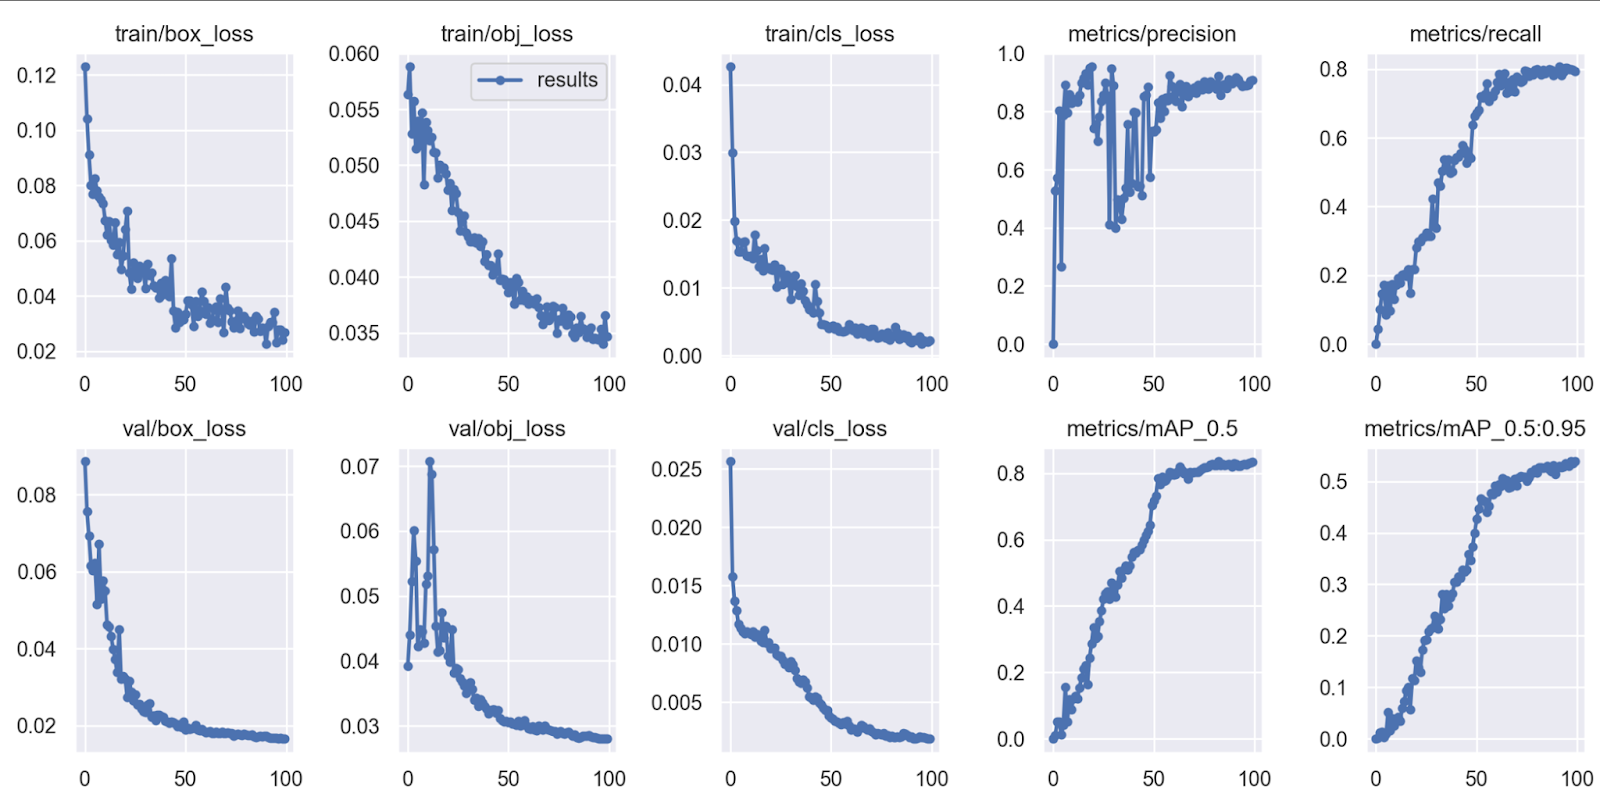
Trained Dataset Output
Once the model has been trained, saved, renamed, and moved to the main directory, we will transform this model into a ONNX model. Do this by writing the following in the terminal:
Convert Pytorch to ONNX Model:
python export.py --weights model/ yolov5s.pt –gridConvert ONNX Model to OpenVINO Intermediate Representation (IR):
model = mo.convert_model("yolov5s/football-players-tracking.onnx")

serialize(model, "yolov5s/football-players-tracking_openvino_model/football-players-tracking.xml")
The optimized model will be saved in “football-players-tracking_openvino_model ”. We will now use this OpenVINO model with “--weights” every time we train or infer a model.
Deploying the Optimized YOLOv5 Model with OpenVINO
Once we have saved our YOLOv5 model and optimized the model using OpenVINO Model Optimizer, we are ready to deploy the model for inference. There are a number of ways to deploy the model, depending on the requirements of our application and the hardware platform we are using.
One option is to deploy the model on a standalone machine or a cluster of machines running a supported operating system (such as Linux). We can install the OpenVINO runtime and the necessary dependencies on the machine(s), and then run our application as usual. The application will use the Inference Engine to perform inference on the optimized model.
Another option is to deploy the model on a cloud platform, such as Amazon Web Services (AWS) or Microsoft Azure. We can create a virtual machine or a container with the necessary dependencies, and then run our application on the virtual machine or container. The application will use the Inference Engine to perform inference on the optimized model.
However, in this example, we will deploy the model on a device with an Intel processor, the necessary hardware acceleration (such as a CPU with Intel Integrated Graphics or a VPU), and toggle inference through the GPU or CPU. This example will show the performance between OpenVINO on and off and as well as either using a CPU or GPU for inference.
To run inferences on a set of images with CPU and PyTorch model run this in the command line:
python detect.py --weights model/ yolov5s/football-players-tracking.pt--source data/images --device cpuSpeed: 3.0ms pre-process, 2324.1ms inference, 2.0ms NMS per image at shape (1, 3, 640, 640)
To run inferences on a set of images with CPU and OpenVINO model run this in the command line:
python detect.py --weights football-players-tracking_openvino_model--source data/images --device cpuSpeed: 2.0ms pre-process, 1207.1ms inference, 3.0ms NMS per image at shape (1, 3, 640, 640)
Conclusion
In this paper, we have discussed how to use YOLOv5 for object detection tasks, and how to optimize and deploy the trained model with OpenVINO. We have covered the steps involved in training a YOLOv5 model PyTorch, optimizing the model with the OpenVINO Model Optimizer, and integrating and deploying the optimized model.
Overall, the combination of YOLOv5 and OpenVINO provides a powerful and flexible solution for object detection tasks and can be used to build a wide range of applications, from standalone programs to large-scale systems.
We hope this paper has provided you with a useful overview of how to use YOLOv5 and OpenVINO for object detection tasks, and that you will consider using these technologies in your own projects.
Cite this Post
Use the following entry to cite this post in your research:
Mark McQuade. (Feb 17, 2023). YOLOv5 Object Detection with OpenVINO™ Toolkit. Roboflow Blog: https://blog.roboflow.com/yolov5-object-detection-with-openvino-toolkit/