
Instance segmentation is a powerful computer vision task that identifies and outlines individual objects in images with pixel-level precision. Roboflow simplifies this process by providing intuitive tools for dataset management, annotation, and model training.
In this tutorial, we’ll guide you through how to label instance segmentation data using the RF-DETR model, a state-of-the-art architecture for high-accuracy segmentation tasks. By the end, you’ll have a trained model ready to segment objects, using the Rust dataset from Roboflow Universe as an example.
By following this guide, you’ll:
- Fork or annotate any dataset for instance segmentation.
- Apply preprocessing and augmentations to optimize training.
- Train an RF-DETR model for high-precision segmentation.
- Test and evaluate the model’s performance.
How to Label Segmentation Data with RF-DETR
Let’s dive into the step-by-step process.
Step 1: Set Up Your Roboflow Account
Roboflow’s user-friendly platform makes it easy to manage datasets, annotate images, and train models. To get started, you’ll need a Roboflow account.
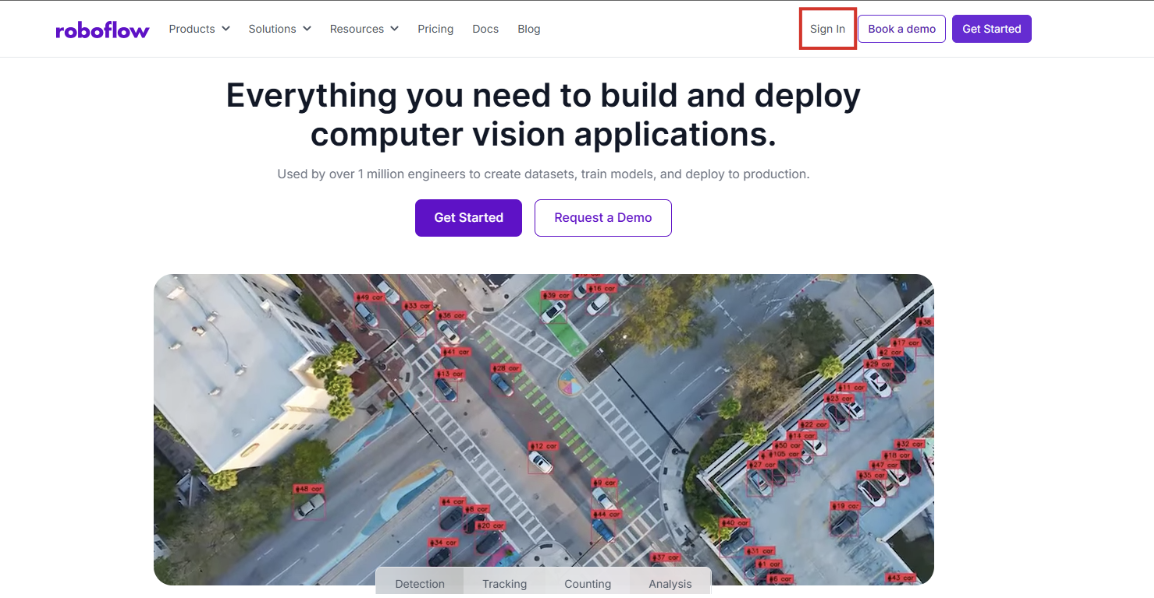
- Log into Roboflow: Visit Roboflow and sign in. If you don’t have an account, sign up for free; it takes just a minute.
- Create a Workspace: Ensure you have a workspace set up for your projects. This is where your datasets and models will be organized.
Step 2: Fork the Rust Dataset
For this tutorial, I’ll be using a Rust Dataset from Roboflow Universe to set the base for my annotation process.
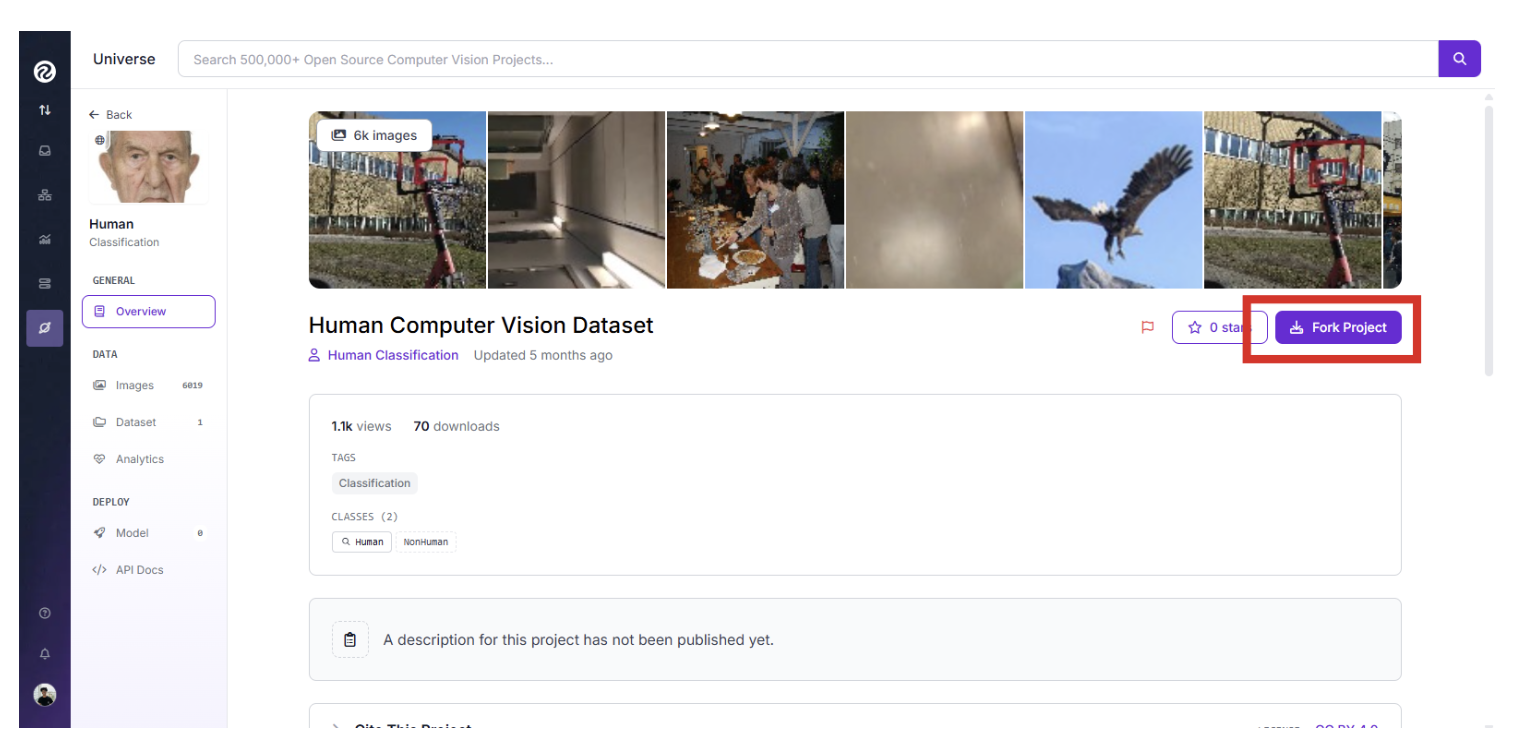
- Access the Dataset: Navigate to the Rust dataset on Roboflow Universe using the link above.
- Fork the Dataset: Click “Fork Project” to add the dataset to your Roboflow workspace. This creates a copy of the dataset that you can modify and annotate.
- Add Images (Optional): If you want to expand the dataset, upload additional images to your project by clicking the “Upload” button in the dataset section. Roboflow supports various image formats like .jpg and .png.
Step 3: Annotate Images with Smart Polygon Tool
Roboflow’s annotation tools make labeling instance segmentation data straightforward, especially with the Smart Polygon tool, which simplifies outlining objects.
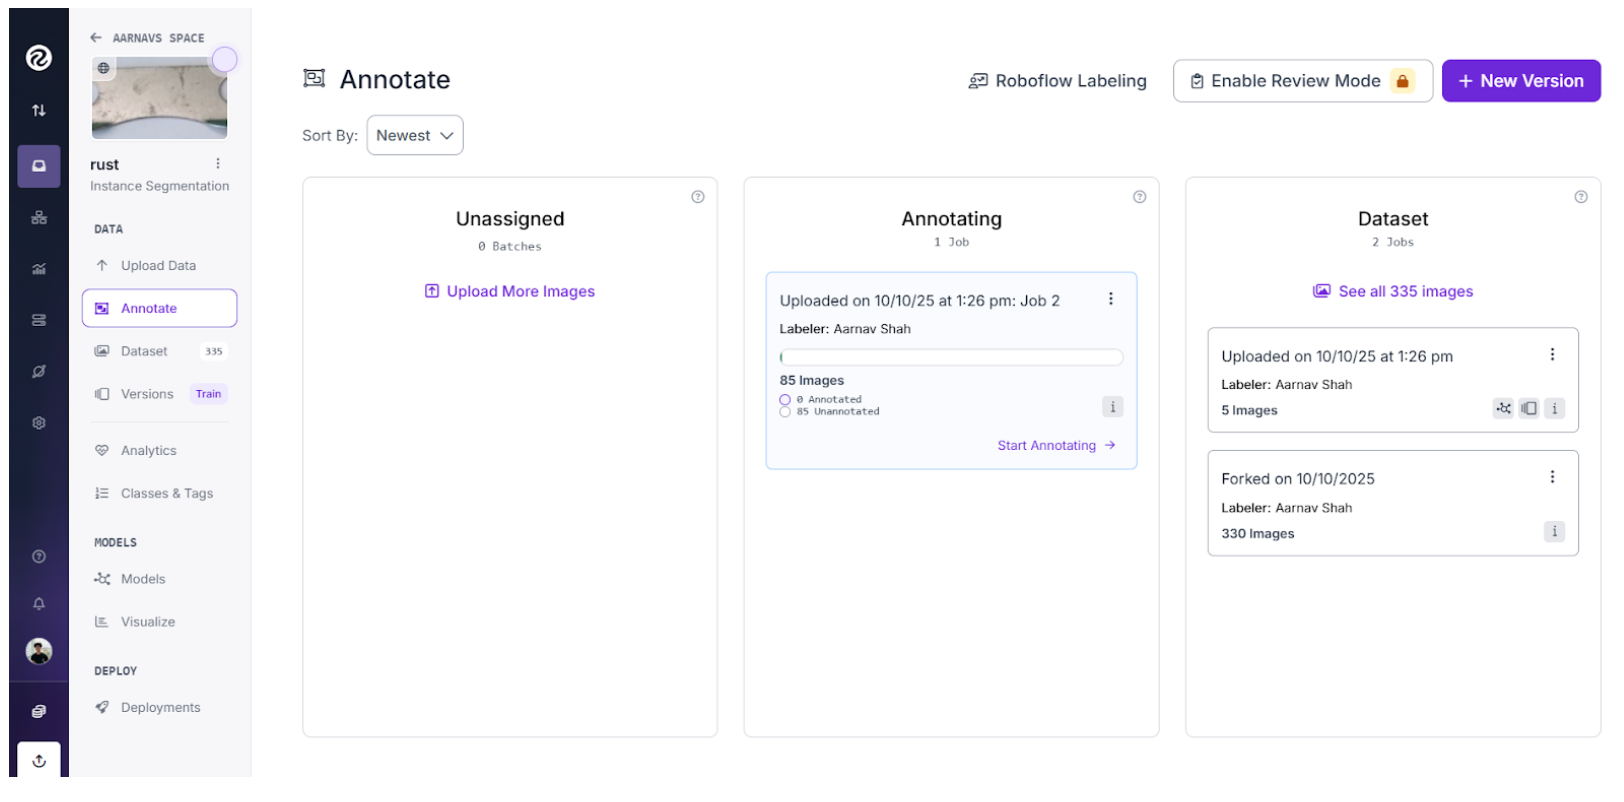
- Access Annotation Interface: In your forked Rust dataset, go to the “Annotate” tab.
- Use Smart Polygon Tool:
- Select the Smart Polygon tool from the annotation toolbar.

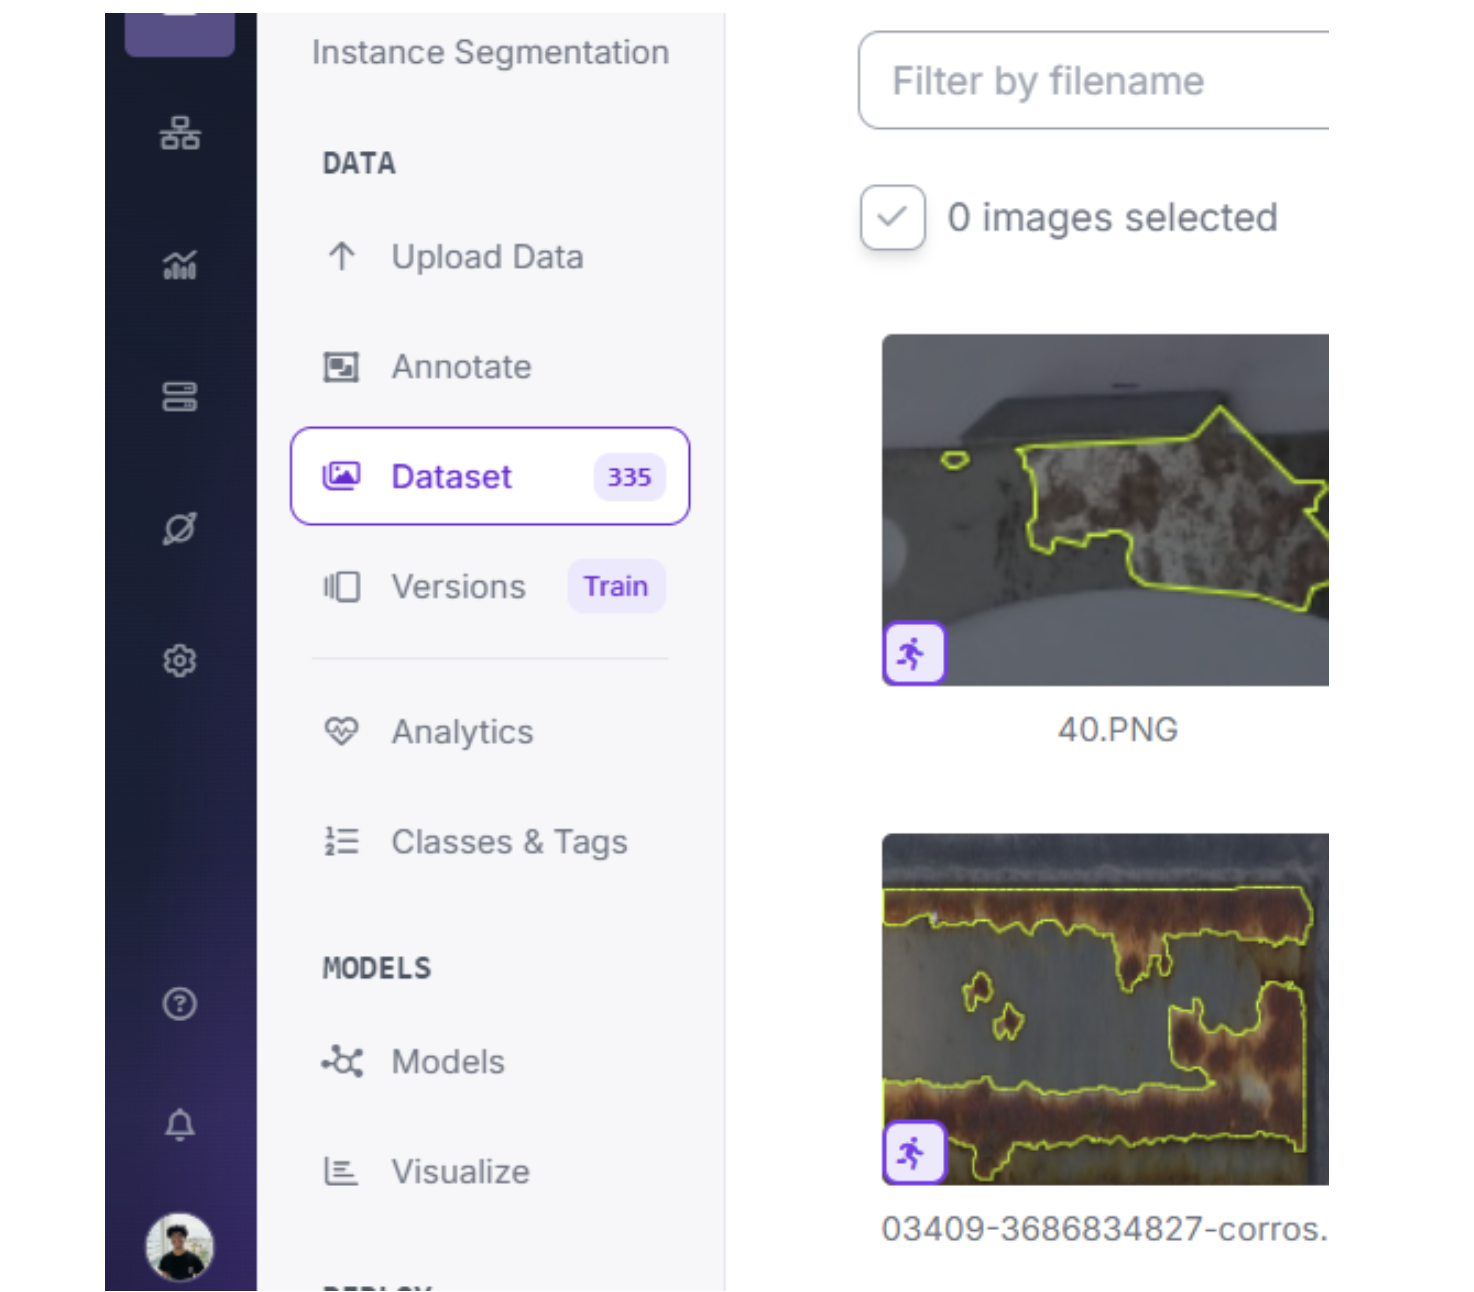
- Click on the parts of the image where rust appears. The tool automatically generates precise polygon masks around the selected areas.
- If the tool selects too much, simply click again in the section you want to remove. This intuitive process makes labelling fast and accurate.
- Save Annotations: Assign a class label (e.g., “rust”) to each polygon and save your annotations. Roboflow ensures that masks are stored in a format compatible with instance segmentation training.
Roboflow’s Smart Polygon tool leverages AI to suggest mask boundaries, reducing manual effort and ensuring high-quality annotations. This is especially useful for complex shapes like rust patterns, making labelling efficient and precise.
Step 4: Create a Dataset Version
Once your images are annotated, you’ll create a version of the dataset with specific preprocessing and augmentation settings to prepare it for training.
- Navigate to the Dataset Section: In your Roboflow project, go to the “Dataset” tab.
- Generate a Version:
- Click “Train Model” and select “Custom Training.”
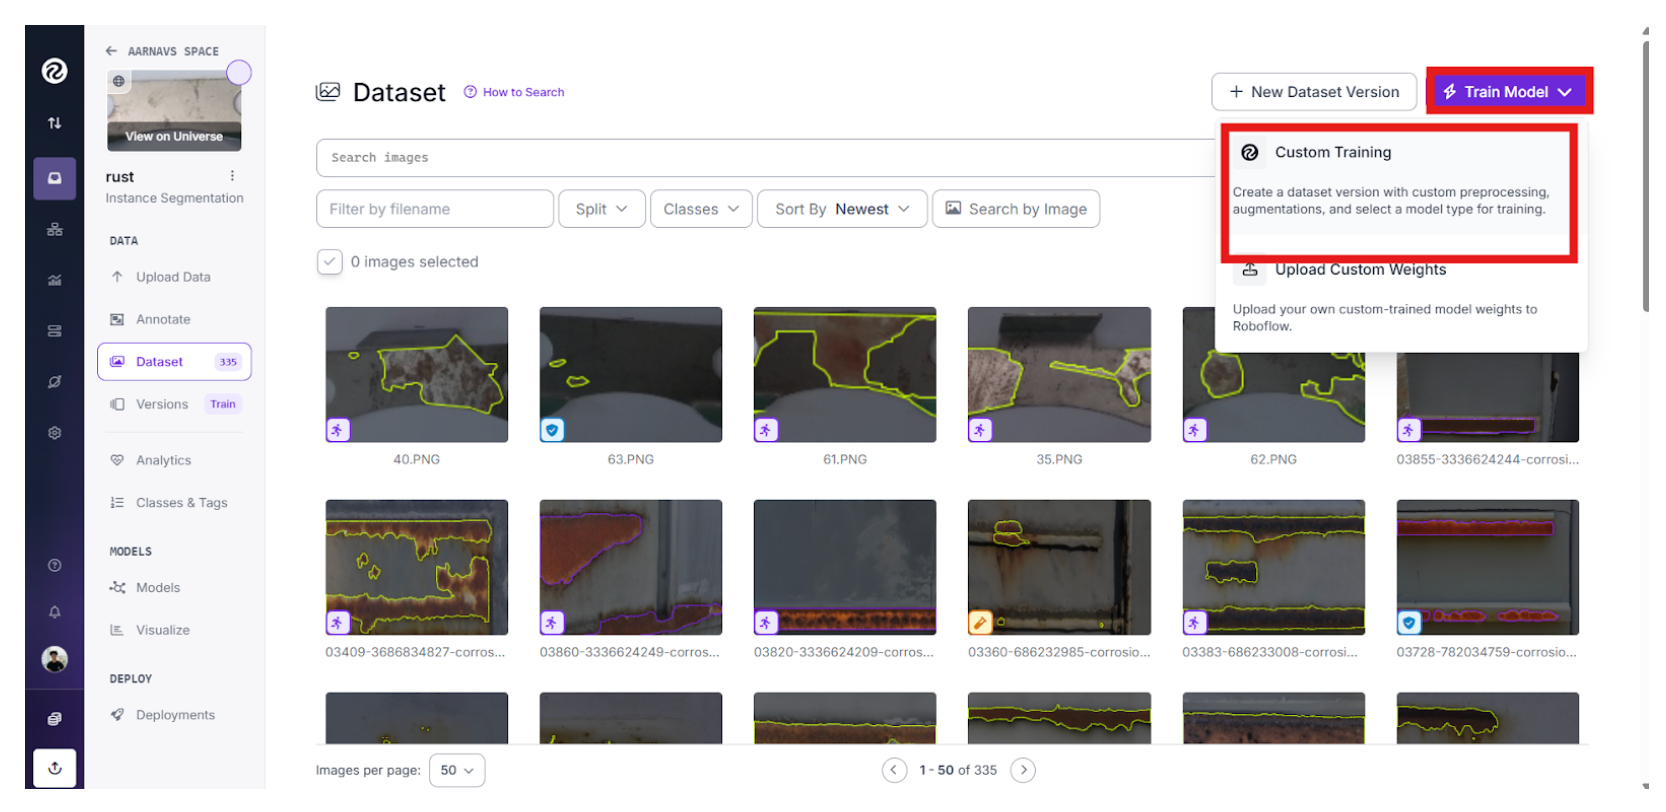
- Configure the dataset splits: ~70% for training, ~20% for validation, and ~10% for testing.
- Apply Preprocessing:
- Auto-Orient: Enable to correct image orientations based on EXIF data.
- Resize: Stretch images to 640x640 pixels to standardize input size.
- Auto-Adjust Contrast: Use Histogram Equalization to enhance image contrast.

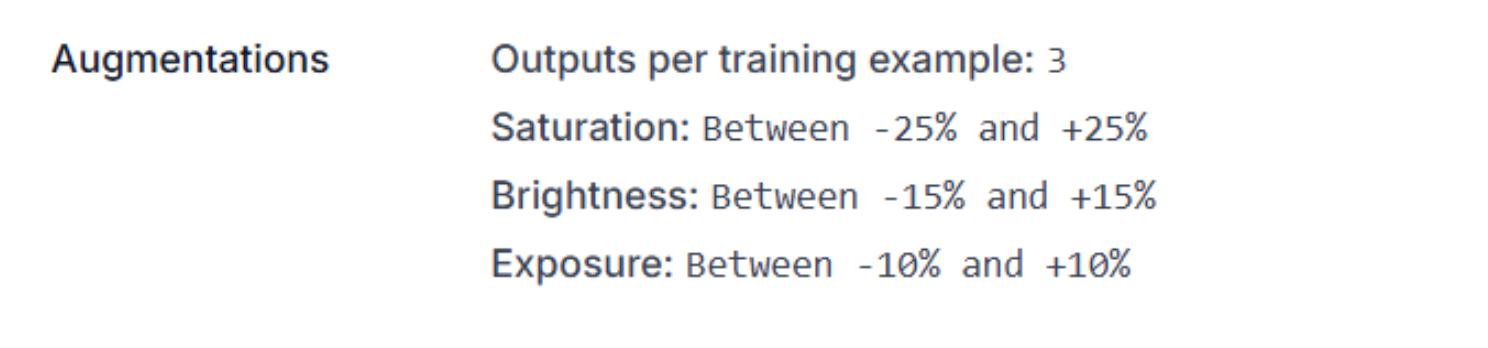
- Add Augmentations:
- Outputs per Training Example: 3 (generates three augmented versions per image).
- Saturation: Between -25% and +25% to simulate colour variations.
- Brightness: Between -15% and +15% to handle different lighting conditions.
- Exposure: Between -10% and +10% to account for over/underexposure.
- Save Version: Click “Create” to create the dataset version. Roboflow will process the images and prepare them for training.
These preprocessing and augmentation steps ensure the model generalizes well to real-world scenarios, handling variations in orientation, lighting, and colour while maintaining computational efficiency.
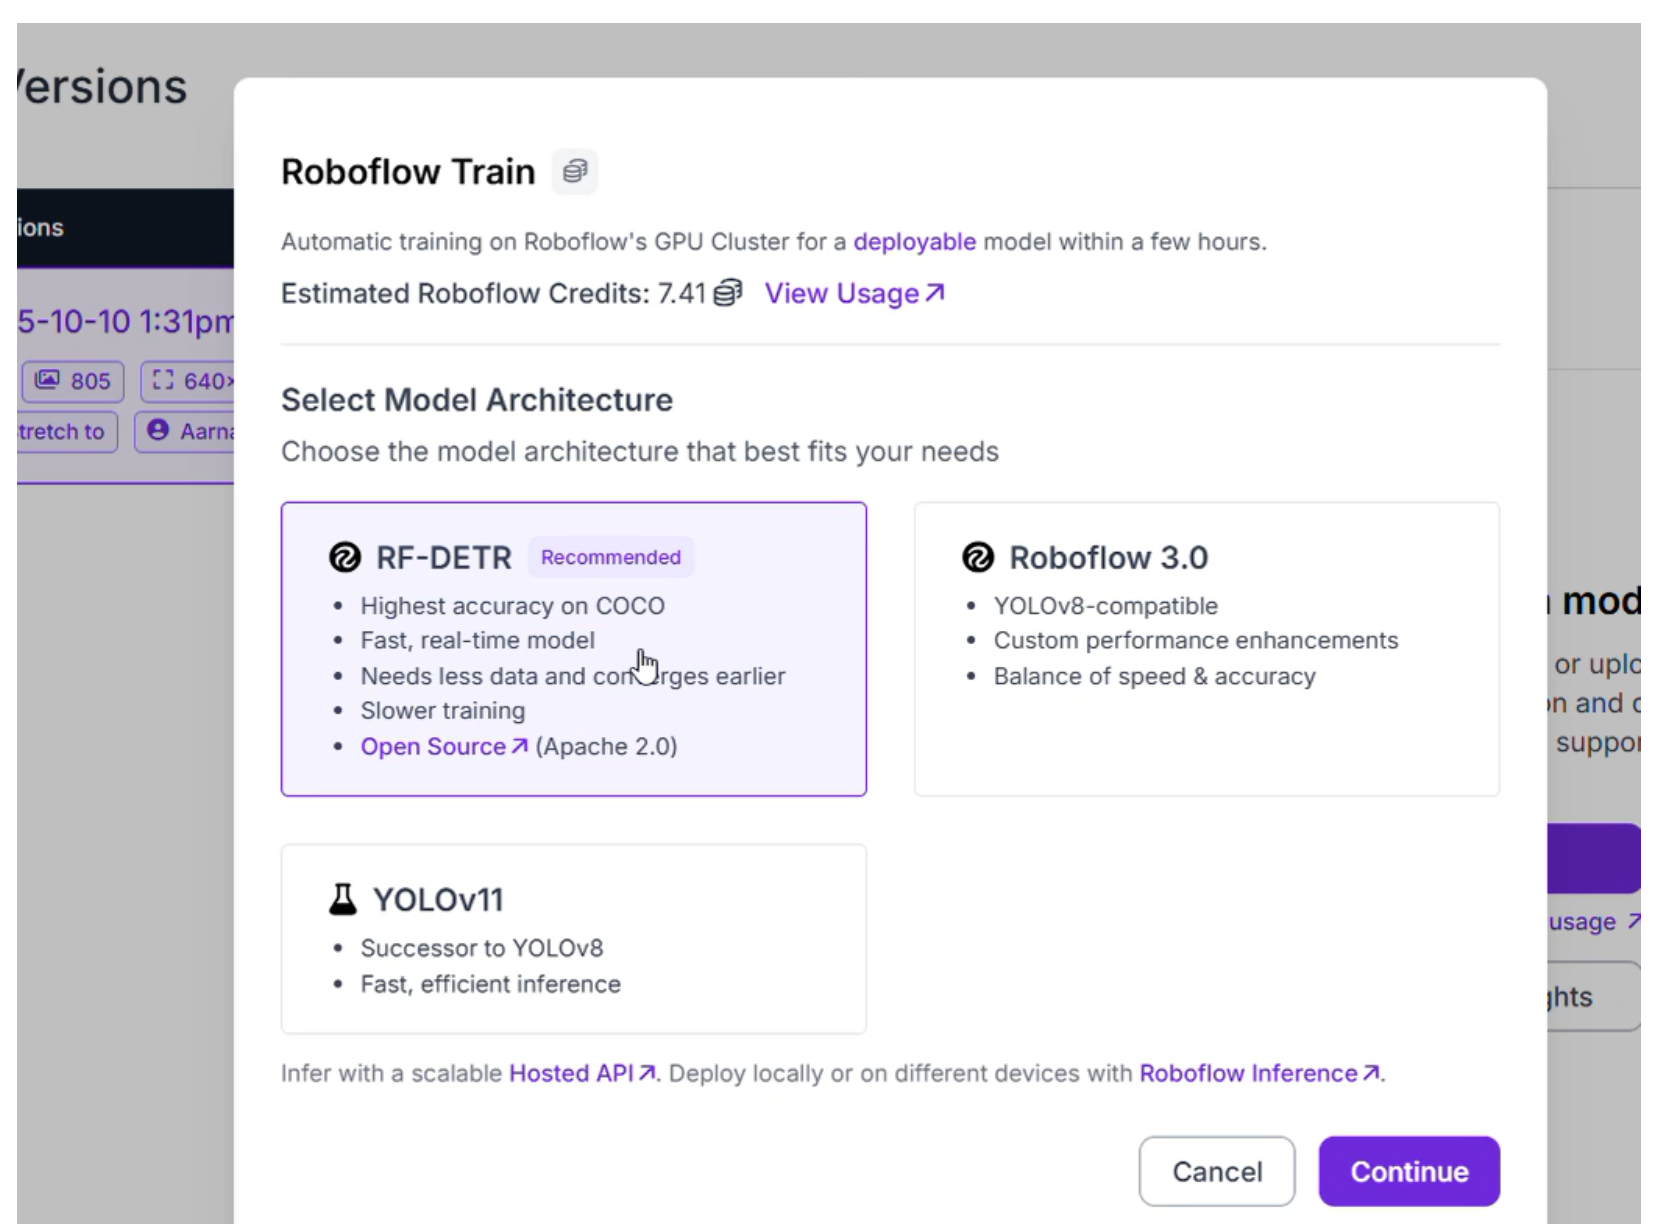
Step 5: Train the RF-DETR Model
RF-DETR is Roboflow’s newest cutting-edge model for instance segmentation, offering superior accuracy and performance compared to older architectures like YOLOv8 or ViT. Its transformer-based design excels at capturing fine-grained details, making it ideal for tasks like rust detection.
- Start Training:
- In the “Train” section of your dataset, select “Custom Train” to use Roboflow’s cloud-based GPUs.
- Choose the RF-DETR model for instance segmentation. This model is optimized for high precision and is the most up-to-date option for accuracy.
- Training Process: Training may take a few hours, depending on the dataset size and GPU availability. Roboflow will notify you via email when training is complete, providing metrics like precision, recall, and mAP (mean Average Precision).
Advantages of RF-DETR:
- High Accuracy: RF-DETR’s transformer-based architecture captures intricate object boundaries, ideal for complex shapes like rust.
- Robustness: It performs well on diverse datasets, handling occlusions and overlapping objects effectively.
- Speed and Efficiency: Optimized for both training and inference, RF-DETR balances performance with computational efficiency, making it suitable for real-time applications.
- Scalability: RF-DETR integrates seamlessly with Roboflow’s deployment options, from hosted APIs to edge devices.
Step 6: Test and Evaluate the Model
After training, it’s time to validate the model’s performance using Roboflow’s workflow tools. Here’s the one I made: Rust Segmentation Workflow
- Create a Workflow:
- Navigate to the “Workflows” tab in your Roboflow project.
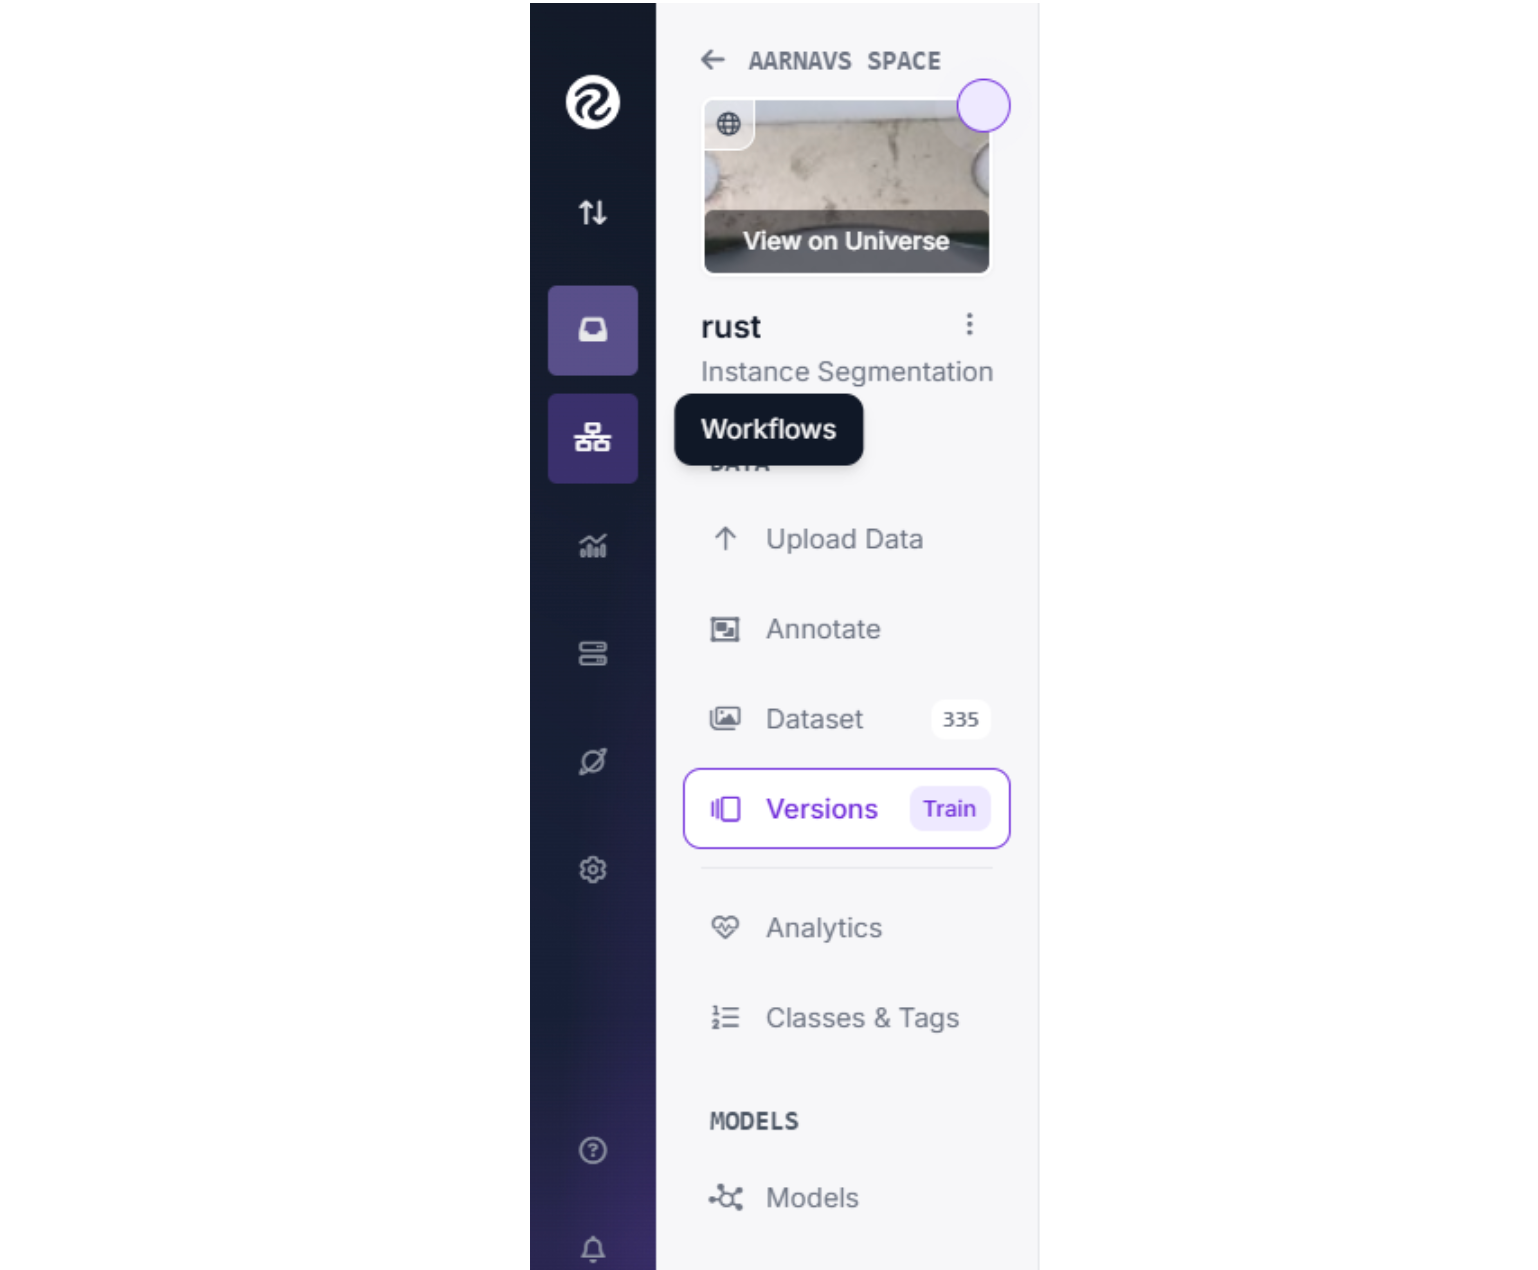
- Click “Create Workflow” and name it (e.g., “Rust Segmentation Workflow”).
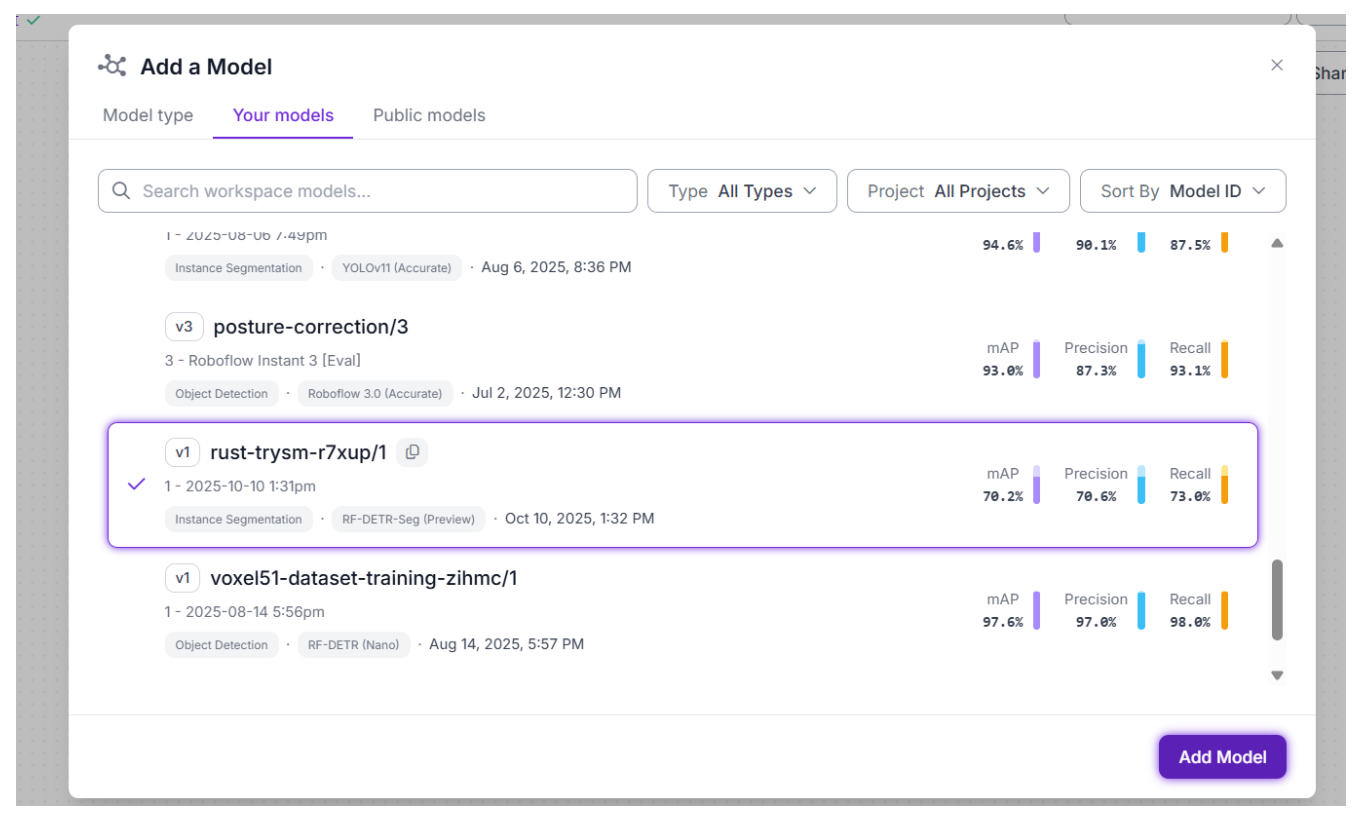
- Add a “Model” block and select your trained RF-DETR model.
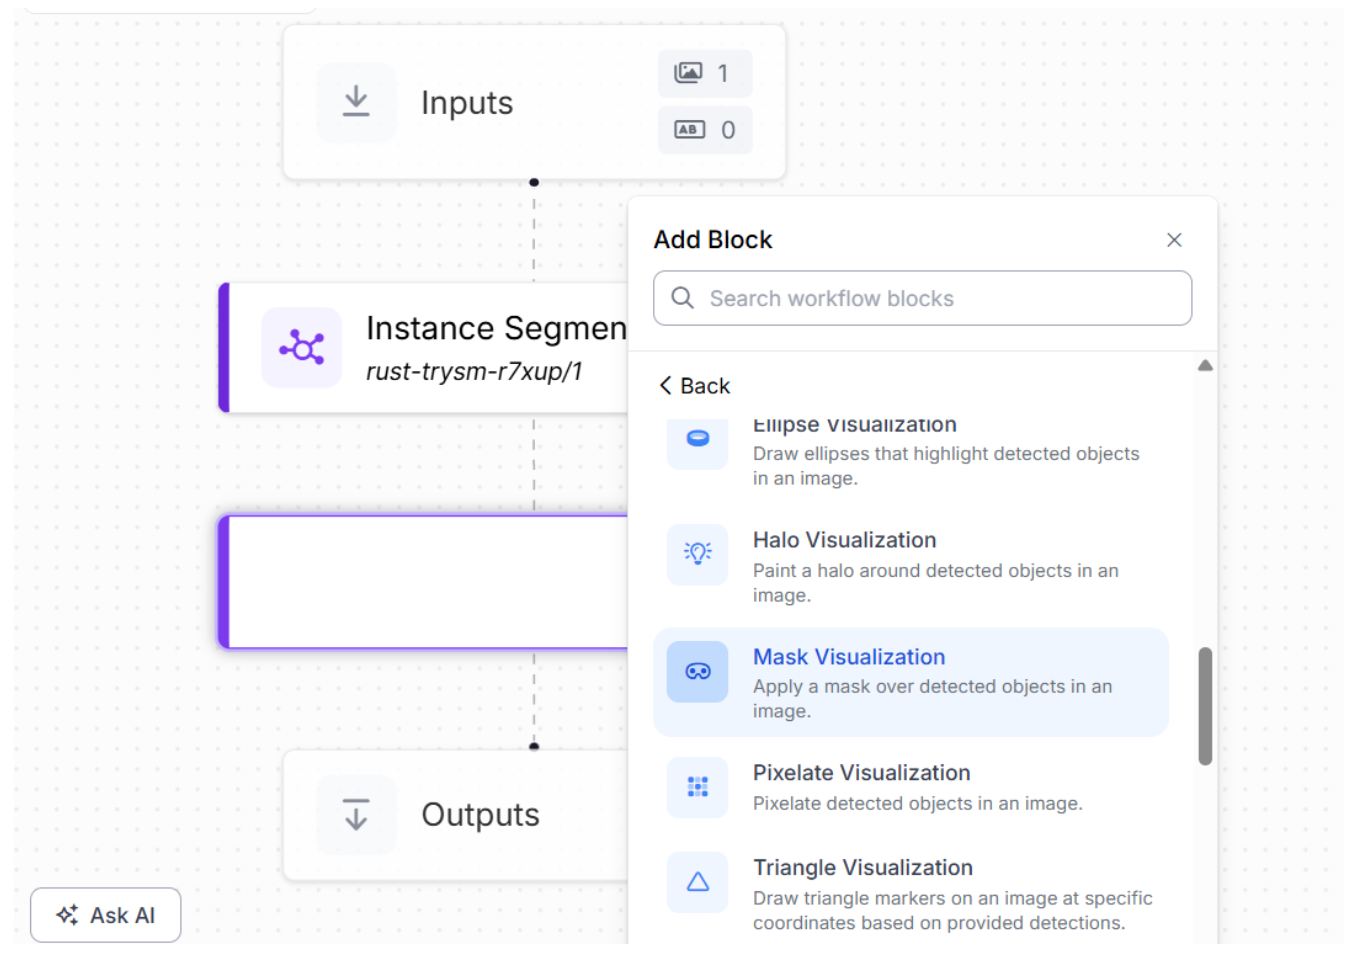
- Add a “Visualization” block to display segmentation masks, bounding boxes, and confidence scores.
- Test the Model:
- Upload a test image from the Rust dataset or a new image.
- Run the workflow to see the model’s predictions. The visualization block will overlay segmentation masks on detected rust areas.
- Evaluate Performance:
- Check if the masks accurately outline rust regions, even in complex or crowded scenes.
- Look for false positives (incorrect detections) or false negatives (missed rust areas).
- Review metrics like mAP and IoU (Intersection over Union) in the Roboflow dashboard to quantify performance.
Roboflow’s workflow feature allows you to visualize predictions in real time, making it easy to validate model performance and identify areas for improvement. This step builds confidence in your model before deployment.
Step 7: Incorporate Production Data (Optional)
To ensure your model remains accurate in real-world scenarios, you can continuously improve it by incorporating new data.
- Collect New Images: Upload real-world images to your Roboflow project.
- Annotate with Smart Polygon: Use the same annotation process to label new rust instances.
- Retrain the Model: Generate a new dataset version and retrain the RF-DETR model to improve its performance over time.
Conclusion: How to Label and Train Instance Segmentation Data with RF-DETR
Congratulations! You’ve successfully labelled instance segmentation data, trained an RF-DETR model, and tested it using the Rust dataset on Roboflow. From forking the dataset to annotating with the Smart Polygon tool, configuring preprocessing, and leveraging RF-DETR’s advanced architecture, you’ve built a robust computer vision pipeline. Roboflow’s intuitive platform and RF-DETR’s high accuracy make this process accessible to beginners and experts alike.
Ready to take it further? Deploy your model using Roboflow’s API or edge deployment options, experiment with additional augmentations, or explore other datasets on Roboflow Universe. The possibilities for instance segmentation are endless, start building today.
Written by Aarnav Shah
Cite this Post
Use the following entry to cite this post in your research:
Contributing Writer. (Oct 13, 2025). How to Label and Train Instance Segmentation Data with RF-DETR. Roboflow Blog: https://blog.roboflow.com/how-to-label-segmentation-data/