
Roboflow is a powerful platform that streamlines computer vision workflows by offering seamless dataset integration, an intuitive interface for model training, and versatile deployment options such as cloud-based APIs, private servers, and edge devices.
By combining Label Studio’s flexible annotation capabilities with Roboflow’s robust tools, you can efficiently annotate datasets, train high-performance models, and deploy them for real-world applications.
This tutorial provides a detailed, step-by-step guide to importing a Label Studio dataset into Roboflow, training a model, and deploying it for advanced computer vision tasks.
For a visual walkthrough, check out the full video tutorial:
How to Import Label Studio Datasets to Roboflow
By the end of this tutorial, you’ll have a fully functional computer vision application powered by an RF-DETR (small) model. You’ll learn how to:
- Incorporate production data for continuous model improvement.
- Deploy the model for real-world use.
- Create a workflow to visualize and evaluate model performance.
- Train a high-performance RF-DETR (small) model for object detection or instance segmentation.
- Import and preprocess the dataset in Roboflow.
- Export the dataset from Label Studio in a Roboflow-compatible format (Pascal VOC XML).
- Set up Label Studio and annotate a dataset for computer vision tasks.
Let’s dive into the step-by-step process!
Step #1: Set Up Label Studio
To begin, set up Label Studio to annotate your dataset:
Install and Start Label Studio: Create a virtual environment and install Label Studio:
python -m venv label-studio-env
label-studio-env\Scripts\activate
pip install label-studio
label-studio start
Create and Annotate a Project: Launch Label Studio in your browser, create a new project, and annotate your dataset with the desired labels (e.g., bounding boxes, segmentation masks).
Step 2: Export the Dataset from Label Studio
Once your dataset is annotated, you need to export it in a format compatible with Roboflow. Roboflow supports over 40 annotation formats, including Pascal VOC XML, COCO JSON, and YOLO. For this tutorial, we’ll use Pascal VOC XML, as it’s widely supported and suitable for both object detection and instance segmentation tasks.
Access the Export Option:
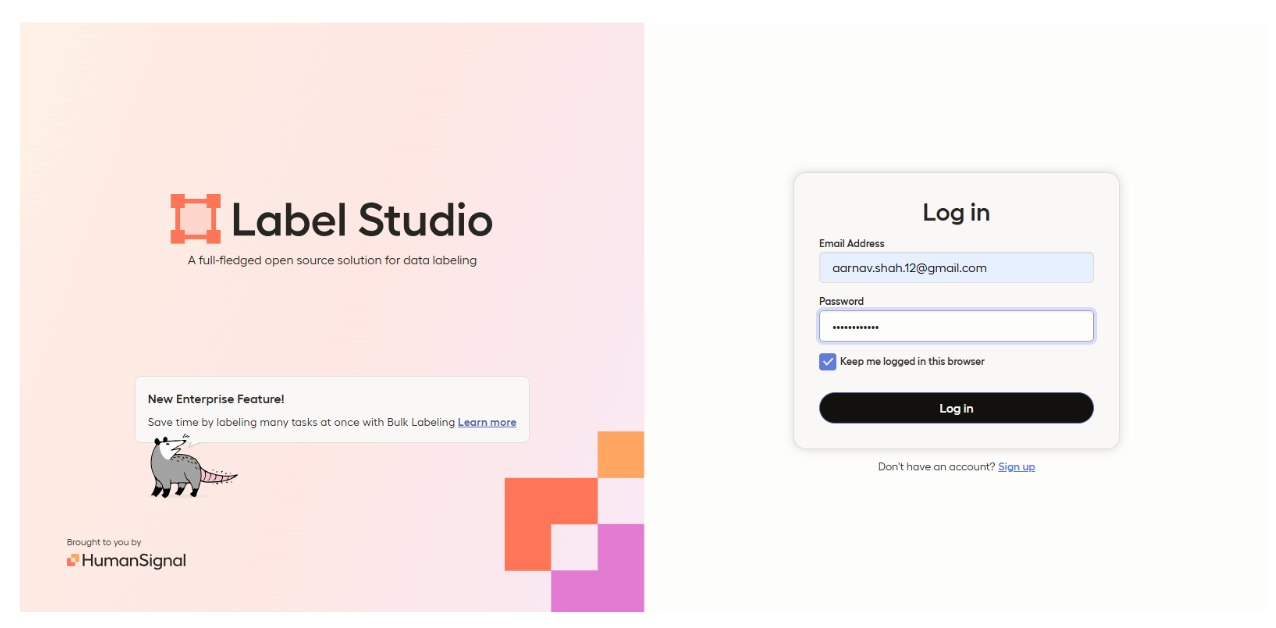
- First, log in with your Label Studio account:
- Click on your already annotated project, then click the Export button in the top-right corner of the dataset page:

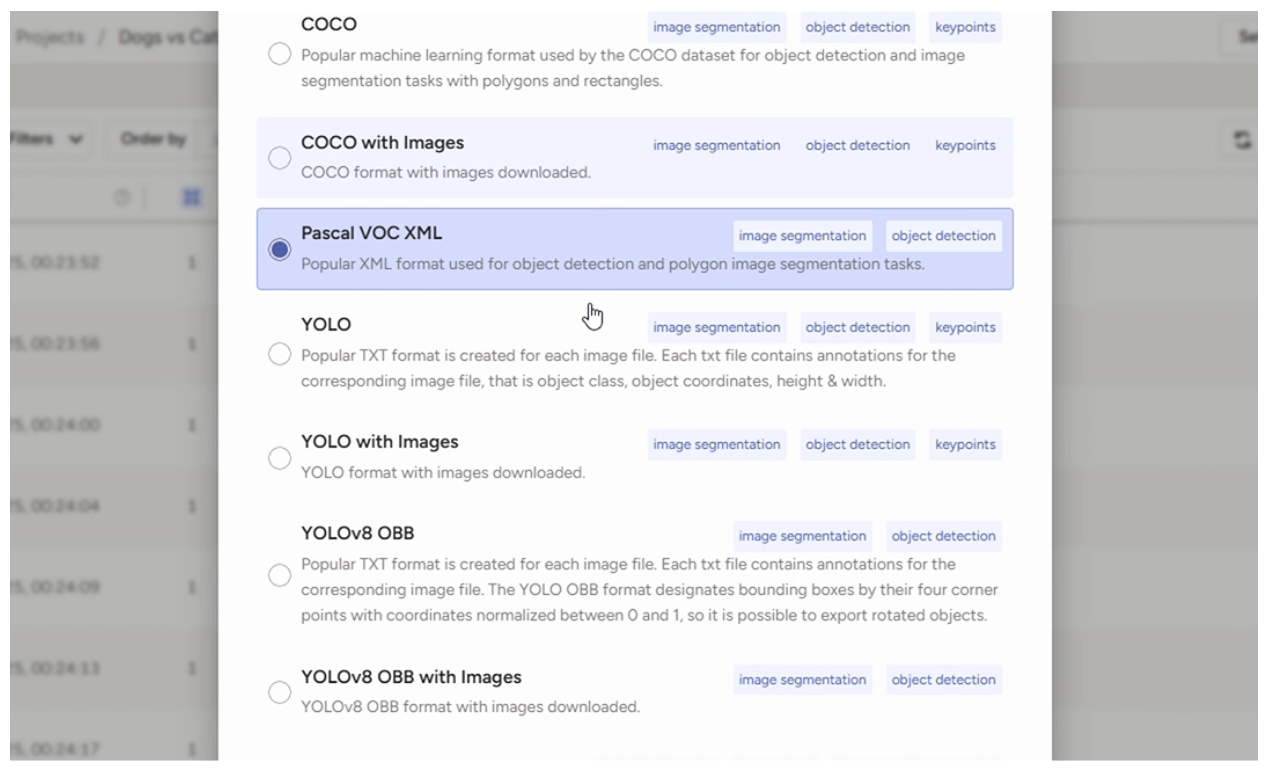
Select Pascal VOC XML Format:
- From the export options, choose Pascal VOC XML.
- This format generates XML files that describe bounding boxes (and optionally segmentation masks) for each image, along with class labels.
- Download the exported dataset as a .zip file containing images and their corresponding .xml annotation files.
Why Pascal VOC XML?:
- Pascal VOC XML is a robust format that encodes bounding box coordinates, class labels, and other metadata in a structured way.
- Roboflow’s import pipeline seamlessly processes Pascal VOC XML, preserving the rich annotations from Label Studio for model training.
Verify the Export:
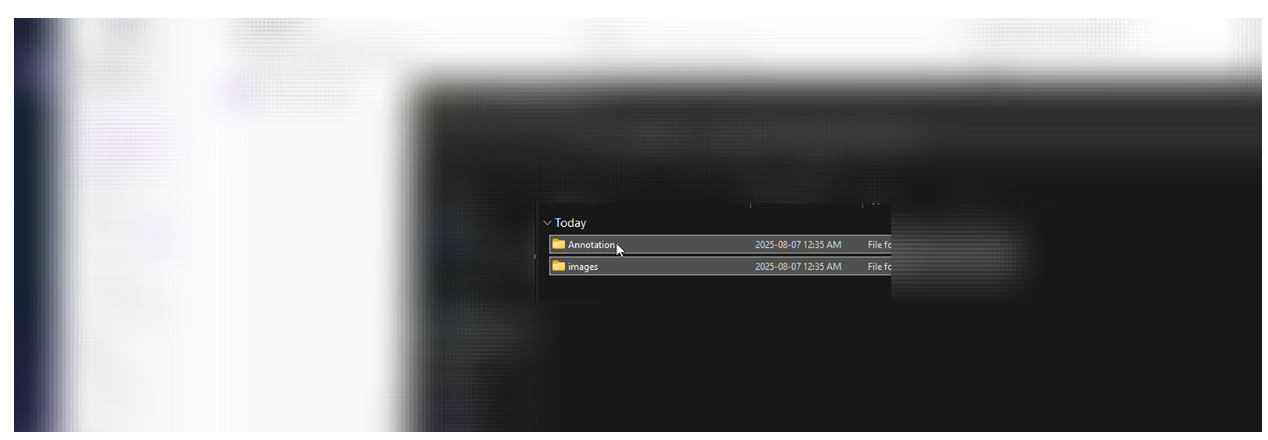
- Unzip the downloaded file and check that it contains:
- Image files (e.g., .jpg or .png).
- Corresponding .xml files with annotations for each image.
- Ensure the annotations match the labels and coordinates you created in Label Studio.
Step 3: Set Up Your Roboflow Account and Project
Roboflow simplifies dataset management, model training, and deployment. Creating a project in Roboflow allows you to organize your dataset, apply preprocessing steps, and train a model tailored to your use case.
- Create a Roboflow Account:
- Visit Roboflow and sign up for a free account or log in if you already have one.
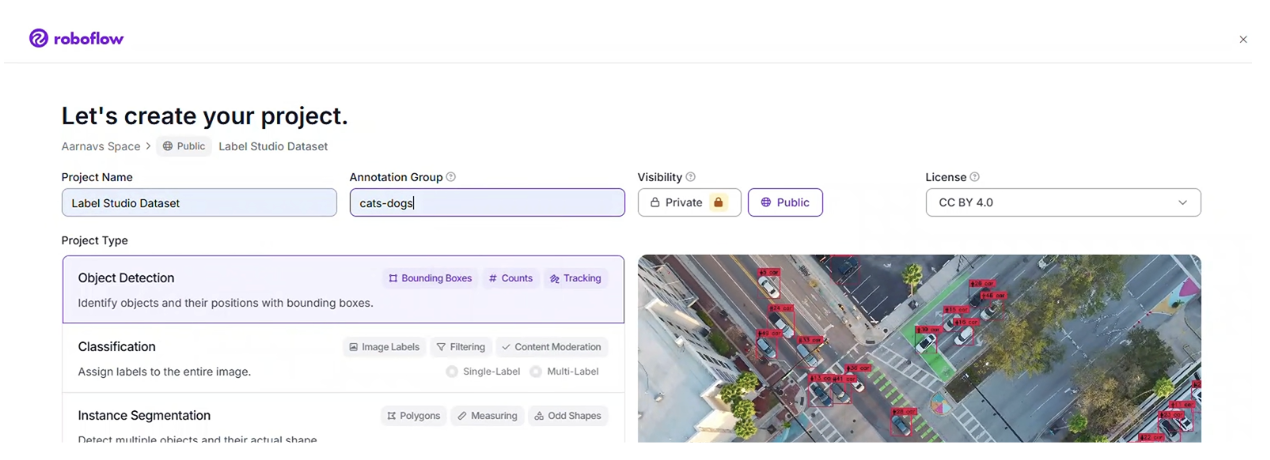
- Create a New Project:
- On the Roboflow dashboard, click Create Project in the top-right corner.
- Enter a project name (e.g., “Object Detection with Label Studio”).
- Select the project type based on your dataset:
- For bounding box annotations purposes, we will choose Object Detection:
- Add an optional description to document the project’s purpose.
Step 4: Import the Dataset into Roboflow
With the dataset exported in Pascal VOC XML format, it’s time to import it into Roboflow. This step allows you to leverage Roboflow’s preprocessing and augmentation tools to prepare the dataset for training.
1. Navigate to the Upload Section and upload your dataset:
- In your Roboflow project, go to the Dataset tab and click Upload.
- Alternatively, drag and drop the folder containing your images and .xml annotations into the upload section.
- Roboflow will automatically parse the Pascal VOC XML files and associate each image with its annotations.
- Confirm that the uploaded dataset appears in the project, with images and annotations correctly linked.
- Dataset Splits: Ensure the dataset is split into training (70%), validation (20%), and test (10%) sets. Roboflow automatically handles this, but you can adjust if needed.
2. Verify Dataset Health:
- Roboflow provides a dataset health check to analyze class balance, image quality, and annotation consistency.
- Review the health check to ensure there are no issues (e.g., missing annotations or corrupted images).
Step 5: Train an RF-DETR (Small) Model in Roboflow
Training a model is the core of your computer vision pipeline. Roboflow supports various model architectures, and for this tutorial, we’ll use RF-DETR (small), a lightweight and efficient model optimized for object detection tasks.
- Navigate to the Train Section:
- In your Roboflow project, go to the Dataset tab and click Train in the top-right corner.
- Select Custom Train to use Roboflow’s cloud-based training infrastructure.
- Configure Training Settings:
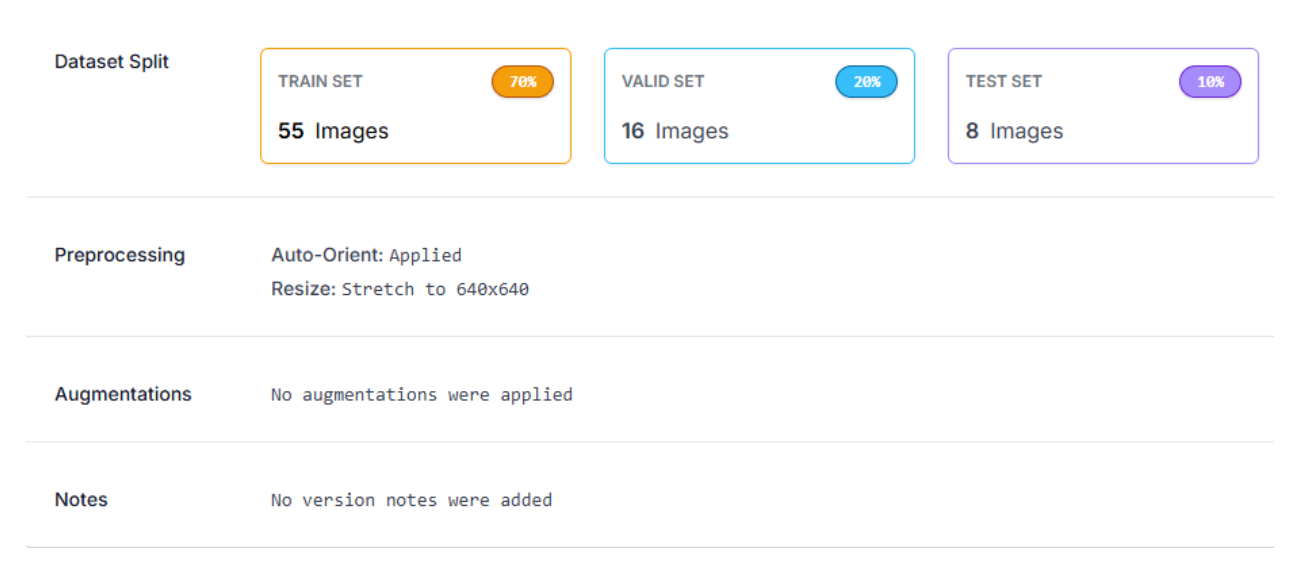
- Preprocessing:
- Auto-Orient: Enable this to correct image orientations, ensuring consistency during training.
- Resize: Set the image size to 640x640 pixels (stretched). This balances detail and computational efficiency for model training.
- For this tutorial, disable augmentations (e.g., flips, rotations) to focus on the raw dataset. You can experiment with augmentations later to improve model robustness.
- Save the settings.
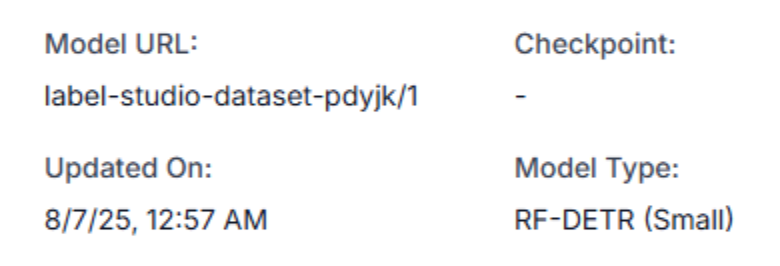
- Select the Model:
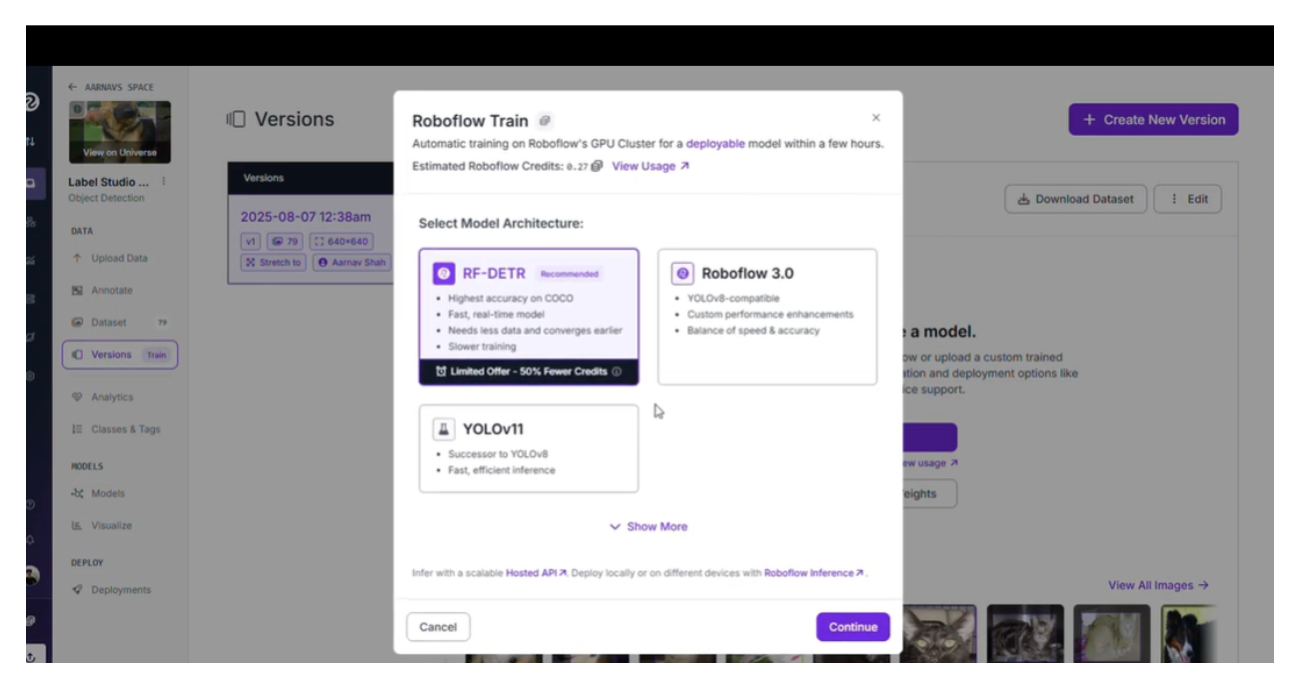
- Choose RF-DETR (small) as the model architecture. This model is optimized for efficiency and performs well on object detection tasks with moderate computational resources.
- Confirm the training settings and start the training process.
- Monitor Training:
- Roboflow provides real-time metrics (e.g., mAP, loss) during training.
- Training typically takes a few hours, depending on dataset size and model complexity.
- Once complete, Roboflow saves the trained model and provides performance metrics.
Step 6: Build and Test a Workflow in Roboflow
After training, evaluate the model’s performance using Roboflow’s workflow feature. This allows you to create a pipeline to process images, apply the trained model, and visualize results, ensuring the model accurately detects objects.
- Create a Workflow :
- In your Roboflow project, navigate to the Workflows tab and click Create Workflow.
- Name the workflow (e.g., “Object Detection Workflow”).
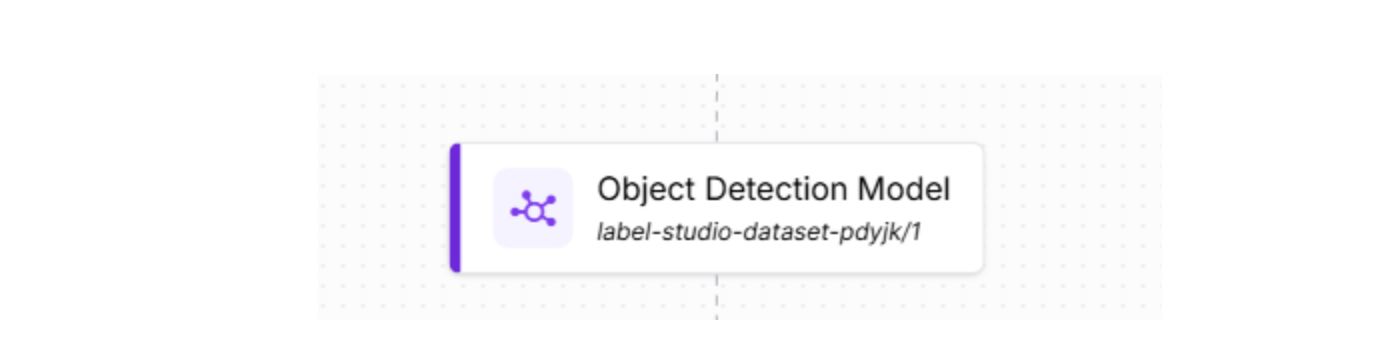
- Add a Model Block:
- Drag and drop a Model block into the workflow canvas.
- Select your trained RF-DETR (small) model from the project.
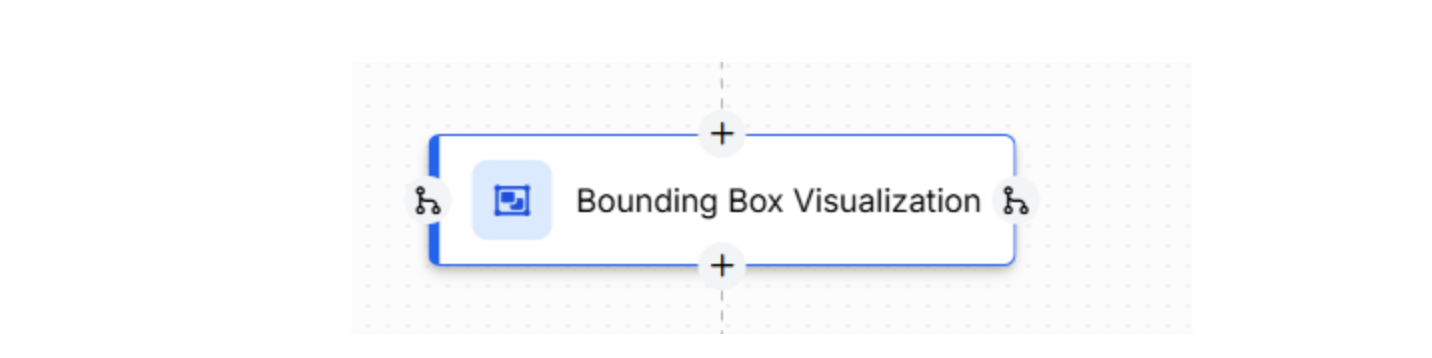
- Add a Visualization Block:
- Add a Visualization block and connect it to the model block.
- Configure the visualization to display bounding boxes, class labels, and confidence scores for detected objects.
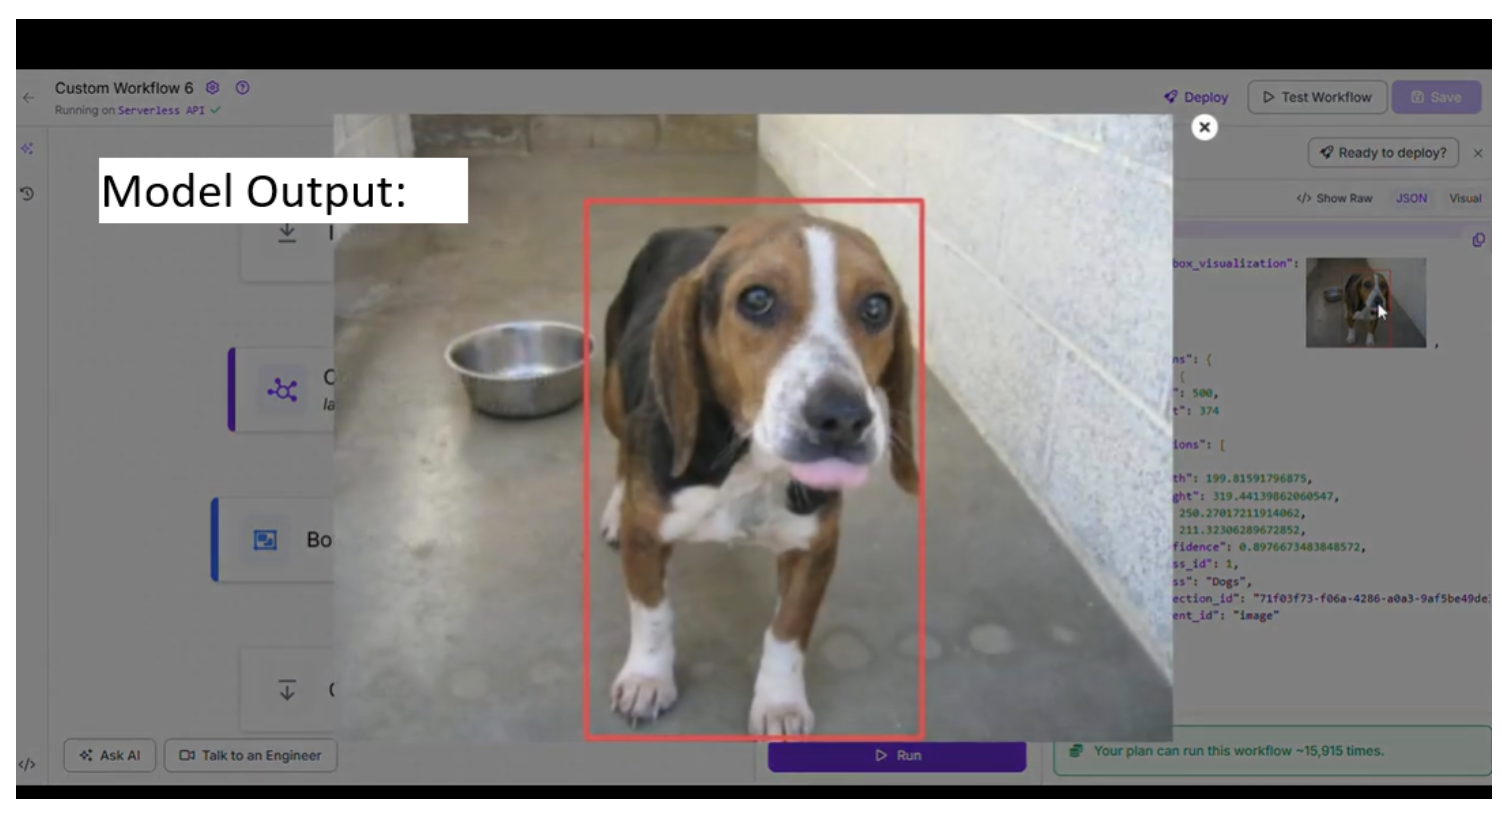
- Test the Workflow:
- Upload a test image from your dataset (or a new image) to the workflow.
- Run the workflow and review the output. The visualization block will overlay bounding boxes and labels on the image, highlighting detected objects.
- For a sample workflow, see this example video.
- Evaluate Performance:
- Check for accuracy: Are the bounding boxes correctly identifying objects and their classes?
- Look for false positives/negatives: Are there missed detections or incorrect labels?
The workflow feature allows you to validate your model interactively and share results with stakeholders, making it easy to identify areas for improvement.
Step 7: Incorporate Production Data for Continuous Improvement
Real-world data often differs from the initial training dataset, which can lead to performance gaps. Roboflow simplifies the process of integrating production data, labelling it, and retraining the model to maintain accuracy over time.
Continuous improvement is critical for production-grade applications. Roboflow’s tools make it easy to manage and refine your dataset, keeping your model accurate in real-world scenarios.
Step 8: Deploy the Model
With a trained and tested model, you’re ready to deploy it for real-world use. Roboflow offers flexible deployment options to integrate the model into your application, whether it’s a web service, mobile app, or edge device.

- Choose a Deployment Option:
- In your Roboflow project, go to the Deploy Workflow tab.
- Select from:
- Serverless Hosted API (Recommended): Host the model on Roboflow’s servers for quick integration.
- In-App: Deploy within the Roboflow platform for testing or internal use.
- Command Line: Run the model locally using Roboflow’s CLI tools.
- Local Server: Set up the model on your private server for on-premises deployment.
- Configure the Deployment:
- For simple purposes, we will select the Serverless Hosted API:
- Install the Roboflow inference SDK by using this command: pip install inference-sdk
- For simple purposes, we will select the Serverless Hosted API:
Use the following Python code to run inferences:
from inference_sdk import InferenceHTTPClient
client = InferenceHTTPClient(
    api_url="https://serverless.roboflow.com",
    api_key="YOUR_API_KEY"
)
result = client.run_workflow(
    workflow_id="custom-workflow-3",
    images=[
        {"image": "YOUR_IMAGE.jpg"}
    ],
    use_cache=True  # cache workflow definition for 15 minutes
)
- Replace YOUR_API_KEY with your Roboflow API key (found in the Roboflow dashboard) and custom-workflow-3 with your workflow ID.
- Integrate into Your System:
- Use the API or SDK to send images to the model and receive detection results.
- Test the deployed model with sample images to ensure it performs as expected in production.
- Monitor and Scale:
- Use Roboflow’s analytics tools to monitor the model’s performance in production.
- Scale the deployment as needed, leveraging Roboflow’s infrastructure for high-throughput applications or adjusting local resources for on-premises setups.
Deployment brings your model to life! Whether you’re building a real-time object detection system or an automated quality control application, Roboflow’s deployment options make integration seamless. For detailed guidance, refer to Roboflow’s deployment instructions.
Conclusion
Congratulations! You’ve built an end-to-end computer vision application by importing a Label Studio dataset into Roboflow, training an RF-DETR (small) model, testing it with a workflow, and deploying it for real-world use. By leveraging Label Studio’s flexible annotation tools and Roboflow’s powerful dataset management, training, and deployment capabilities, you’ve created a robust solution for object detection or instance segmentation tasks.
Roboflow’s intuitive platform empowers developers of all levels to build cutting-edge computer vision applications. By incorporating production data, you’ve also learned how to keep your model improving over time, ensuring it adapts to real-world conditions. Now, explore new datasets, experiment with augmentations, or deploy your model to solve exciting problems; the possibilities are endless!
Written by Aarnav Shah
Cite this Post
Use the following entry to cite this post in your research:
Contributing Writer. (Aug 13, 2025). How to Import Label Studio Datasets to Roboflow. Roboflow Blog: https://blog.roboflow.com/import-label-studio-datasets/