
Multimodal vision models allow you to provide an image and ask for a caption that represents the contents of the image.
Florence-2, an MIT-licensed, multimodal vision model released by Microsoft Research, supports generating image captions of varying degrees of richness. You can generate short captions, ideal for use as a summary of an image, or long captions, which provide greater detail into the contents of an image.
For example, consider the following image:

Florence-2 returns the following caption:
The image shows a beagle dog sitting on a cobblestone street. The dog is wearing a black collar and leash. It is looking directly at the camera with its ears perked up. The street is lined with brick walls and arches, and there are several pendant lights hanging from the ceiling. On the left side of the image, there is a person sitting at a table with a vase of white flowers. In the background, there are two cars parked on the street.
In this guide, we are going to walk through how to generate image captions with Florence-2. The generated image captions could be used to build an information retrieval system for images that use text context to improve retrieval accuracy.
Without further ado, let’s get started!
Step #1: Install Required Dependencies
In this guide, we will use HuggingFace Transformers and the timm image package to load Florence-2. To get started, we need to install the required dependencies:
pip install transformers timm flash_attn einops
Once you have installed the required dependencies, you can start generating image captions.
Step #2: Caption an Image
We are now ready to load the Florence-2 model for use in image captioning.
Create a new Python file and add the following code:
from transformers import AutoProcessor, AutoModelForCausalLM
from PIL import Image
import requests
import copy

model_id = 'microsoft/Florence-2-large'
model = AutoModelForCausalLM.from_pretrained(model_id, trust_remote_code=True).eval().cuda()
processor = AutoProcessor.from_pretrained(model_id, trust_remote_code=True)

def run_example(task_prompt, text_input=None):
    if text_input is None:
        prompt = task_prompt
    else:
        prompt = task_prompt + text_input

    inputs = processor(text=prompt, images=image, return_tensors="pt")
    generated_ids = model.generate(
        input_ids=inputs["input_ids"].cuda(),
        pixel_values=inputs["pixel_values"].cuda(),
        max_new_tokens=1024,
        early_stopping=False,
        do_sample=False,
        num_beams=3,
    )
    generated_text = processor.batch_decode(generated_ids, skip_special_tokens=False)[0]
    parsed_answer = processor.post_process_generation(
        generated_text,
        task=task_prompt,
        image_size=(image.width, image.height)
    )

    return parsed_answer
In this code, we use Inference to load the Florence-2 model. We then provide an image to caption, and a text prompt that reflects that we want to caption our image.
We can use the following code to generate a caption with the model:
image = Image.open("image.jpeg").convert("RGB")

task_prompt = "<MORE_DETAILED_CAPTION>"
answer = run_example(task_prompt=task_prompt)

print(answer)
Lets run the code above on the following image with the task type <MORE_DETAILED_CAPTION>, which generates a detailed caption of an image.
If you want to generate a short caption, you can use the <CAPTION> or <DETAILED_CAPTION> task type.
When you first run the code above, the Florence-2 weights will be downloaded to your device. These weights are approximately 1.5 GB. This process can take a few minutes depending on the speed of your internet connection. Once the weights have been downloaded, they will be cached for subsequent runs.
After the weights have been downloaded, the model will run and our program will display a caption in the console.
Let's run the model on an image of the Golden Gate Bridge:
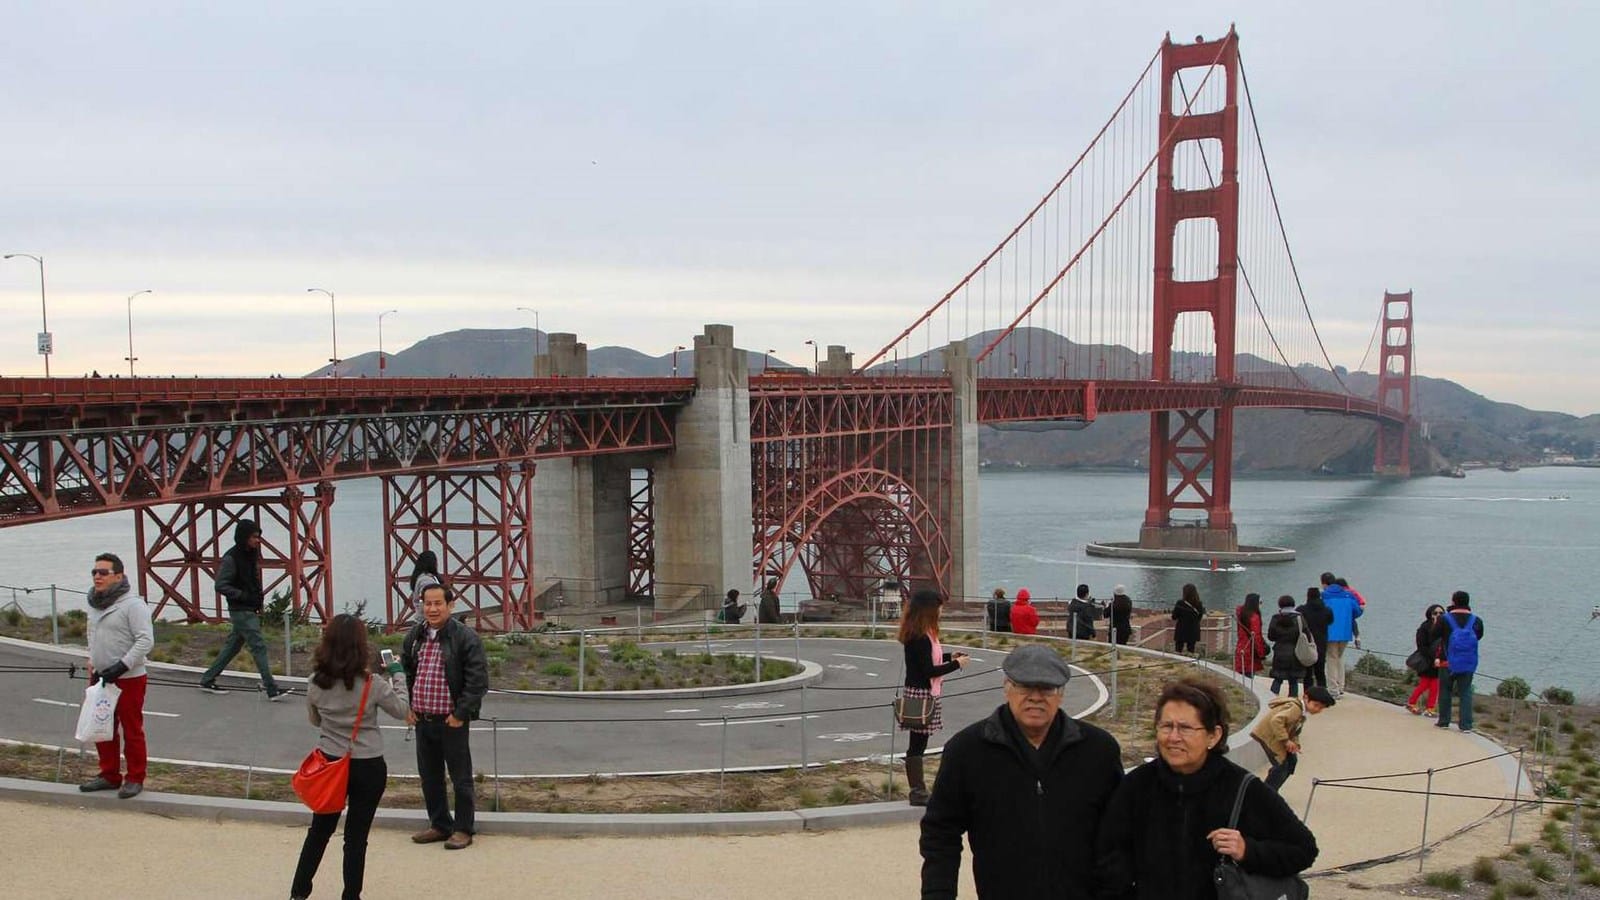
Here is the caption returned by the system for the above example:
The image shows the iconic Golden Gate Bridge in San Francisco, California. The bridge is a two-tiered suspension bridge with a bright red color. It spans over the bay and is surrounded by mountains in the background. The sky is overcast and the water is calm. In the foreground, there are several people walking on the bridge, some of them carrying bags. The people are dressed in casual clothing and appear to be tourists. The image appears to have been taken during the day, as the sun is setting and the sky is gray.
The model successfully captioned our image.
Conclusion and Next Steps
Florence-2 is a state-of-the-art computer vision model capable of performing a range of tasks, from object detection to image captioning to website screenshot description. In this guide, we focused on how to use Florence-2 for image captioning.
We used HuggingFace Transformers to download and initialize a Florence-2 model, then run inference with an example image using the detailed caption task type.
To learn more about the Florence-2 model architecture what the model can do, refer to our introductory guide to Florence-2.
If you need assistance integrating Florence-2 into an enterprise application, contact the Roboflow sales team. Our sales and field engineering teams have extensive experience advising on the integration of vision and multimodal models into business applications.
Cite this Post
Use the following entry to cite this post in your research:
James Gallagher. (Jul 12, 2024). How to Caption Images with a Multimodal Vision Model. Roboflow Blog: https://blog.roboflow.com/multimodal-image-captioning/