
Managing NVIDIA drivers and CUDA versions directly on a host machine leads to brittle environments that break when dependencies drift. This guide walks through installing NVIDIA drivers on Ubuntu 20.04, setting up Docker and nvidia-docker for GPU-accelerated containers, pulling an official PyTorch image from NVIDIA NGC, and attaching VS Code to the running container so all development happens inside the same environment that will eventually be deployed as a Dockerfile.
Everybody hates installing NVIDIA drivers, you have to manually download them, then install cuda, be sure to have the correct version of everything, and change them from time to time to be updated.
Today we will see how to:
- install NVIDIA drivers
- install docker & nvidia docker
- run gpu accelerated containers with PyTorch
- develop with VS Code within the container
From Ubuntu 20.02, the drivers will be automatically installed by the OS. That's great, but you lose control over them. Maybe you need a specific version, or your code only works with cuda 10. In that case, well things may get dirty.
What if we use Docker and VS Code to directly develop from inside it?
Not only will we ensure all the correct versions of cuda and cudnn are there, we can easily change them and we will make our code effortless to deploy since we know it worked from inside a specific container.
Well, today we will see how to develop machine learning models like a pro with Nvidia + Docker + VS Code + PyTorch. Let's dive into it!
Installing Docker for Machine Learning
The first step is to install Docker. In a nutshell, docker is an open source platform for building, deploying and managing containerized applications. You can see all the installation options from the official website, we will install everything on Ubuntu 20.04. We need the engine, not Docker desktop.
Install docker
# dependencies
sudo apt-get install \
    apt-transport-https \
    ca-certificates \
    curl \
    gnupg-agent \
    software-properties-common
# add docker official GPG key
sudo mkdir -p /etc/apt/keyrings
 curl -fsSL https://download.docker.com/linux/ubuntu/gpg | sudo gpg --dearmor -o /etc/apt/keyrings/docker.gpg-
# then add their repo
echo \
  "deb [arch=$(dpkg --print-architecture) signed-by=/etc/apt/keyrings/docker.gpg] https://download.docker.com/linux/ubuntu \
  $(lsb_release -cs) stable" | sudo tee /etc/apt/sources.list.d/docker.list > /dev/null
sudo apt-get update
# finally install it
sudo apt-get install docker-ce docker-ce-cli containerd.io docker-compose-plugin
# create the docker group
sudo groupadd docker
# add your user to the docker group
sudo usermod -aG docker $USER
You can test your docker installation by running the hello-world container:
docker run --rm hello-worldThe --rm flag tells docker to remove the container once it's done. Your output should look like:
Hello from Docker!
This message shows that your installation appears to be working correctly.
Installing Nvidia Drivers for Machine Learning
Without drivers, your super cool brand new Nvidia GPU won't work. From Ubuntu 20.02, the Nvidia drivers can be installed in the Ubuntu OS installation process. However, you may want to be in total control of what goes inside your machine.
To manually install the drivers, go to the official driver page. In my case, RTX 3090 and Linux 64bit. If you have my same system, you can run the following command:
wget "https://us.download.nvidia.com/XFree86/Linux-x86_64/515.57/NVIDIA-Linux-x86_64-515.57.run"
Once you have downloaded it, you can run the installer:
# cd to the folder containing the drivers
chmod +x ./NVIDIA-Linux-x86_64-515.57.run # the name may change from yours
sudo /NVIDIA-Linux-x86_64-515.57.run
Follow the installation steps. Reboot and you should be able to run nvidia-smi, the output should look similar to:
+-----------------------------------------------------------------------------+
| NVIDIA-SMI 515.57       Driver Version: 515.57       CUDA Version: 11.7     |
|-------------------------------+----------------------+----------------------+
| GPU  Name        Persistence-M| Bus-Id        Disp.A | Volatile Uncorr. ECC |
| Fan  Temp  Perf  Pwr:Usage/Cap|         Memory-Usage | GPU-Util  Compute M. |
|                               |                      |               MIG M. |
|===============================+======================+======================|
|   0  NVIDIA GeForce ...  Off  | 00000000:1D:00.0 Off |                  N/A |
|  0%   38C    P8    15W / 350W |   2759MiB / 24576MiB |      0%      Default |
|                               |                      |                  N/A |
+-------------------------------+----------------------+----------------------+
Install Nvidia Docker for GPU-Accelerated Containers
Super! Unfortunately, Docker has no idea how to use your GPU(s), we need the NVIDIA Container Toolkit. It allows users to build and run GPU-accelerated containers.
To install it (on Ubuntu, other installations can be found on the official guide):
distribution=$(. /etc/os-release;echo $ID$VERSION_ID) \
      && curl -fsSL https://nvidia.github.io/libnvidia-container/gpgkey | sudo gpg --dearmor -o /usr/share/keyrings/nvidia-container-toolkit-keyring.gpg \
      && curl -s -L https://nvidia.github.io/libnvidia-container/$distribution/libnvidia-container.list | \
            sed 's#deb https://#deb [signed-by=/usr/share/keyrings/nvidia-container-toolkit-keyring.gpg] https://#g' | \
            sudo tee /etc/apt/sources.list.d/nvidia-container-toolkit.list
Then:
sudo apt-get update
sudo apt-get install -y nvidia-docker2
sudo systemctl restart docker
Let's test it:
docker run --rm --gpus all nvidia/cuda:11.0.3-base-ubuntu20.04 nvidia-smi
And you should see the correct output from nvidia-smi inside the container. In my case:
+-----------------------------------------------------------------------------+
| NVIDIA-SMI 515.57       Driver Version: 515.57       CUDA Version: 11.7     |
|-------------------------------+----------------------+----------------------+
| GPU  Name        Persistence-M| Bus-Id        Disp.A | Volatile Uncorr. ECC |
| Fan  Temp  Perf  Pwr:Usage/Cap|         Memory-Usage | GPU-Util  Compute M. |
|                               |                      |               MIG M. |
|===============================+======================+======================|
|   0  NVIDIA GeForce ...  Off  | 00000000:1D:00.0 Off |                  N/A |
|  0%   38C    P8    15W / 350W |   2761MiB / 24576MiB |      0%      Default |
|                               |                      |                  N/A |
+-------------------------------+----------------------+----------------------+

+-----------------------------------------------------------------------------+
| Processes:                                                                  |
|  GPU   GI   CI        PID   Type   Process name                  GPU Memory |
|        ID   ID                                                   Usage      |
|=============================================================================|
+-----------------------------------------------------------------------------+
--gpus is used to specify which GPU the container should see, all means "all of them". If you want to expose only one you can pass its id --gpus 1. You can also specify a list of GPUs to use, --gpus "device=1,2"
Run GPU Accelerated Containers with PyTorch
We all know and love PyTorch . For the ones who have never used it, PyTorch is an open source machine learning python framework, widely used in the industry and academia.
Nvidia provides different docker images with different cuda, cudnn and Pytorch versions. The official catalog is here. They are part of the NGC Catalog, a curated set of GPU-optimized software for AI, HPC, and Visualization containers.
To decide which version you want to use you can head over to the releases list. We will use the latest one, 22.07
Additional information about the catalog can be found in the official guide
Nvidia also provides documentation showcasing how to run these containers.
Okay, let's run it!
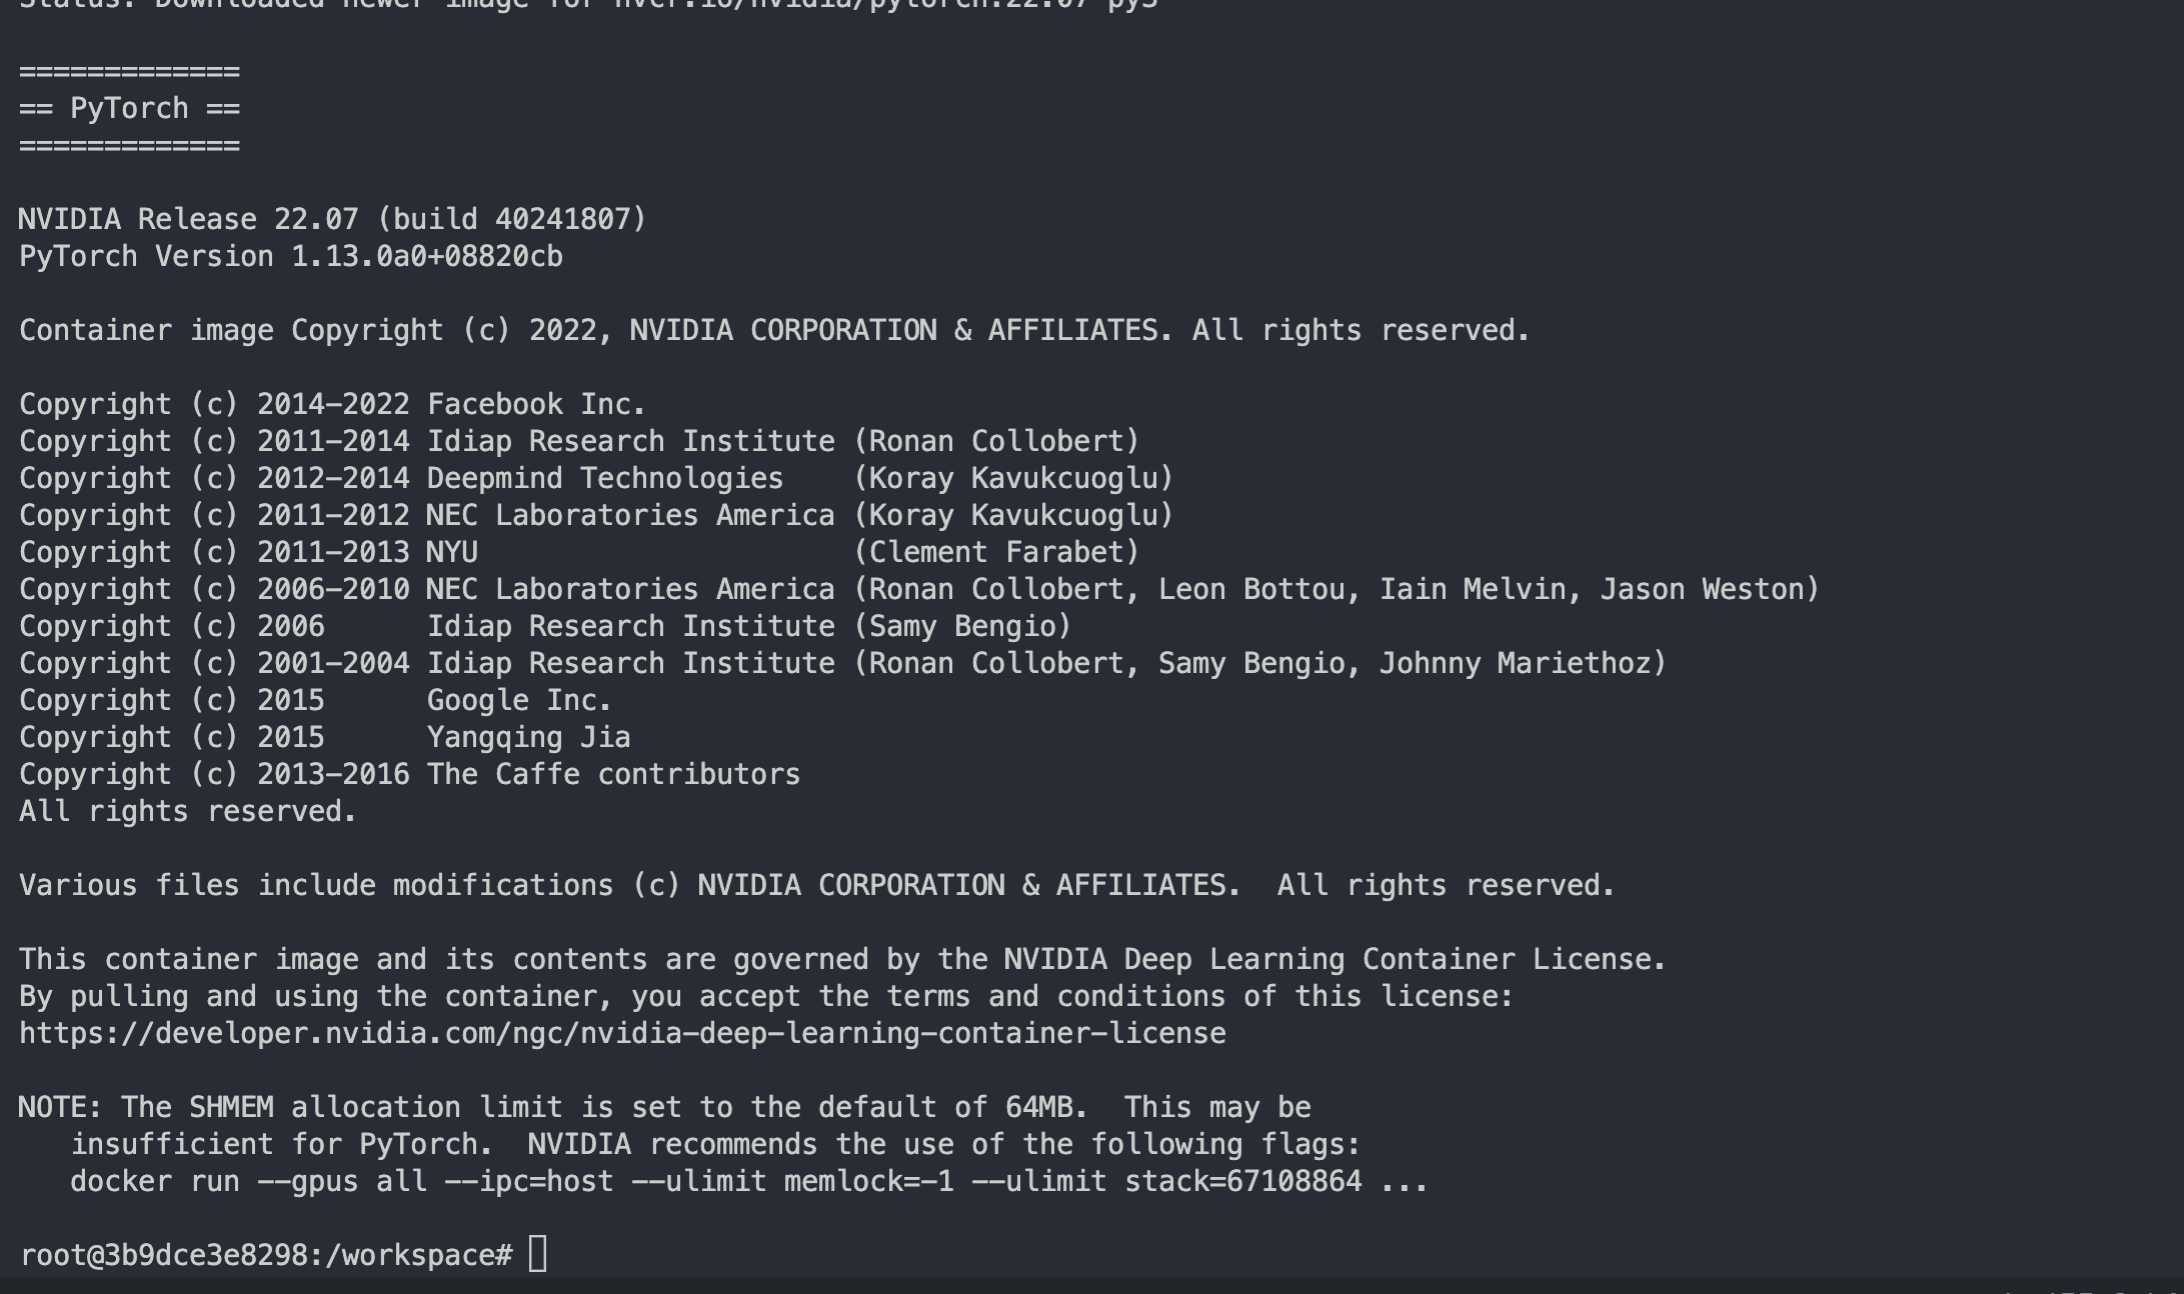
docker run --gpus all -it --rm nvcr.io/nvidia/pytorch:22.07-py3
-it means to run the container in interactive mode, so attached to the current shell. --rm tells docker to destroy the container after we are done with it.
After pulling the image, docker will run the container and you will have access to bash from inside it.
Nvidia is suggesting running the container with additional flags to improve performance, let's kill the container (ctrl + c) and re-run it with the suggested flags.
docker run --gpus all --ipc=host --ulimit memlock=-1 --ulimit stack=67108864 -it --rm nvcr.io/nvidia/pytorch:22.07-py3
We can check everything is working by hopping inside the python console:
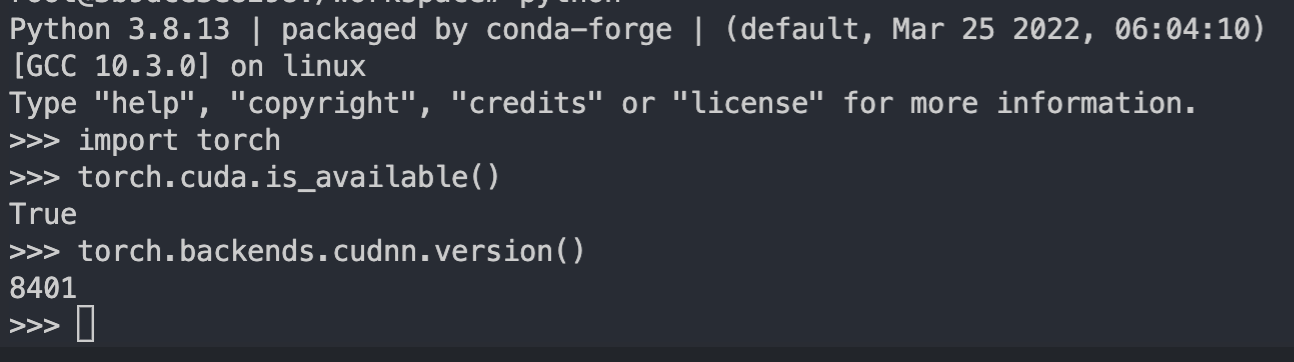
We can see cuda is there and the cudnn version is the correct one.
But, why did we need the additional flags? Let's decompose them:
--ipc IPC (POSIX/SysV IPC) provides a way to speed up inter-process communication. Since PyTorch Dataloaders with num_workers > 1 will use different processes, we need to set it to host.
--ulimit memlock=1 calls the ulimit linux command and set memlock=-1 means no limit for memory lock.
--ulimit stack=67108864 this sets the stack size and it's specific to my host machine.
Running Code
We have our shiny new Nvidia container, but how can we run code from inside it?
Let's see an example. Assuming you have a folder project with a file train.py.
|-- project
    |-- train.py
For simplicity, train.py contains the famous mnist example from pytorch.
You can make project available to your container by:
docker run ... -v /<your_path>/project:/workspace/project ...
Remember that volumes need an absolute path.
-v creates a volume mapping from the host to the container. By default, the Nvidia container uses the /workspace directory. Let's see an example. Assuming you have a folder project with a file train.py.
Putting everything together:
docker run --gpus all --ipc=host --ulimit memlock=-1 --ulimit stack=67108864 -it -v $(pwd)/project:/workspace/project --rm nvcr.io/nvidia/pytorch:22.07-py3
You will see your code inside /workspace/project. We can directly run the code by calling python
docker run --gpus all --ipc=host --ulimit memlock=-1 --ulimit stack=67108864 -it -v $(pwd)/project:/workspace/project --rm nvcr.io/nvidia/pytorch:22.07-py3 python ./project/train.py
You'll see something like:
Downloading http://yann.lecun.com/exdb/mnist/train-images-idx3-ubyte.gz
...
Extracting ../data/MNIST/raw/t10k-labels-idx1-ubyte.gz to ../data/MNIST/raw
Train Epoch: 1 [0/60000 (0%)]   Loss: 2.283439
Train Epoch: 1 [640/60000 (1%)] Loss: 1.827201
Develop with VS Code Within the Container
We have seen how to run our train.py from the terminal, but that's not a good development environment, is it? Well, we can use VS Code directly from within the container! Let's see how.
First of all, we need to install it. You can follow the official installation guide.
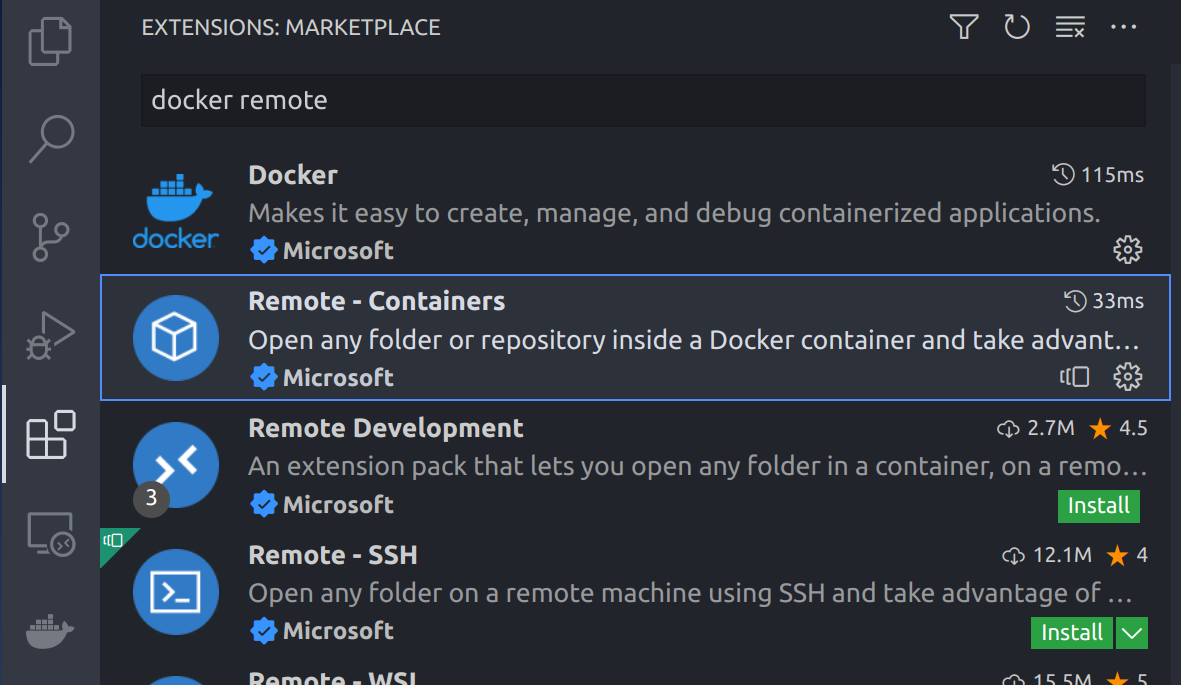
Next, you need to install the remote container extension. It allows us to run VS Code from inside any container.
Ok, we are almost there. Let's fire up our Nvidia container and connect to it with VS Code. At this point, we may want to run a container without --rm to persist data, e.g. python modules.
docker run --gpus all --ipc=host --ulimit memlock=-1 --ulimit stack=67108864 -it -v $(pwd)/project:/workspace/project nvcr.io/nvidia/pytorch:22.07-py3
Head over to the docker extension panel (whale on the left), right-click on the running container, and select "Attach Visual Studio Code". VS Code will attach itself to your container and a new window will popup from which you can code as you do normally. The following video shows this process.
0:00/1×Running VS Code from within the container
Deployment with Your Machine Learning Environment
Since we are here, we can talk about deployment. So, at some point you may want to place your code somewhere, e.g. a server. This is very easy to do for us, since we already know our train.py will work on nvcr.io/nvidia/pytorch:22.07-py3 image. So, we can create a Dockerfile from that base image and add everything we need.
FROM  nvcr.io/nvidia/pytorch:22.07-py3
# maybe we also have a requirements.txt file
# COPY ./requirements.txt /workspace/requirements.txt
# RUN pip install -r requirements.txt
COPY ./project /workspace/project
ENTRYPOINT ["python"]
CMD ["/workspace/project/train.py"]
Time to build it:
docker run --gpus all --ipc=host --ulimit memlock=-1 --ulimit stack=67108864 -it pytorch-projectTo run it:
docker run --gpus all --ipc=host --ulimit memlock=-1 --ulimit stack=67108864 -it pytorch-projectAnd the model will start training.
We completely skip the painful step to make sure our code works in a specific container, since we develop directly inside it!
Conclusion
Congratulations! Now you know how to create an effective development environment for machine learning using Nvidia Docker, PyTorch and VS Code.
Cite this Post
Use the following entry to cite this post in your research:
Francesco. (Aug 3, 2022). Develop like a Pro with NVIDIA + Docker + VS Code + PyTorch. Roboflow Blog: https://blog.roboflow.com/nvidia-docker-vscode-pytorch/