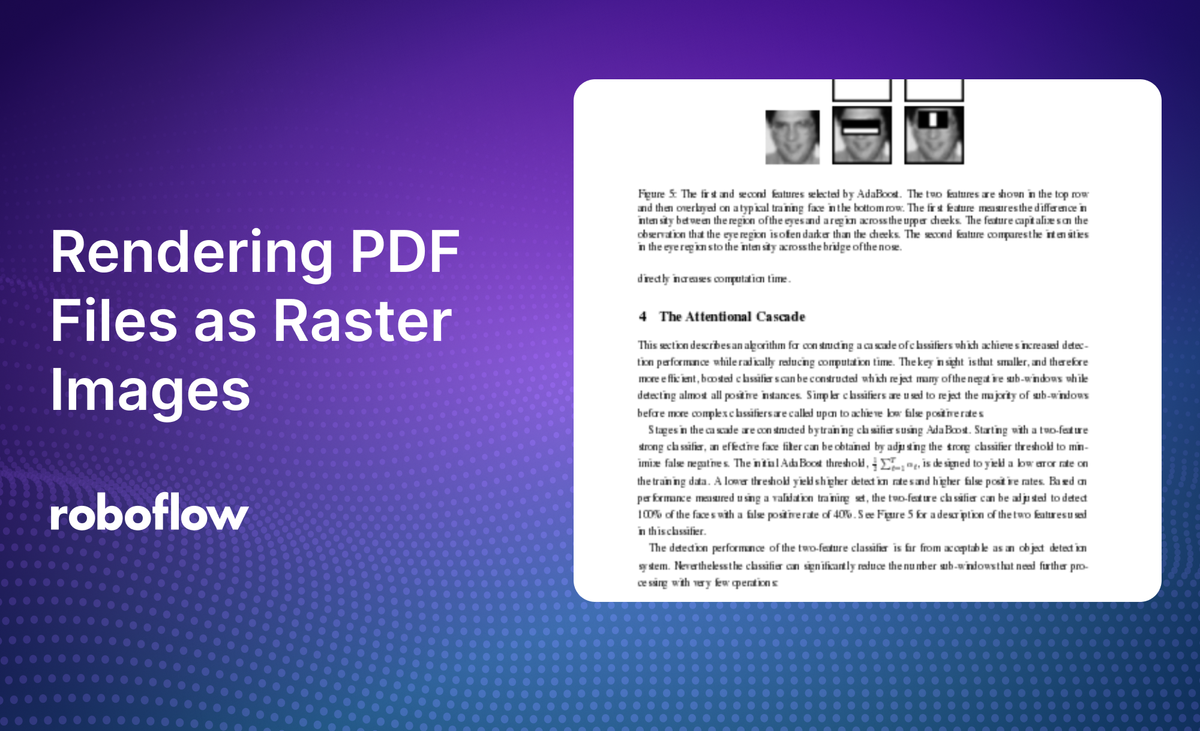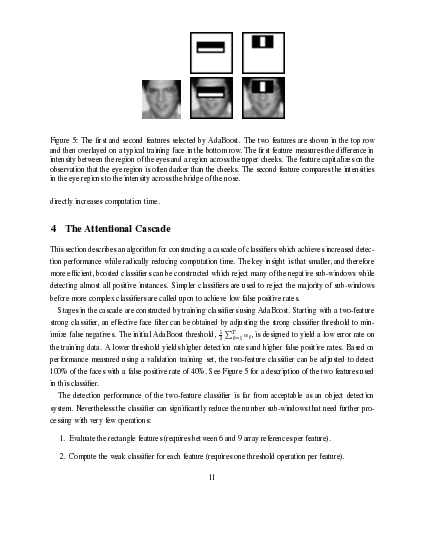
To classify pages in a PDF document or extract charts and figures, a computer vision dataset needs to contain the individual pages rendered as JPEG or PNG images. In this post, we'll explore methods to rasterize the pages of a PDF using either shell scripts or Python code.
Select an Appropriate Resolution
When converting PDFs to images, selecting an optimal resolution can improve training and inference speed - ideally, we select the lowest resolution possible to reduce file sizes without impacting accuracy. Command-line utilities like ImageMagick and Python libraries like pdf2image allow you to specify the dots per inch (DPI), directly adjusting the image quality used to detect features.
Higher resolutions may not significantly improve accuracy but will increase processing time and storage requirements. For bounding box detection (e.g. locating text blocks for OCR or mathematical formulas on pages), 150-300 DPI is usually sufficient. For classifying entire pages (e.g. identifying entire pages with charts or figures), a lower resolution of 50-150 DPI is often adequate.

Convert PDFs to Images Using ImageMagick
ImageMagick is a powerful command-line tool for image manipulation. Here's how to use it to convert a directory of PDFs to images in a shell script:
#!/bin/bash

# Convert all PDFs in the current directory to PNG images
for file in *.pdf; do
    magick -density 300 "$file" "${file%.pdf}.png"
done
Here is information about the configuration values used above.
Density
-density <value>: Sets the DPI (dots per inch) for rendering. Always specify this for PDF conversion. Higher values (e.g., 300) give better quality but larger file sizes.
Example: `-density 300` for high-quality images, `-density 150` for a balance of quality and size.
Resize
-resize <dimensions>: Resizes the output image.
Use case: When you need a specific image size or to reduce file size after high-density rendering.
Example: -resize 2000x to set width to 2000px (maintaining aspect ratio), or -resize 1000x1000! for exact dimensions.
Colorspace
-colorspace <type>: Converts the image to a specific colorspace.
Use case: When you need grayscale images or to ensure color consistency.
Example: -colorspace GRAY for grayscale, -colorspace sRGB for consistent color rendering.
Depth
-depth <value>: Sets the bit depth of the output image.
Use case: To reduce file size or match specific requirements of your CV model.
Example: -depth 8 for standard 8-bit color depth.
Background Color
-background <color>: Sets the background color for transparent regions.
Use case: When converting PDFs with transparency to formats without alpha channels.
Example: -background white to fill transparent areas with white.
Merge Layers
-flatten: Merges all layers onto a white background.
Use case: When dealing with multi-layer PDFs or when you want to ensure a white background.
Quality
-quality <value>: Sets the output image quality for lossy formats.
Use case: This flag does not affect PNG files, which are lossless. Use it for JPEG output.
Example: -quality 90 for high-quality JPEG images.
Combining Options
Example with multiple options:
#!/bin/bash

for file in *.pdf; do
    magick -density 150 -resize 1000x -colorspace GRAY -depth 8 -background white -flatten "$file" "${file%.pdf}.png"
done
This command will:
- Render the PDF at 150 DPI
- Resize to 1000px width (maintaining aspect ratio)
- Convert to grayscale
- Set 8-bit color depth
- Ensure a white background
- Output as PNG (lossless)
For JPEG output, you might use:
#!/bin/bash

for file in *.pdf; do
    magick -density 150 -resize 1000x -colorspace sRGB -quality 90 "$file" "${file%.pdf}.jpg"
done
Choose the options that best fit your requirements, balancing image quality, file size, and processing time as you experiment.
Convert PDFs to Images Using pdf2image
Once you have prepared a training set, you will often need to perform the same task for inference: your users will have PDF documents, and your trained model requires a raster image as input. pdf2image is a Python library for working with PDF files that works well with Roboflow's inference SDK.
You will need to install the package with your package manager of choice:
pip install pdf2imageAs an example, here's a simple script that converts all of the PDF files in the current working directory into a separate PNG file for each page:
import os
from pdf2image import convert_from_path

def convert_pdfs_to_pngs(directory, dpi=150):
    pdf_files = [f for f in os.listdir(directory) if f.lower().endswith('.pdf')]

    for pdf_file in pdf_files:
        pdf_path = os.path.join(directory, pdf_file)
        pdf_name = os.path.splitext(pdf_file)[0]

        pages = convert_from_path(pdf_path, dpi=dpi)

        for page_num, page in enumerate(pages, start=1):
            image_name = f"{pdf_name}_page_{page_num:03d}.png"
            image_path = os.path.join(directory, image_name)
            page.save(image_path, 'PNG')
            print(f"Saved: {image_name}")

if __name__ == "__main__":
    current_directory = os.getcwd()
    convert_pdfs_to_pngs(current_directory)
This script is sufficient for many use cases, but note that the throughput of the conversion may be limited by the speed of input/output operations.
Optimize with asyncio for Increased Throughput
For PDF processing in a HTTP request handler or larger scale batch process, we can make use of asyncio to optimize IO-bound operations. Here's an example using pdf2image with asyncio to increase throughput:
#!/usr/bin/env python

import os
import asyncio
from pdf2image import convert_from_path
from concurrent.futures import ProcessPoolExecutor

async def convert_pdf_to_pngs(pdf_path, dpi=150):
    pdf_name = os.path.splitext(os.path.basename(pdf_path))[0]

    loop = asyncio.get_event_loop()
    with ProcessPoolExecutor() as pool:
        pages = await loop.run_in_executor(pool, convert_from_path, pdf_path, dpi)

    tasks = []
    for page_num, page in enumerate(pages, start=1):
        image_name = f"{pdf_name}_page_{page_num:03d}.png"
        image_path = os.path.join(os.path.dirname(pdf_path), image_name)
        task = asyncio.create_task(save_image(page, image_path))
        tasks.append(task)

    await asyncio.gather(*tasks)
    print(f"Converted: {pdf_name}")

async def save_image(page, image_path):
    loop = asyncio.get_event_loop()
    await loop.run_in_executor(None, page.save, image_path, 'PNG')

async def convert_pdfs_to_pngs(directory, dpi=150):
    pdf_files = [f for f in os.listdir(directory) if f.lower().endswith('.pdf')]
    tasks = []

    for pdf_file in pdf_files:
        pdf_path = os.path.join(directory, pdf_file)
        task = asyncio.create_task(convert_pdf_to_pngs(pdf_path, dpi))
        tasks.append(task)

    await asyncio.gather(*tasks)

if __name__ == "__main__":
    current_directory = os.getcwd()
    asyncio.run(convert_pdfs_to_pngs(current_directory))
This asyncio based approach significantly improves performance by processing multiple PDFs and pages concurrently, making it ideal for server processes and larger datasets.
Conclusion
By leveraging these methods and tools, you can efficiently prepare your PDF documents for computer vision tasks, whether you're working with a few files locally or preparing hundreds of documents for annotation.
If you are assembling a computer vision dataset of rasterized PDF files, start annotating them today with Roboflow.
Cite this Post
Use the following entry to cite this post in your research:
Shantanu Bala. (Sep 11, 2024). Rendering PDF Files as Raster Images for Computer Vision Datasets. Roboflow Blog: https://blog.roboflow.com/pdf-files-computer-vision/
