
The Roboflow Inference Server exposes three CLIP endpoints, one for text embeddings, one for image embeddings, and one to compare a text prompt against an image, enabling zero-shot classification without any model training. This tutorial walks through installing the server and calling the comparison endpoint to classify images into categories you define at query time, with no retraining required. Practical applications covered include media search, content moderation, similarity search, and privacy filtering before routing images to downstream models.
Earlier today, we announced the latest version of the Roboflow Inference Server, an API with a set of standard routes you can use to interface with the Roboflow API and your trained models. In addition to enabling users to change deployment targets without touching any code, The Roboflow Inference Server will have foundational models, like OpenAI’s CLIP model, available for use across deployment targets and environments.
Using CLIP, you can run zero-shot classification on images at the edge or in offline environments. This means you can classify an image into one of a series of categories you specify without having to do any training. One use case for this is to filter out images that meet a criteria before you send them to an external server. For example, if you are building a model to detect defects on a construction line, you may want to filter out all images where people are present to protect their privacy.
In this guide, we are going to show how to use the CLIP image comparison endpoint on the Roboflow Inference Server. Using this logic and workflow, you could use to CLIP to:
- Media search: Quickly filter and find data related to your needs whether you’re looking for specific objects, scenes, lighting, colors, etc;
- Content moderation: Ensure content is safe for your audience by removing symbols or imagery you deem inappropriate;
- Similarity search: Use an image to guide your search for other imagery within a large corpus of data;
- Image captioning: Append descriptions to your images for generating more rich data around your images and retrieving text summaries of data and;
- Image ranking: Sort data based on relevance to text or image inputs.
For this guide, we'll focus on image classification as a use case, where we'll use CLIP to assign a category from a limited list of provided categories.
Without further ado, let’s get started!
Note, like any deployed model in production, zero-shot classification models may not accurately identify every object. You should experiment with your use case to understand feasibility in your domain.
Install the Inference Server
To install the Roboflow Inference Server, you will need to have Docker running on your machine. If you don’t already have Docker, follow the Docker installation instructions for your device. When you have Docker ready, run the following command in your terminal:
docker run -it –rm –network=host roboflow/roboflow-inference-server-cpuThis command will install the “roboflow/roboflow-inference-server-cpu” image from Docker Hub. After the installation process has completed, the inference server will run on port 9000 on your machine. Now we’re ready to start working with CLIP.
Now that we have calculated embeddings for our categories, we can go on to embed the images with which we’ll be working in this tutorial.
Embed Images Using CLIP
Suppose we have a folder of images named “fruits”. We want to send all photos of bananas for classification to ascertain how many were ripe and unripe. To do this, we can use zero-shot classification to identify the fruit, then run inference on our model for ripeness detection if the fruit is a banana.
To get started, let’s import the requisite libraries for our script and create a list of all of the categories that we want to be considered in classification:
import requests
import base64
from PIL import Image
from io import BytesIO
import os

INFERENCE_ENDPOINT = "https://infer.roboflow.com"
API_KEY = "API_KEY"
IMAGE_DIR = "fruits"

prompts = [
    "orange",
    "apple",
    "banana"
]
Add your Roboflow API key to the example above, as well as the path to the image on which you want to run inference. (If you want to try this out without having the Roboflow inference server running locally, query https://infer.roboflow.com instead of http://localhost:9001).
Replace the items in “prompts” with the items you want to be considered during classification.
Next, let’s define a function that takes the given image and sends it to the CLIP comparison endpoint on our inference server to classify our image:
def classify_image(image: str) -> dict:
    image_data = Image.open(image)

    buffer = BytesIO()
    image_data.save(buffer, format="JPEG")
    image_data = base64.b64encode(buffer.getvalue()).decode("utf-8")

    payload = {
        "api_key": API_KEY,
        "subject": {
            "type": "base64",
            "value": image_data
        },
        "prompt": prompts,
    }

    data = requests.post(INFERENCE_ENDPOINT + "/clip/compare?api_key=" + API_KEY, json=payload)

    return data.json()
In this function, we open our image, create a base64 encoded version of the image, then create a payload with the data we want to send to the API. Then, we send the data to the inference server and return the JSON payload. We print this value to the console.
Each request returns a JSON payload with a score showing the likelihood that an image contains the object in our category. This score is represented as a value between 0 and 1; the higher the score, the more likely it is that the image contains the object in a category.
The image that we’ll test is this photo of an apple:
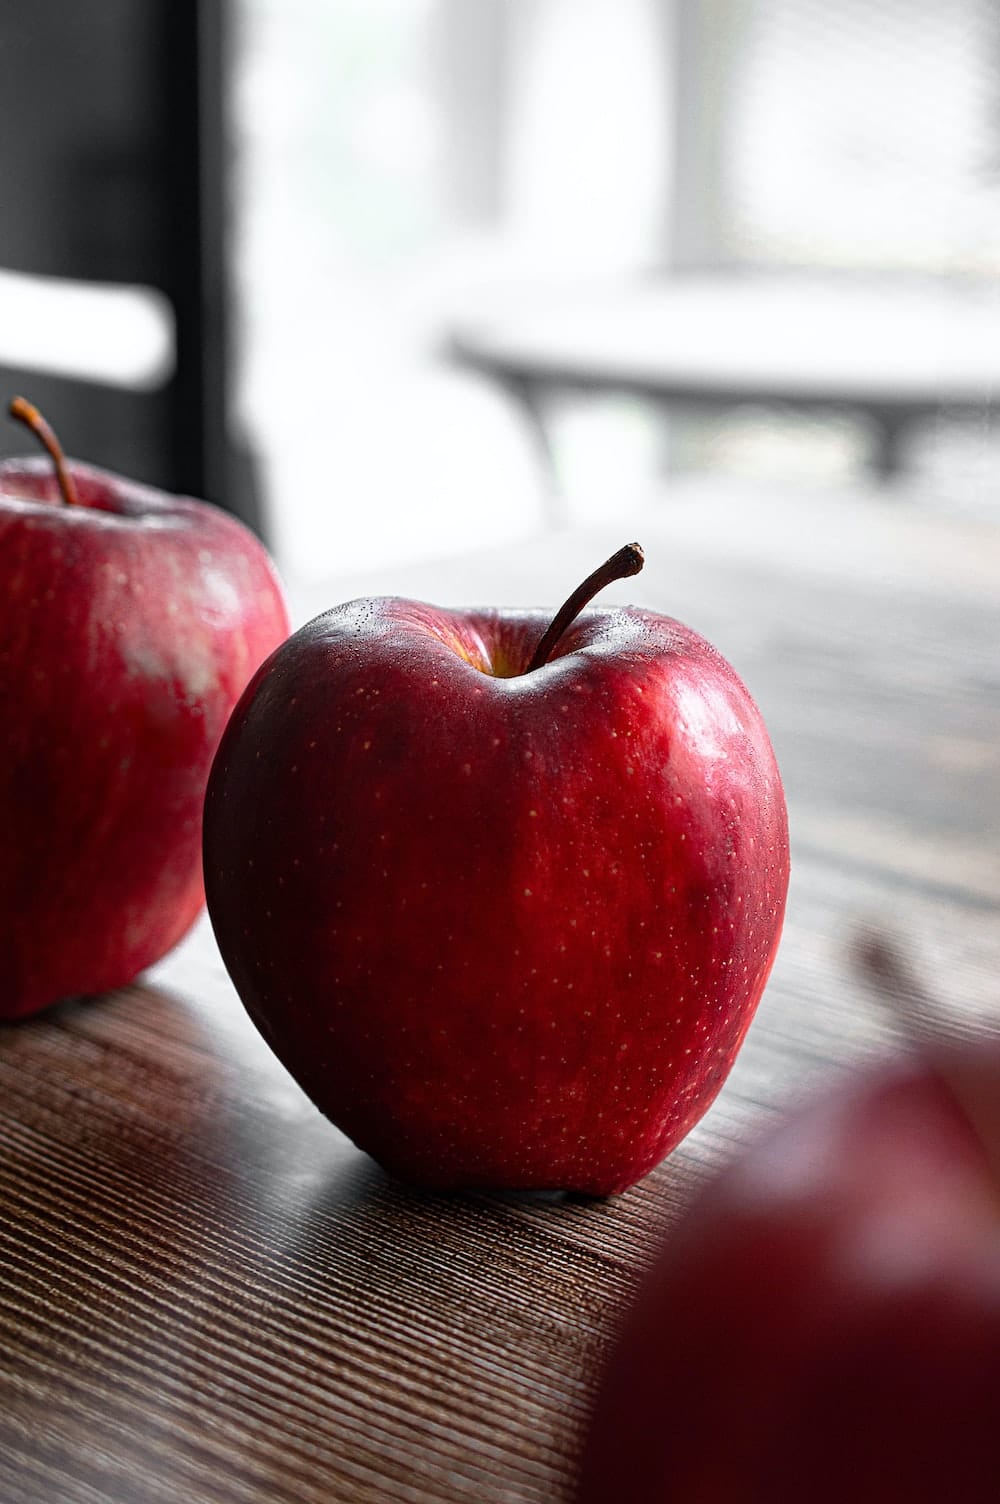
Let’s test out our code. At the moment, our fruits folder only contains the image we referenced earlier in the article. When our code runs, we will embed the image and find the most similar of our categories – apple, pear, and orange – that represents the image.
{"similarity":[0.29781154187589154,0.2625142299710535,0.25538911112766416],"time":2.944441630000256}Our code prints out the classification returned by CLIP. The values are a list of numbers whose index is equal to the position in the list for each label. To find the label associated with the object with the highest similarity, we can use this code:
def get_highest_prediction(predictions: list) -> str:
    highest_prediction = 0
    highest_prediction_index = 0

    for i, prediction in enumerate(predictions):
        if prediction > highest_prediction:
            highest_prediction = prediction
            highest_prediction_index = i

    return prompts[highest_prediction_index]
Now, let’s iterate over each file in our “fruits” directory, perform classification, and print the results to the console:
for file in os.listdir(IMAGE_DIR):
    image = f"{IMAGE_DIR}/{file}"
    predictions = classify_image(image)
    print(get_highest_prediction(predictions["similarity"]), image)
When we run our code, we get this response:
apple 1.jpeg
orange 2.jpeg
1.jpeg is the apple photo displayed earlier. 2.jpeg is a photo of an orange. Our model is working as expected!
Additional Endpoints
The Roboflow Inference Server also has endpoints to calculate a text and image embedding:
- /clip/embed_text: Calculate a CLIP text embedding.
- /clip/embed_image: Calculate the CLIP embedding for an image.
You can learn more about these endpoints on the inference server documentation.
Conclusion
The Roboflow Inference Server provides a unified way through which you can interact with the Roboflow API. The Server runs on a range of devices, from Raspberry Pi’s to server hardware.
The Server contains three endpoints for use in working with CLIP: one to calculate text embeddings, another to calculate image embeddings, and one to compare text prompts with an image.
Using the CLIP endpoints, you can perform zero-shot classification to identify a category that represents the contents of an image. You can use this information to make determinations about an image (i.e. does it need to be stored in a different place, does it need to be sent to a different server, does it require post-processing?).
Cite this Post
Use the following entry to cite this post in your research:
James Gallagher. (Mar 30, 2023). Use CLIP Zero-Shot Classification with the Roboflow Inference Server. Roboflow Blog: https://blog.roboflow.com/roboflow-inference-server-clip/