
In this blog post, I'll go through how I created a Bot that uses AI object detection model to beat the Chrome Dino game!
You can also try it out directly by following the README on the GitHub repo.
If someone prefers a video tutorial, you can watch the video below, which goes through the same steps as the blog below.
1. Getting the data
To fine-tune a YOLO model on our own custom dataset, we first need the dataset. And to do that, we'll need a few hundred annotated images.
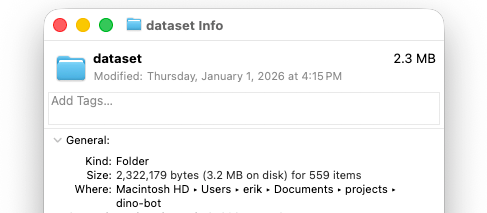
I used mss library to take screenshots of my screen every second, and then opencv cropped that image to only the pre-selected region-of-interest (ROI). I played a game manually 2 times, which generated a few hundred screenshot images.
For object detection model to be robust it's important that we have diverse set of images, so make sure to also capture screenshots with pterodactyls (birds), and in night mode.
2. Annotating the Dataset
After generating images, we need to annotate them. I uploaded my images to Roboflow, and started annotating "Dino", "Cactus", and "Bird" manually.
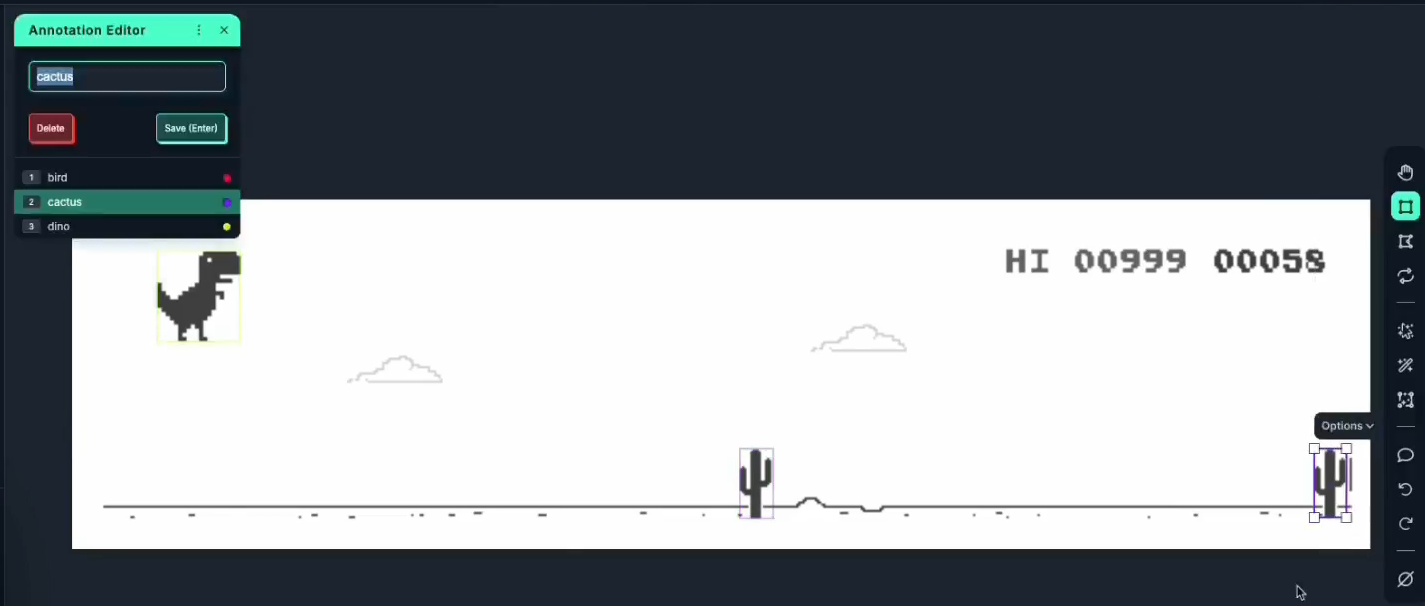
After annotating about 10 images manually, I trained a Roboflow Instant model, which can later be used by AI Labeling. AI Labeling (specifically the Label Assist) will run the Roboflow Instant model on a new image, and use model predictions as annotation for the new image. This makes it much faster to annotate a few hundred images, as you're just fixing what model didn't already get right.
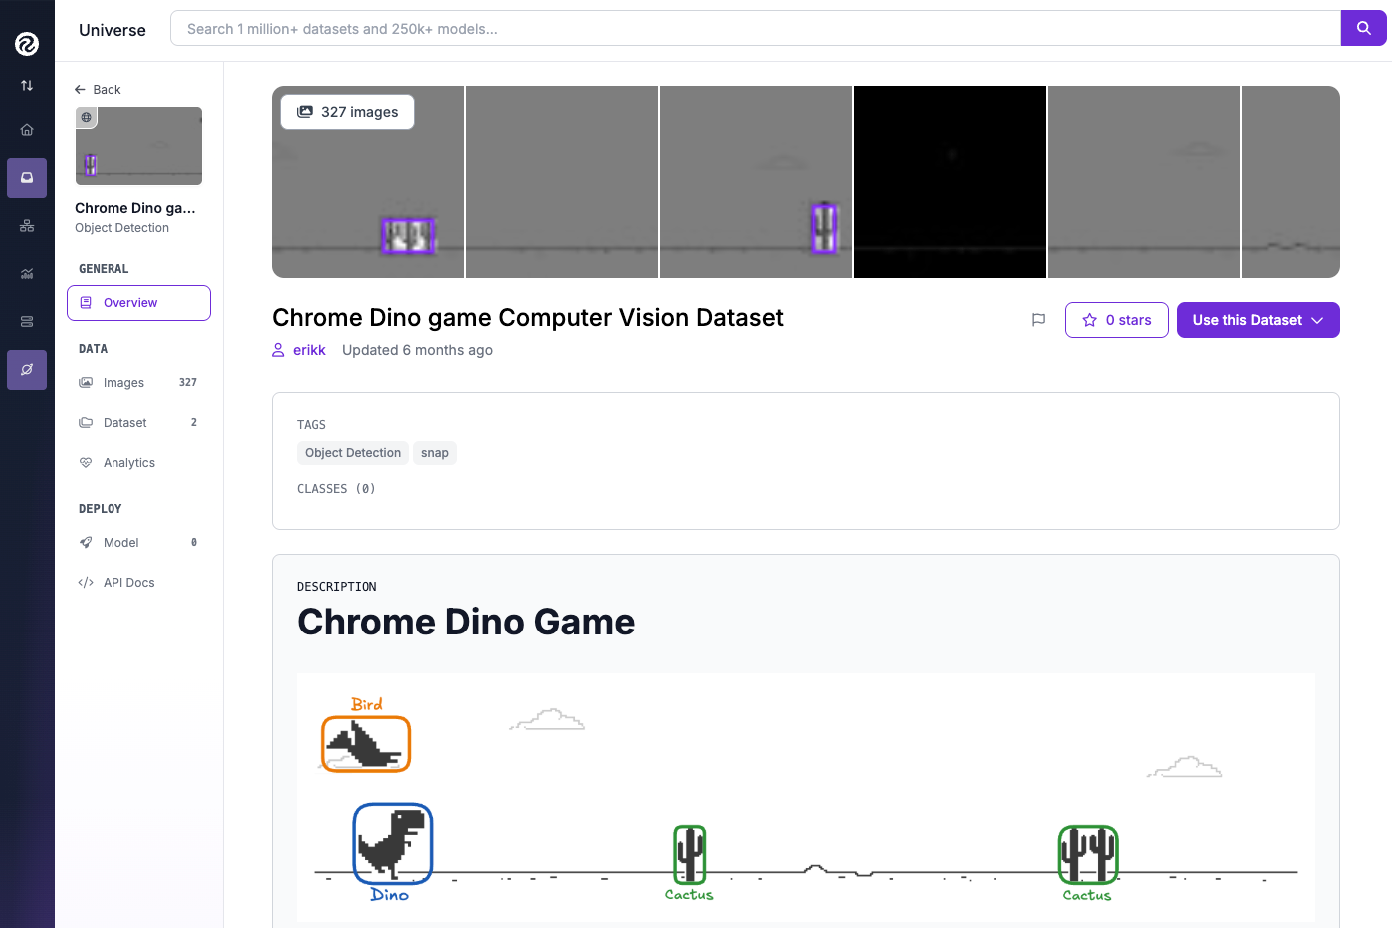
If you'd want to skip the annotation step, I've uploaded my dataset to Roboflow Universe under the erikk/chrome-dino-game project.
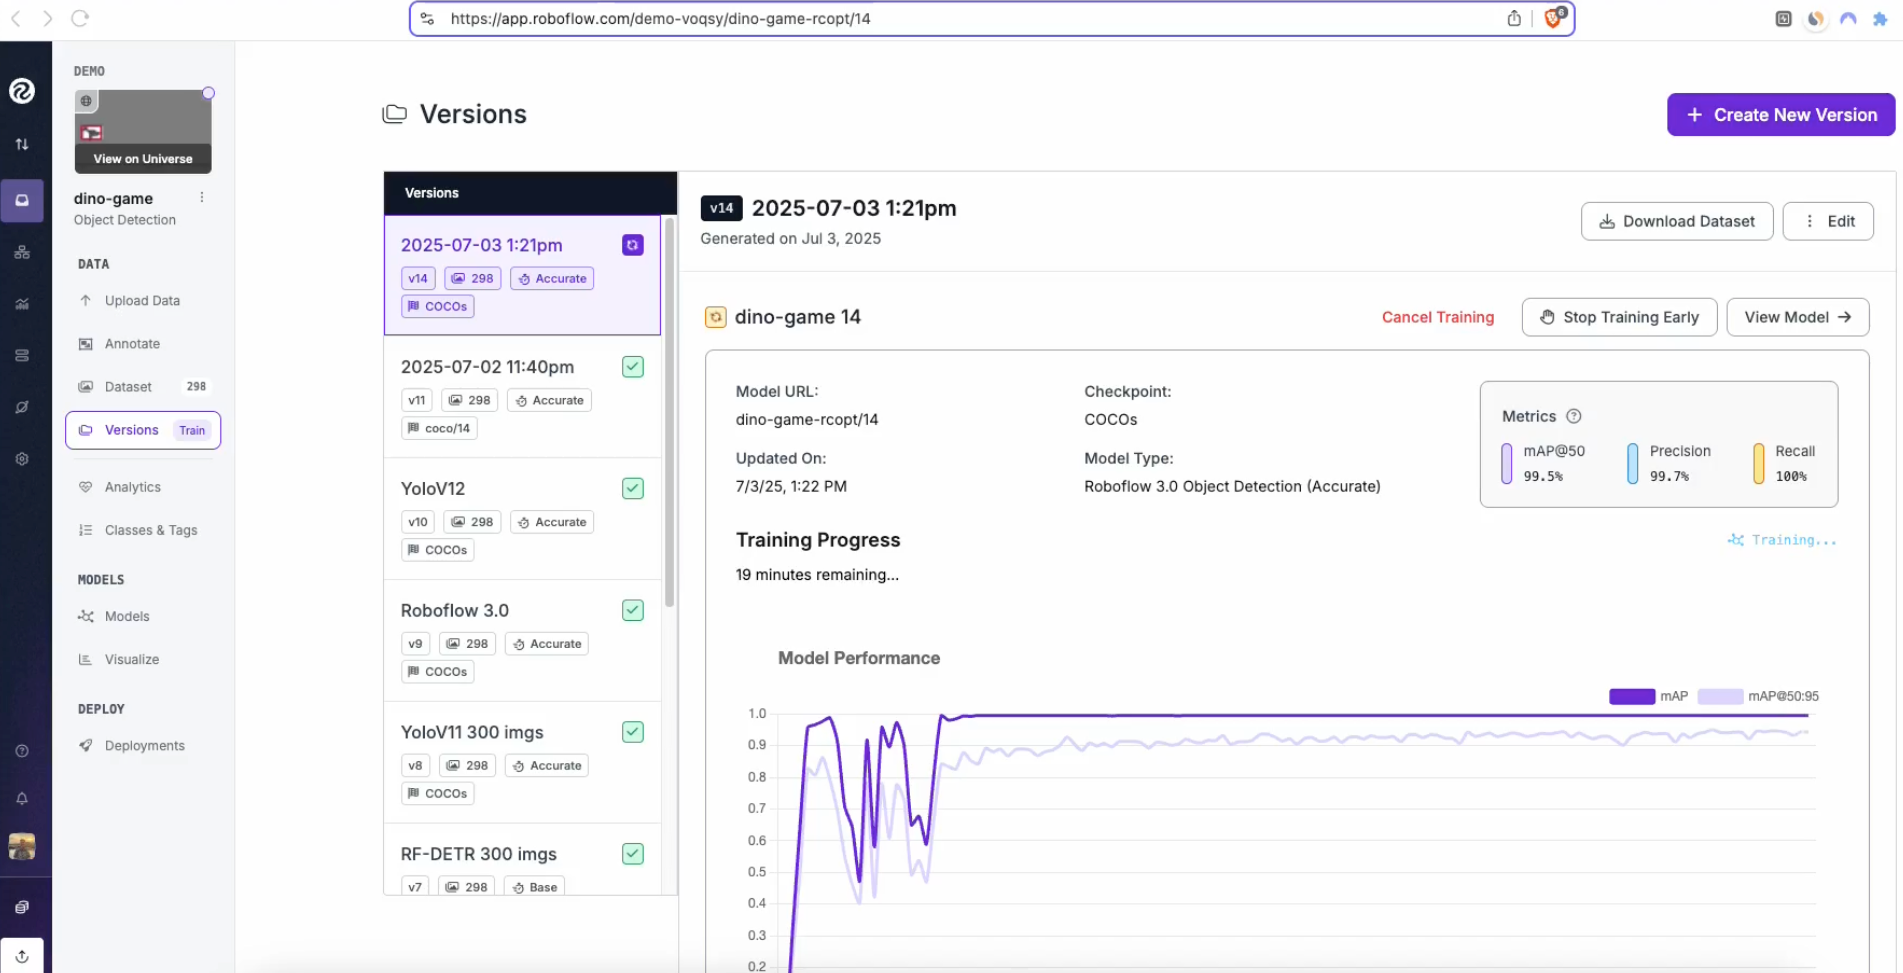
3. Training the YOLO Model
Now that we have our dataset, we can fine-tune an object detection model on it. In your project you can click on "Versions [Train]", and then "Create New Version". You can optionally add pre-processing augmentations and post-processing steps.
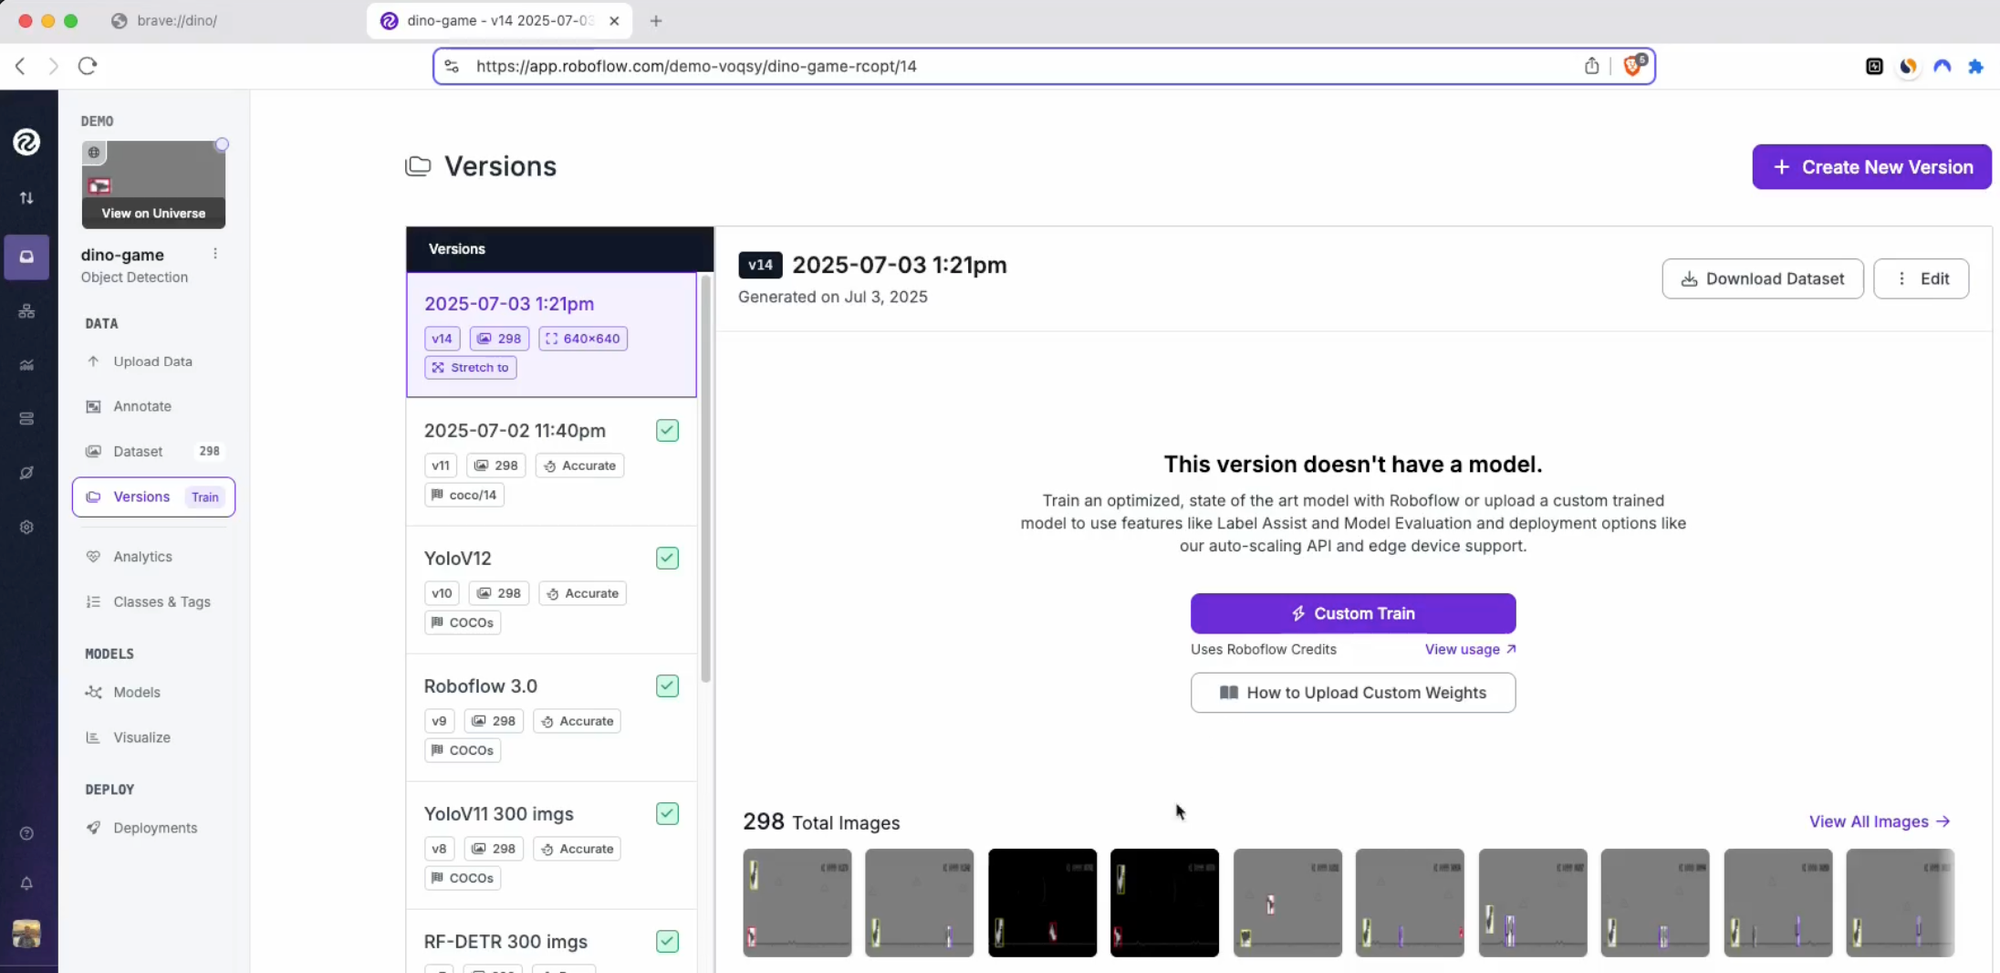
After a new version is created, click on "Custom Train", which will ask you which model architecture and size you wish to train. For this project, I went with "YOLO8 - Fast", because objects are quite distinct, and accuracy shouldn't be an issue.
Training of the model will take a few minutes, and Roboflow app provides nice insights into the whole training progress.
4. Deployment - local inference
After the model was trained, we can try to run it on our local machine. For that, I'll be using Roboflow's Inference library, which has built-in support for NVIDIA GPU, so our model will be able to run efficiently.
We can quickly test the model by running test_model.py script (make sure to clone the whole repo, as we'll also need capture_screenshot script):
from inference import get_model
from take_screenshots import capture_screenshot
import supervision as sv
import cv2

# load a pre-trained yolov8n model
model = get_model(model_id="dino-game-rcopt/14")

bounding_box_annotator = sv.BoxAnnotator()

# define the image url to use for inference
while True:
    image = capture_screenshot()
    # run inference on our screenshot
    results = model.infer(image)[0]

    detections = sv.Detections.from_inference(results)

    annotated_image = bounding_box_annotator.annotate(
        scene=image,
        detections=detections
    )

    # display the image
    cv2.imshow("Annotated Image", annotated_image)
    key = cv2.waitKey(1)
    if key == ord('q'):
        break
This will run our fine-tuned model locally on the live screenshot image.
5. Controlling the Dino
Now that we have our model running locally at sufficient FPS, we can use the predictions of cactus/birds to control the Dino actions. I used pynput library to send keyboard events (up and down arrow keys) to the Dino game, so the Dino was able to jump and duck.
I then created a simple controller script that returns actions, whether to do nothing, jump, or duck, based on detections from the YOLO model.
def get_action(detections):
    """
    Determines the action to take based on game detections.
    Could be later replaced with a more sophisticated model, like
    an evolution algorithm or a neural network.

    Args:
        detections: A supervision.Detections object from the inference model.

    Returns:
        A string representing the action: "up" (jump), "down" (duck), or None.
    """
    for i in range(len(detections.xyxy)):
        box = detections.xyxy[i]
        y_centroid = (box[1] + box[3]) / 2

        if detections.data['class_name'][i] == 'cactus':
            # Check if the cactus is in the "jump zone"
            if not (110 < y_centroid < 144):
                continue
            # left corner on the X axis between 130 and 170
            if 130 < box[0] < 170:
                return "up"  # Jump over cactus

        elif detections.data['class_name'][i] == 'bird':
            # Check if the bird is in the action zone
            if not (100 < box[0] < 200):
                continue

            # Act based on the first detected bird in the zone
            if y_centroid > 121:  # Low bird -> JUMP
                return "up"
            else:  # High bird -> DUCK
                return "down"

    return None
Using pynput, controller logic can now play the Chrome Dino game!
Conclusion
In this tutorial we went through the whole computer vision project - from gathering data, annotation, training, and deployment. Roboflow handled the dataset and training, which allowed us to go directly from raw screenshots to a working bot.
Cite this Post
Use the following entry to cite this post in your research:
Erik Kokalj. (Jan 16, 2026). Building an AI-powered Bot to Beat the Chrome Dino Game. Roboflow Blog: https://blog.roboflow.com/ai-powered-chrome-dino-bot/