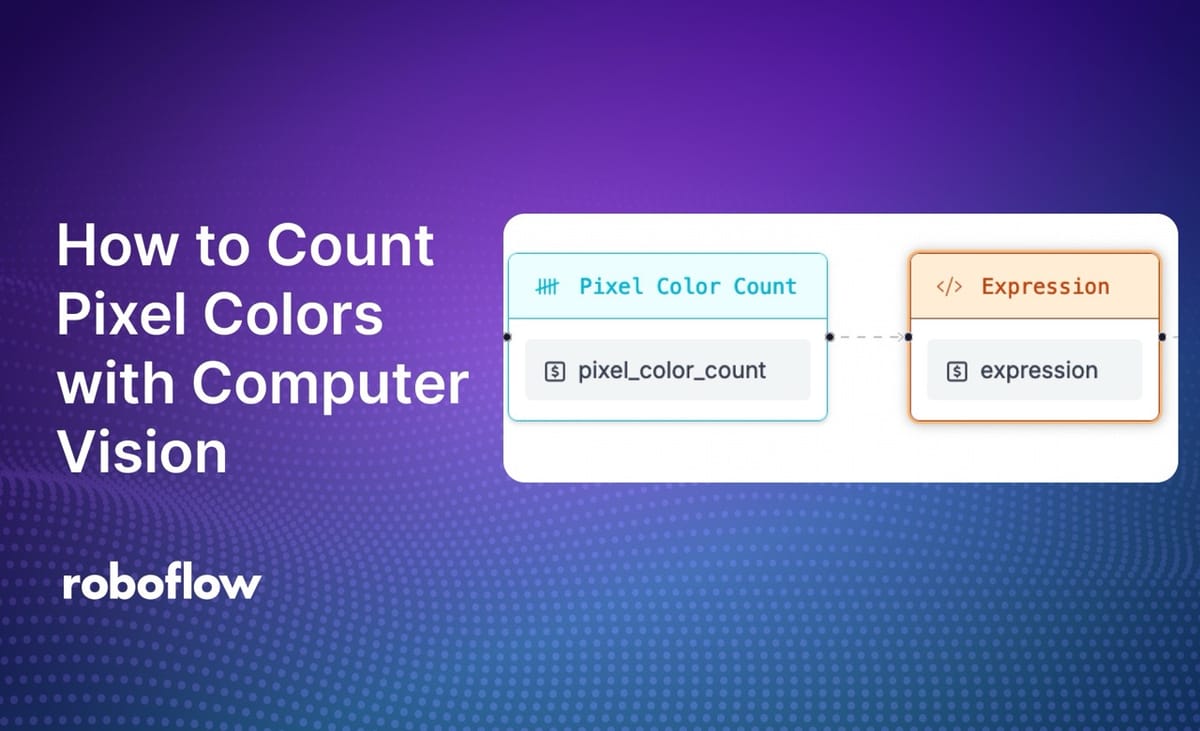
Consider a scenario where you are checking if the label of a product was printed in the correct color. You can use computer vision to identify the color of the pixels in the label and check to see if the number of pixels close to a given reference color exceeds a certain threshold.
For instance, you could provide an RGB reference color like rgb(63, 59, 87) (purple), and check to see if over a certain number of pixels in an image are close to the reference color (i.e. within 5 R, G, or B values).
In this guide, we are going to show how to count pixel colors with computer vision. We will use Roboflow Workflows, a web-based tool for creating computer vision applications.
Here is an example of a Workflow you can try that counts the number of pixels related to a specific purple color:
Without further ado, let’s get started!
Count Pixel Colors with Computer Vision
The Pixel Color Count feature identifies the number of pixels that are within a given tolerance of a reference color. This feature can be used to build computer vision applications that need to implement color checks.
The Color Count block is ideal if you have a large image with several different features and you want to check for a color. For example, you could use the Color Count block to check how many pixels match a specific color on a label that has multiple colors (i.e. purple for a heading, white for the bottom).
Separately, you can use the Dominant Color block to find the most dominant color in an image. This is useful if you have a focused image where the majority of pixels are a specific color.
For this guide, we will use the Pixel Color Count block, which allows us to count the number of pixels of a specific color. This count could then be used to implement a PASS/FAIL quality assurance determination.
Step #1: Create a Workflow
To get started, first create a free Roboflow account. Then, navigate to the Roboflow dashboard and click the Workflows tab in the left sidebar. This will take you to the Workflows homepage, from which you can create a workflow.
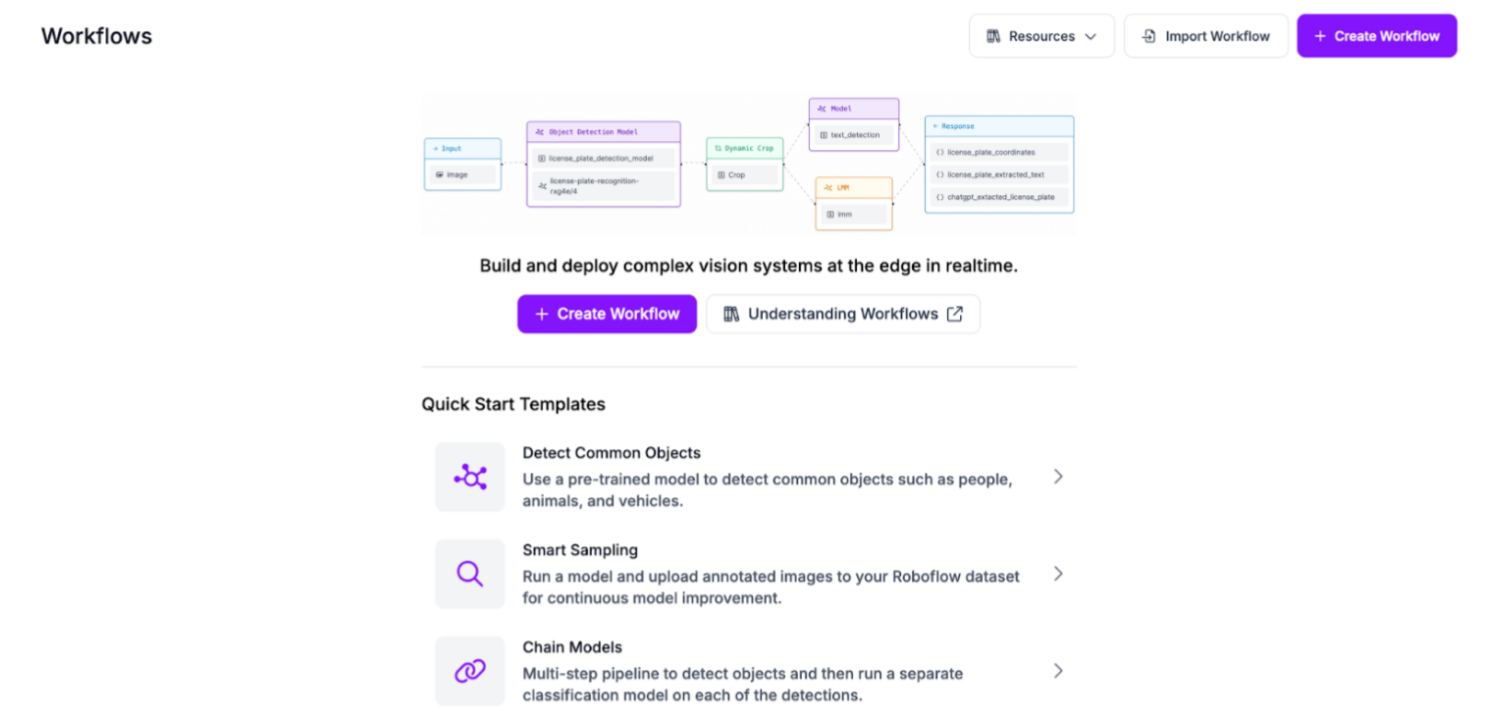
Click “Create Workflow” to create a Workflow.
A window will appear in which you can choose from several templates. For this guide, select “Custom Workflow”:
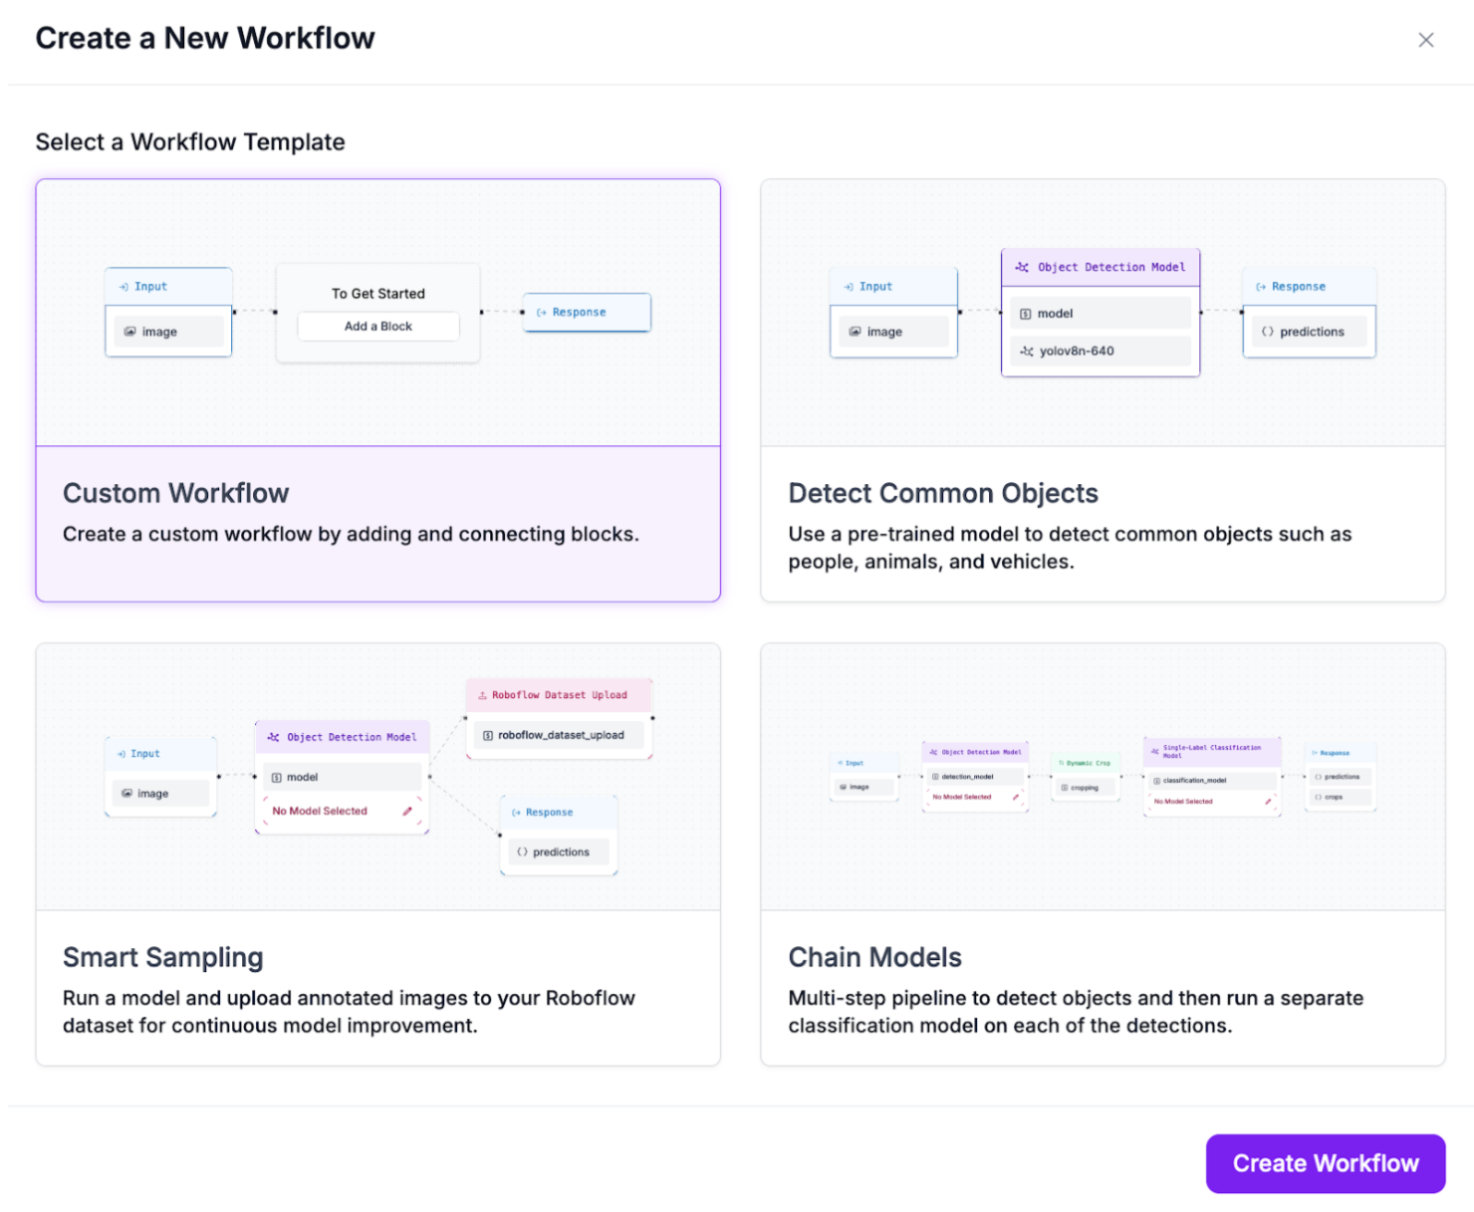
Click “Create Workflow” to create your Workflow.
You will be taken into the Workflows editor in which you can configure your Workflow:
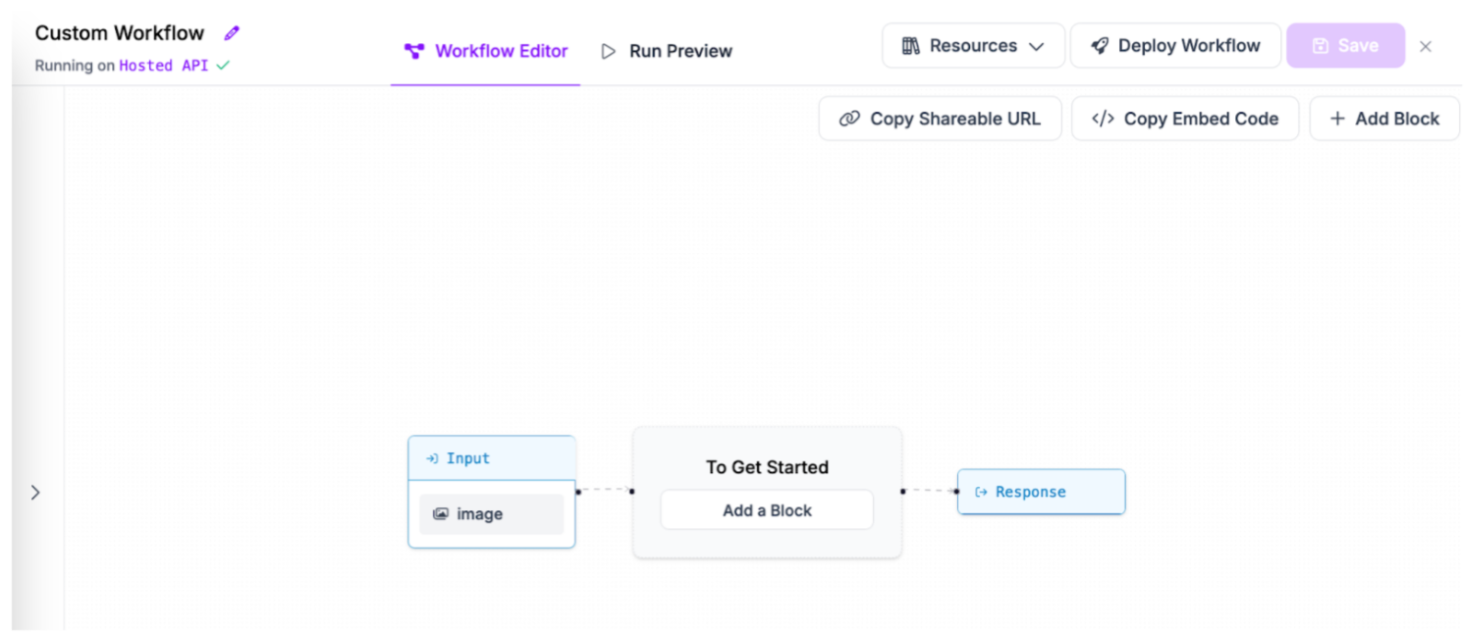
With a blank Workflow ready, we can start using the pixel color count Workflow functionality.
Step #2: Add Pixel Color Count Block
Click “Add Block” in the top right corner of the Workflows editor, then search for “Pixel Color Count”:
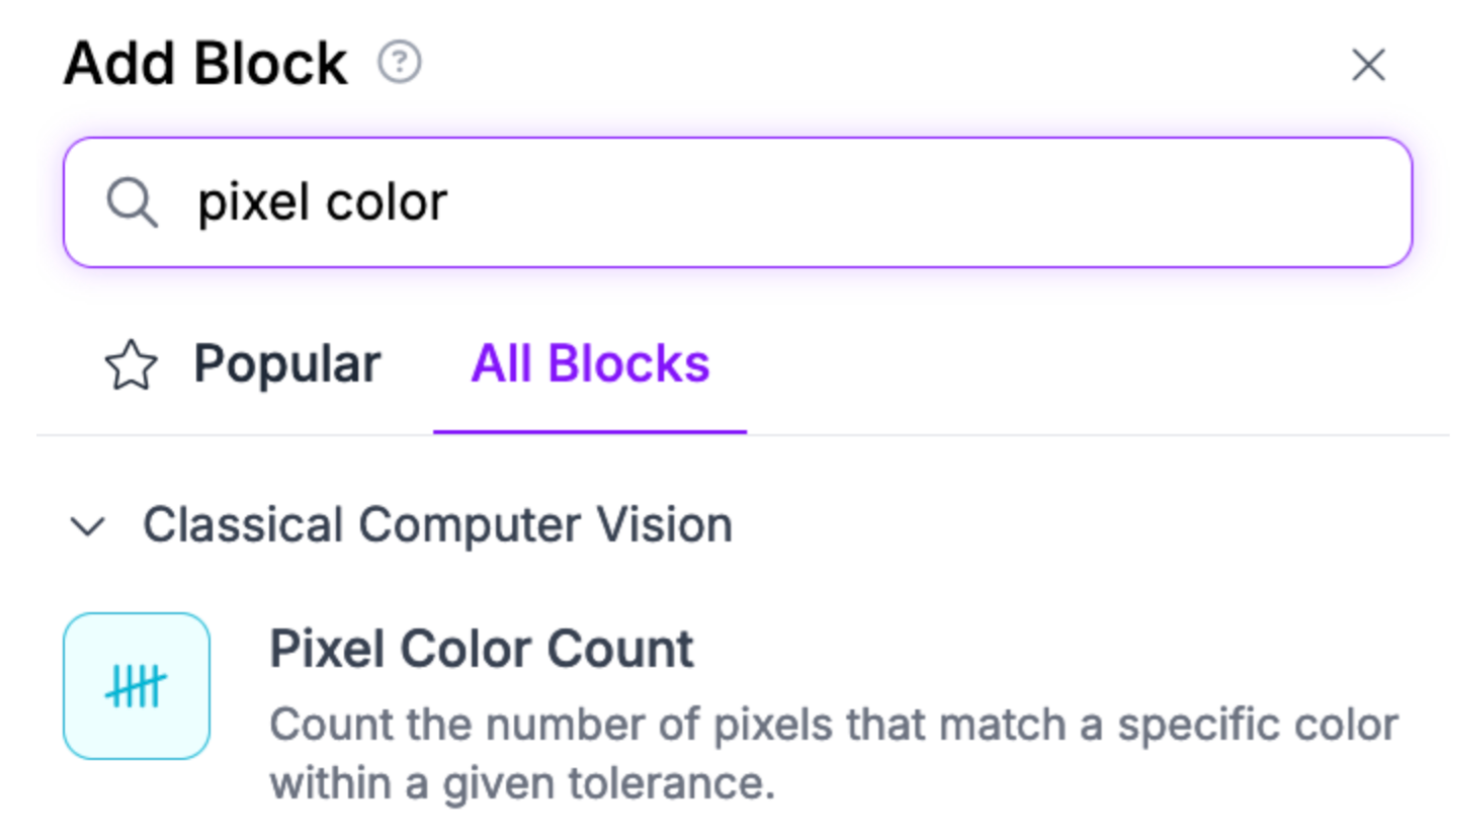
Click on the block to add it to your Workflow.
In the block settings menu, set a target color. This is the color that you want to count in the image. You can either provide an RGB value or a hex string.
By default, Workflows will count any pixel that is within 10 R, G, or B values of the target color. This is because, for many applications, it is uncommon for exactly the same pixel color to show up; lighting conditions can affect pixels.
For example, with the target color (63, 59, 87), the value (53, 60, 80) would still match because all R, G, and B values are within 10 of the target color.
You can adjust the 10 threshold in the “Optional Properties” section if required. For most use cases, 10 is a good threshold with which to start.
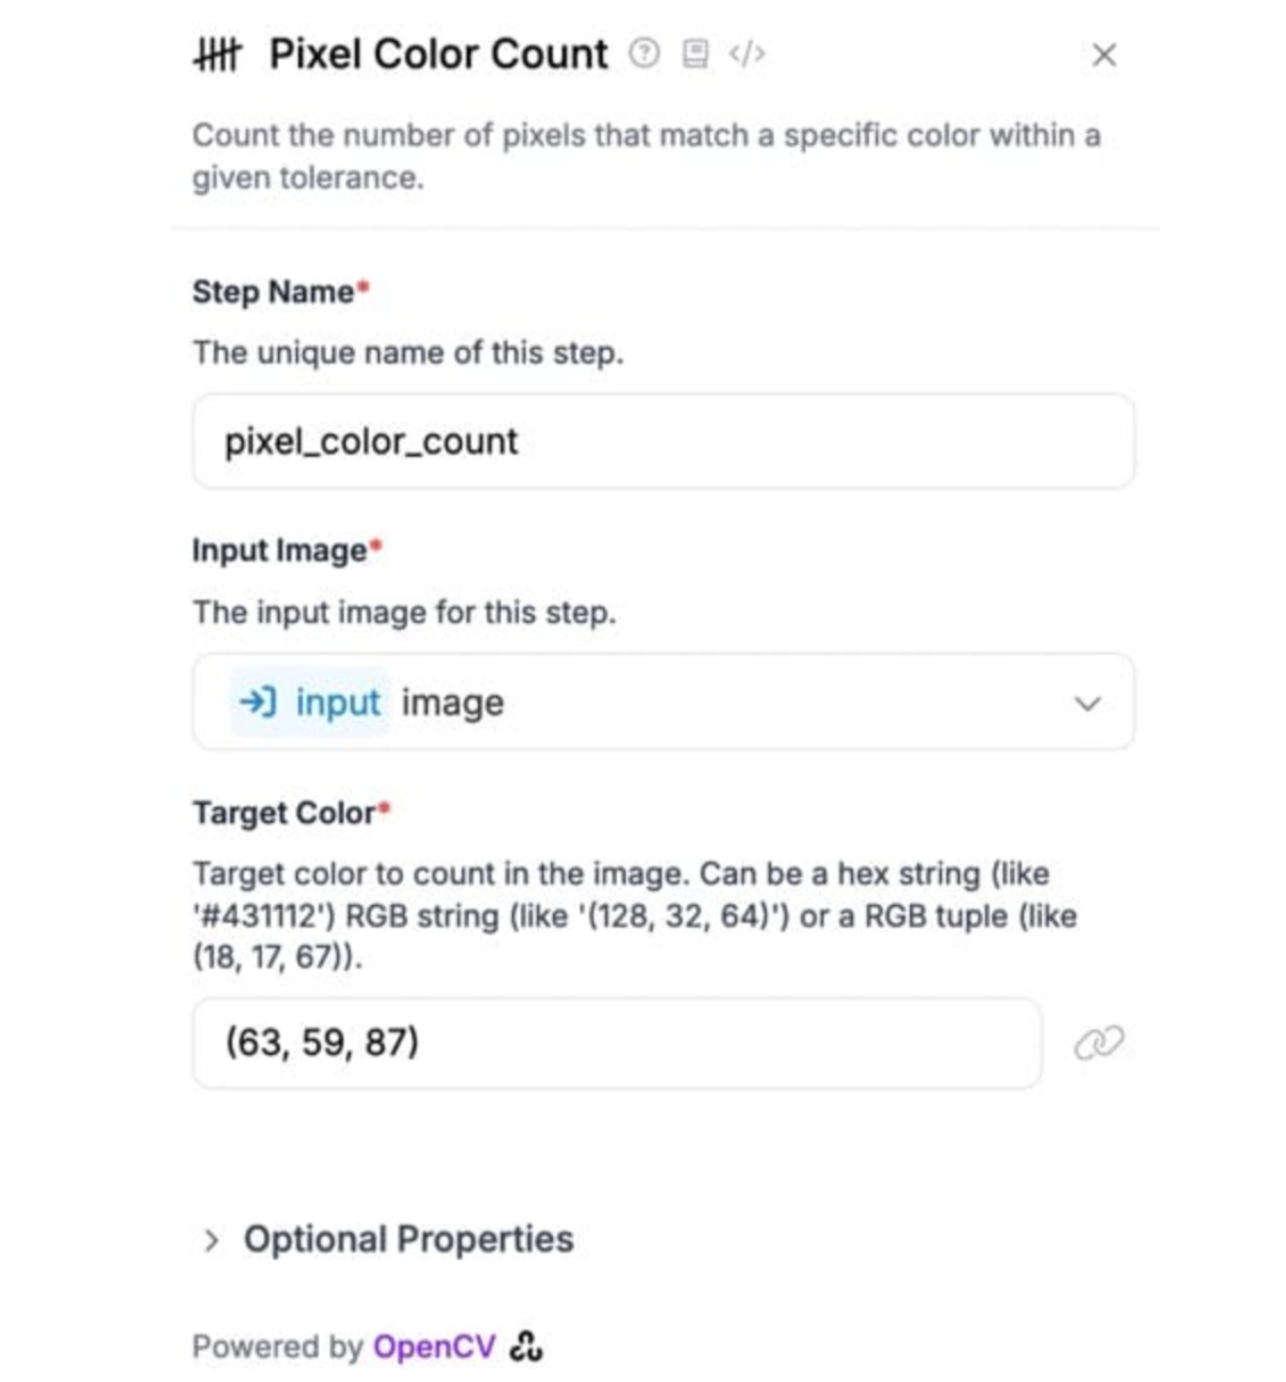
You now have a Workflow ready to test!
Step #3: Set PASS/FAIL Criteria
We want our Workflow to return PASS / FAIL depending on whether there are more than a certain number of pixels in an image.
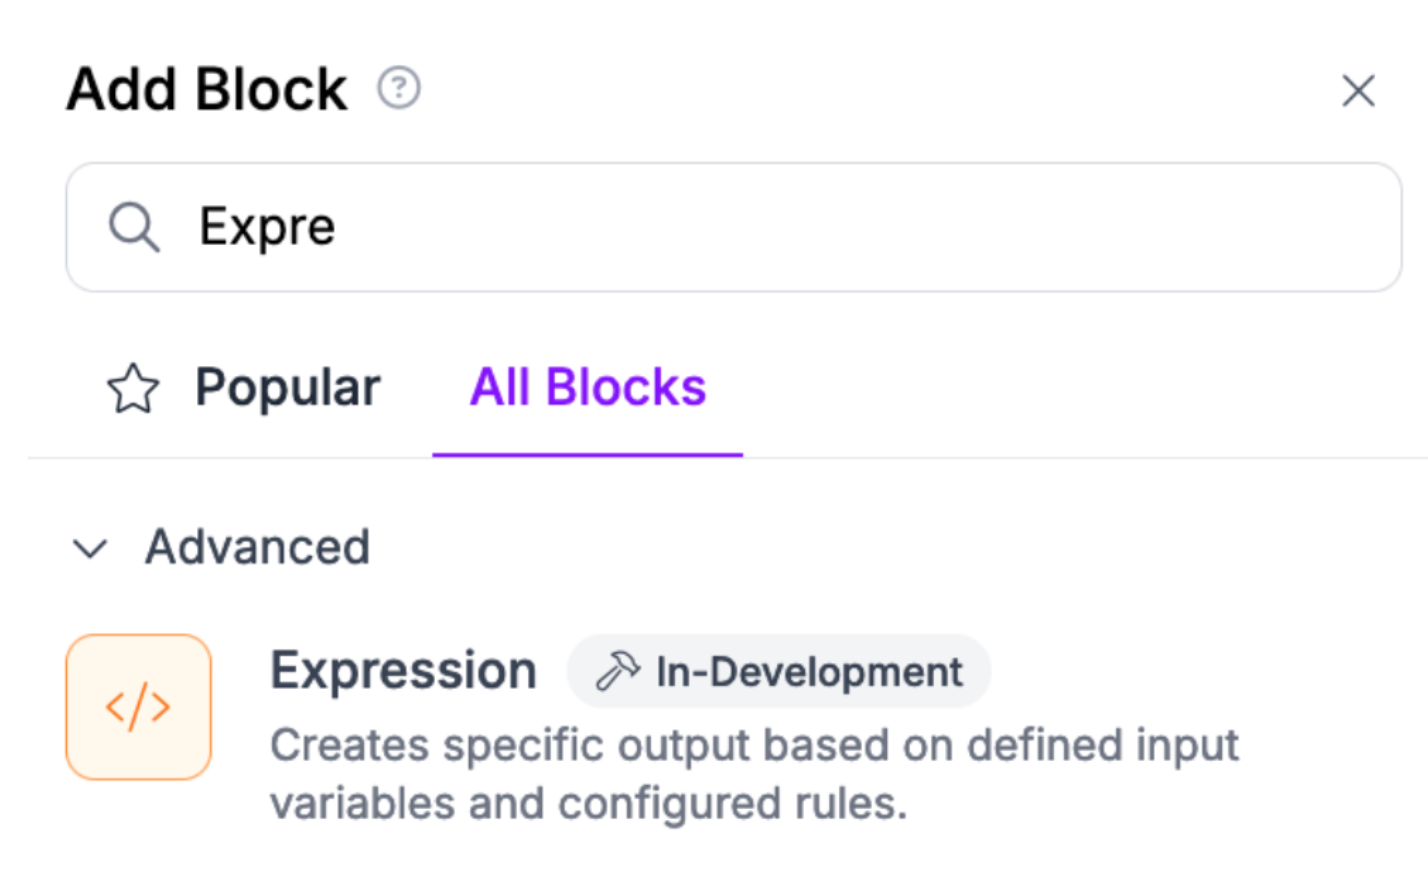
We can do this with the Expression block.
Add an Expression block to your Workflow:
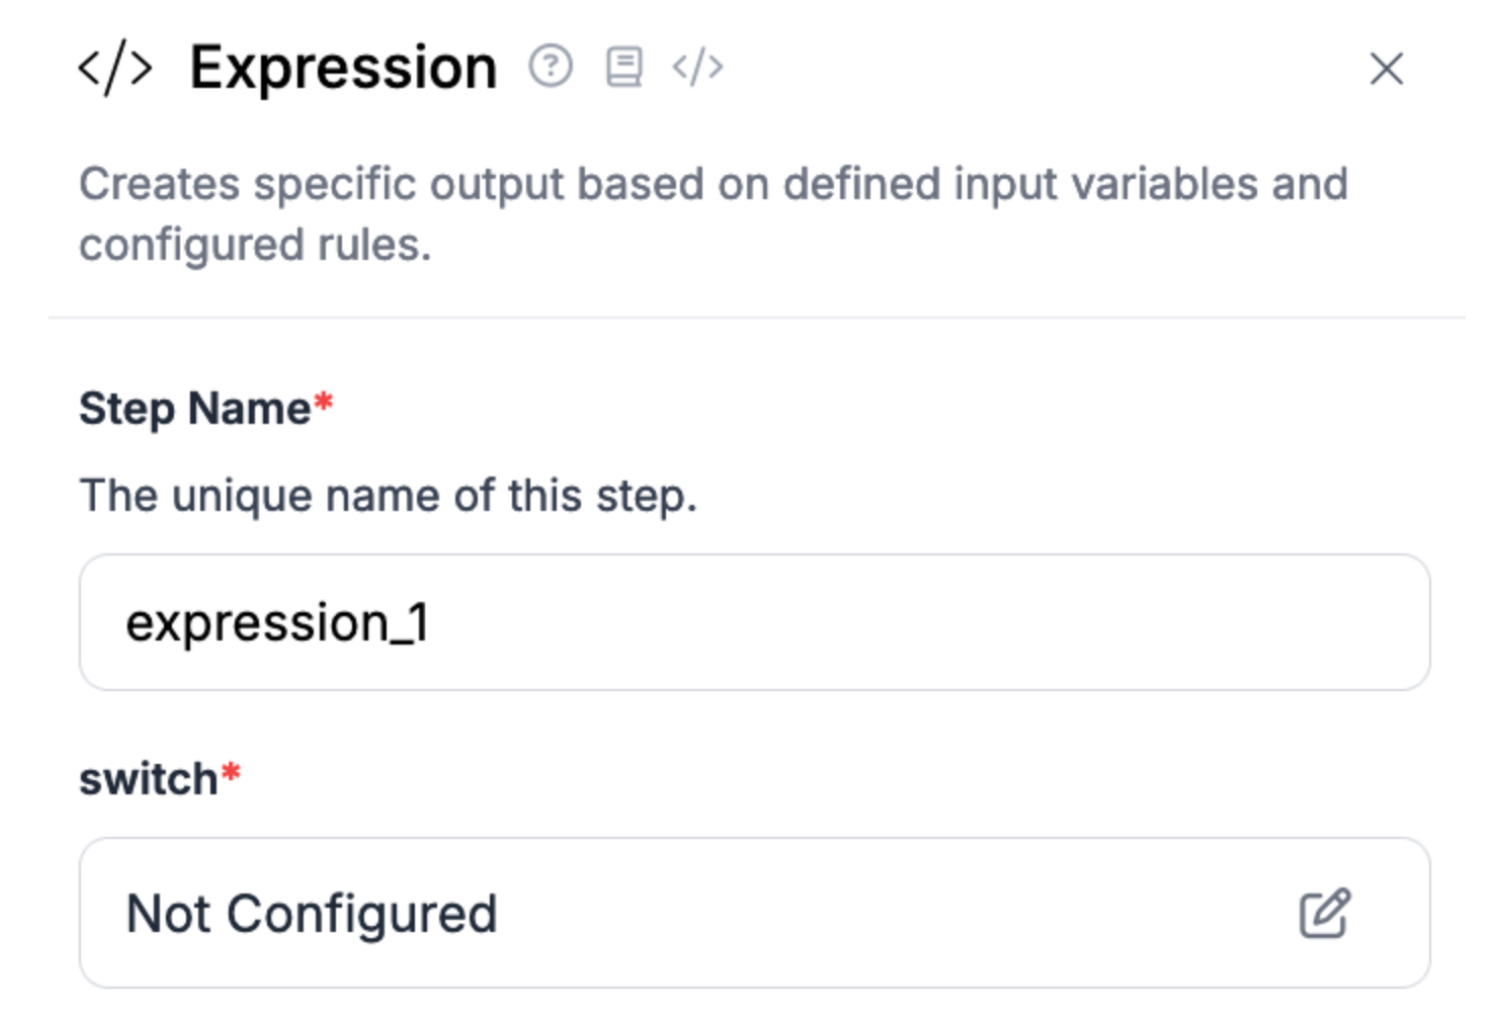
Then, click on “switch” to set the condition of your expression:
A window will appear in which you can configure your expression.
There are several options on this window.
First, we need to declare a new parameter. Create a parameter called pixel_count and set it to the $steps.pixel_color_count.matching_pixels_count value.

Then, click “Add Case Statement”.
Set the condition to pixel_count greater than (>), then the number of pixels that need to be exceeded for the check to apps. For this guide, we will use 1500. Set the output of the condition to the string “PASS”.
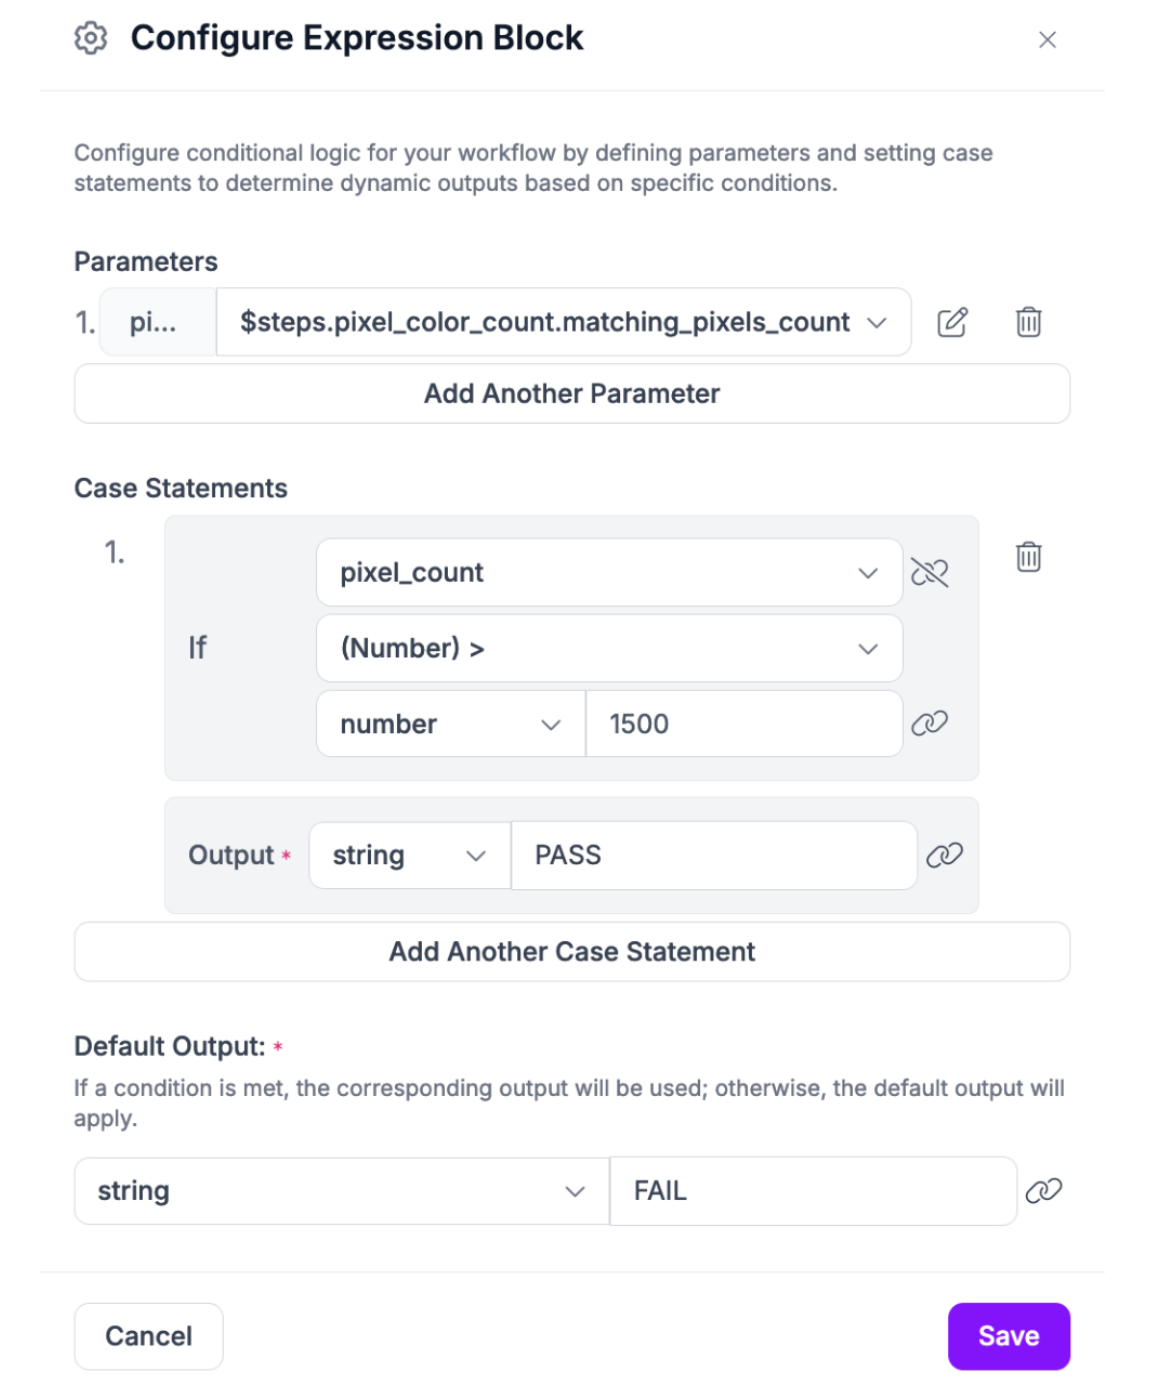
Click “Save” to save the condition.
Step #4: Test the Workflow
Your Workflow should look like this:
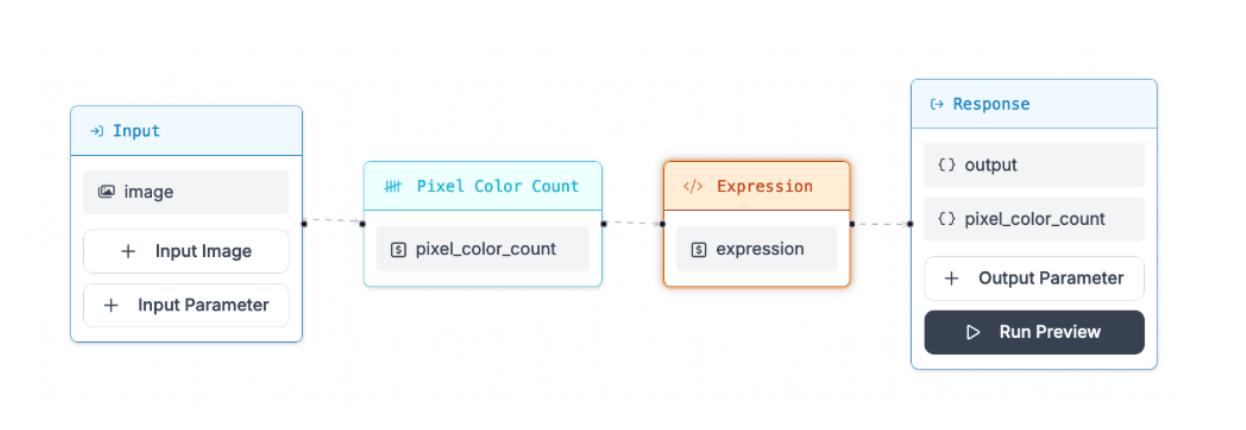
This Workflow:
- Accepts an input image.
- Counts the number of pixels in the region of a reference color.
- Returns the pixel color count.
Let’s run the Workflow on an image.

Click “Run Preview” to open the preview tab where you can test your Workflow. Upload an image you want to use as a test:
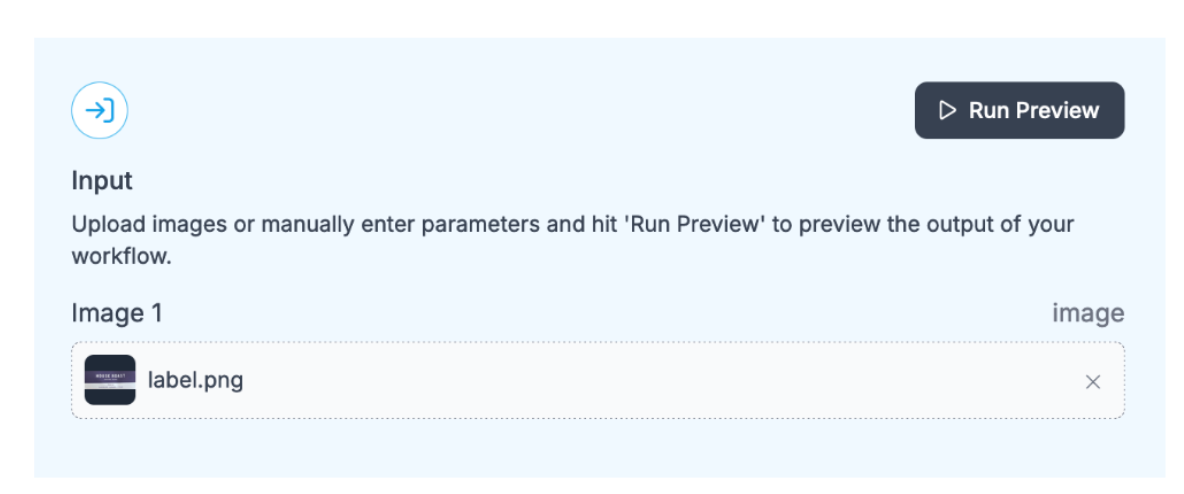
Then, click “Run Preview”.
The pixel color account in the range specified will show up in the JSON output on the right panel:
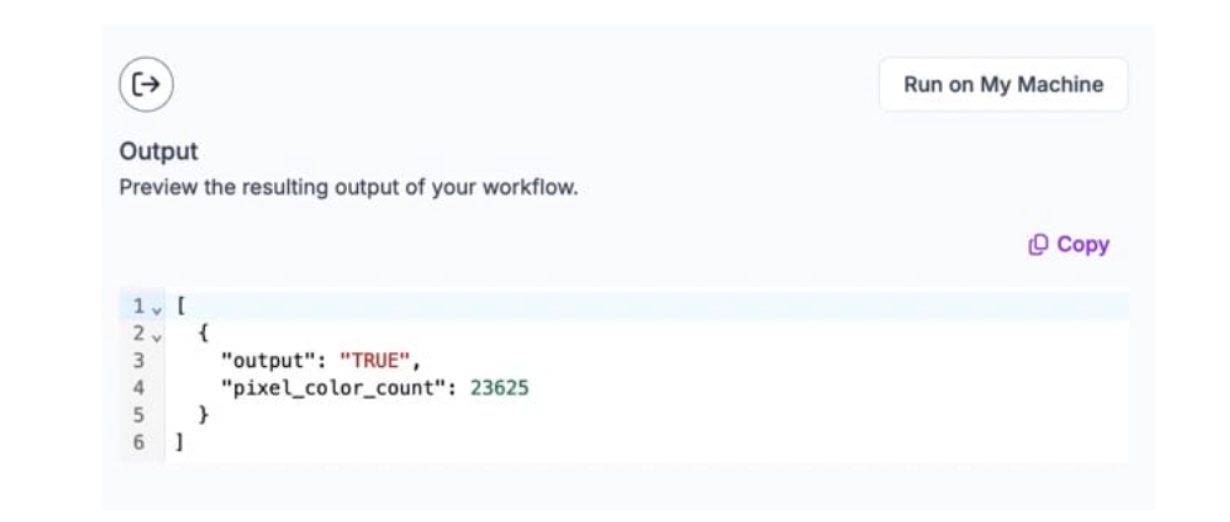
In this case, 23,625 pixels match our threshold. This is indicative of the label color being printed properly. If the count were substantially lower, it may suggest a printing error (i.e. the wrong color used).
Our system returned PASS, indicating the color check – that the number of purple pixels exceeded 1,500 – passed.
The number of pixels you expect to match will vary depending on your input image.
Now that you have the foundation of a Workflow ready, you can expand it with different blocks.
Deploy Your Pixel Color Understanding Workflow
You can deploy a Workflow in three ways:
- To the Roboflow cloud using the Roboflow API;
- On a Dedicated Deployment server hosted by Roboflow and provisioned exclusively for your use, or;
- On your own hardware.
The Workflows deployment documentation walks through exactly how to deploy Workflows using the various methods above.
Deploying to the cloud is ideal if you need an API to run your Workflows without having to manage your own hardware. With that said, for use cases where reducing latency is critical, we recommend deploying on your own hardware.
If you deploy your model in the Roboflow cloud, you can run inference on images. If you deploy on a Dedicated Deployment or your own hardware, you can run inference on images, videos, webcam feeds, and RTSP streams.
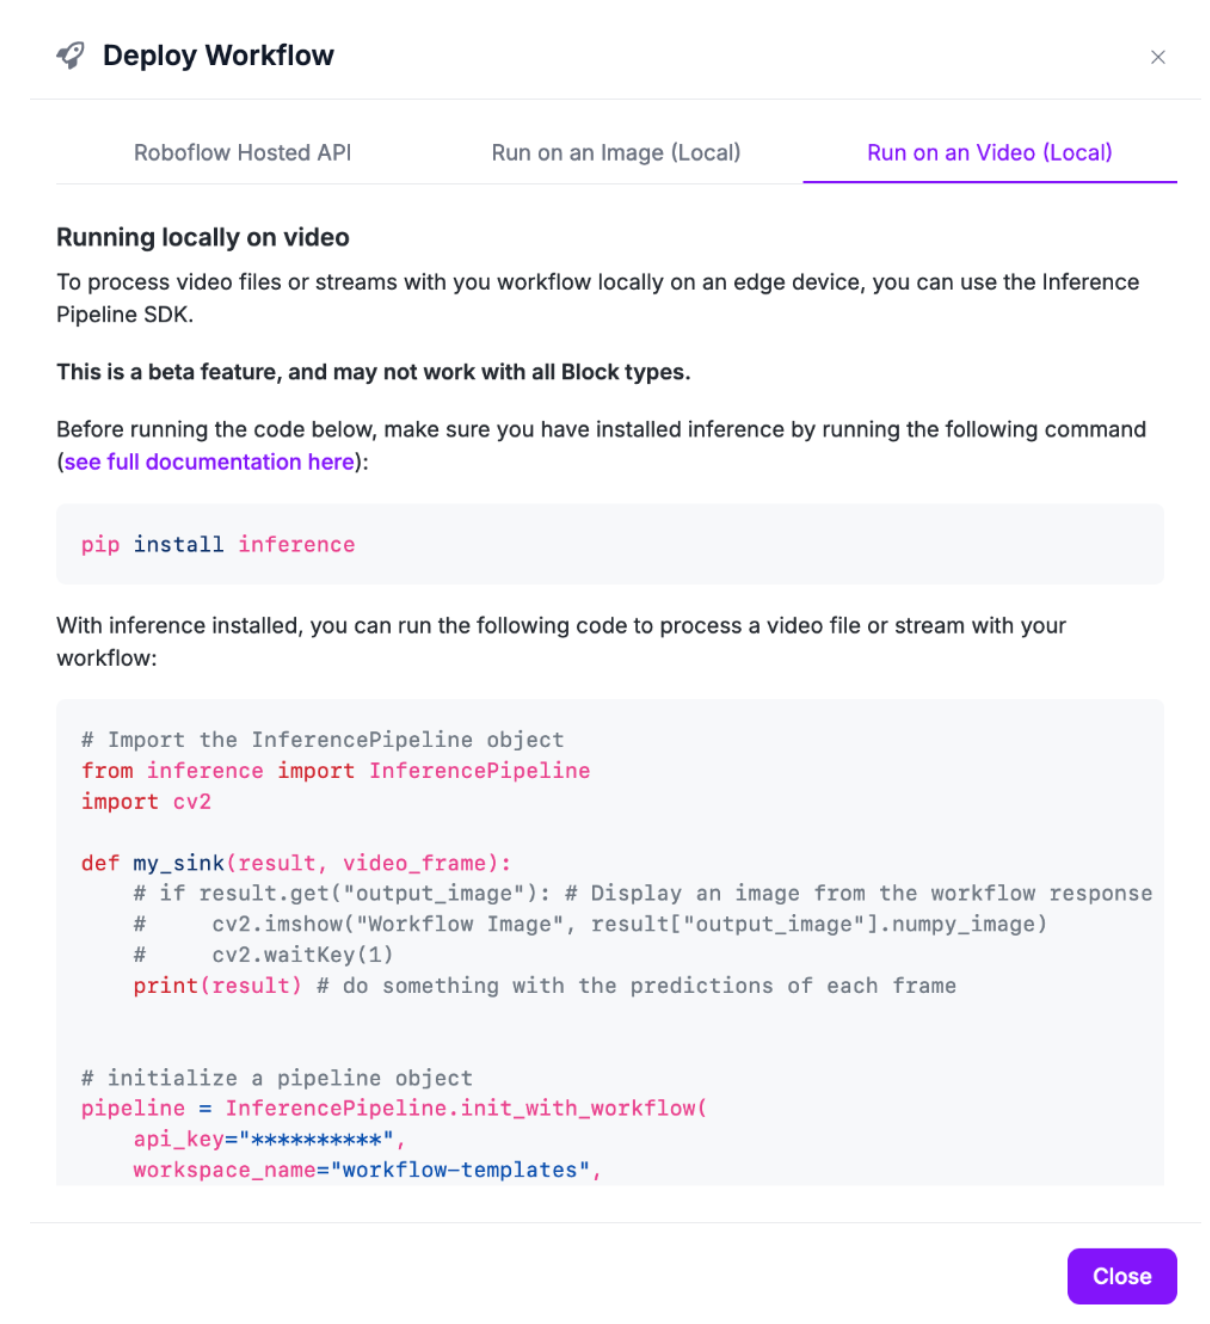
To deploy a Workflow, click “Deploy Workflow” on any Workflow in your Roboflow Workspace. A window will then open with information about how you can deploy your Workflow.
Conclusion
You can use the Pixel Color Count block in Roboflow Workflows to count the number of pixels that have a color within a given threshold.
In this guide, we demonstrated how to use this Block in Roboflow Workflows, tested the system, then discussed ways in which you can deploy the Workflow.
To learn more about applications you can build with Roboflow Workflows, refer to the Workflows Template gallery. To explore more blocks available in Workflows, refer to the Workflow Blocks gallery.
Cite this Post
Use the following entry to cite this post in your research:
James Gallagher. (Sep 4, 2024). How to Count Pixel Colors with Computer Vision. Roboflow Blog: https://blog.roboflow.com/computer-vision-count-pixel-colors/
