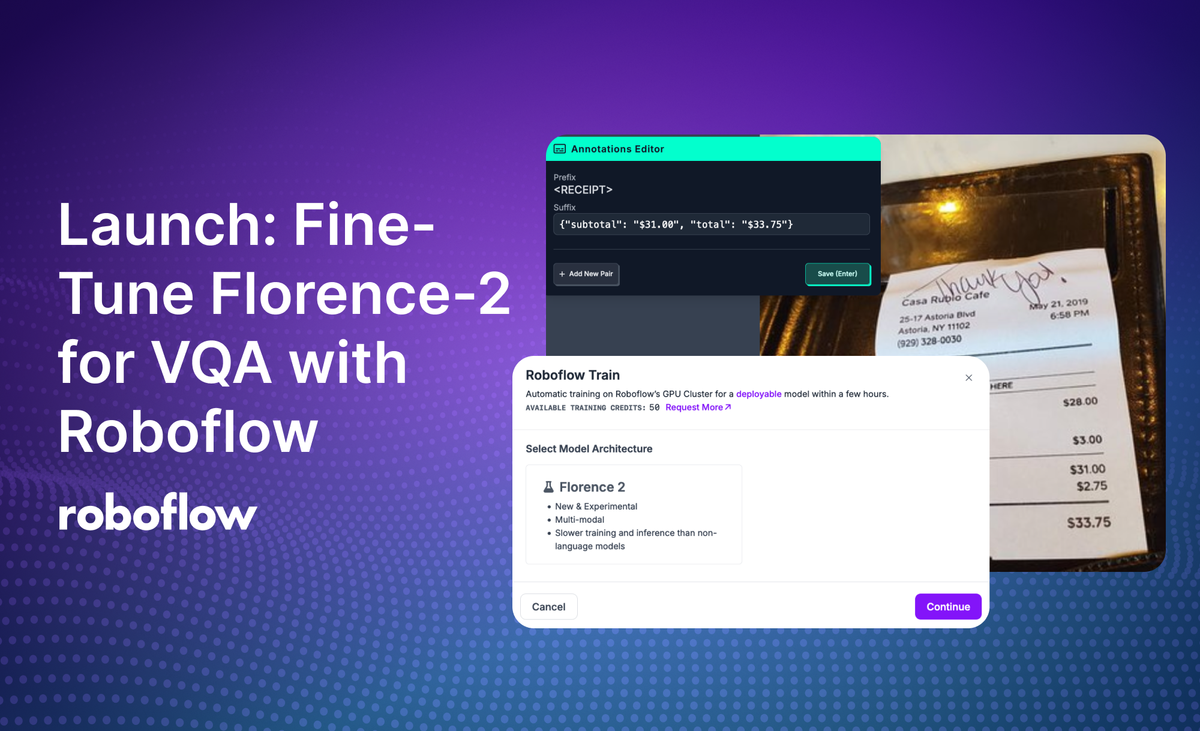
We are excited to announce that you can now fine-tune Florence-2 for VQA on the Roboflow platform with the click of a button.
Florence-2 is a multimodal computer vision model developed by Microsoft. The base Florence-2 weights are capable of tasks such as visual question answering (VQA), OCR, object detection, and more. With fine-tuning, you can improve model performance on these tasks.
In this guide, we are going to walk through how to create a VQA dataset on Roboflow. We will then use Roboflow Train to fine-tune a Florence-2 model in the cloud. This model can then be deployed on your own hardware with Roboflow Inference.
Without further ado, let’s get started!
To learn how to fine-tune Florence-2 for object detection, refer to our Florence-2 object detection training guide.
Step #1: Create an Image-Text Project
To fine-tune Florence-2 with Roboflow, you need an image-text pairs dataset on Roboflow. Image-text pairs is the term for the data structure required to fine-tune models with VQA capabilities like Florence-2.
Create a free Roboflow account, then navigate to your Roboflow dashboard and click “Create a Dataset”. You will be taken to a page where you can configure your project:
Set a name for your project. To set your project type, click the “View More” button and select “Image-Text Pairs”.
Once you have configured your project, click “Create Project”.
Step #2: Set Prefixes
Prefixes are the questions for which you want to label. You need to set prefixes before you start labeling.
For example, if you are training a model to be able to read receipt information, you may set a prefix whose name is <RECEIPT>. The values you will annotate for the prefix could be JSON payloads of the information in the receipt you want to predict (i.e. total, subtotal, tax).
All prefixes will appear in the Roboflow Annotate interface when you are labeling as questions that you can answer and save as a label.
Step #3: Upload and Label Data
Click “Upload Data” in the left sidebar to upload data.
Drag and drop the images you want to label for use in training your model. Once your data has been processed in the browser, click “Save and Continue” to upload it to Roboflow.
Click “Annotate” in the left sidebar of your project, then navigate to an image in your dataset. Click on the image to begin labeling.
You will be taken to the Roboflow Annotate interface where you can start labeling data:
In the top left corner, a panel will appear with prefixes and suffixes. The prefixes are the prefixes you set in the last step. For each image, you should provide a suffix.
For Florence-2, your suffix should be a JSON payload with the information you want to identify.
Once you have labeled all of your data, you are ready to start training a Florence-2 model.
Step #2: Train a Florence-2 Model
Click the “Train” link in the left sidebar. You will be taken to a page where you can generate a dataset version. A dataset version is a snapshot of your dataset, frozen in time. Dataset versions are used to train models.
For your first dataset version, we recommend keeping all settings as the default.
Click “Create” at the bottom of the page to create your dataset version.
The amount of time it takes to generate a version varies depending on the number of images in your dataset.
When your dataset is ready, you will be taken to a page on which you can train a model.
Click the “Train with Roboflow” button. Then, select “Florence-2” as the model type that you want to train.
A window will appear confirming that your training has started. You will receive an estimate of how long we expect it will take for your model to train.
When your model is ready for use, you will receive an email.
Step #5: Deploy the Florence-2 Model
You can deploy fine-tuned Florence-2 models with Roboflow Inference. Inference is a computer vision inference server with support for many state-of-the-art computer vision models including Florence-2, YOLO11, and CLIP.
When you deploy a model with Inference on your device, the model runs locally.
To use your fine-tuned Florence-2 model, you will need to install Inference. You can do so with the following command:
pip install inferenceClick “Deploy” in the left sidebar of your project dashboard. Click “Image Deployment”. Then, copy the code snippet and paste it into a Python file. The code snippet will look like this:
from inference import get_model

model = get_model("expressexpense.com-receipts/16", api_key="API_KEY")

result = model.infer(
	"image.jpeg",
	prompt="<RECEIPT>",
)

print(result[0].response)
The code snippet copied from Roboflow will already have your API key set. Replace the prompt with the prompt prefix you set earlier.
Let's run our model on this image from our test set:

The code snippet returns an object with results from your model:
{'<RECEIPT>': 'A "subtotal": "$31.00", "total": "$33.75"}'}We have successfully run Florence-2 for receipt VQA on our image! The model successfully identified the subtotal and total.
Conclusion
You can fine-tune Florence-2 models for visual question answering in the cloud with the Roboflow platform. You can then deploy trained models to your own hardware with Roboflow Inference.
In this guide, we walked through how to create an image-text pairs dataset, created prefixes, then labeled data for VQA. We then fine-tuned a Florence-2 model in the cloud and deployed the model with Roboflow Inference.
Cite this Post
Use the following entry to cite this post in your research:
James Gallagher. (Dec 10, 2024). Launch: Fine-Tune Florence-2 for VQA with Roboflow. Roboflow Blog: https://blog.roboflow.com/fine-tune-florence-2-vqa/
