
Aimbots are automated targeting systems that use computer vision to detect and track objects in real-time. While building aimbots for competitive gaming is unethical and violates most games' terms of service, understanding the underlying computer vision techniques offers valuable insights into object detection, tracking algorithms, and real-time image processing.
Disclaimer: In this guide, we’ll be using Roboflow to build an aimbot tool for the human benchmark aim trainer, for educational purposes only. Using aimbots in multiplayer games is cheating, violates terms of service, and can result in permanent bans. Please use these techniques responsibly and ethically.
How to Build a Target Detection Model
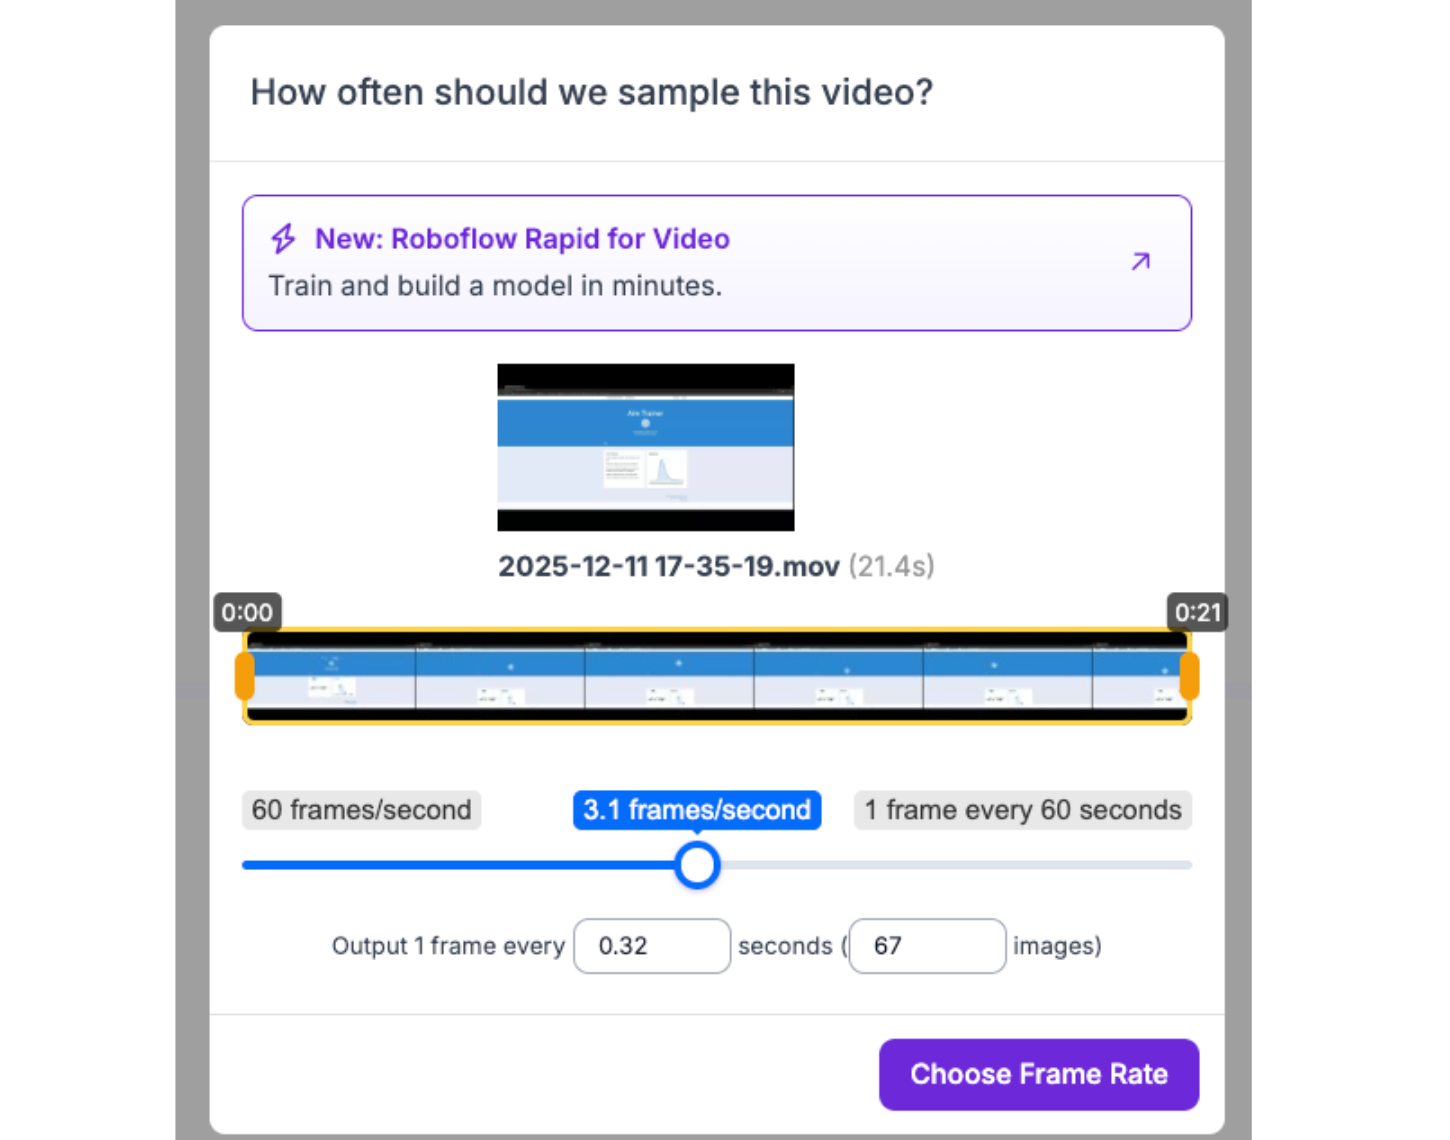
For this project, we’ll need a computer vision model that’s able to detect various targets, so we can automate the mouse tracking to click on them. For this, prepare some sample data by screen recording a personal attempt at the aiming challenge:
With this, we’re able to train an object detection model with Roboflow. In Roboflow, sign in/create a new account, then inside of a workspace, create a new project:
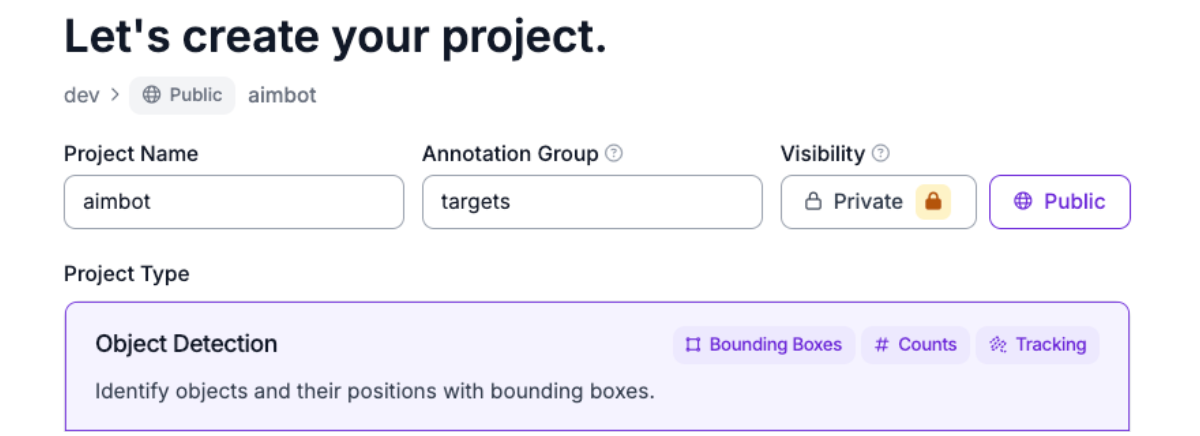
Note that the annotation group is “targets,” because those are what we’ll be annotating.
Once inside the data upload phase, you can upload the video of the personal attempt at the aim trainer. Here's the dataset I used.
After the data is uploaded, head to the annotation tab to begin annotating your images:

Here, we’re labeling the circles we clicked on as a “target”, repeating this process for a handful of images. About 30 should yield an accurate model for this particular case.
Next, we’ll add the annotated images to the dataset and create a new version to train, with no augmentation or preprocessing steps applied. Since an aimbot is ideally as fast as possible, we’ll be training with RF-DETR Nano, a powerful model with high accuracy and fast inference speed:

After the model is done training, we’re ready to start building the aimbot.
Implementation
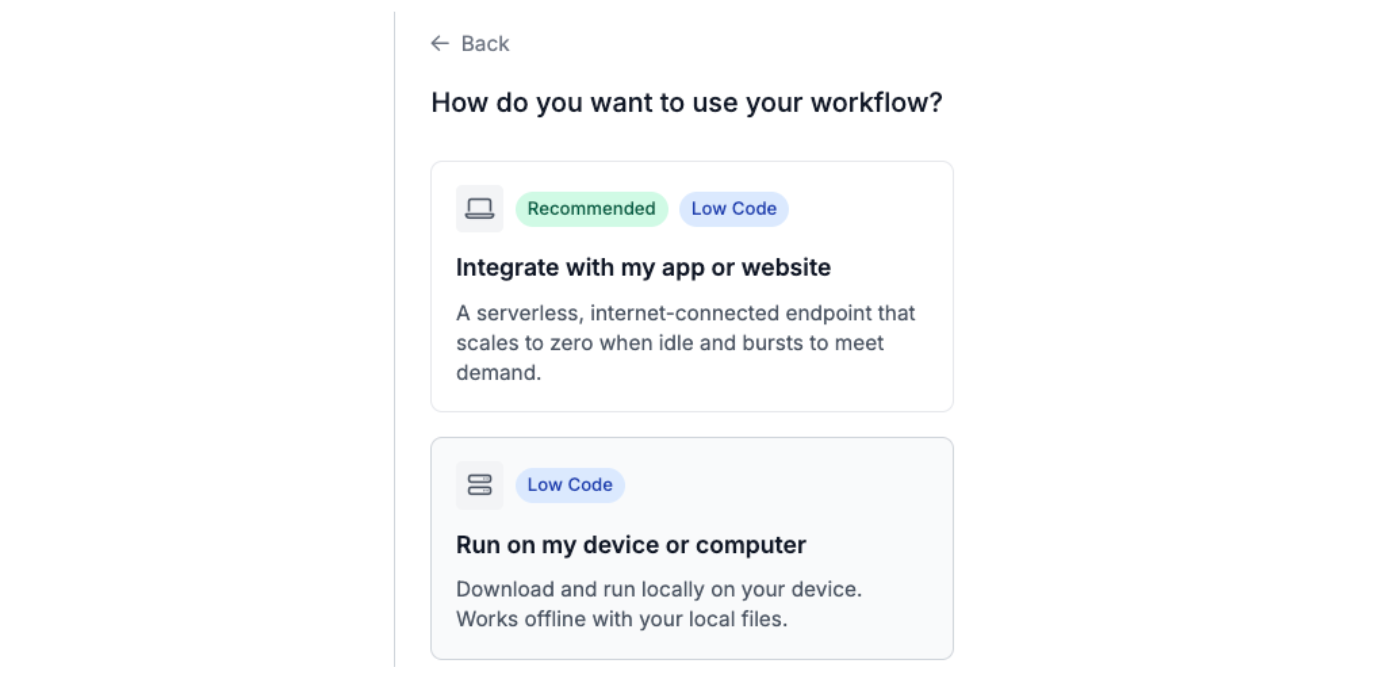
For this aimbot, we’re going to run this model locally to avoid network hindrances, as well as take advantage of our GPU. To do this, first we’ll need to make a workflow for with our model.
Head over to Roboflow, and log in/create an account. From there, create a workspace, and enter the Workflows tab:
Then, create a new workflow with the “build my own” option:

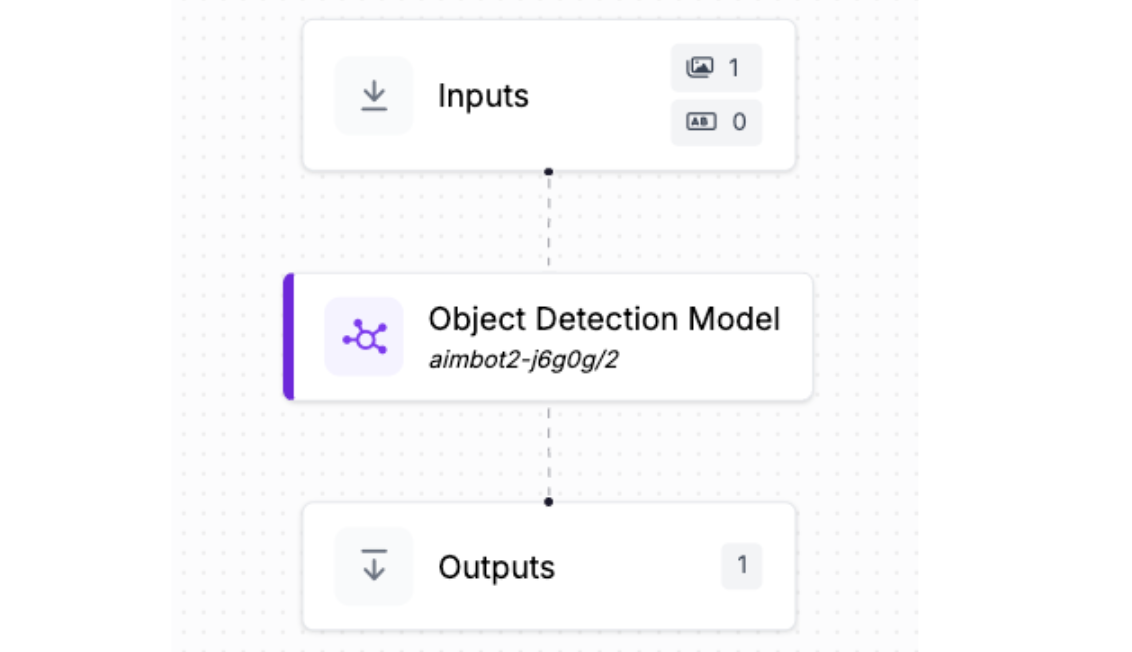
In the workflow, get rid of the default object detection model and add the one that we just built:

Now, save this workflow, and click deploy. Here's the workflow I made.
Follow the instructions to find the on-device running option.
The code snippet provided after allows you to run the workflow after installing Roboflow Inference, the CLI tool for creating a local URL for running your workflow. Make sure to install and set up the Mac or Windows version depending on your OS.
With the snippet, make note of the API_URL, API_KEY, the WORKSPACE_NAME, and WORKFLOW_ID values, by storing them in a .env file.
In the same folder as the .env, create a new file called main.py, and add the following code:
# Import libraries
import os
import time
import math
from dotenv import load_dotenv
from inference_sdk import InferenceHTTPClient
import mss
import pyautogui
from PIL import Image
from pynput import keyboard as pynput_keyboard

# Load environment variables
load_dotenv()

# Connect to the local inference server
client = InferenceHTTPClient(
    api_url=os.getenv("API_URL"),
    api_key=os.getenv("API_KEY")
)

# Configuration
SCREEN_WIDTH = 3440
SCREEN_HEIGHT = 1440
DETECTION_INTERVAL = 0.1

def on_press(key):
    global running
    if hasattr(key, 'char') and key.char == 'p':
        print("\n[Stopping aimbot...]")
        running = False
        return False

listener = pynput_keyboard.Listener(on_press=on_press)
listener.start()

def capture_screen():
    # Captures a screenshot of the entire screen
    with mss.mss() as sct:
        monitor = sct.monitors[1]  # Primary monitor
        screenshot = sct.grab(monitor)
        # Convert to PIL Image
        img = Image.frombytes("RGB", screenshot.size, screenshot.bgra, "raw", "BGRX")
        return img


def box_center(prediction):
    # Returns the center point of a bounding box
    center_x = prediction['x']
    center_y = prediction['y']
    return (center_x, center_y)


def calculate_distance(point1, point2):
    # Calculates the Euclidean distance between two points
    return math.sqrt((point2[0] - point1[0])**2 + (point2[1] - point1[1])**2)


def find_closest_target(predictions, crosshair_position):
    # Finds the target closest to the crosshair
    if not predictions:
        return None

    closest_target = None
    min_distance = float('inf')

    for prediction in predictions:
        target_center = box_center(prediction)
        distance = calculate_distance(crosshair_position, target_center)

        if distance < min_distance:
            min_distance = distance
            closest_target = prediction

    return closest_target


def move_mouse(target_center):
    pyautogui.moveTo(target_center[0], target_center[1], duration=0.1)
    pyautogui.click()


def run_detection(image):
    result = client.run_workflow(
        workspace_name=os.getenv("WORKSPACE_NAME"),
        workflow_id=os.getenv("WORKFLOW_ID"),
        images={"image": image},
        use_cache=False
    )
    if result and len(result) > 0:
        return result[0].get('predictions', {}).get('predictions', [])
    return []


print("Starting aimbot... Press P to stop.")

crosshair_position = (SCREEN_WIDTH // 2, SCREEN_HEIGHT // 2)
print(f"Crosshair: {crosshair_position}")

running = True
while running:
    screenshot = capture_screen()
    predictions = run_detection(screenshot)

    if predictions:
        closest = find_closest_target(predictions, crosshair_position)
        if closest:
            target_center = box_center(closest)
            distance = calculate_distance(crosshair_position, target_center)
            print(f"Target: {target_center}, Distance: {distance:.0f}px, Confidence: {closest['confidence']:.0%}")
            move_mouse(target_center)

    time.sleep(DETECTION_INTERVAL)
The aimbot pipeline works as follows: It starts by loading environment variables and connecting to a local Roboflow inference server. A keyboard listener runs in the background to detect when 'P' is pressed to stop the program (kill switch). The main loop continuously captures screenshots using mss, converts them to PIL Images, and sends them to the Roboflow Workflow for object detection.
The workflow then returns predictions (bounding boxes) for detected targets, each containing x/y coordinates (center), width, height, confidence score, and class. The find_closest_target() function calculates the Euclidean distance from each target's center to the crosshair (screen center at 1720, 720) and identifies which target is nearest. Finally, move_mouse() uses pyautogui to move the cursor to that target's coordinates and clicks, completing one detection cycle.
The loop repeats every 0.1 seconds (configurable via DETECTION_INTERVAL) until the kill switch is activated.
Finally, to run the aimbot, make sure to launch the inference app to initialize the API_URL, and install the necessary dependencies with the following pip command:
pip install python-dotenv inference-sdk mss pillow pyautogui pynput
Then, run main.py and watch as the aimbot gets to work.
How to Build and Run an Aimbot Conclusion
In this tutorial, we built a functional aimbot using Roboflow's computer vision platform, demonstrating how object detection models can be trained and deployed for real-time target tracking.
By combining Roboflow's RF-DETR model with local inference and Python automation libraries, we created a system that detects targets, calculates distances, and automates cursor movement - all fundamental techniques applicable to robotics, autonomous systems, and assistive technologies.
Written by Aryan Vasudevan
Cite this Post
Use the following entry to cite this post in your research:
Contributing Writer. (Dec 16, 2025). How to Build and Run an Aimbot. Roboflow Blog: https://blog.roboflow.com/how-to-build-an-aimbot/