
DINOv2, released by Meta Research in April 2023, is a self-supervised computer vision model that produces high-quality image embeddings without labeled training data, but classification requires pairing those embeddings with a downstream classifier. This tutorial trains a C-Support Vector Classification (SVC) model on DINOv2 embeddings computed over the MIT Indoor Scene Recognition dataset, reaching 0.884 accuracy compared to CLIP's 0.883 on the same benchmark. The dataset is loaded from Roboflow Universe and the full pipeline runs in a Colab notebook with GPU support.
In April 2023, Meta Research released DINOv2, a method of training computer vision models that uses self-supervision to teach a model image features. DINOv2 can be used for, among other tasks, classification. DINOv2 doesn't support classification out-of-the-box. You need to train a classification model using DINOv2 embeddings.
In this guide, we're going to discuss how to classify images using DINOv2 embeddings and a C-Support Vector Classification (SVC) linear classification model. By the end of this guide, we'll have a model trained on the MIT Indoor Scene Recognition dataset that classifies the scene in an image.
Let's get started!
Step 1: Install Dependencies
Before we can start building our classification model, we need to import a few dependencies into our project. If you don't already have numpy, opencv-python, scikit-learn, TQDM, and PyTorch installed, install them using the following command:
pip install torch numpy opencv-python scikit-learnWe also need to install the roboflow pip package, which we will use for loading data for our project:
pip install roboflowNext, let's import the required dependencies into our project:
import numpy as np
import torch
import torchvision.transforms as T
from PIL import Image
import os
import cv2
import json
import glob
from tqdm.notebook import tqdm
Step 2: Load MIT Scene Recognition Dataset
With the dependencies for the project installed, we can start downloading data for our project.
In this guide, we'll use the MIT Indoor Scene Recognition dataset (although you can use any dataset you want in your pro. A version of this dataset is available on Roboflow Universe, an online repository of more than 200,000 computer vision datasets. You will need a free Roboflow account to download a dataset from Roboflow Universe.
Create a new Python file for use in this project, then add the following code:
from roboflow import Roboflow

rf = Roboflow.login()

project = rf.workspace("popular-benchmarks").project("mit-indoor-scene-recognition")
dataset = project.version(5).download("folder")
We have downloaded our dataset in a classification folder format. In this format, each image is in a folder whose name is equal to the label associated with the image. For example, the image train/x/y.jpg in the training dataset has the label x.
We need to create a dictionary that maps all of the file names to the name of the folder they are in so that we know the label for each image. We can do so using the following code:
cwd = os.getcwd()

ROOT_DIR = os.path.join(cwd, "MIT-Indoor-Scene-Recognition-5/train")

labels = {}

for folder in os.listdir(ROOT_DIR):
    for file in os.listdir(os.path.join(ROOT_DIR, folder)):
        if file.endswith(".jpg"):
            full_name = os.path.join(ROOT_DIR, folder, file)
            labels[full_name] = folder

files = labels.keys()
Step 3: Compute Embeddings for Images
We are going to use a linear classification model, SVC, to classify images. Before we can train a model, we need to prepare the inputs for the model. For this project, we need two data points:
- A DINOv2 embedding for each image, and;
- A label associated with ecah image.
In this step, we will compute embeddings for each of the images in our project.
First, let's load the DINOv2 model. We will use the smallest model, dino_vits14 (the "s" means small). This model is more than 3x smaller than the default CLIP weights (~84 MB vs. ~300 MB).
dinov2_vits14 = torch.hub.load("facebookresearch/dinov2", "dinov2_vits14")device = torch.device('cuda' if torch.cuda.is_available() else "cpu")dinov2_vits14.to(device)transform_image = T.Compose([T.ToTensor(), T.Resize(244), T.CenterCrop(224), T.Normalize([0.5], [0.5])]In the last line of code above, we define function to transform our images into a format accepted by DINOv2.
Next, we can write functions to load an image and compute embeddings for each image in a list of images:
def load_image(img: str) -> torch.Tensor:
    """
    Load an image and return a tensor that can be used as an input to DINOv2.
    """
    img = Image.open(img)

    transformed_img = transform_image(img)[:3].unsqueeze(0)

    return transformed_img

def compute_embeddings(files: list) -> dict:
    """
    Create an index that contains all of the images in the specified list of files.
    """
    all_embeddings = {}

    with torch.no_grad():
      for i, file in enumerate(tqdm(files)):
        embeddings = dinov2_vits14(load_image(file).to(device))

        all_embeddings[file] = np.array(embeddings[0].cpu().numpy()).reshape(1, -1).tolist()

    with open("all_embeddings.json", "w") as f:
        f.write(json.dumps(all_embeddings))

    return all_embeddings
With these functions ready, we can start computing embeddings for the images in our training dataset. To do so, we can pass in the list of files we defined earlier in the tutorial through the compute_embeddings() function.
embeddings = compute_embeddings(files)This code may take a few minutes to run depending on the size of your dataset.
Step 4: Train SVC Classification Model
We are ready to start fitting our classification model using our embeddings and labels:
from sklearn import svm

clf = svm.SVC(gamma='scale')

y = [labels[file] for file in files]

print(len(embeddings.values()))

embedding_list = list(embeddings.values())

clf.fit(np.array(embedding_list).reshape(-1, 384), y)
After running this code, we have an SVC model on which we can run inference. To use the model, we need to:
- Load an image to classify;
- Calculate the embedding associated with the image;
- Pass the embedding through our model for classification.
For testing, you can use images in the test or valid sets in your dataset. In the example below, we will run inference on an elevator image that looks like this:
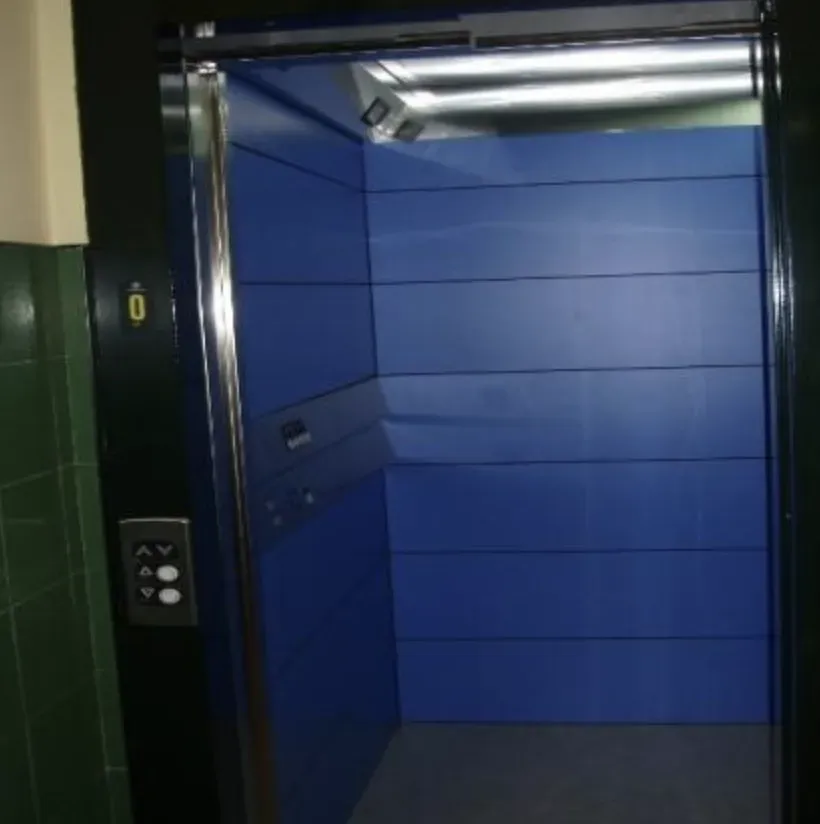
Let's classify this image:
input_file = "MIT-Indoor-Scene-Recognition-5/test/elevator/elevator_google_0053_jpg.rf.41487c3b9c1690a5de26ee0218452627.jpg"

new_image = load_image(input_file)

with torch.no_grad():
    embedding = dinov2_vits14(new_image.to(device))

    prediction = clf.predict(np.array(embedding[0].cpu()).reshape(1, -1))

    print("Predicted class: " + prediction[0])
This code returns the following output:
Predicted class: elevatorOur code has successfully classified our image!
The Roboflow team benchmarked SVC performance on the MIT Indoor Scene Recognition and achieved an 0.884 accuracy rate (compared to CLIP's 0.883 accuracy).
Conclusion
In this guide, we have demonstrated how to build a classification model using embeddings from DINOv2. We loaded the MIT Indoor Scene Recognition dataset from Roboflow Universe, calculated embeddings for each image in our dataset, then trained an SVC model on our embeddings.
If you are interested in learning more about DINOv2, check out our introduction to DINOv2 post and our DINOv2 image retrieval notebook.
Cite this Post
Use the following entry to cite this post in your research:
James Gallagher. (May 30, 2023). How to Classify Images with DINOv2. Roboflow Blog: https://blog.roboflow.com/how-to-classify-images-with-dinov2/