Roboflow strives to make it easy for you to integrate with as much software as possible, allowing you to benefit from each of the parts of our end-to-end solution that make sense for you – training, data management, deployment – without using all of them at once.
In that spirit, we are excited to share with you a new integration with CVAT (Computer Vision Annotation Tool) to bring Roboflow models directly into the tool to speed up your labeling process, free for your first 1000 images.
With this integration, you can load any of the over 11,000 public models available on Roboflow Universe, into CVAT. The model you load into CVAT will annotate images for you where possible, so you can spend less time annotating and launch your project faster than ever.
In this guide, we’re going to talk through how to load a Roboflow model into CVAT. Let’s begin!
To leverage this integration, you will need to have a Roboflow account. To create one, sign up on the Roboflow web application. If you don’t already have an account on CVAT, create an account on cvat.ai.
Step 1: Choose a Model on Universe
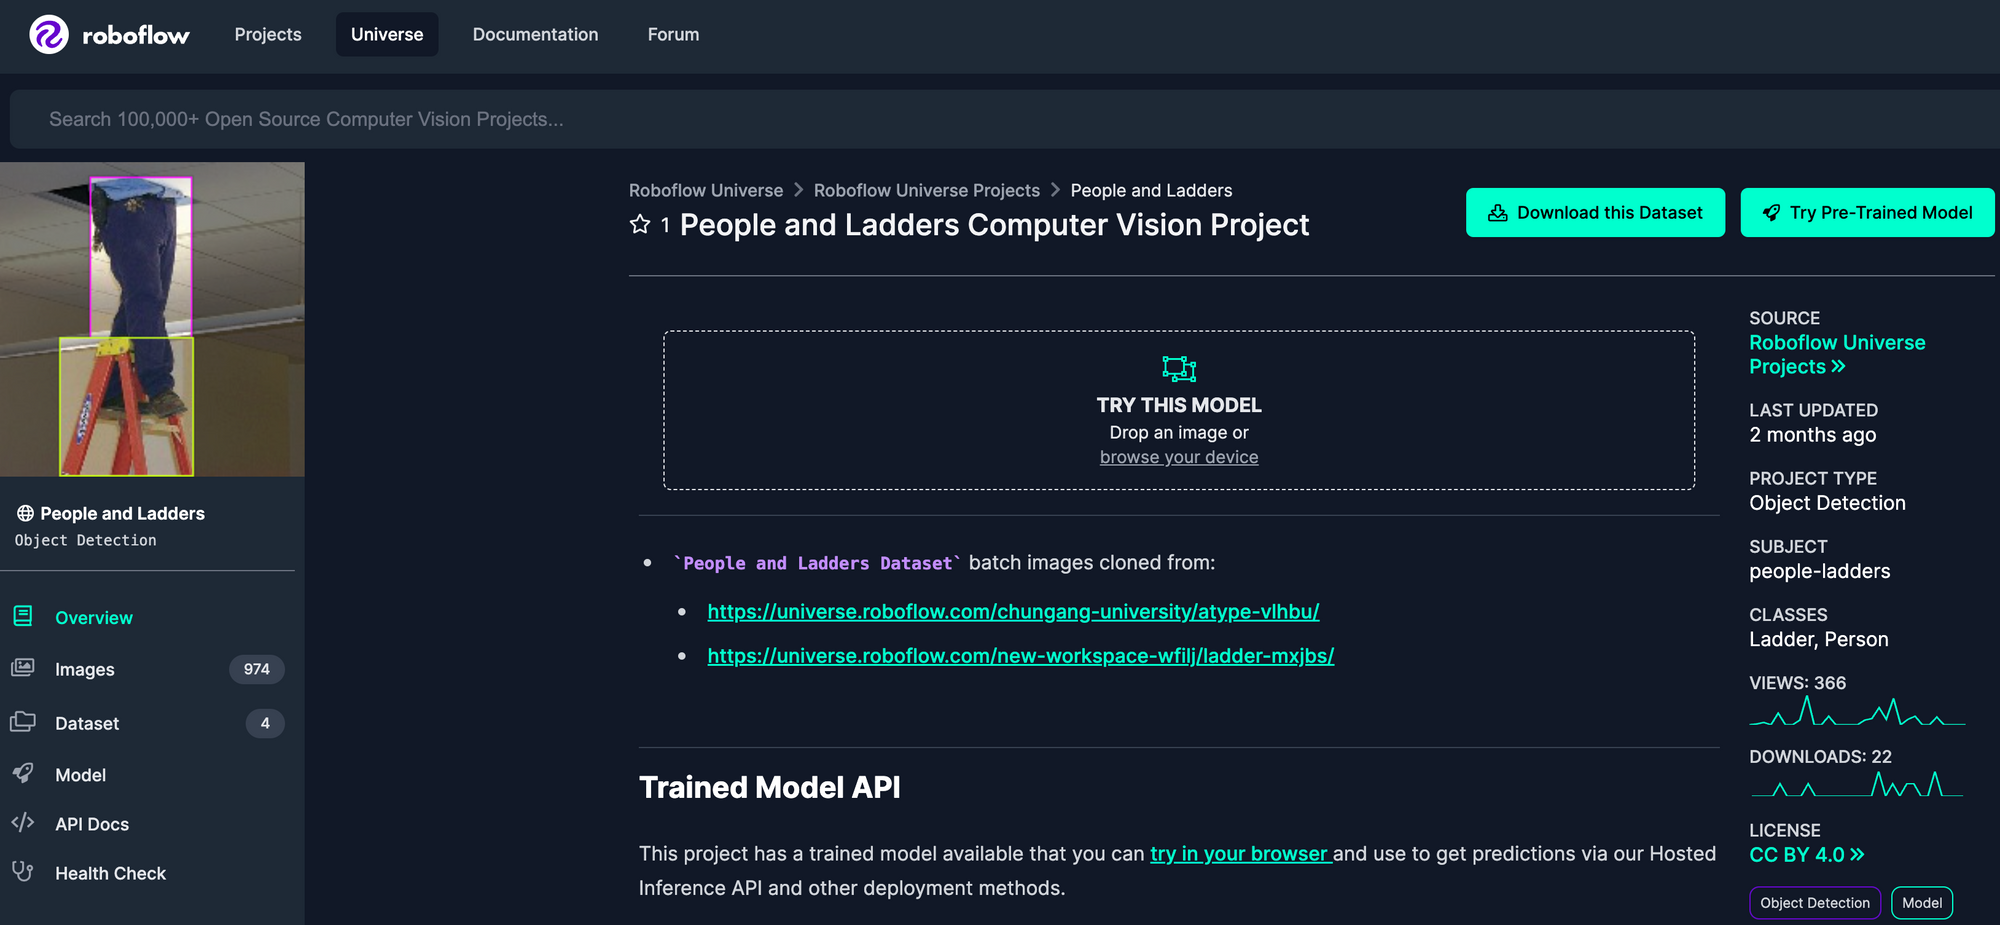
You can use public models on Universe in CVAT. To explore Roboflow Universe, go to the home page and search by the class of object for which you are looking. Click through different datasets to see which ones have the classes you need. If you want to use a model with CVAT, the dataset will need a trained model. You can check if there is one available by clicking the “Model” sidebar link.
For this guide, we’re going to use a public model on Roboflow Universe that identifies people and ladders in various environments. We’ll use this model to help annotate more images that we could use to further improve our model.

Step 2: Add a Model to CVAT
To load a Roboflow model into CVAT, first click the “Models” link in the CVAT navigation bar. In another tab, go to the Roboflow Universe page for the model you want to use and then click “Model” in the sidebar. Copy the URL of the page. Then, paste the link to the Roboflow model you want to use into CVAT:
CVAT will automatically say the provider is “Roboflow”. You will need your API key to use the model. To retrieve this key, scroll down to the section with the heading “Infer on Local and Hosted Images” and copy the API key in the Python code snippet on the Universe page you are viewing. Copy the text after “api_key” and paste it into CVAT, then click “Submit”.
Go back to the “Models” page on CVAT. You will see the model you added listed there:
Now that we have loaded our model into CVAT, we can start using it in our annotations.
Step 3: Annotate an Image
In the CVAT annotation interface, hover over the magic wand in the sidebar. Then, click “Detectors”. This will let you select which model you want to use to help you annotate images. Select the model you added to CVAT in the last step:
Next, we need to map the class names from our Roboflow model to the labels that we want to use in CVAT. Click the first dropdown and select the class name from your Roboflow model. Then, click the second dropdown and add the corresponding class for your CVAT annotation:
In this example, we have mapped the Roboflow “Ladder” prediction to the “ladder” label in our annotation environment and “Person” to the “people” label. When the Roboflow model identifies a Person, the prediction from the model will be drawn in the browser with the “people” label. Click “Annotate” to load your model and begin using the model to assist with annotation.
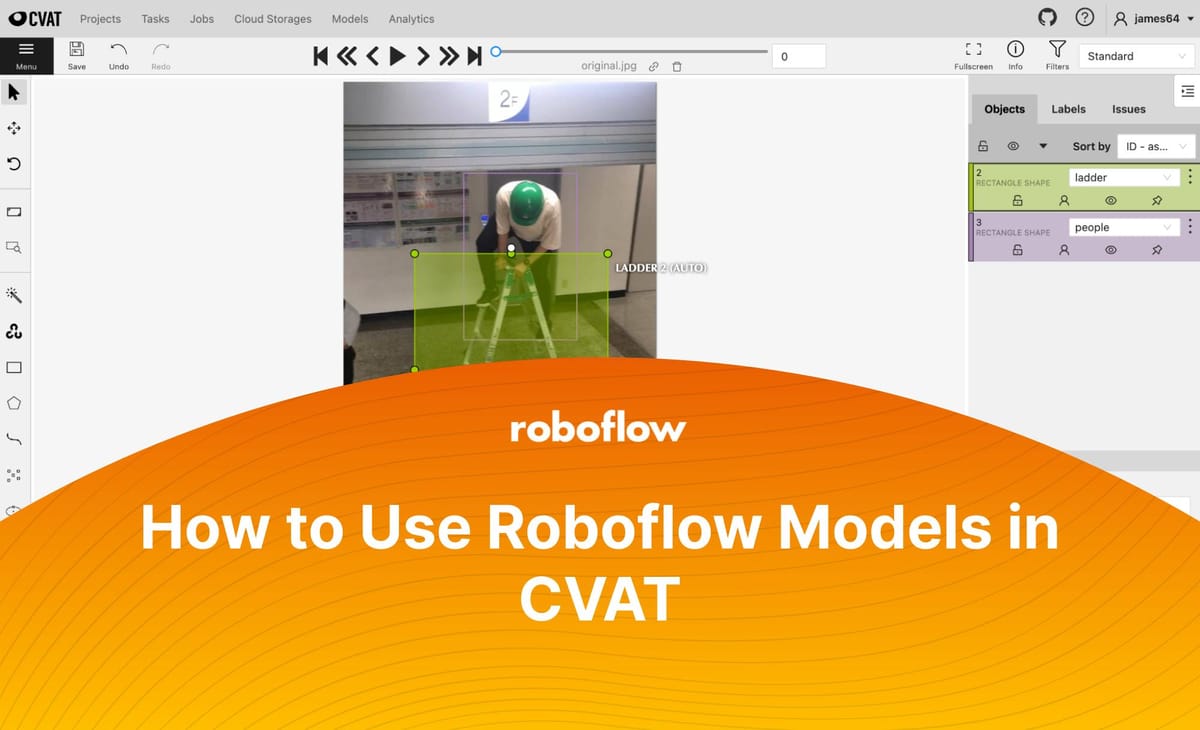
Here is the result of running the model on an example image:
The model has successfully identified both the person and the ladder and assigned the right labels. We can apply this model to more images to make annotation faster, eliminating the need to manually draw bounding boxes around every object of interest in your dataset.
Conclusion
Using Roboflow and CVAT together, you can annotate your images stored in CVAT faster than ever. You can use one of the thousands of publicly-available trained models on Roboflow Universe as an annotation assistant.
Stay tuned for more integrations between Roboflow and other tools as we continue to work toward reducing the friction involved in building your custom computer vision pipeline.
Cite this Post
Use the following entry to cite this post in your research:
James Gallagher. (Feb 13, 2023). How to Use Roboflow Models in CVAT. Roboflow Blog: https://blog.roboflow.com/how-to-use-roboflow-models-in-cvat/
