
Roboflow's platform lets you apply up to 23 different image augmentations when generating a dataset version, including brightness, rotation, and crop adjustments, all configurable through a visual interface that previews changes on real images before committing. Augmentations are applied at dataset generation time rather than during training, which reduces compute overhead and keeps training runs faster. The resulting versioned dataset can be used to kick off a training job directly on Roboflow or exported for use in a custom training pipeline.
Image augmentation, a process through which you create new images based on existing images in your project training set, is an effective way to boost model performance. By creating augmented images and adding them to your dataset, you can help your model learn to better identify classes, particularly in conditions that may not be well represented in your dataset.
Consider a scenario where you are identifying solar panels in aerial imagery. You could apply a brightness augmentation to generate photos of different brightness levels. This will help your model learn to identify solar panels in both dark and bright conditions.
The Roboflow platform provides a visual interface through which you can apply 23 different augmentations to a dataset.
Through the Roboflow dashboard, you can do the following while generating a dataset:
- Select which augmentations you want to apply to generate new images;
- Fine-tune augmentations based on your needs and;
- Visualize how your augmentations will appear on an image from your dataset.
In this article, we’re going to talk through how to apply image augmentations with Roboflow. Without further ado, let’s get started!
Applying Image Augmentations with Roboflow
To apply image augmentations to your data, you will first need to have data in the Roboflow platform.
You can upload data by creating a Roboflow account, selecting “Create New Project” in the Roboflow dashboard, and uploading data – either annotated or unannotated – into the platform. If you haven’t annotated your data, you can do so with Roboflow Annotate.
With an annotated dataset ready, select “Versions” in the sidebar of your project in Roboflow. Then, scroll down to the “Augmentations” section of the page. This is where we’ll apply our image augmentations.
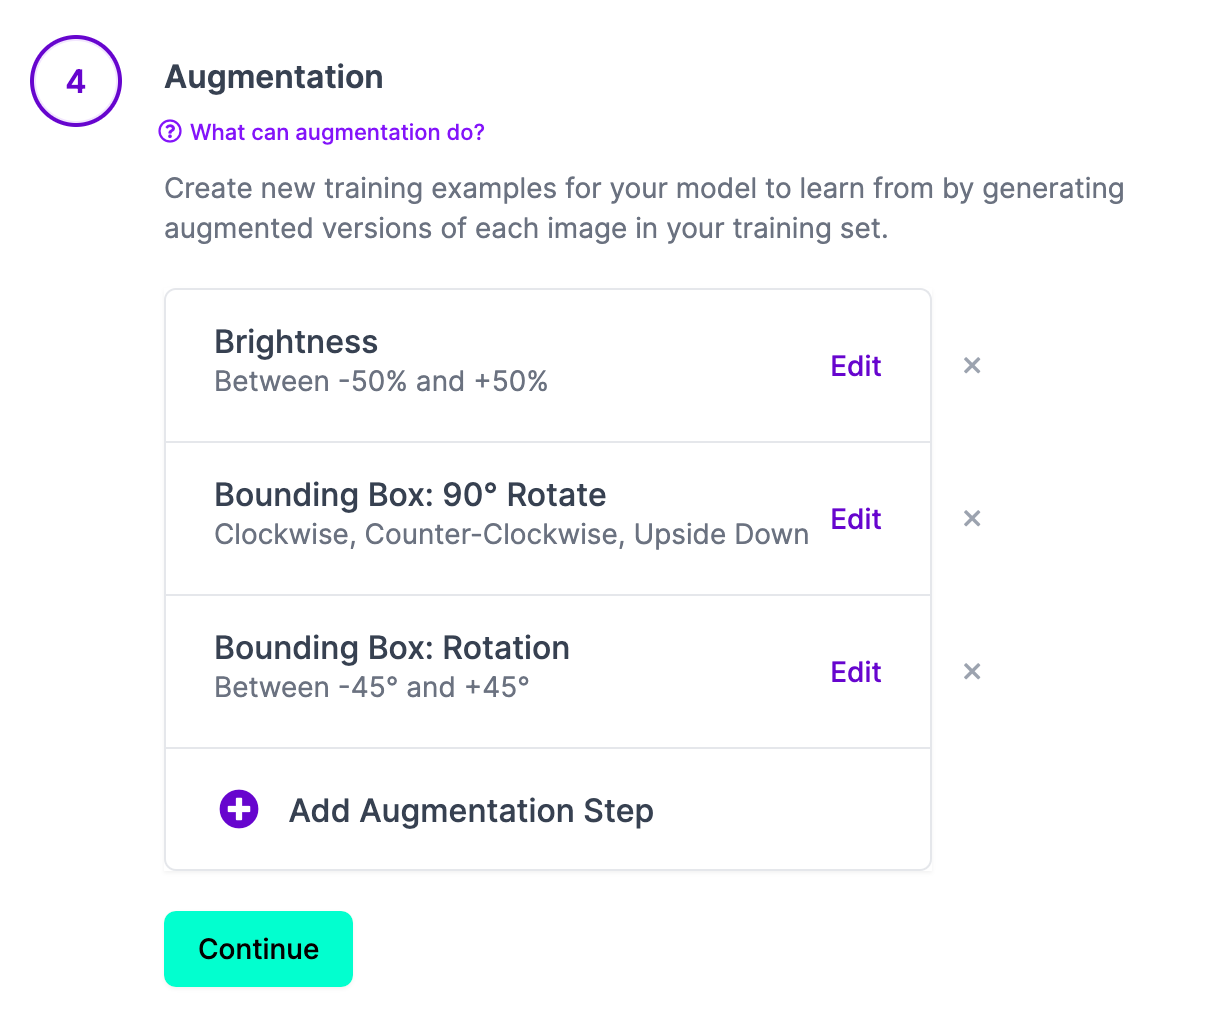
Image augmentations are applied during dataset generation. Datasets are snapshots in time that capture the state of all of the data in the Roboflow platform.
Generating augmented data happens independently from training. This has a few advantages. Training time is sped up because you don't spend compute resources waiting for your CPU to create augmented images during training time. This will help decrease your training costs, particularly on projects that involve larger datasets.
Let’s apply an augmentation!
Adding Augmentations to Data
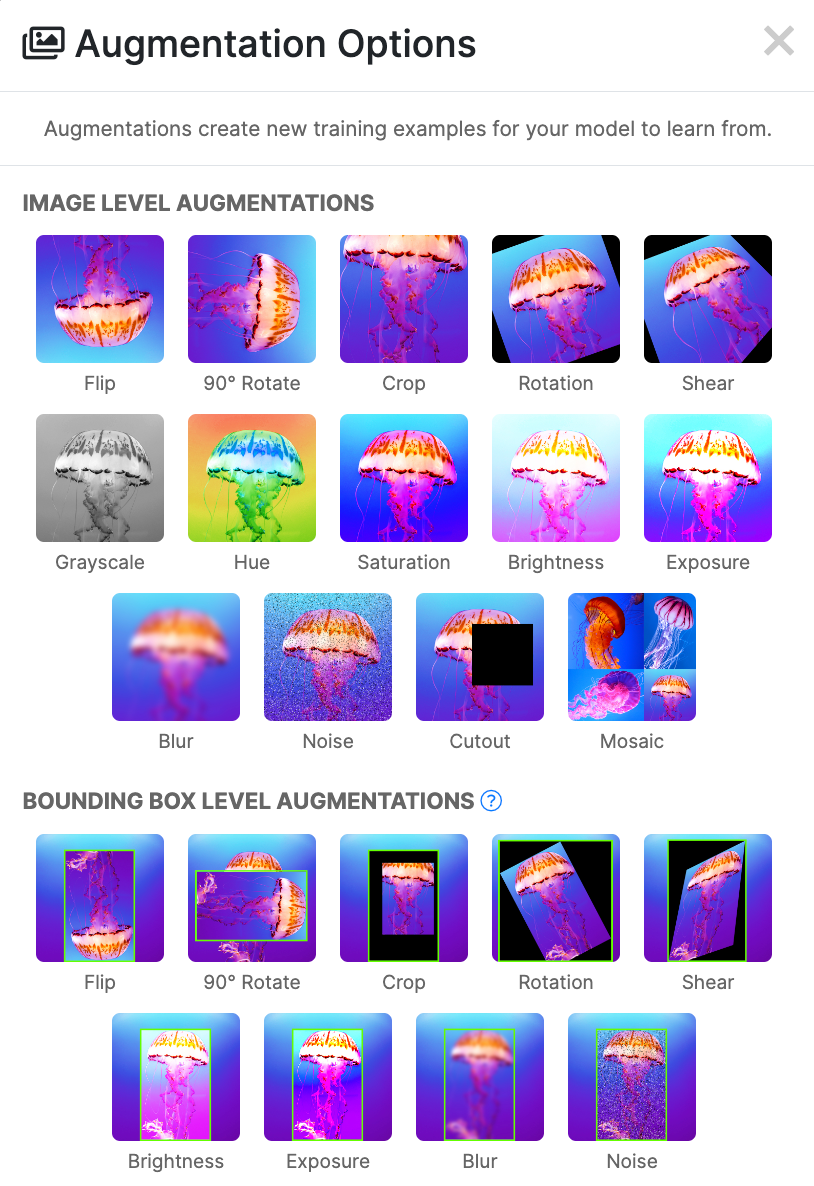
Click “Add Augmentation Step” in the Roboflow dashboard. Then, select the augmentation that you want to apply. Image-level augmentations apply to an entire image, whereas bounding box-level augmentations apply to only the content within bounding boxes.
Augmentations apply to a dataset version, not the underlying dataset. This means that augmentations will be added to the new version you create, not the source data that you have annotated in Roboflow. Thus, new versions of your data will not contain any augmentations from previous versions.
For our solar panel project, let's apply a brightness augmentation:
The default values are generic recommendations that we consider a starting point for applying an augmentation. You should use your own discretion to decide to what extent each augmentation should apply.
To make a decision as to what augmentations to apply and how they should be configured, ask:
What configuration will generate data that is reflective of your use case?
In our case, aerial images might be taken in the early morning when the sun is rising, during the day when the sky is clear, during a cloudy day, and in the early evening. During these times, there will be different levels of brightness in the sky and thus in our image. Thus, brightness is worth trying.
If we see a decrease in performance from our model with this augmentation, we can always roll the augmentation back by reverting back to an earlier version of our dataset.
To choose different augmentation parameters, use the sliders:
0:00/1×
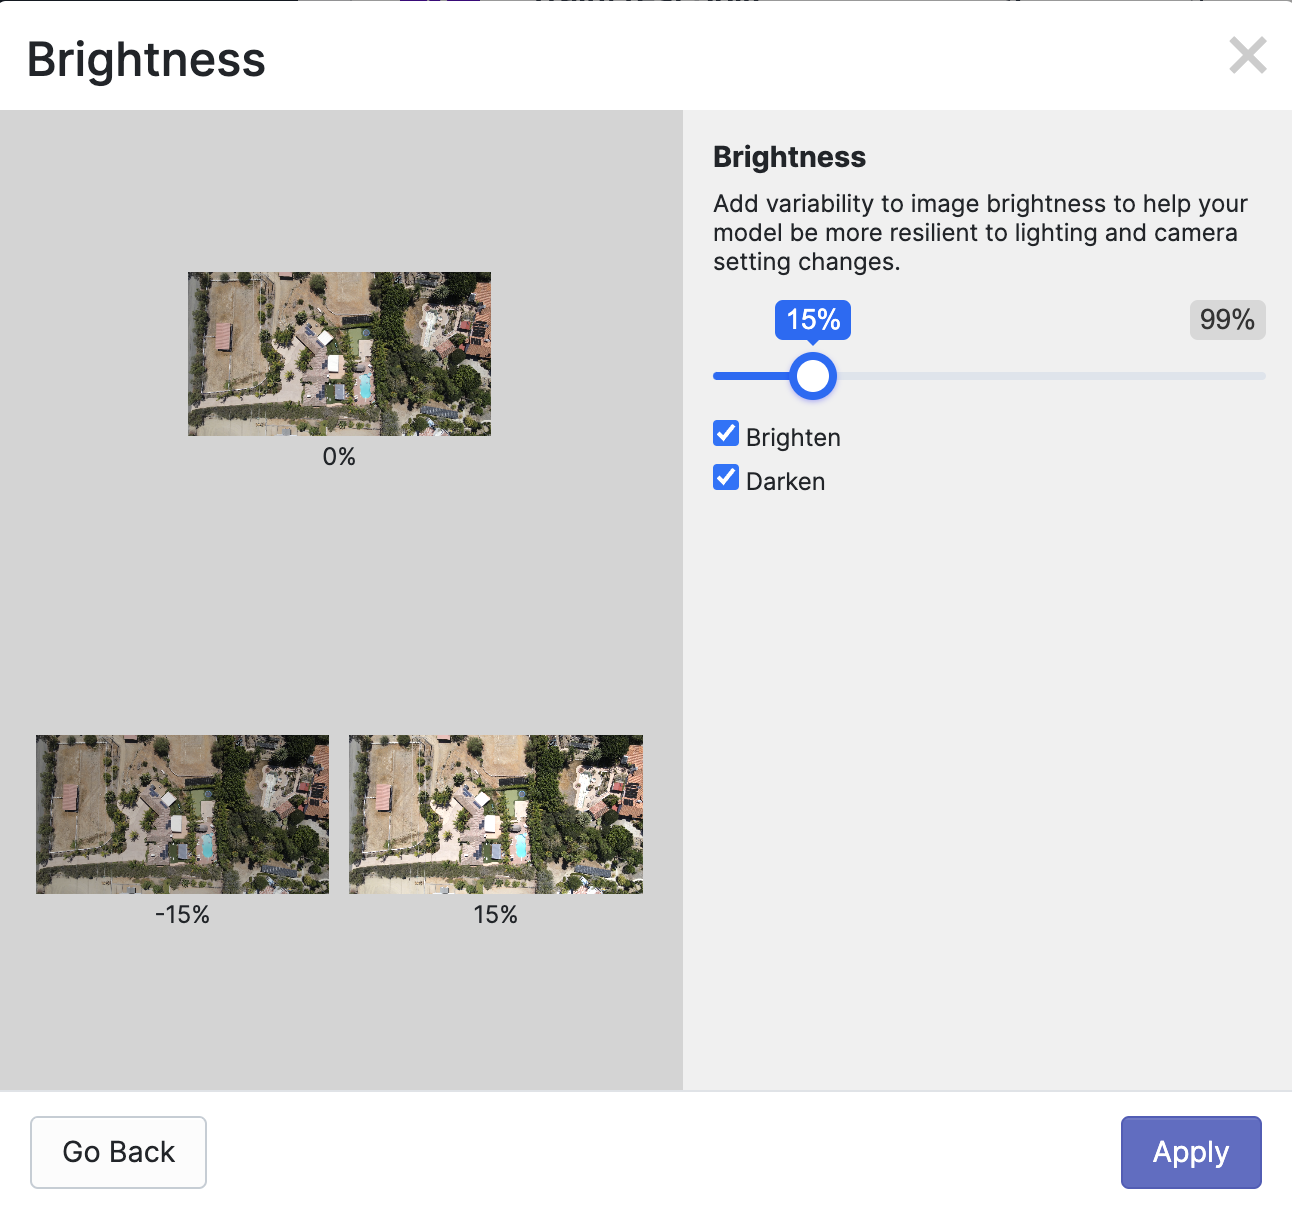
In the example video above, we have selected the default 15% brightness. Some images will have a 15% brightness applied, and others will have a 15% decrease in brightness. By dragging the slider, we can see how images would look with different ranges.
For example, here is how our data would look with a 50% brightness augmentation applied:

From this example, the -50% brightness image looks good. We can deselect “Brighten” to only apply a -50% brightness augmentation to the images we generate. We can click “Apply” to apply our augmentation. This will add the augmentation to the list on our dataset version page:

You can add as many augmentations as you want to your dataset. You can also apply multiple of the same augmentation. For instance, we could apply a +15% brightness augmentation, a -15% brightness augmentation, and a -50% augmentation at the same time. We could add a crop augmentation too by selecting “Crop” from the augmentation options list:
0:00/1×
Select How Many Augmentation Images to Apply
With all of your augmentations ready, click “Continue”. You will then be asked to select an augmentation multiple. This refers to the number of augmented images that should be applied to each image.
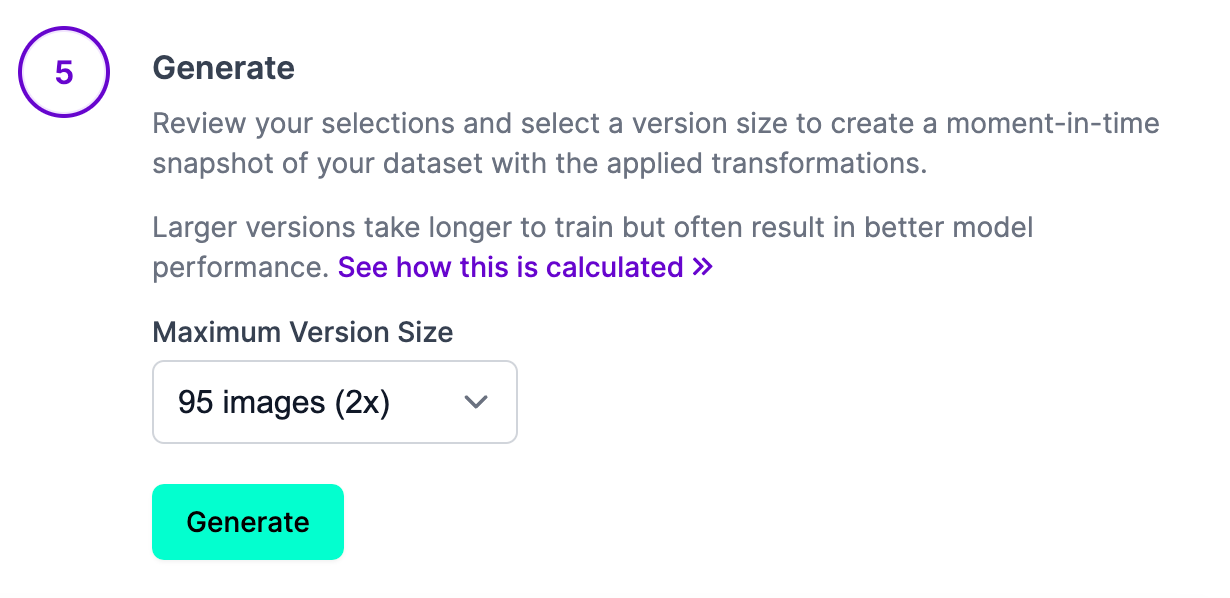
For each image in the multiple, a random selection of your selected augmentations will be applied. For instance, if you have chosen crop, brightness, and resize augmentations with a 2x multiple, each image will have a random selection of those three augmentations applied.
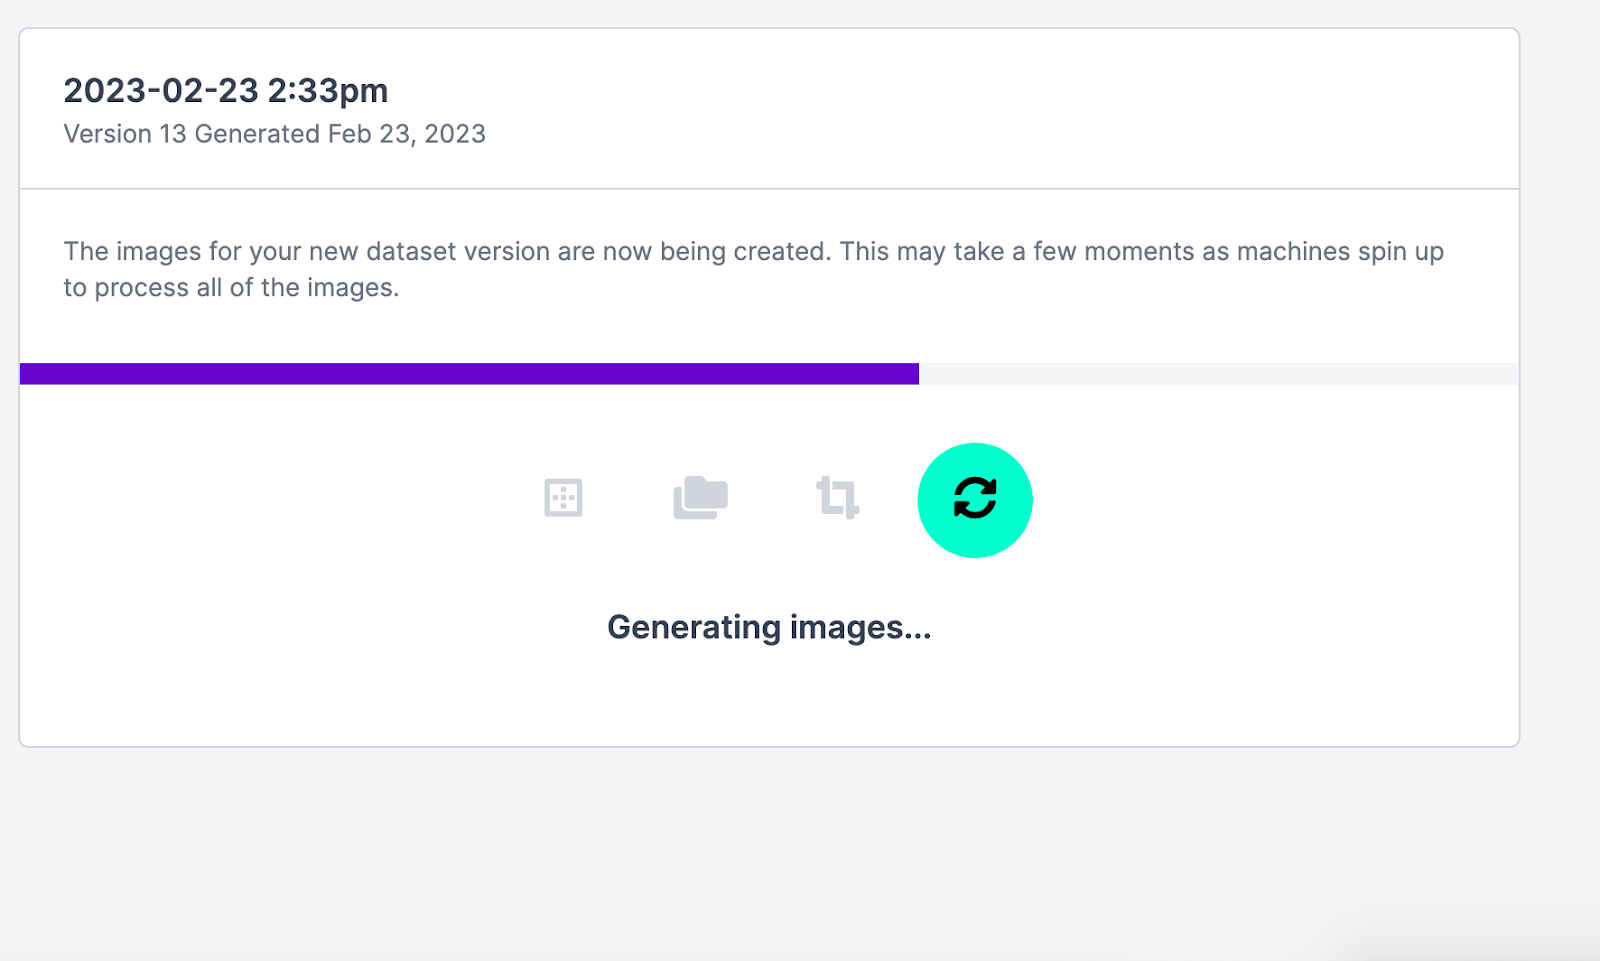
Once you have selected an augmentation multiple, select “Generate”. Roboflow will then generate a new snapshot – “version” – of your data, packaged into a dataset ready for use. You can then use this dataset to train a model on Roboflow, or export your dataset with augmentations for use in a custom training process.
If you are looking on tips to get started with custom training, check out Roboflow Notebooks, a collection of dozens of notebooks showing how to train computer vision models.
Conclusion
In this guide, we have walked through what image augmentations are and how you can apply them in the Roboflow platform. To apply augmentations, go to the Versions page in the Roboflow dashboard and create a new version.
Select as many augmentations that you want to add to your dataset, although keep in mind that more augmentations don’t always boost model performance. You should experiment with augmentations that are appropriate for the data you have in your dataset.
With augmented images in a dataset version, you can kick off a training job on Roboflow to generate an infinitely-scalable API for use with our SDKs and web API, or you can export your dataset for use in custom training.
Cite this Post
Use the following entry to cite this post in your research:
James Gallagher. (Feb 24, 2023). Generate Image Augmentations with Roboflow. Roboflow Blog: https://blog.roboflow.com/image-augmentation/