
Autodistill is an open-source ecosystem of tools for distilling the knowledge from large, general computer vision models (i.e. Segment Anything (SAM)) into smaller models (i.e. YOLOv8). These smaller models are more suitable for edge deployment, offering greater performance in terms of inference time and compute constraints.
Autodistill takes in a folder of images relevant to your project, automatically labels them using a large, general model (called a “base model”), and uses those images to train a target model. To tell Autodistill how to label images in your project, you need to specify a prompt that will instruct the base model on what to annotate.
But what prompt will work best for your use case? How do you know if you have chosen the right prompt? These are key questions, especially if you plan to label hundreds or thousands of images for use with your model. You don’t want to label a thousand images with Autodistill and find your prompt didn’t label your data accurately.
In this guide, we are going to show how to use the open source CV evals framework to evaluate prompts for use with Autodistill. Without further ado, let’s get started!
Step 1: Install Autodistill and CVevals
In this guide, we’re going to use Grounded SAM, a combination of Grounding DINO and the Segment Anything Model (SAM), as our base model with Autodistill. We’ll distill knowledge from Grounded SAM into a smaller model.
First, we need to install Autodistill and the relevant base model package, autodistill-grounded-sam:
pip install autodistill autodistill-grounded-samNext, we need to install CVevals, the framework we will use for evaluating different prompts for use with Autodistill:
git clone https://github.com/roboflow/cvevals
cd cvevals
pip install -e .
CVevals is a standalone utility bundled with a set of starter scripts for use with comparing prompts. All starter scripts are in the examples/ directory. In this guide, we’ll use the examples/grounding_dino_compare.py evaluator for use with Autodistill.
We'll also need to install Grounding DINO for this example. Run the following commands in the root cvevals folder:
git clone https://github.com/IDEA-Research/GroundingDINO.git
cd GroundingDINO/

pip3 install -r requirements.txt
pip3 install -e .

mkdir weights
cd weights

wget https://github.com/IDEA-Research/GroundingDINO/releases/download/v0.1.0-alpha/groundingdino_swint_ogc.pth
Step 2: Prepare Data for Evaluation
In this guide, we are going to use Autodistill to build a model that identifies shipping containers. We have prepared a dataset of shipping containers for use with training the model.
To evaluate prompts, we need both predictions from our target model – in this case, Grounded SAM, which uses Grounding DINO – and ground truth data from annotations we have made. The predictions from the target model are compared against the ground truth data to figure out how accurate the target model was at annotating images in your dataset.
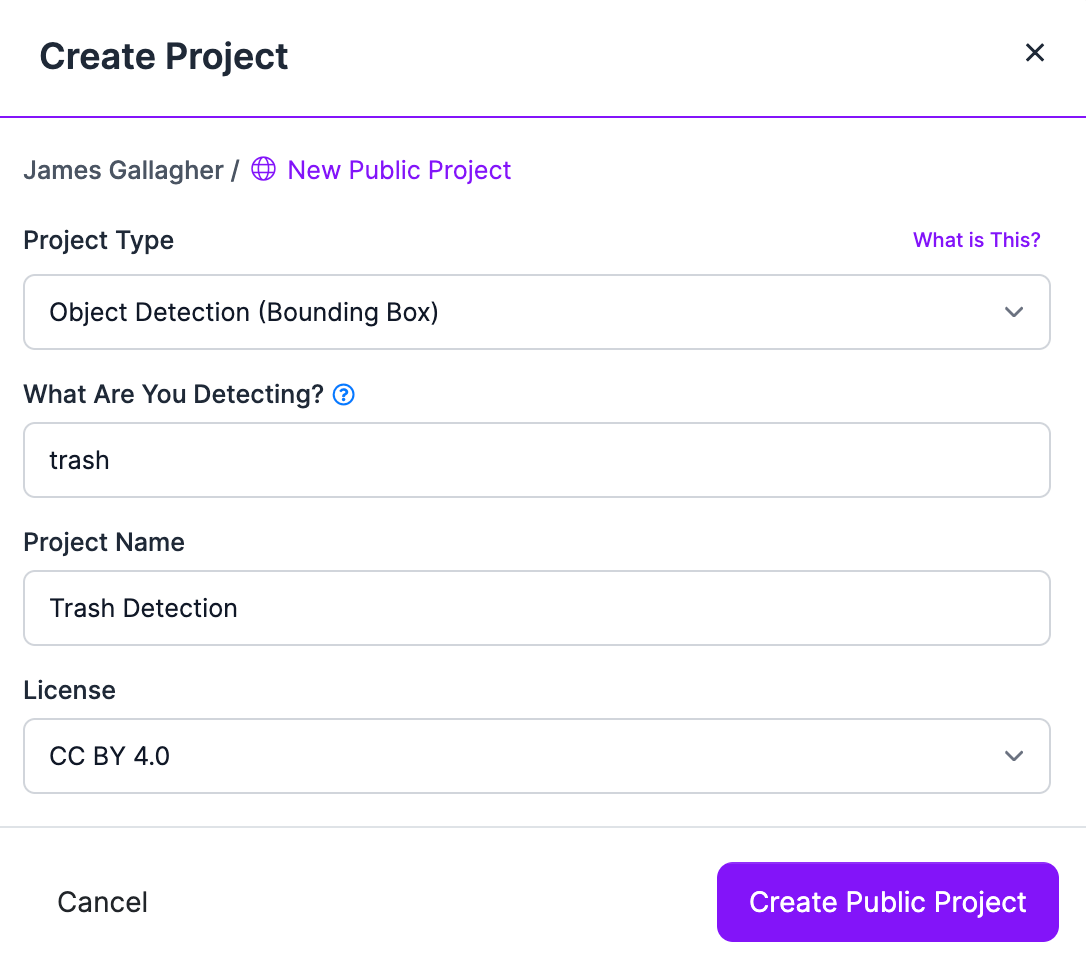
Before we can evaluate prompts for our shipping container model, we need some ground truth data. First, create a project in Roboflow:
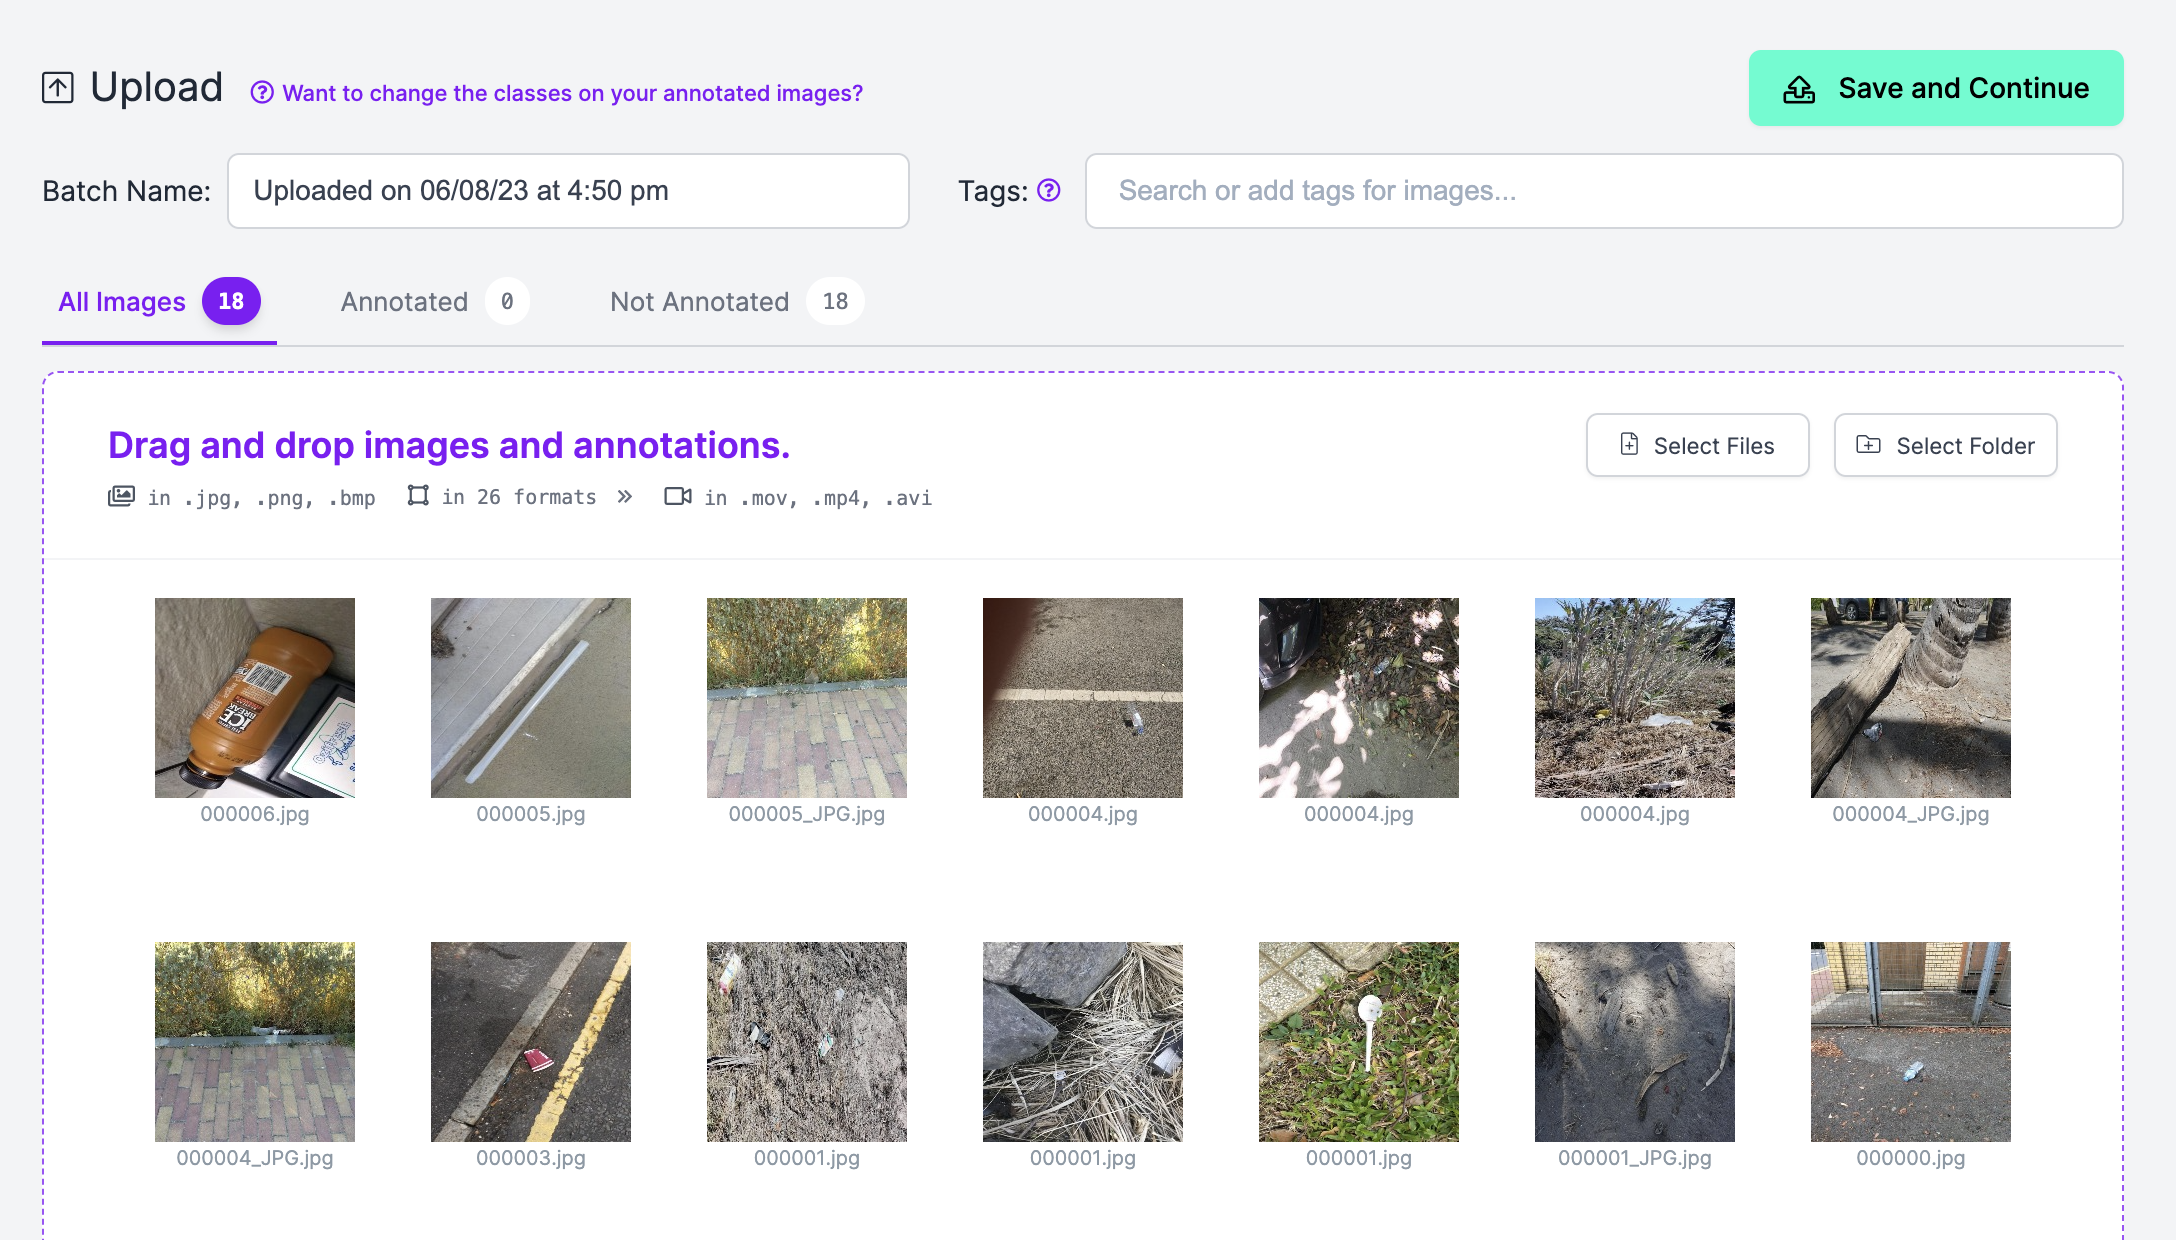
Then, upload ~10-20 images that are representative of the images you want to label with Autodistill.
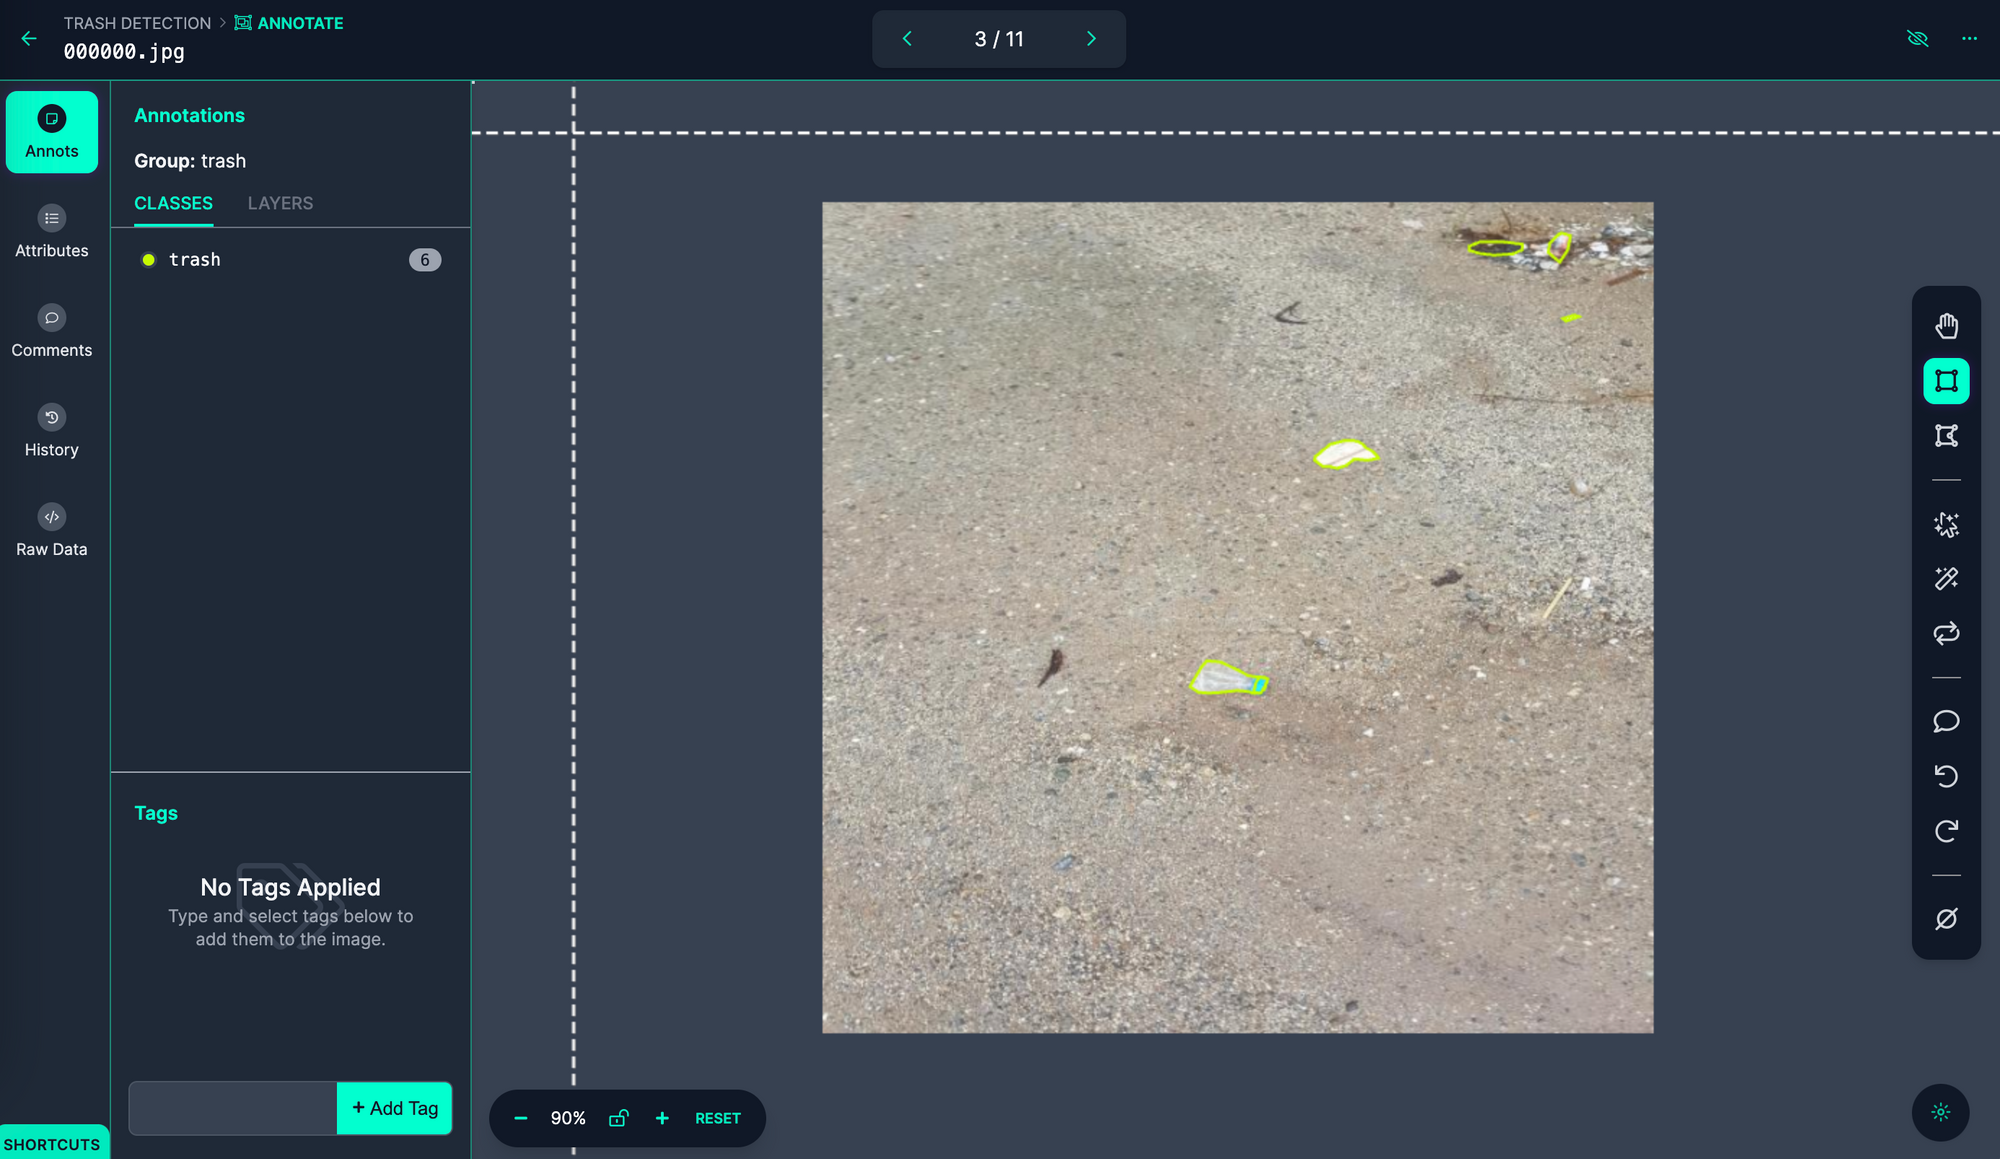
Using Roboflow Annotate, create annotations on your dataset:
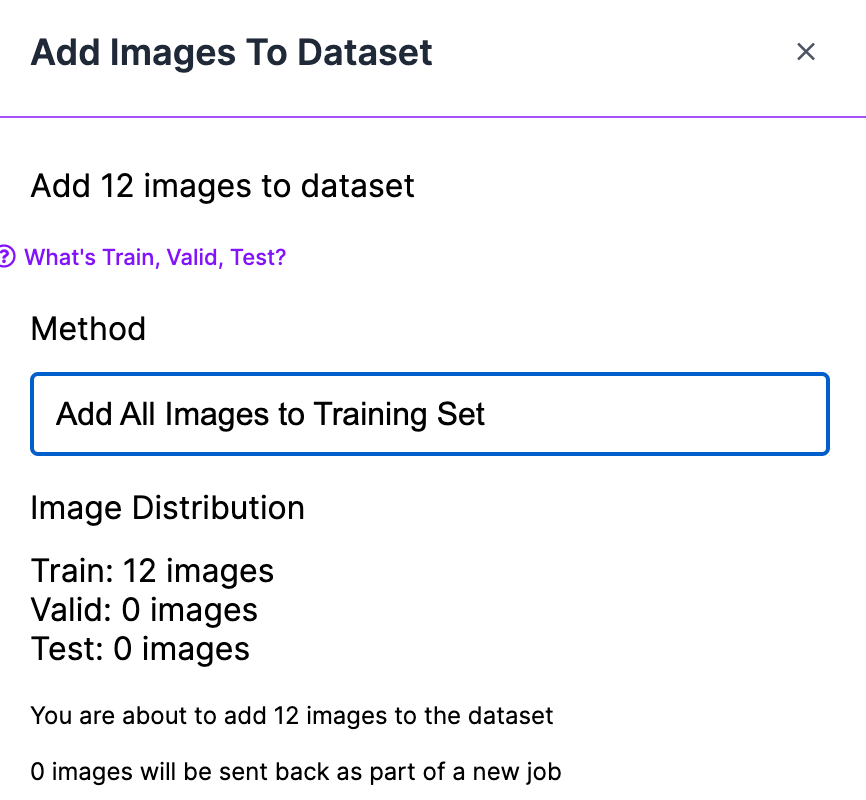
When approving your images for inclusion in a dataset, make sure you add all images to your Training Set:
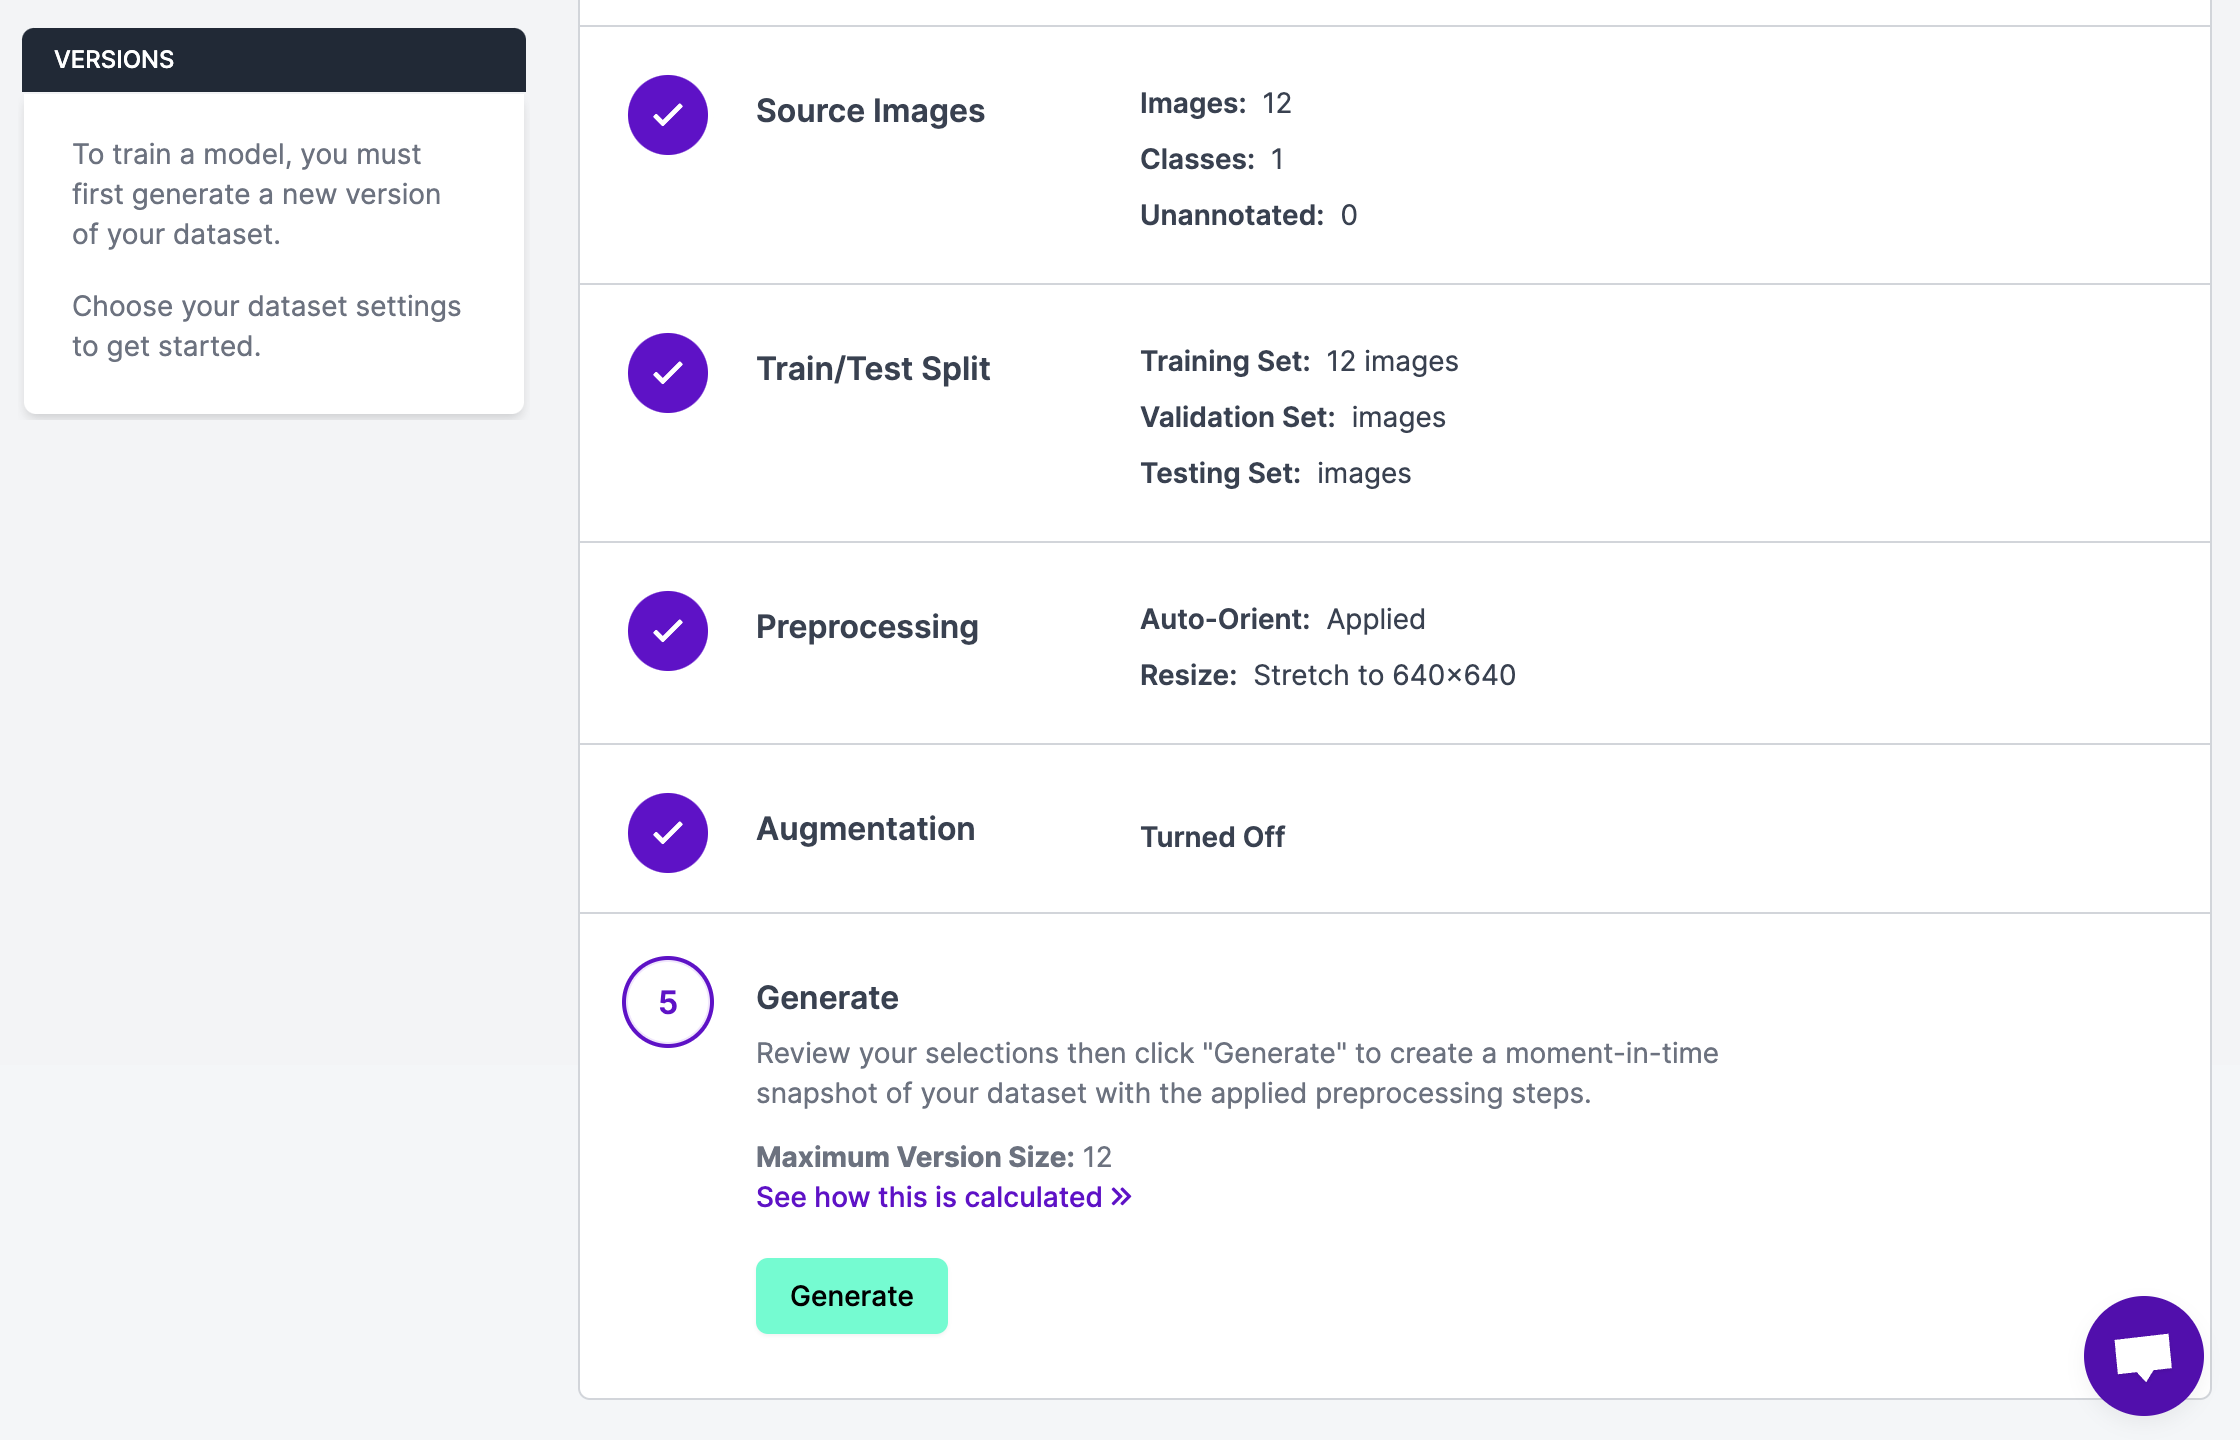
When you have annotated your images, click “Generate” in the sidebar of the Roboflow platform and create a version with all of your annotated images:
We are now ready to compare different prompts for use with Autodistill.
Step 3: Evaluate Base Model Prompts
All of the CVevals scripts accept Roboflow datasets as an input. To set prompts, open up the examples/grounding_dino_compare.py file (or whatever example file from which you are working) and replace the prompts in the `evals` list with a list of prompts you want to test.
All of the comparison scripts that work with Autodistill have a standard API so the code in this section is applicable no matter the base model with which you are working.
Here are the prompts we’ll test in this example:
trashrubbishwaste
Let's edit the evals list in our examples/grounding_dino_compare.py file:
evals = [
    {"classes": [{"ground_truth": "trash", "inference": "trash"}], "confidence": 0.5},
    {"classes": [{"ground_truth": "trash", "inference": "rubbish"}], "confidence": 0.5},
    {"classes": [{"ground_truth": "trash", "inference": "waste"}], "confidence": 0.5},
]
"ground truth" is the label we gave each piece of trash in our annotation. If you used another ground truth label, replace the value as appropriate. inference is what will be passed to the underlying model.
With this code ready, we can run our evaluation script. You will need your Roboflow workspace and model IDs, version number, and API key. To learn how to retrieve these values, refer to the Roboflow documentation.
Let’s run the evaluation script:
python3 examples/dino_compare_example.py --eval_data_path=./images1 \
    --roboflow_workspace_url=james-gallagher-87fuq \
    --roboflow_project_url=trash-detection-2xndh \
    --roboflow_model_version=1 \
    --config_path=./GroundingDINO/groundingdino/config/GroundingDINO_SwinT_OGC.py \
    --weights_path=./GroundingDINO/weights/groundingdino_swint_ogc.pth
This script will take a few minutes to run depending on whether you are working on a CPU or GPU and how many images you want to label. At the end, a table will appear showing the results of the evaluation. By default, evaluations are ordered by f1 score.
Here are the results from our trash evaluation:

From this code, we can see that “trash” is the best prompt for labeling our data. We can now pass that prompt through Autodistill to label our data.
Step 4: Run the Base Model
For our Grounding SAM example, we can run our base model using the following code:
base_model = GroundedSAM(ontology=CaptionOntology({"trash": "trash"}))
base_model.label("./context_images", extension=".jpeg")
In this code, we map the prompt “trash” to “trash”. “trash” is passed to the base model, and all containers are labeled as “trash”. While the prompt and label are the same, these would be different if another prompt were more effective (i.e. a prompt may be "rubbish" and the label could be "trash").
We then start the labeling process.
We can use the labeled images to train a target model. For more information on how to train a target model, check out the target model section of our Autodistill guide, or refer to the Autodistill documentation.
Conclusion
In this guide, we have demonstrated how to use CVevals to evaluate prompts for use with Autodistill. We set up Autodistill and CVevals, compared the performance of three different prompts on a dataset of 20 images, then used the best prompt to label the rest of our dataset.
Now you have the tools you need to find the most optimal prompt for use with Autodistill.