AWS has announced that Amazon Lookout for Vision will be discontinued as of October 31, 2025. Until the discontinuation of the product, Lookout for Vision will still be available for current customers to access but no new customers can use the product. Before the service is deprecated, it is recommended that you make plans for an alternate solution for the automated quality assurance vision systems run on Lookout.
In this guide, we are going to discuss:
- The timing of the Lookout for Vision deprecation;
- How to export your data from Lookout for Vision, and;
- How to migrate from AWS Lookout for Vision and train a new version of your defect detection model.
Without further ado, let’s get started!
AWS Lookout for Vision Discontinuation
On October 10, 2024, AWS announced that Amazon Lookout for Vision will be discontinued.
In the AWS announcement post, it was noted that “New customers will not be able to access the service effective October 10, 2024, but existing customers will be able to use the service as normal until October 31, 2025.”
This means that anyone using Lookout for Vision can continue to use the product until the discontinuation date, after which point the product will no longer be available in its current state.
Lookout for Vision supported two vision project types for defect detection:
- Image classification, where you can assign a label to the contents of an image (i.e. contains defect vs. does not contain defect), and;
- Image segmentation, which allows you to find the precise location of defects in an image.
You can export your data from AWS Lookout for Vision in both classification and segmentation formats. These formats can then be imported into other solutions.
Deploy AWS Lookout for Vision Models on Roboflow
AWS Lookout for Vision offers data export for the images you used to train models that were deployed with Lookout for Vision. These images can be used to train models in other platforms such as Roboflow.
Roboflow supports importing classification data from AWS Lookout for Vision for all users. If you want to import segmentation data, contact our support team. If you have a business-critical application running, our field engineering team can help you architect a new vision solution no matter at what scale you are running.
Below, we are going to talk through the high-level steps to migrate data from AWS Lookout for Vision for classification.
Step #1: Export Data from AWS Lookout for Vision
First, you need to export your datasets from Lookout for Vision. You cannot export your model weights, but you can re-use your exported data to train a new model.
To export your datasets, follow the “Export the datasets from a Lookout for Vision project using an AWS SDK” guide from AWS. This will allow you to export your data to an AWS S3 bucket.
Once you have exported your data to S3, download it to a local ZIP file if your dataset is small (i.e. < 1,000 images). Then, unzip the file.
If your dataset is large, follow the Roboflow AWS S3 Bucket import guide to learn how to directly import your annotations from S3 to Roboflow. If you use the bucket import, you will need to fcreate a project in Roboflow first, as detailed at the start of th enext step.
Step #2: Import Data to Roboflow
Next, create a free Roboflow account. Create a new project and choose Classification as the project type (Note: segmentation projects can only be imported with assistance from support):
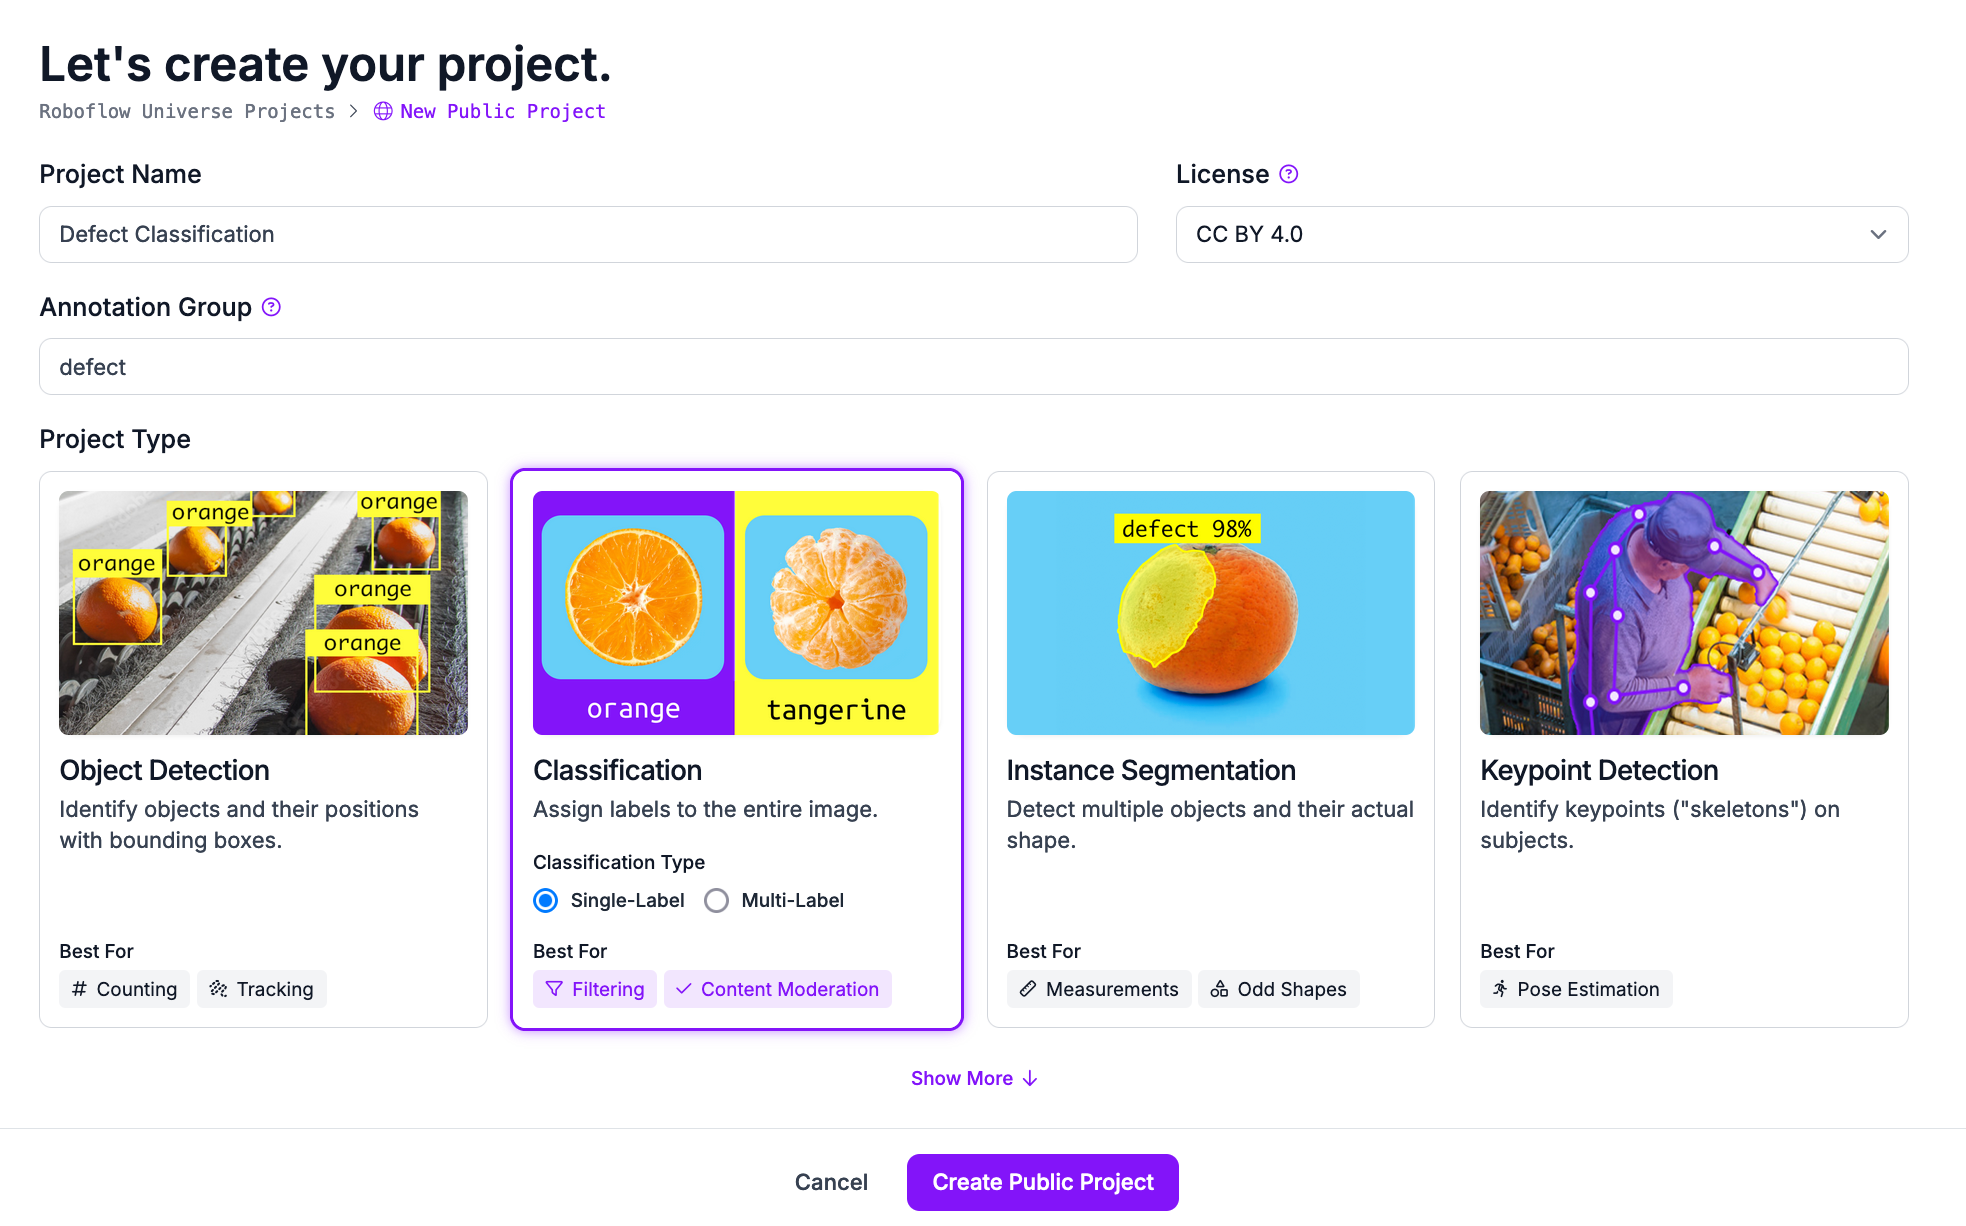
Then, click “Create Project”.
Next, drag and drop the data you exported from AWS Lookout for Vision. When the “Save and Continue” button appears, click it to start uploading your data.
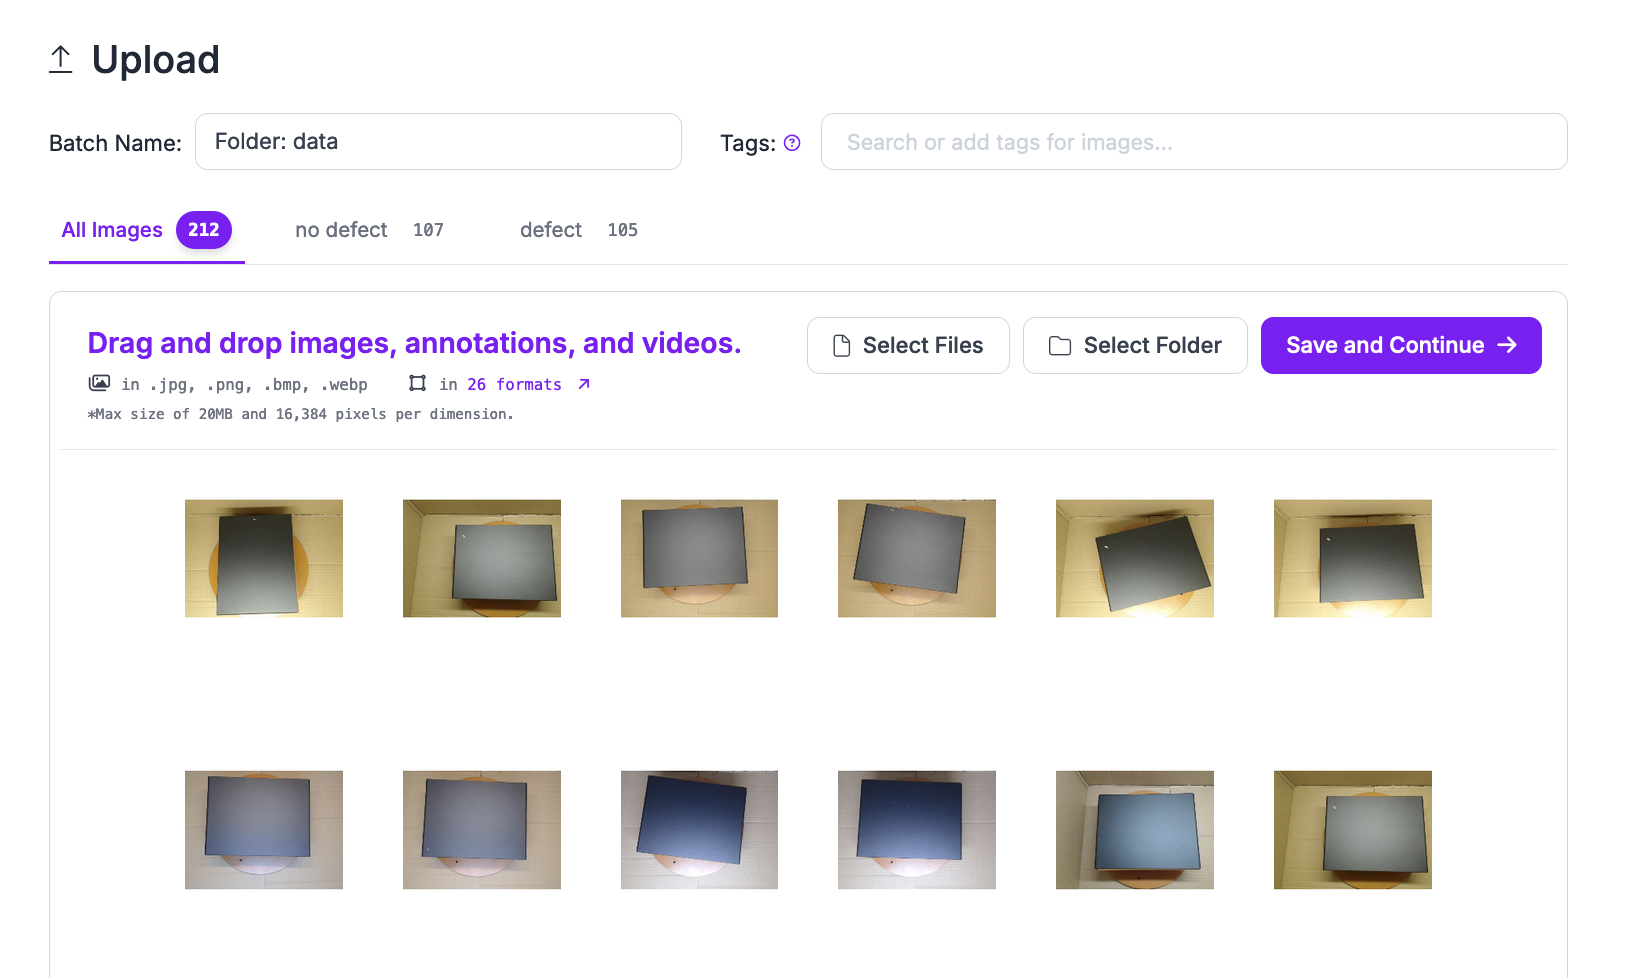
Your classification annotations will automatically be recognized and added to your dataset in Roboflow. You can also upload raw images without annotations that you can label in the Roboflow Annotate interface.
Here is an example of the labeling interface for use in classification:
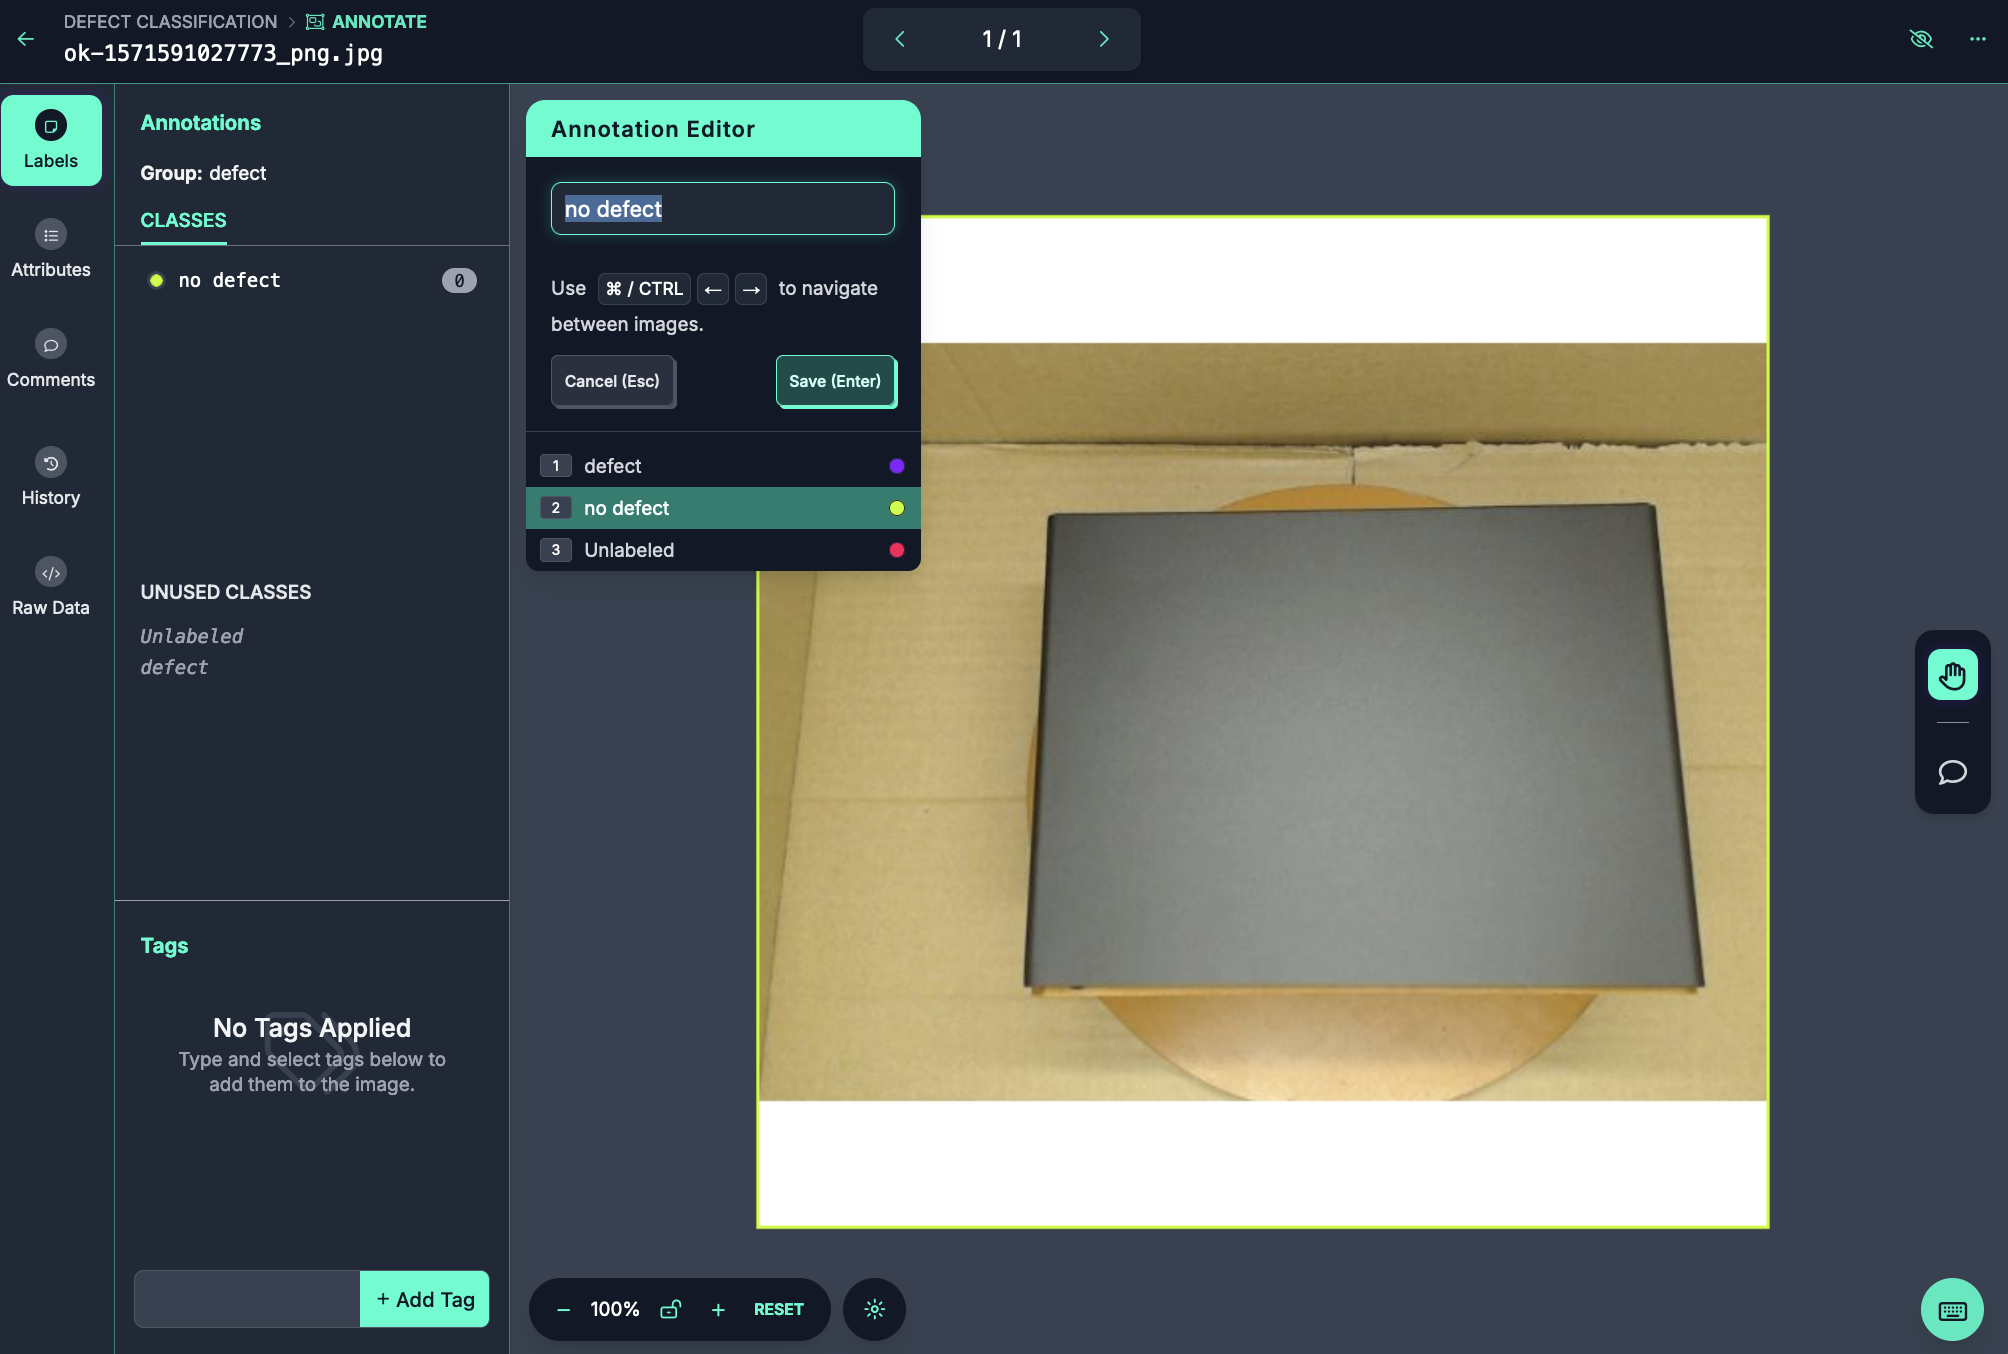
If you are working with a segmentation dataset, you can use our SAM-powered Smart Polygon tool to label polygons in a single click.
Step #3: Generate a Dataset Version
With your dataset in Roboflow, you can now create a dataset version for use in training.
Click “Generate” in the left sidebar of your Roboflow project. A page will appear from which you can create a dataset version. A version is a snapshot of your data frozen in time.
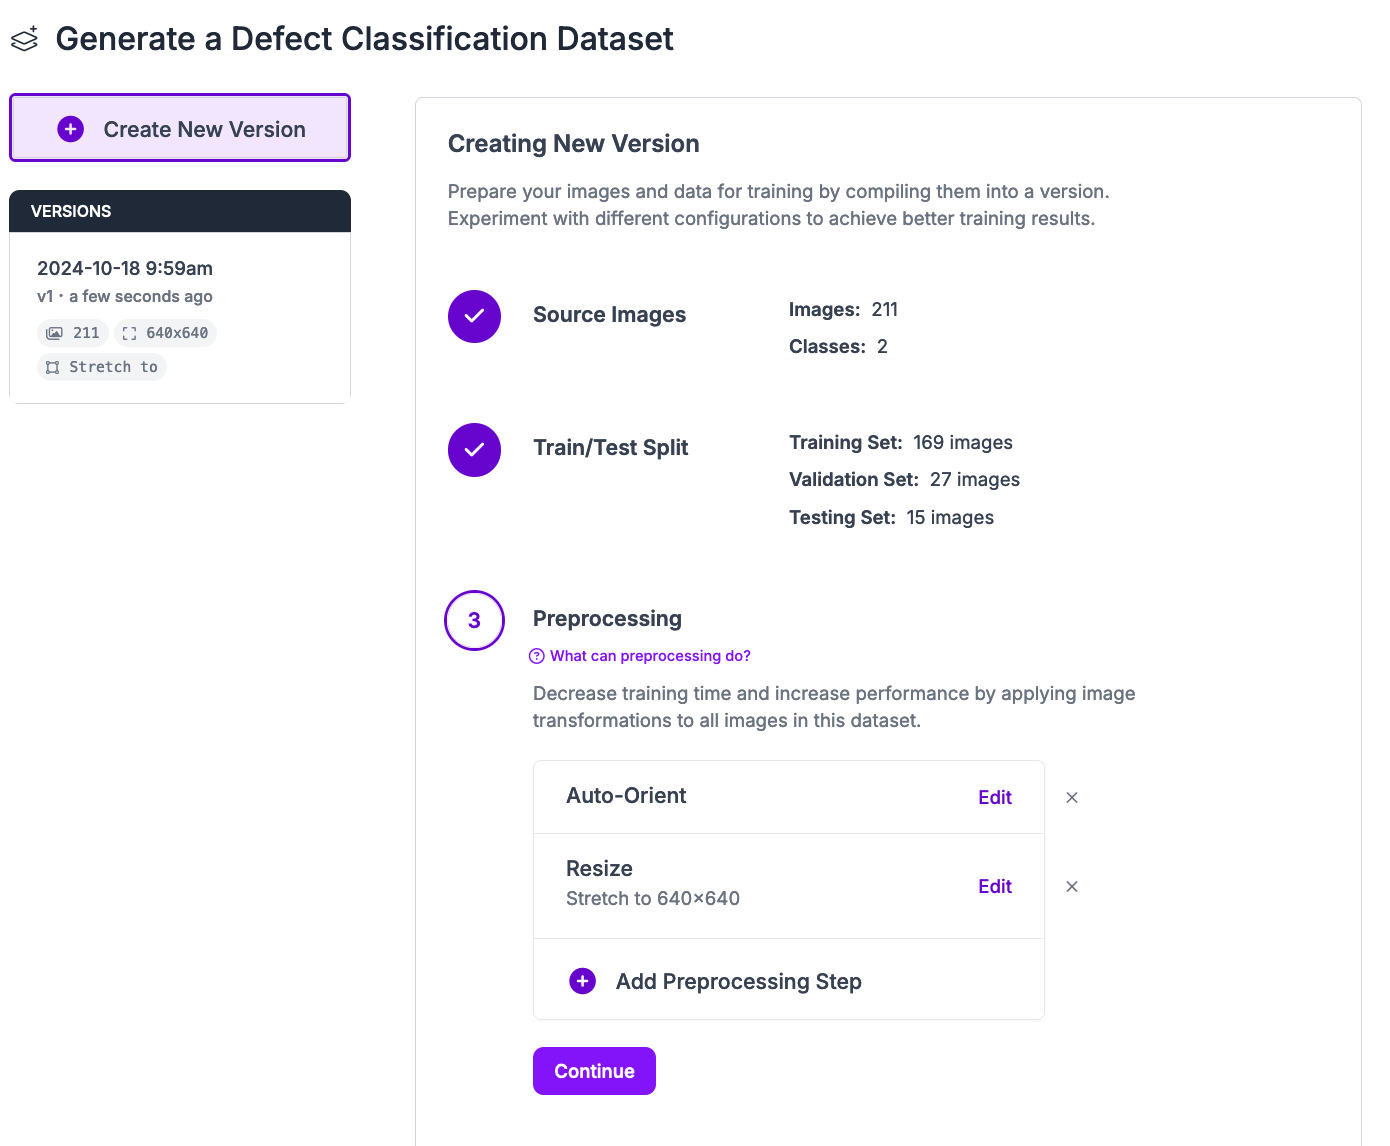
You can apply preprocessing and augmentation steps to images in dataset versions which may improve model performance.
For your first model version, we recommend applying the default preprocessing steps and no augmentation steps. In future training jobs, you can experiment with different augmentations that may be appropriate for your project.
To learn more about choosing preprocessing and augmentation steps, read our preprocessing and augmentation guide.
Click “Create” at the bottom of the page to create your dataset version.
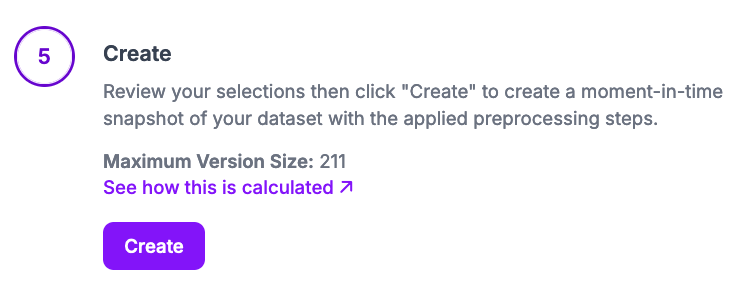
Your dataset version will then be generated. This process may take several minutes depending on the number of images in your dataset.
Step #4: Train a Model
On the page for the dataset version you created, a “Train with Roboflow” button will appear. This will allow you to train a model in the Roboflow Cloud. This model can then be used through our cloud API or deployed to the edge (i.e. on an NVIDIA Jetson).
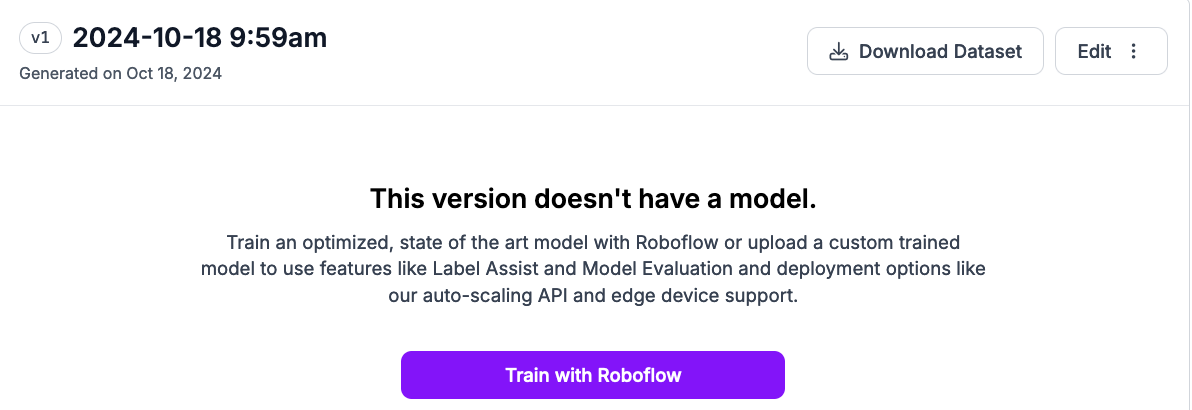
Click “Train with Roboflow”.
A window will appear from which you can configure your training job. Choose to train from the ImageNet checkpoint. Then, click “Start Training”.
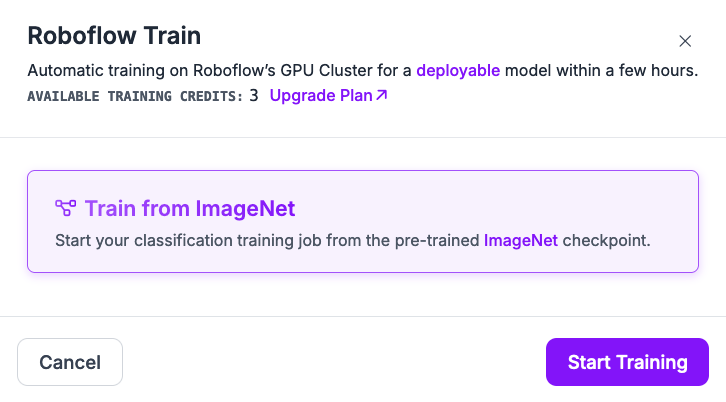
You will receive an estimate for how long we expect your model training to take.
Then, you will see a message indicating training is in progress:
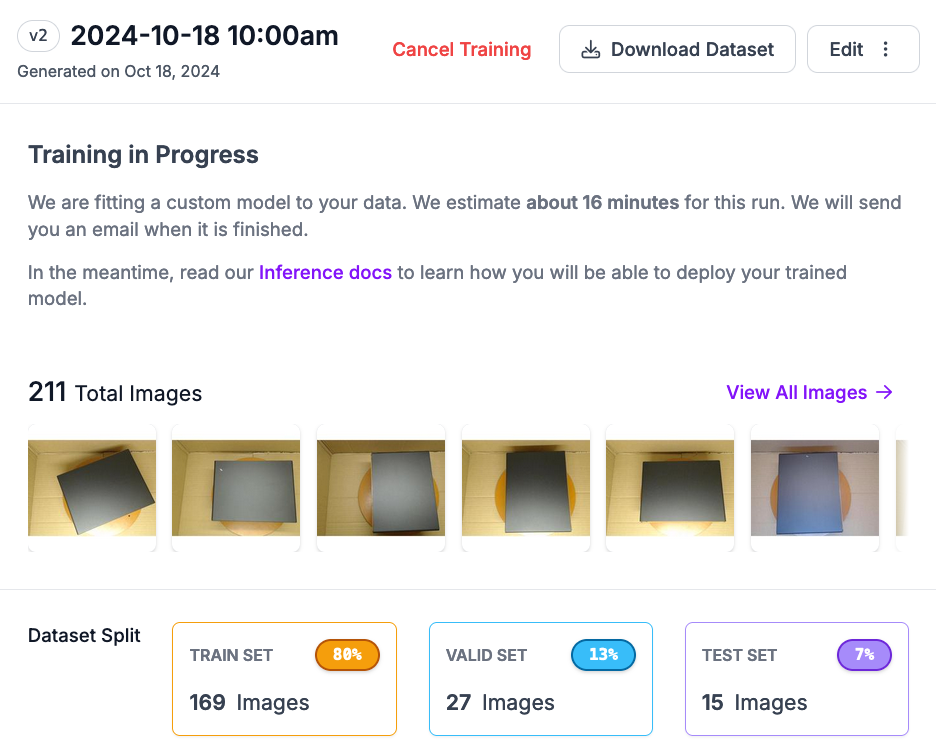
When your model has trained, you will receive an email and the dashboard will auto-update to include information about how your model performs.
Step #5: Test the Model
You can test your classification model from the Visualize page. This page includes an interactive widget in which you can try your model.
Drag and drop an image to see how your model classifies the image:
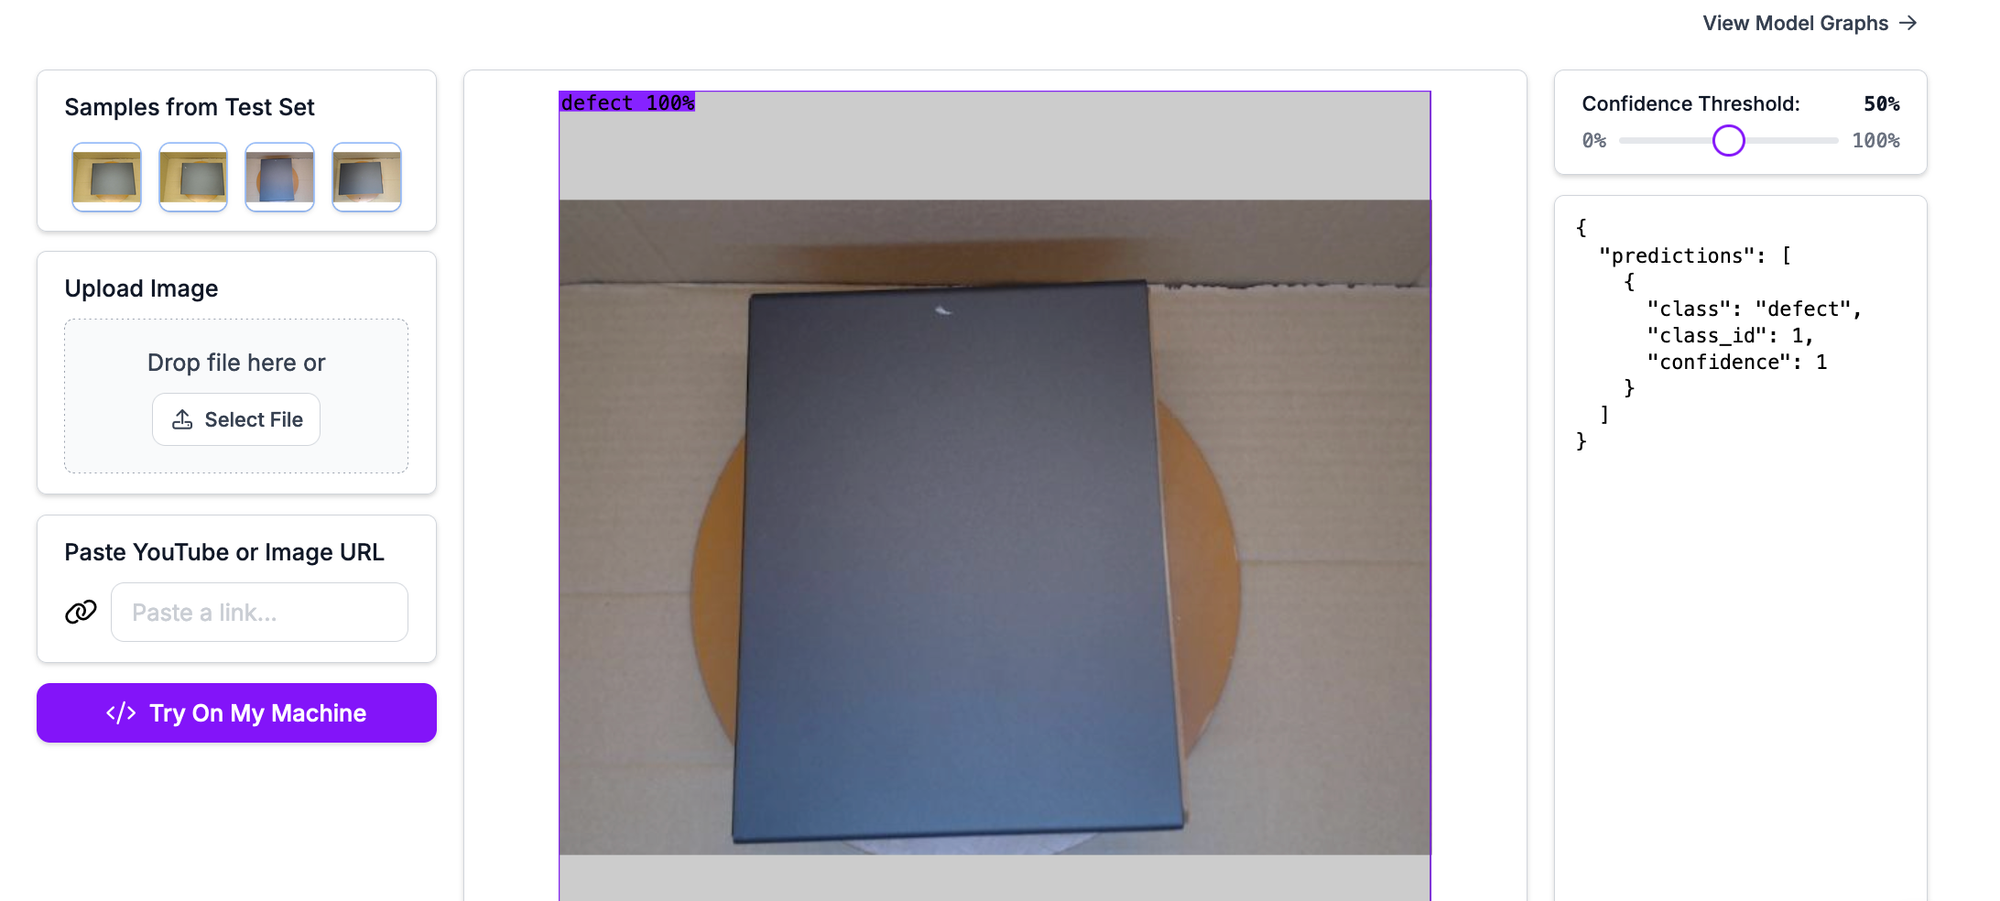
In the example above, our image was successfully classified as containing a defect.
There is a JSON representation showing the classification results on the right hand side of the page:
{
  "predictions": [
    {
      "class": "defect",
      "class_id": 1,
      "confidence": 1
    }
  ]
}
Step #5: Deploy the Model
You can deploy your model on your own hardware with Roboflow Inference. Roboflow Inference is a high-performance open source computer vision inference server. Roboflow Inference runs offline, enabling you to run models in an environment without an internet connection.
You can run models trained on or uploaded to Roboflow with Inference. This includes models you have trained as well as any of the 50,000+ pre-trained vision models available on Roboflow Universe. You can also run foundation models like CLIP, SAM, and DocTR.
Roboflow Inference can be run either through a pip package or in Docker. Inference works on a range of devices and architectures, including:
- x86 CPU (i.e. a PC)
- ARM CPU (i.e. Raspberry Pi)
- NVIDIA GPUs (i.e. an NVIDIA Jetson, NVIDIA T4)
To learn how to deploy a model with Inference, refer to the Roboflow Inference Deployment Quickstart widget. This widget provides tailored guidance on how to deploy your model based on the hardware you are using.
For this guide, we will show you how to deploy your model on your own hardware. This could be an NVIDIA Jetson or another edge device deployed in a facility.
Click “Deployment” in the left sidebar, then click “Edge”. A code snippet will appear that you can use to deploy the model.
First, install Inference:
pip install inferenceThen, copy the code snippet from the Roboflow web application for deploying to the edge.
The code snippet will look like this, except it will include your project information:
# import the inference-sdk
from inference_sdk import InferenceHTTPClient

# initialize the client
CLIENT = InferenceHTTPClient(
    api_url="https://detect.roboflow.com",
    api_key="API_KEY"
)

# infer on a local image
result = CLIENT.infer("YOUR_IMAGE.jpg", model_id="defect-classification-xwjdd/2")
Then, run your code.
The first time your code runs, your model weights will be downloaded for use with Inference. They will then be cached for future use.
For the following image, our model successfully classifies it as containing a defect:

The small mark in the middle of the panel is a scratch.
Here are the results, as JSON:
{
    "inference_id": "f7235c10-3da0-46a0-9b3a-a33b26ebd2b4",
    "time": 0.11387634100037758,
    "image": {"width": 640, "height": 640},
    "predictions": [
        {"class": "defect", "class_id": 1, "confidence": 0.9998},
        {"class": "no defect", "class_id": 0, "confidence": 0.0002},
    ],
    "top": "defect",
    "confidence": 0.9998,
}
The confidence of the class defect is 0.9998, which indicates the model is very confident that the image contains a defect.
If you want to deploy your model to AWS, you can do so with Inference. We have written a guide on how to deploy YOLO11 to AWS EC2. The same instructions work with any model trained on Roboflow: Roboflow Train 3.0, YOLO-NAS, etc.
Conclusion
AWS Lookout for Vision is a computer vision solution. Lookout for Vision is being discontinued on October 31, 2025. In this guide, we walked through how you can export your data to AWS S3, download your data from S3, then import it to Roboflow for use in training and deploying models that you can run in the cloud and on the edge.
If you need assistance immigrating from AWS Lookout for Vision to Roboflow, contact us.
Cite this Post
Use the following entry to cite this post in your research:
James Gallagher. (Oct 18, 2024). AWS Lookout for Vision Migration. Roboflow Blog: https://blog.roboflow.com/aws-lookout-for-vision-migration/
