
Hugging Face is an online community with AI models available for download. You can deploy select computer vision models hosted on Hugging Face with Roboflow Inference, a high-performance inference server for computer vision applications.
This guide will show you how you can download models from Hugging Face and deploy them to the edge or a private cloud using Roboflow.
Supported Weights for Roboflow Deployment
As of writing this post, Roboflow supports a number of vision model architectures, which include:
- YOLOv5 (n, s, m, l, x) Object Detection and Instance Segmentation
- YOLOv7 Instance Segmentation (yolov7-seg)
- YOLOv8 (n, s, m, l, x) Object Detection, Instance Segmentation, Classification, and Keypoint Detection
- YOLOv9 (n, s, m, l, x) Object Detection
- YOLOv10 (n, s, m, l, x) Object Detection
In this guide, we will show how to deploy an Ultralytics YOLOv8 model as an example. For a complete list of models you can upload to Roboflow, check out the Weights Upload feature in the Roboflow documentation.
Step #1: Choose Your Model from Hugging Face
Go on Hugging Face and find your model weights. The model should have weights or a trained file attached to it. In this tutorial, we will use the default Ultralytics YOLOv8 weights on Hugging Face.
Step #2: Download Git and Git-LFS
To export a model from Hugging Face, we will need to install Git and Git-LFS. Git-LFS allows us to download larger git files, which is required for downloading weights.
To download git on Mac:
# run this command in terminal
brew install git (must have brew installed)
brew install git-lfs (must have brew installed)
Linux Ubuntu/Debian:
# run this command in terminal
sudo apt install git
sudo apt install git-lfs
Fedora:
# run this command in terminal
sudo dnf install git
sudo dnf install git-lfs
Step #3: Download Model Weights
With git, we can download the model weights. Using the link of our preferred model, the command should follow this format:
git clone https://huggingface.co/<user>/<model>Here is the command we need to run to download the model weights we are using as an example in this guide:
git clone https://huggingface.co/Ultralytics/YOLOv8/ We will then have the weights locally, ready for use.
Step #4: Upload Dataset and Model to Roboflow
To upload a model to Roboflow, you need to have the dataset associated with your model in your account.
You can upload annotated or raw computer vision data in over a dozen supported formats. See our list of supported upload formats.
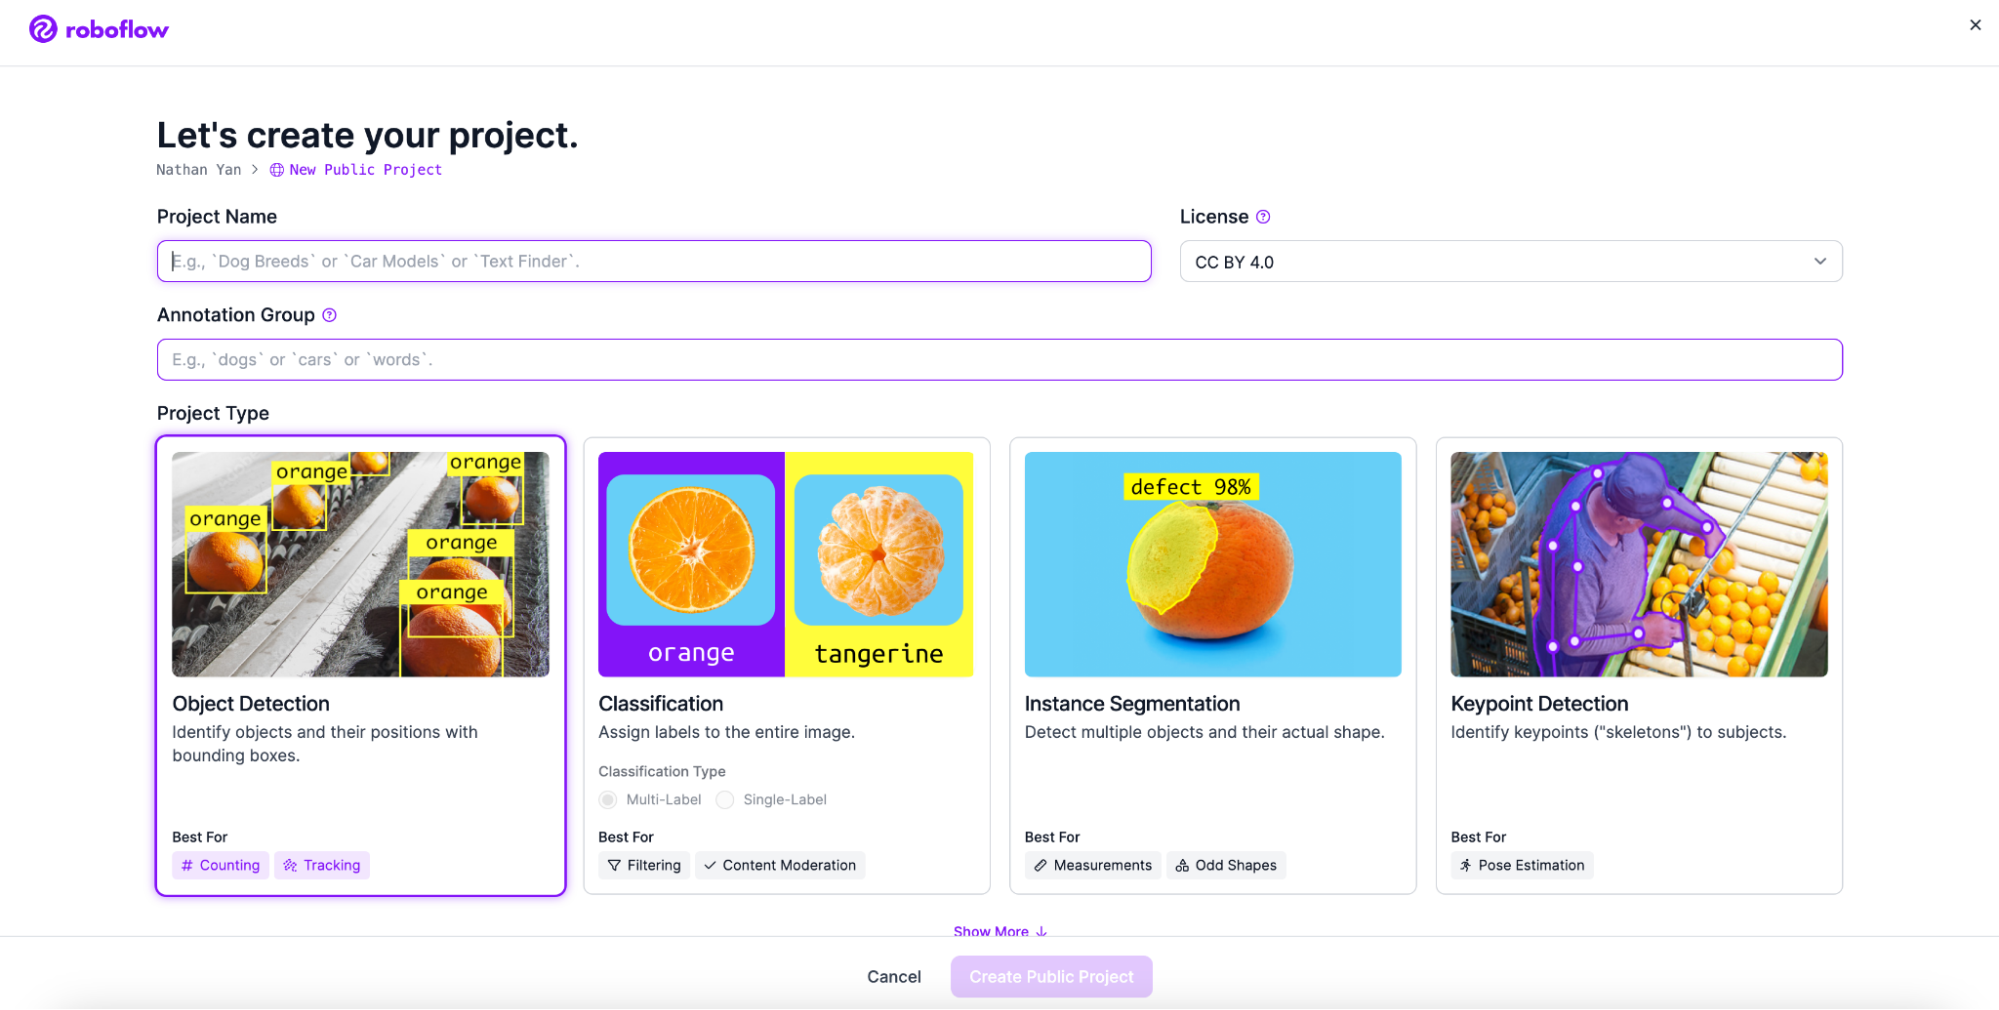
Go to Workspaces and create a Project. Customize the project name and annotation group to your choice. Make sure to create an object detection project if you want to follow this guide.
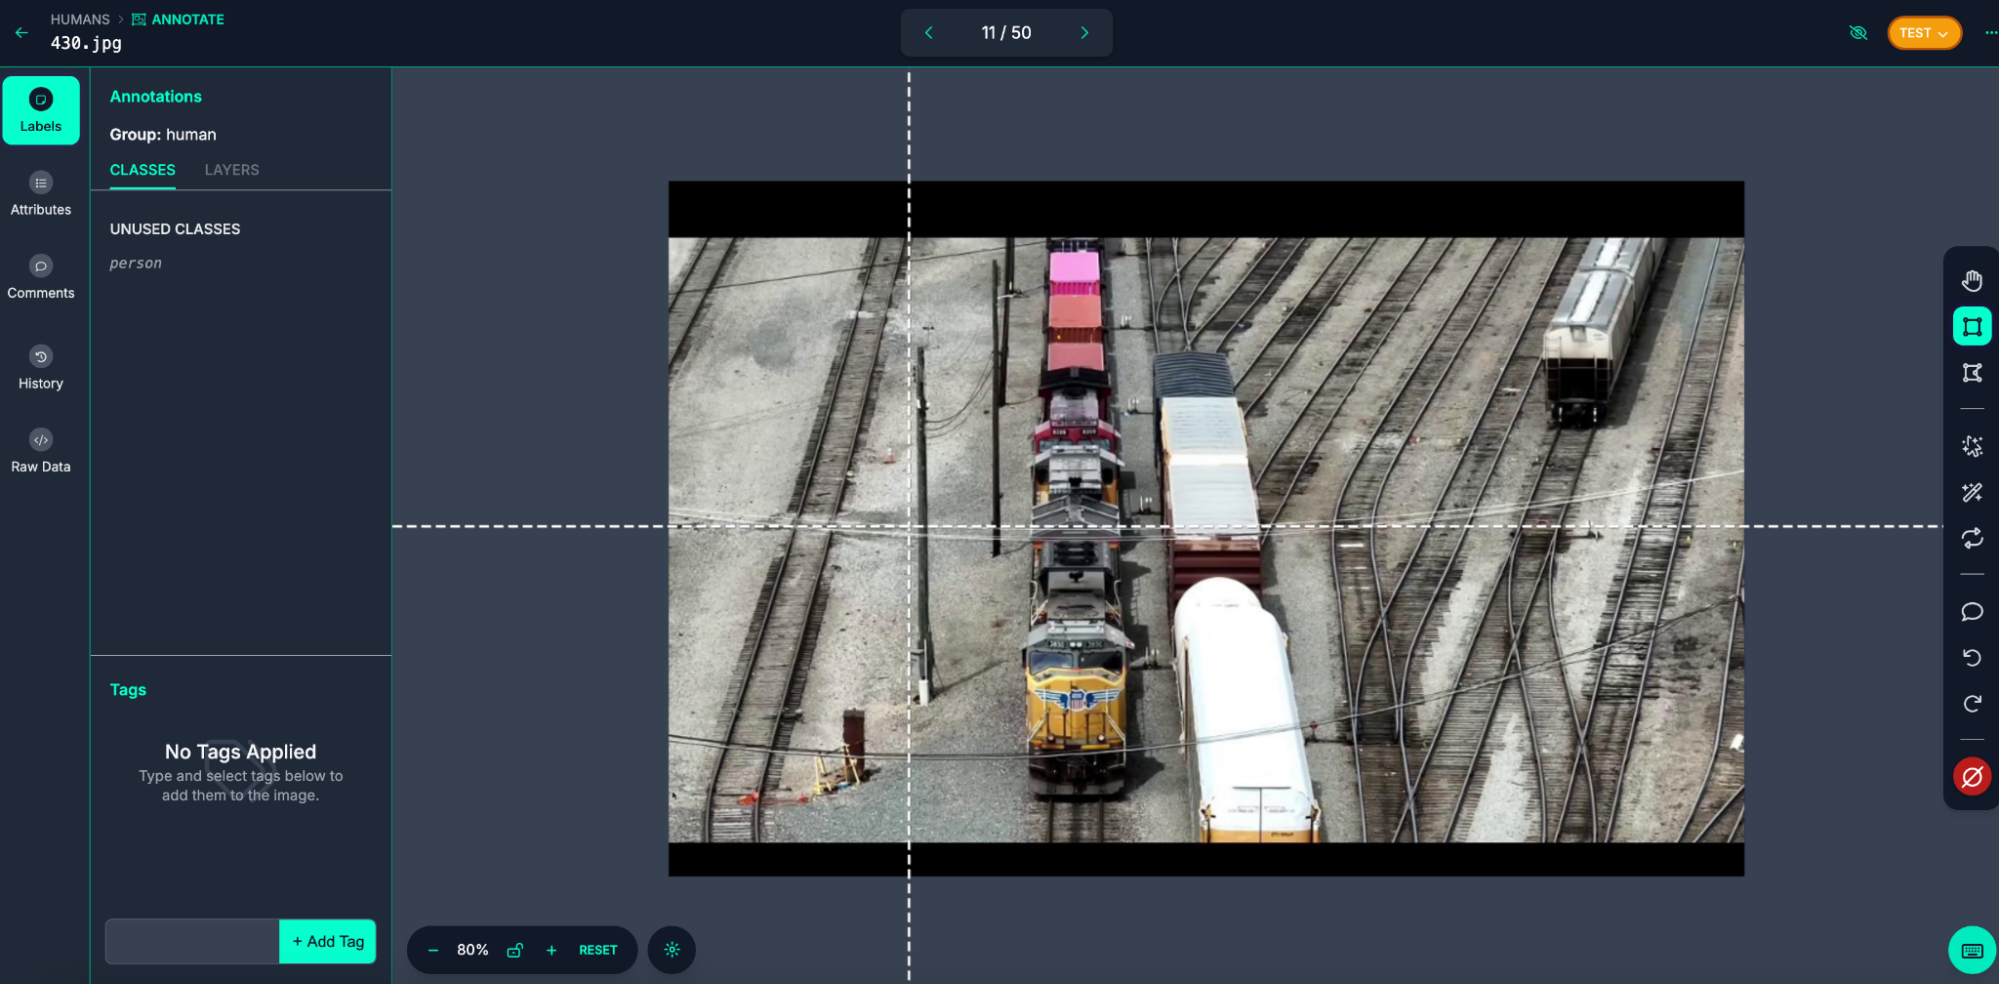
Next, add your images to the dataset. I used a dataset for detecting humans near a railroad track.

If you need to annotate your images, you can do so in Roboflow. Roboflow provides an extensive suite of tools for annotating images. Learn more about Roboflow’s annotation tools.
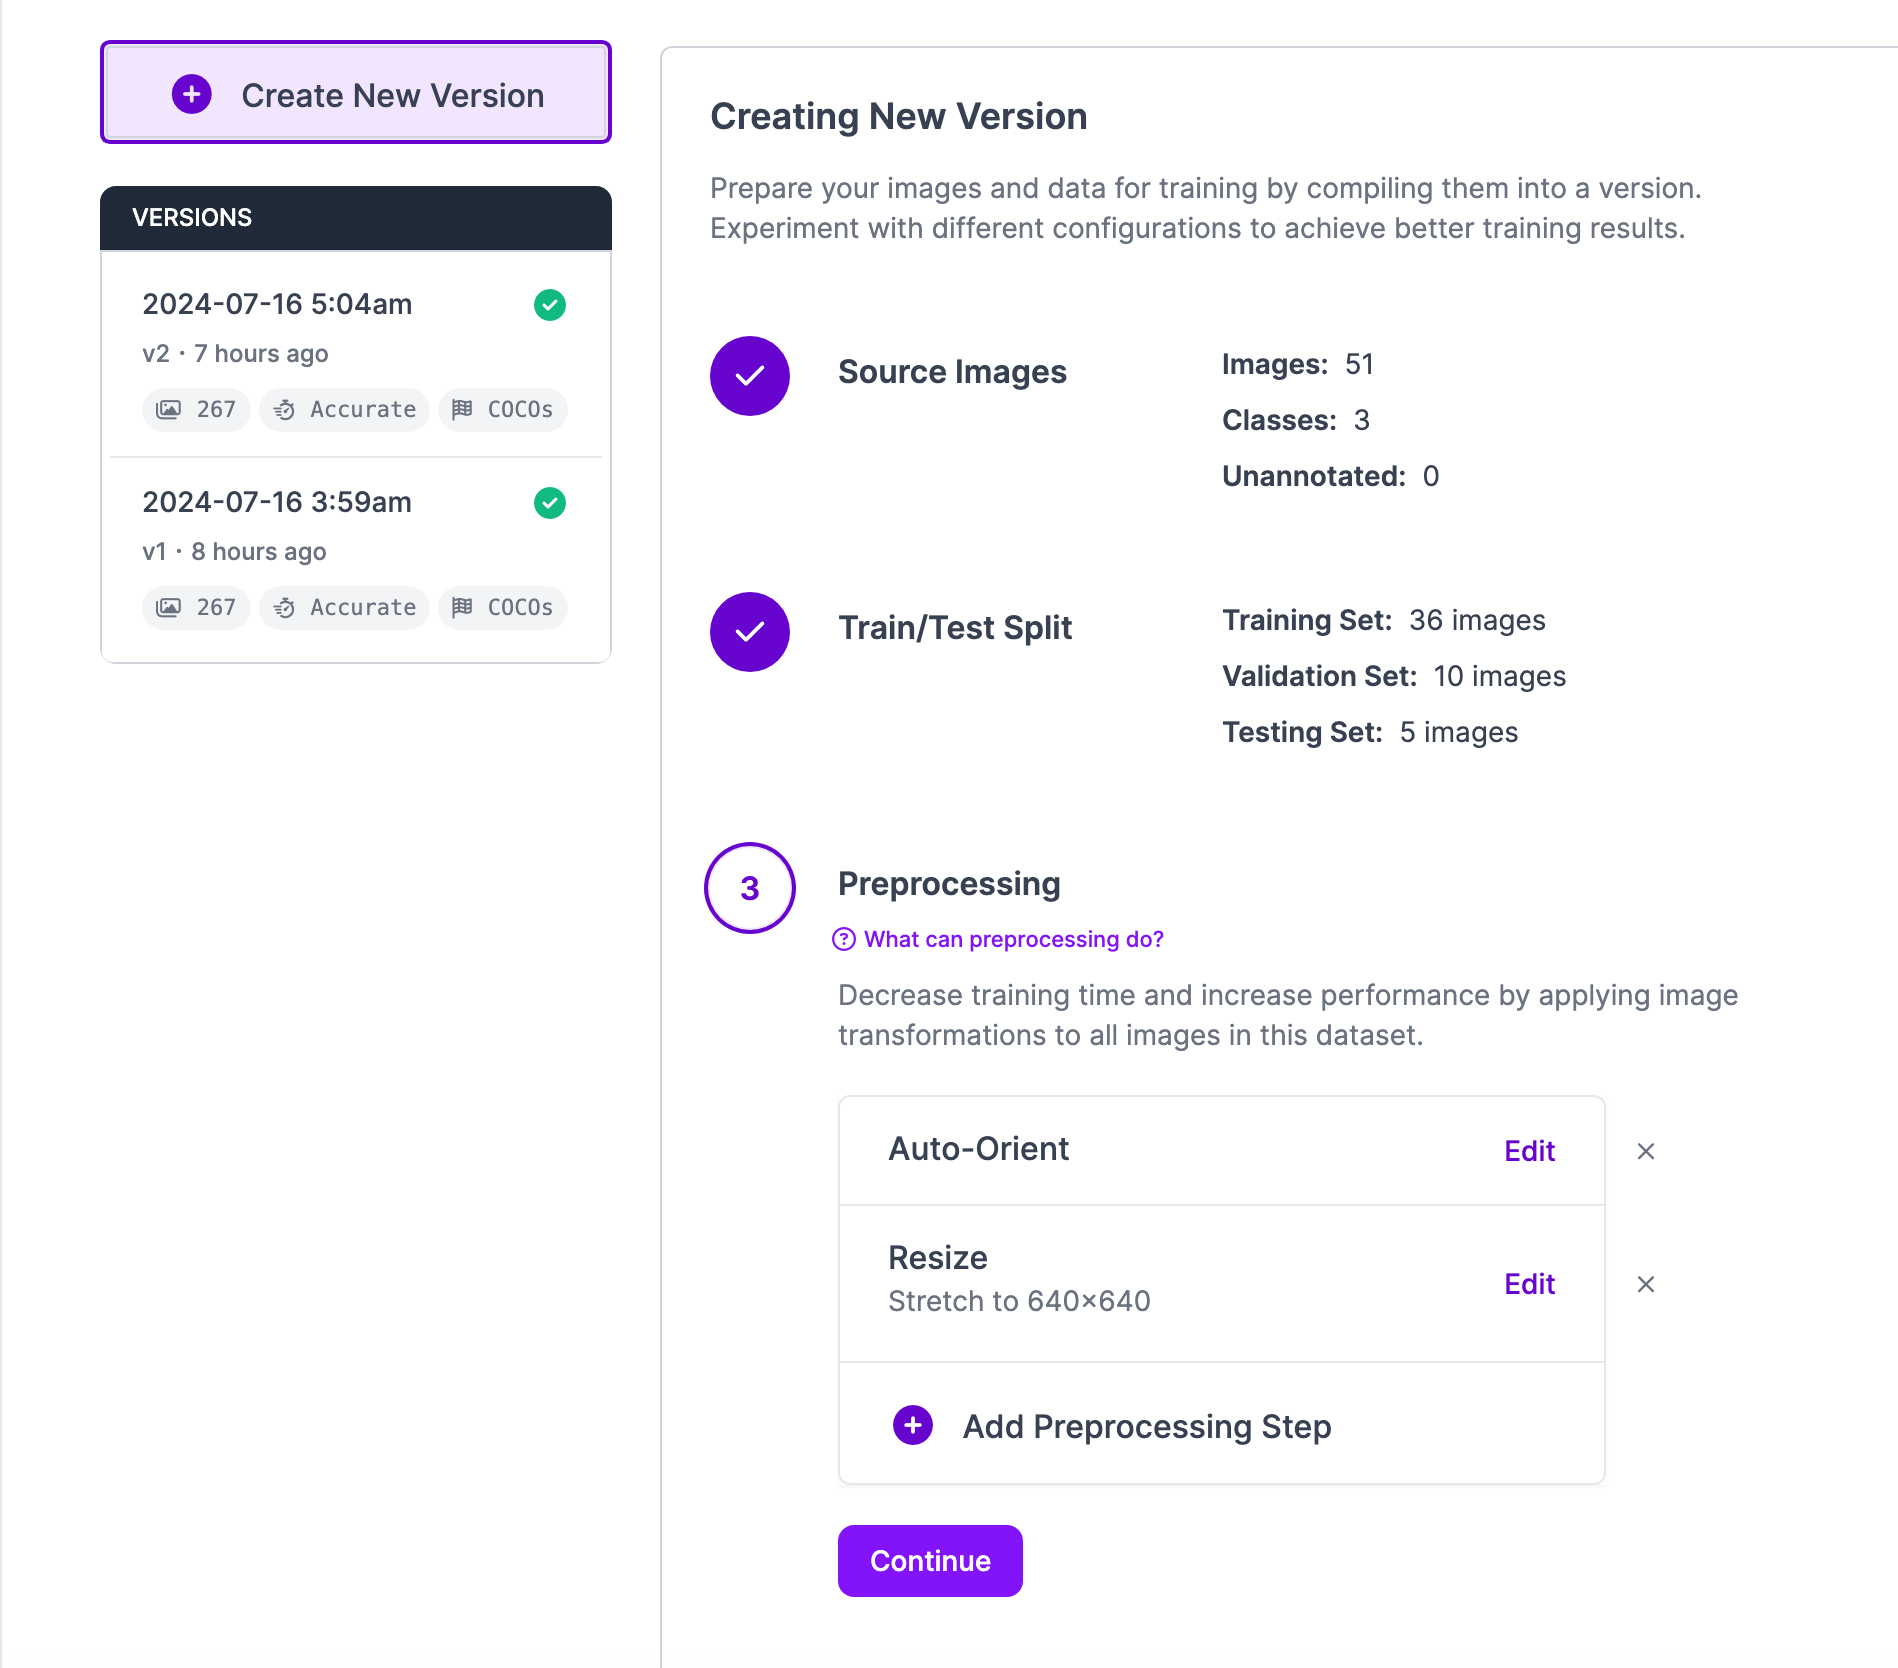
Now that we have our annotations and images, we can generate a dataset version of your labeled images. Each version is unique and associated with a trained model so you can iterate on augmentation and data experiments.
All models are associated with a dataset version. Once we have a dataset version, we can upload model weights associated with our dataset.
Now that we have our dataset, we can upload our associated model weights and deploy our model.
Step #5: Upload Model Weights
In the Hugging Face files you cloned over, you should see one with the last two letters as “pt”. This is your model.
Replace the following model information with your own model type as well as the path to your trained model.
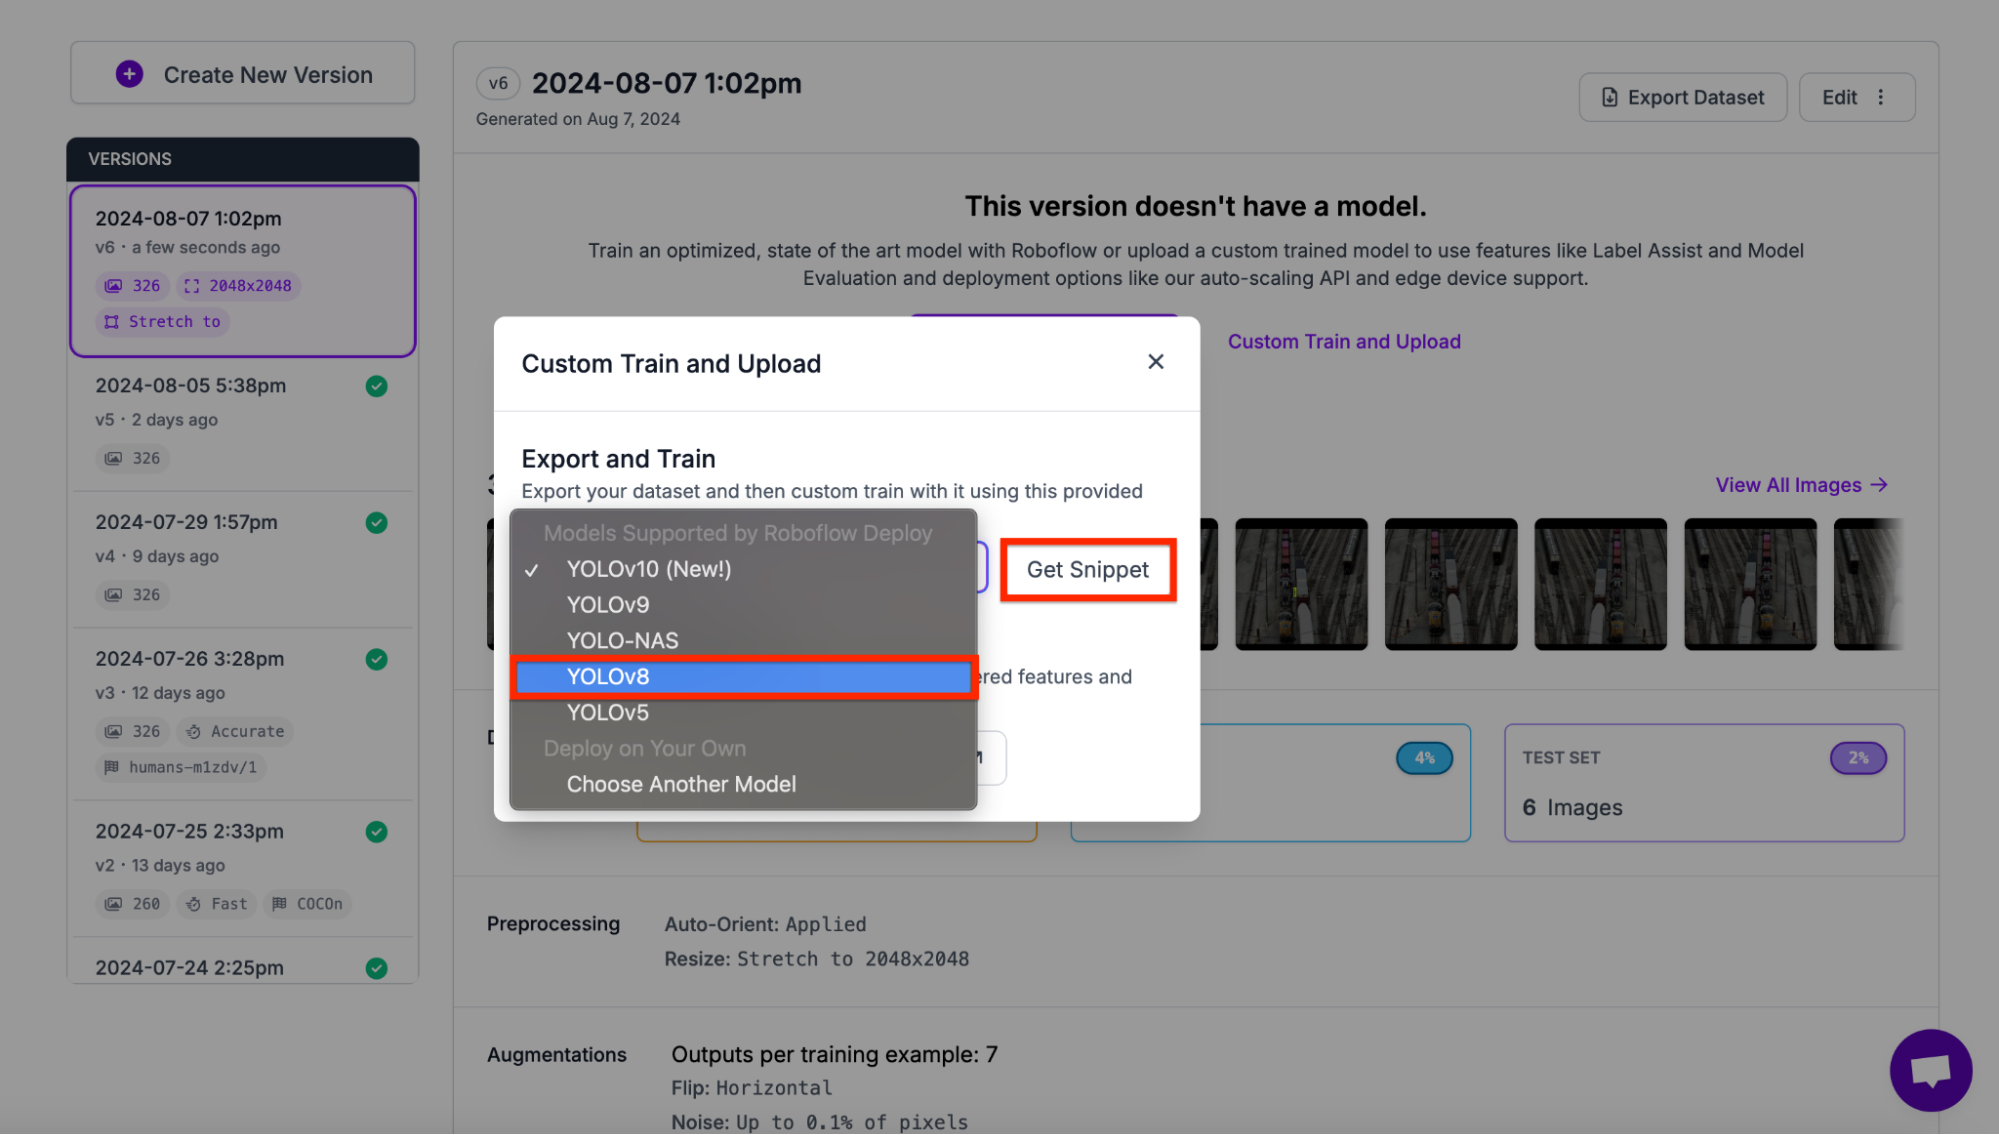
To get the model, first go to the versions tab and click custom Train and Upload.
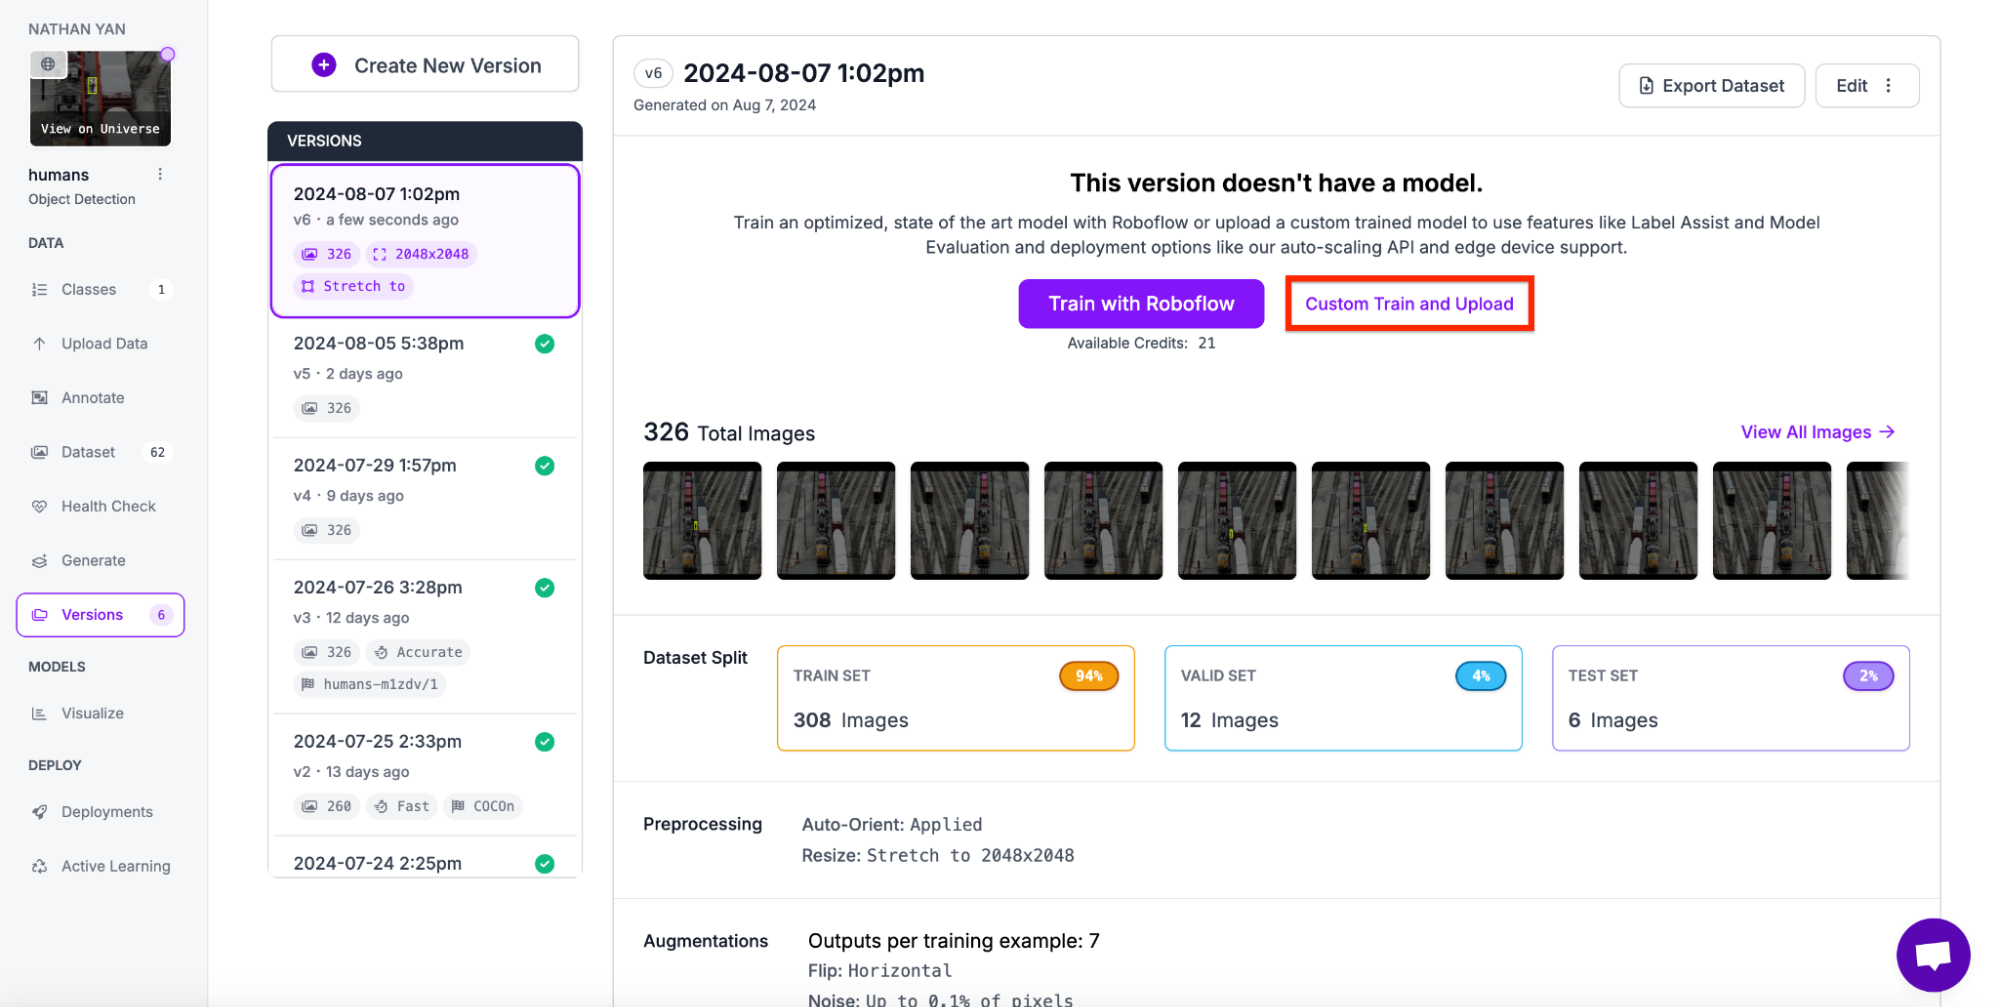
Next, select the type of data you want. Every model is trained on different data types. Therefore, we need to specify which type of data we need. In our case, we need YOLOv8. After selecting YOLOv8, click get snippet.
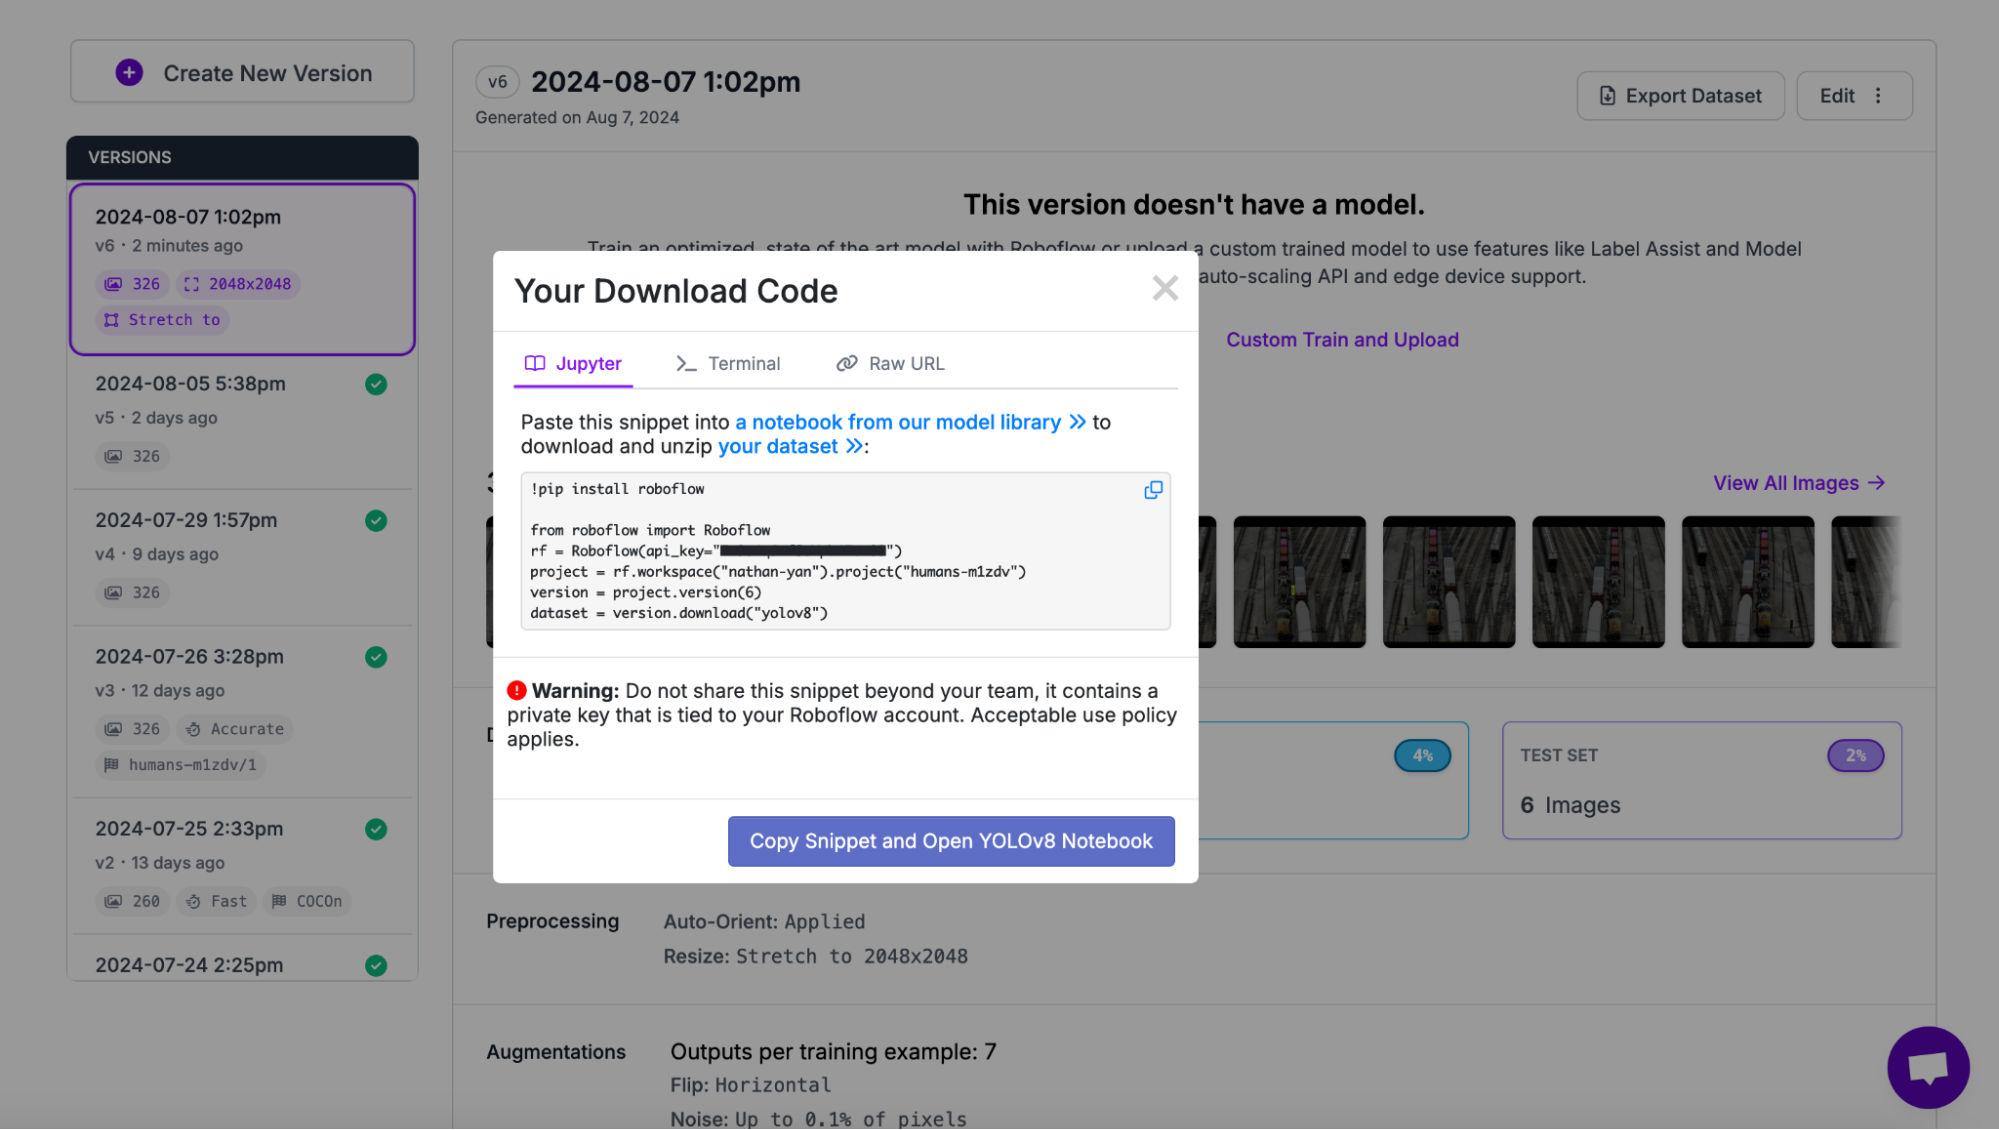
Copy and paste the code into your preferred IDE:
Next, in order to deploy the model, we utilize the .deploy method and specify the model path as well as the dataset version.
from roboflow import Roboflow
rf = Roboflow(api_key="API_KEY")
project = rf.workspace("nathan-yan").project("project-id")

project.version(VERSION).deploy(model_type="yolov8", model_path=f"content/runs/detect/train/")
The output of the code should look similar to this:

It will take a few minutes for Roboflow to process your model weights. You can check on the status of your deployment in the Roboflow dashboard.
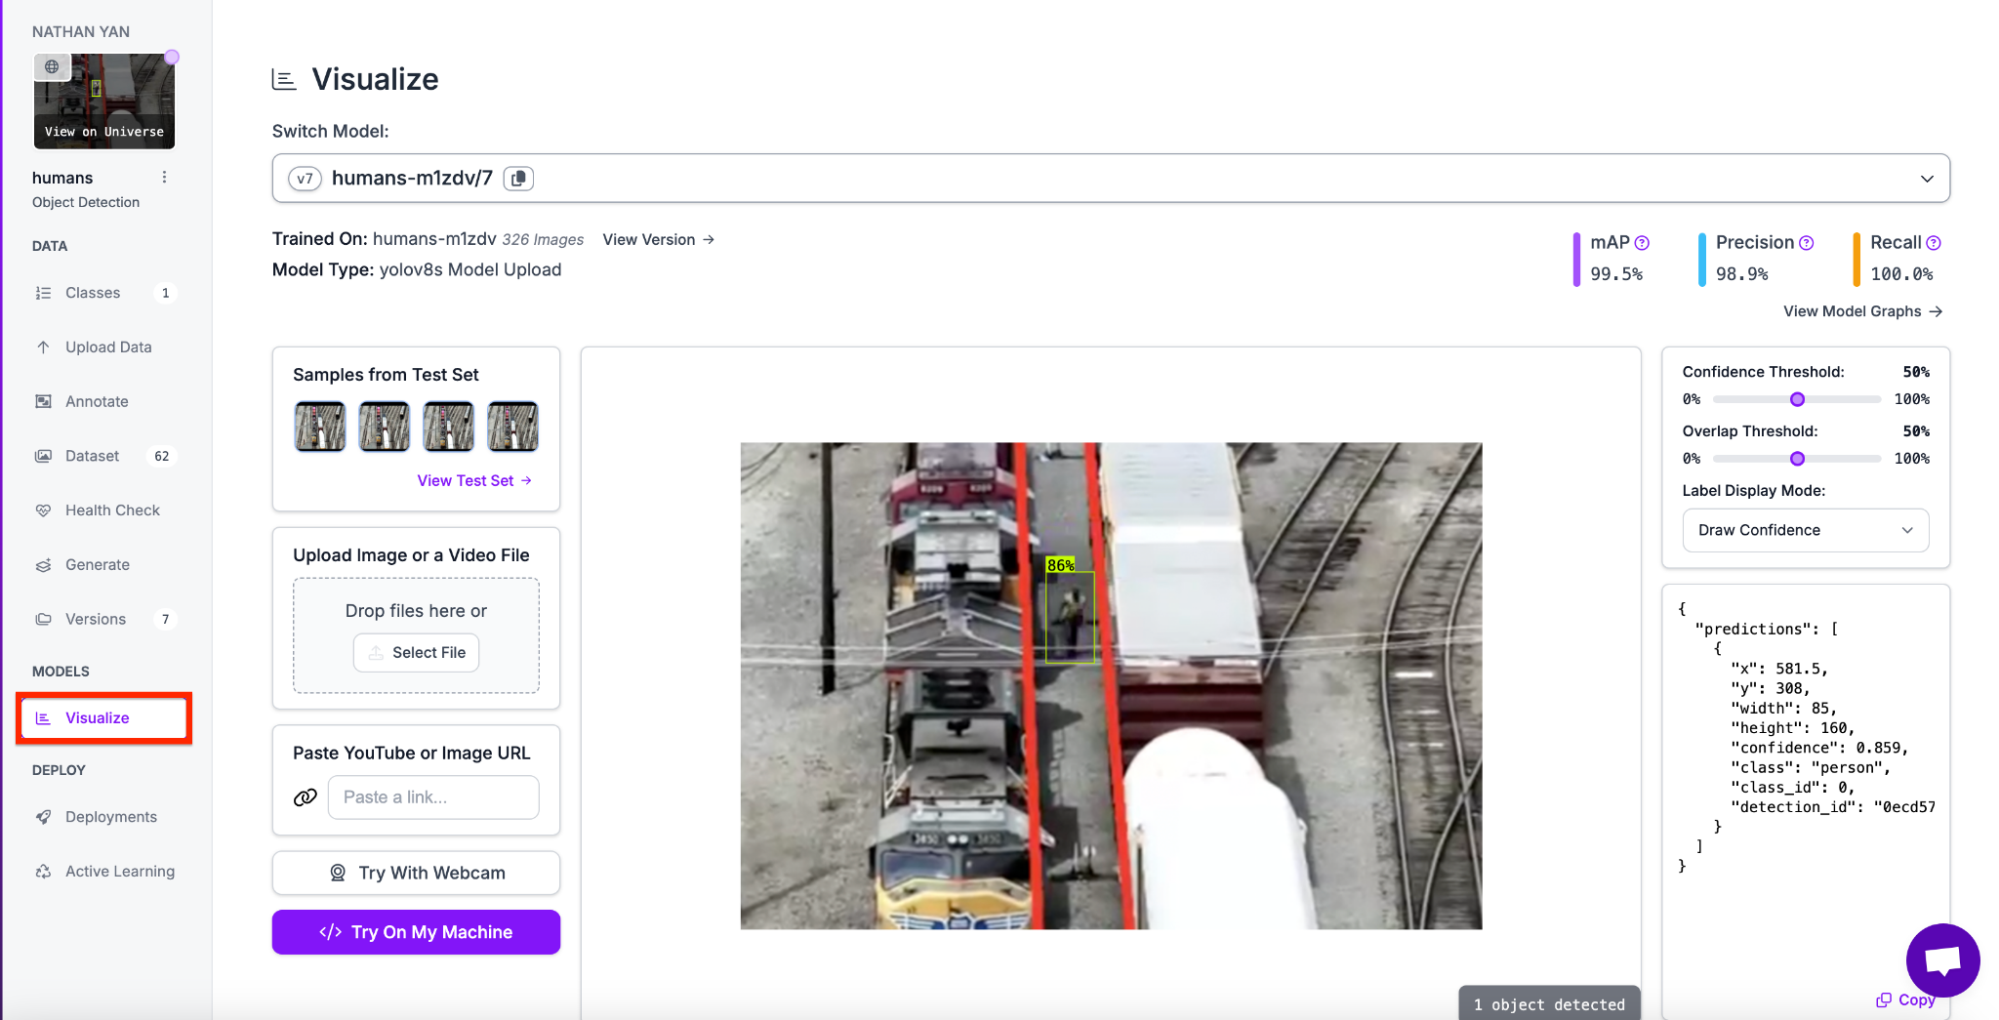
When your model is ready, you will see an interactive Visualize page in the Roboflow dashboard from which you can test your model. To navigate to the page, click on visualize on your dashboard.
To deploy the model using code, go to the deployment page in your dashboard and deploy the model with inference.
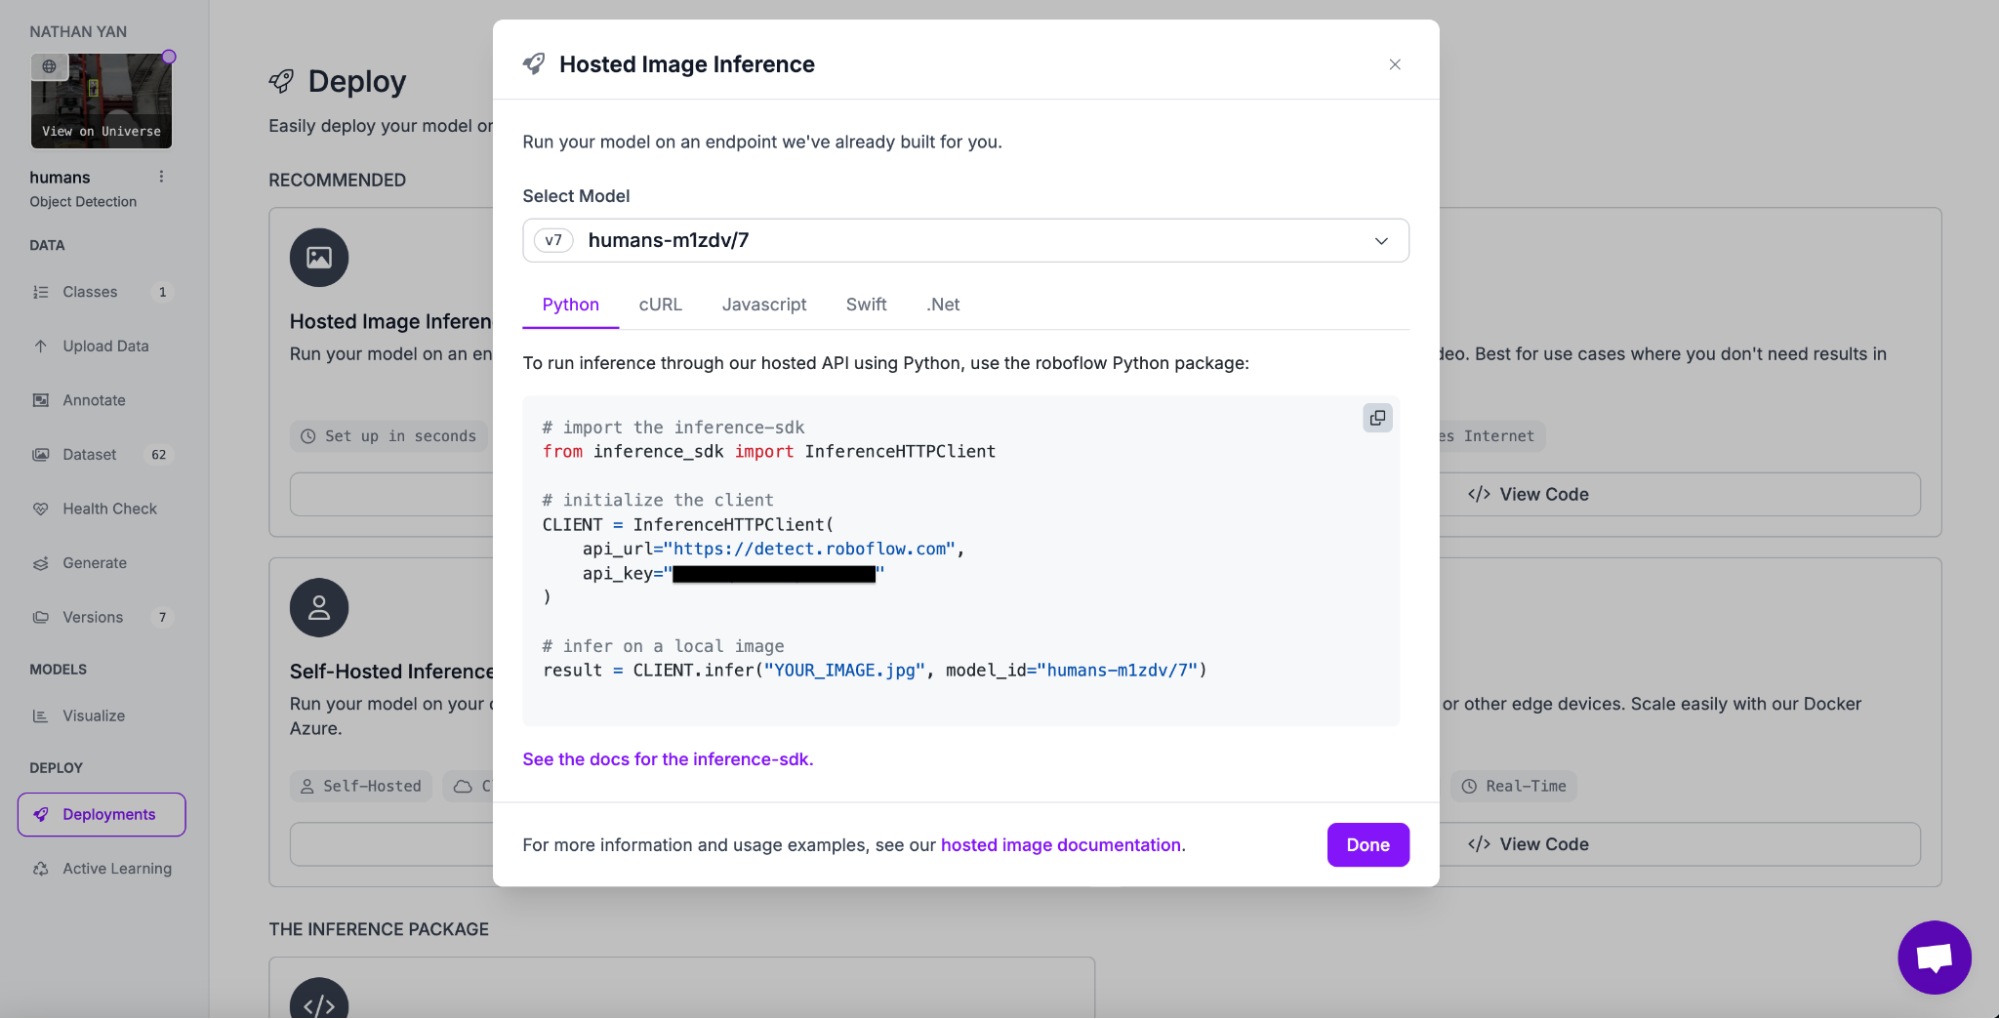
Next, we need to install inference and supervision in order to deploy an effective model.
!pip install inference supervisionCopy and paste your inference deployment code and make sure to replace the image path with a test image.
# import the inference-sdk
from inference_sdk import InferenceHTTPClient
# initialize the client
CLIENT = InferenceHTTPClient(
api_url="https://detect.roboflow.com",
api_key="API_KEY"
)
# infer on a local image
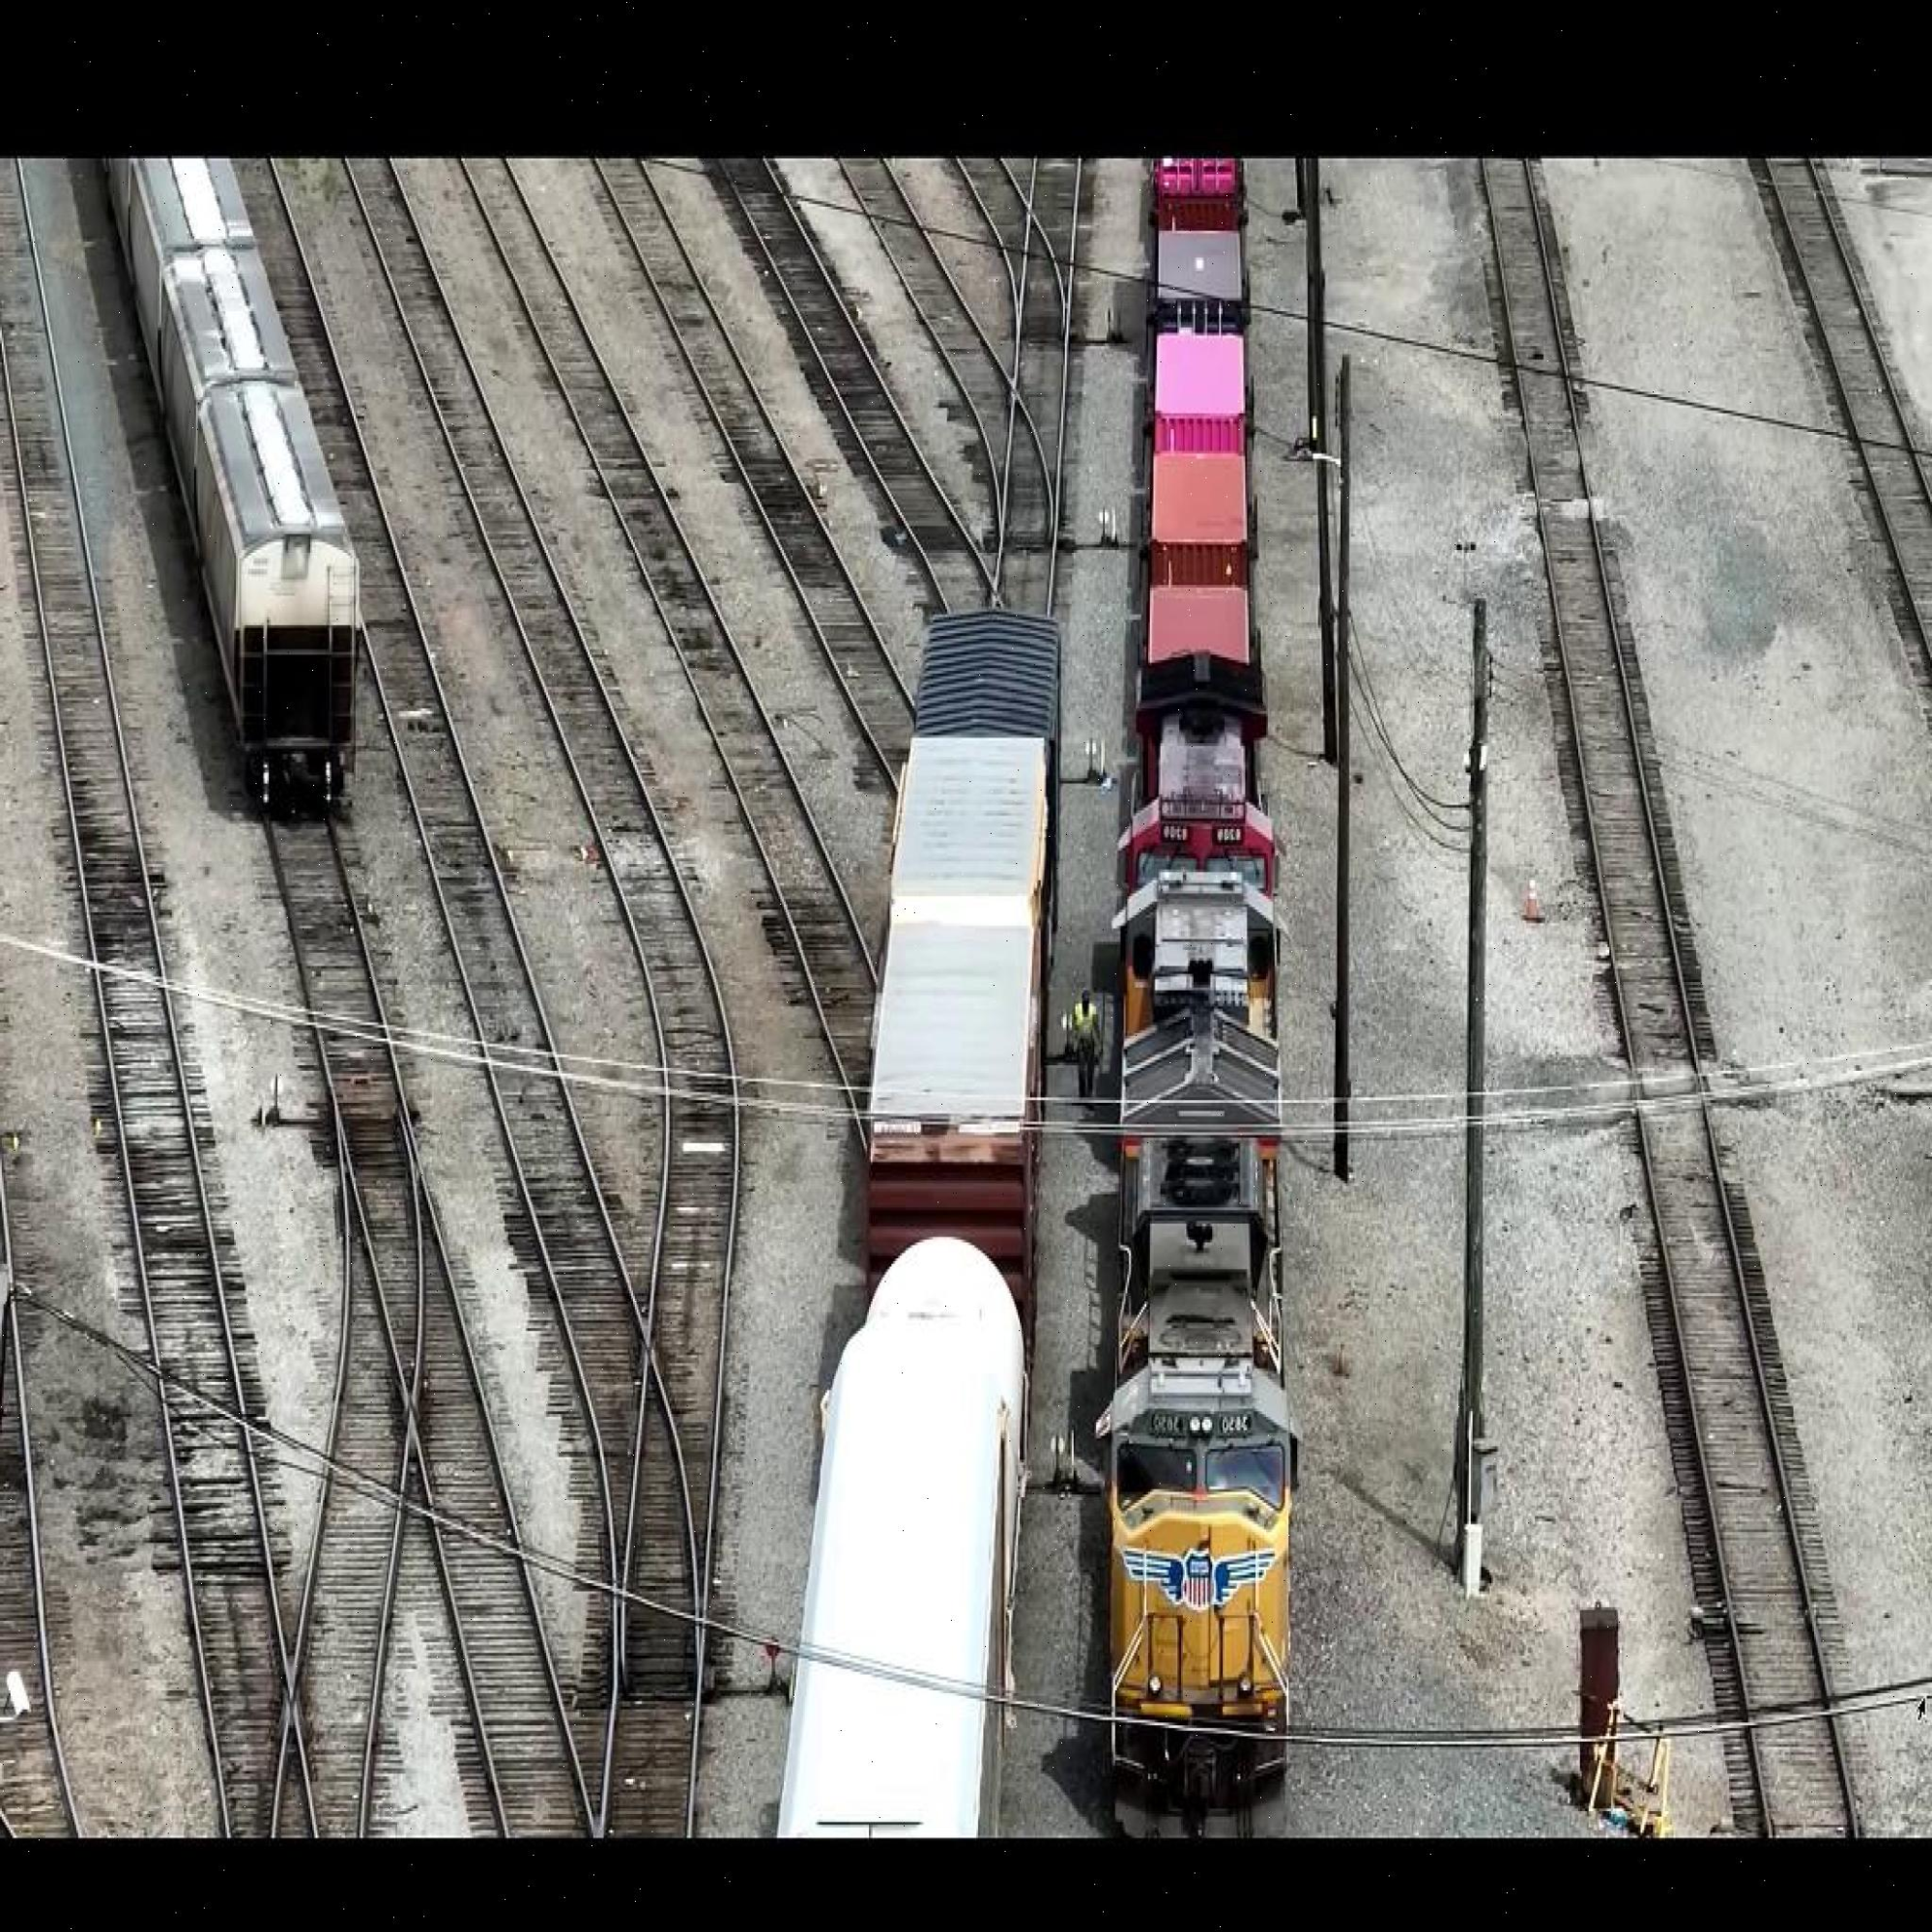
result = CLIENT.infer("IMAGE_PATH", model_id="humans-m1zdv/7")We will use this image as a test image for now.
Lastly, show the detections by converting the image path to an image, and using bounding box annotation to show the detections.
from PIL import Image
import supervision as sv

# Load the image using PIL
image_path = "IMAGE_PATH"
image = Image.open(image_path)

# Convert the PIL image to a format compatible with your annotation library (e.g., NumPy array if needed)

# Create detections from inference results
detections = sv.Detections.from_inference(result)

# Annotate the image with boxes and labels
annotated_image = sv.BoxAnnotator().annotate(
   scene=image.copy(), detections=detections
)
annotated_image = sv.LabelAnnotator().annotate(
   scene=annotated_image, detections=detections
)

# Plot the annotated image
sv.plot_image(annotated_image)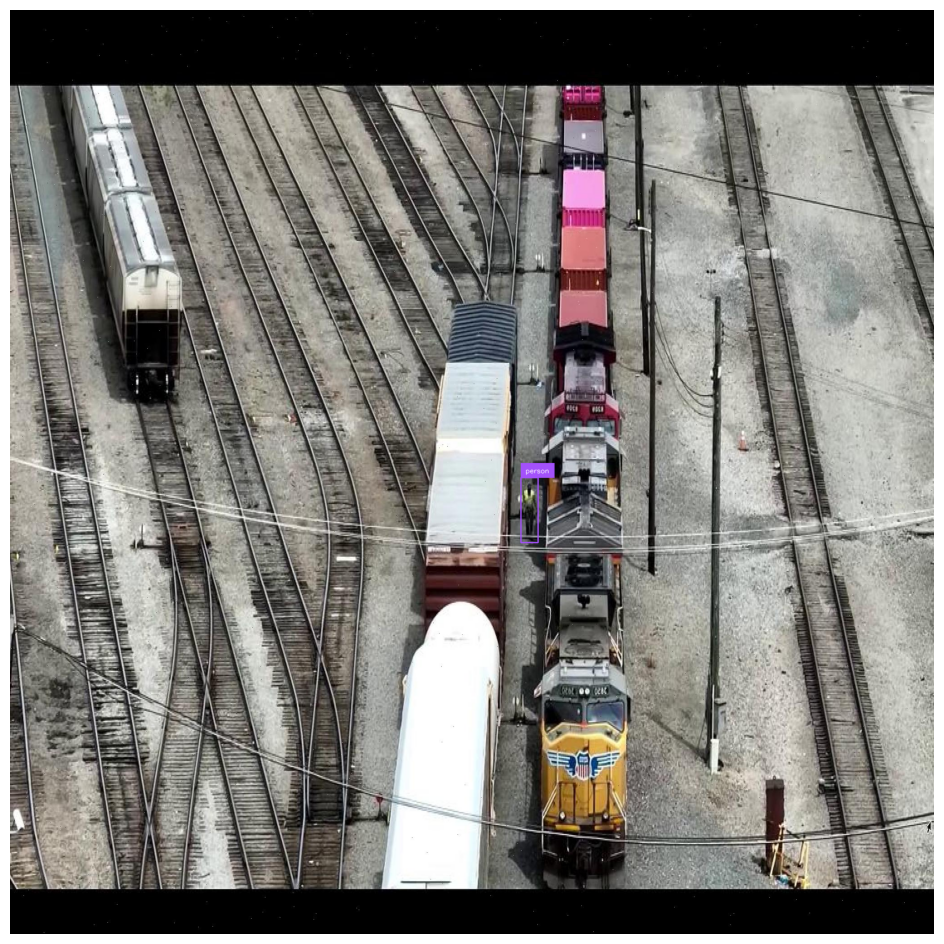
There is a purple box around the person, indicating a person has been found on the rail yard.
Conclusion
You can deploy computer vision models trained using supported architectures to Roboflow from Hugging Face. For example, you can upload a YOLOv8 object detection model to Robfolow. This model can then be deployed with Roboflow inference, a high performance computer vision inference server.
By following the steps outlined in this tutorial, you can deploy Hugging Face models to the edge or in your own private cloud for real-time object detection systems.
Cite this Post
Use the following entry to cite this post in your research:
Nathan Y.. (Aug 12, 2024). How to Deploy Hugging Face Models with Roboflow. Roboflow Blog: https://blog.roboflow.com/deploy-hugging-face-models-roboflow-edge/