
Roboflow's Filter by Tag preprocessing step lets you curate dataset versions by including or excluding images based on tags applied at upload time, from the Images tab, or per image directly. Operations that would otherwise require custom scripts and JSON wrangling, such as training a location-specific model, rebalancing underrepresented classes, or holding out difficult images for evaluation only, can now be done entirely in the Roboflow UI by combining tag rules when generating a dataset version.
Annotated image datasets used to train computer vision models are much more difficult to curate, edit and maintain when compared to tabular data. This difficulty stems from the complexity of managing unstructured data across different annotation formats and dataset versions.
Further, performing the types of operations that are easy with tabular data (moving, changing, or deleting a filtered subset of data) require custom scripts. Even for those comfortable with programming, the time required to create, test and maintain these scripts can balloon for large projects.
Wrestling with image data slows you down and prevents you from accomplishing your goal: deploying an accurate computer vision model.
Introducing Filter by Tag
The new Filter by Tag preprocessing step allows you to curate versions of a dataset based on tags. You can elect to exclude images with certain tags from a version, or exclude them from a version entirely.
The Filter by Tag screen. In this example, the resulting version will only include images that have the must-include tag AND do not have the do-not-include tag.
With Filter by Tag and clever use of tags, you can quickly curate your dataset with prompts like “remove all images from my training data that were uploaded yesterday and include the widget class”. Performing the same logic outside of Roboflow would require wrangling with JSON, metadata, and code.
The rest of this post provides some inspiration for how you could use Filter by Tag in your computer vision work. Have you found other ways to curate your dataset? Let us know on the forum!
How to Tag Images in Roboflow
Before you can use the Filter by Tag feature, you need tags! There are three main ways to tag images: on upload, from the “Images” tab, and when viewing an image directly.
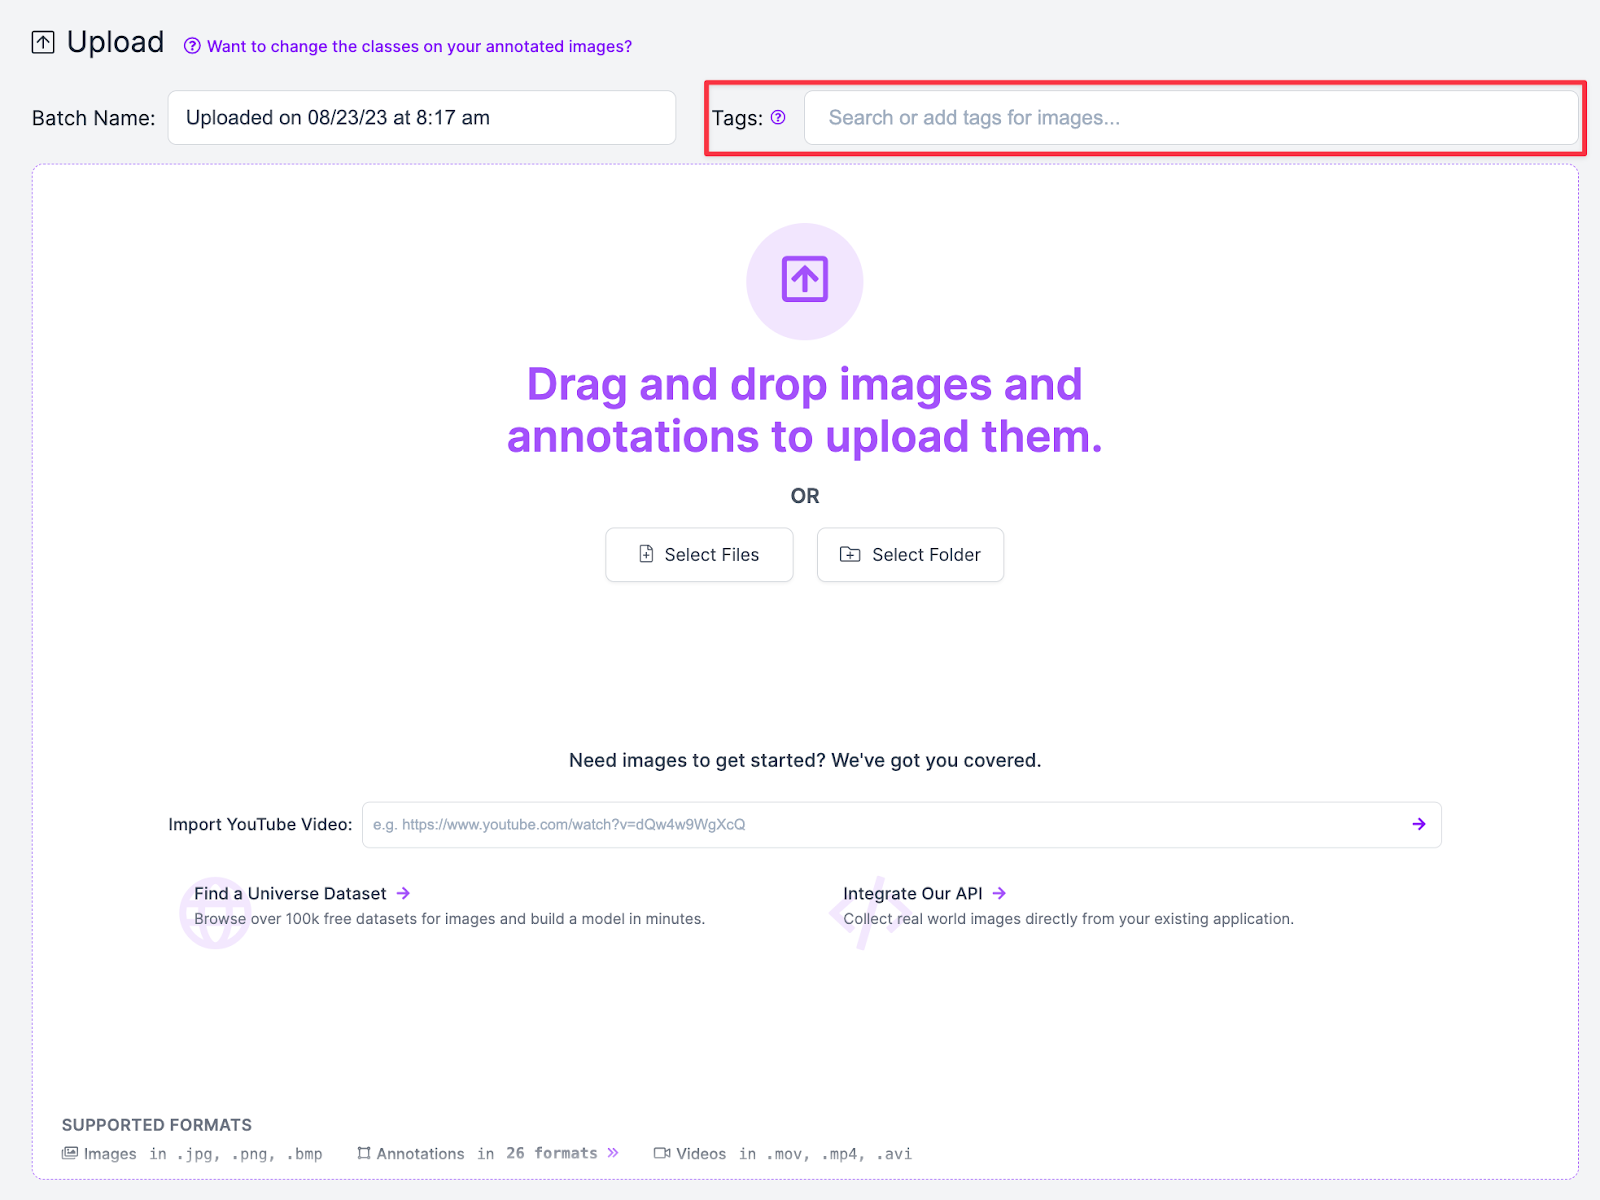
Tag Images on Upload
You can choose to tag batches of images when you upload them to Roboflow. This functionality is best used when you want to keep track of the source of the images.
Tag Images from the “Images” Tab
You can select images and click the “Images Selected” button to add tags. In this example, I am tagging all of the images in my test set that contain the class 2.

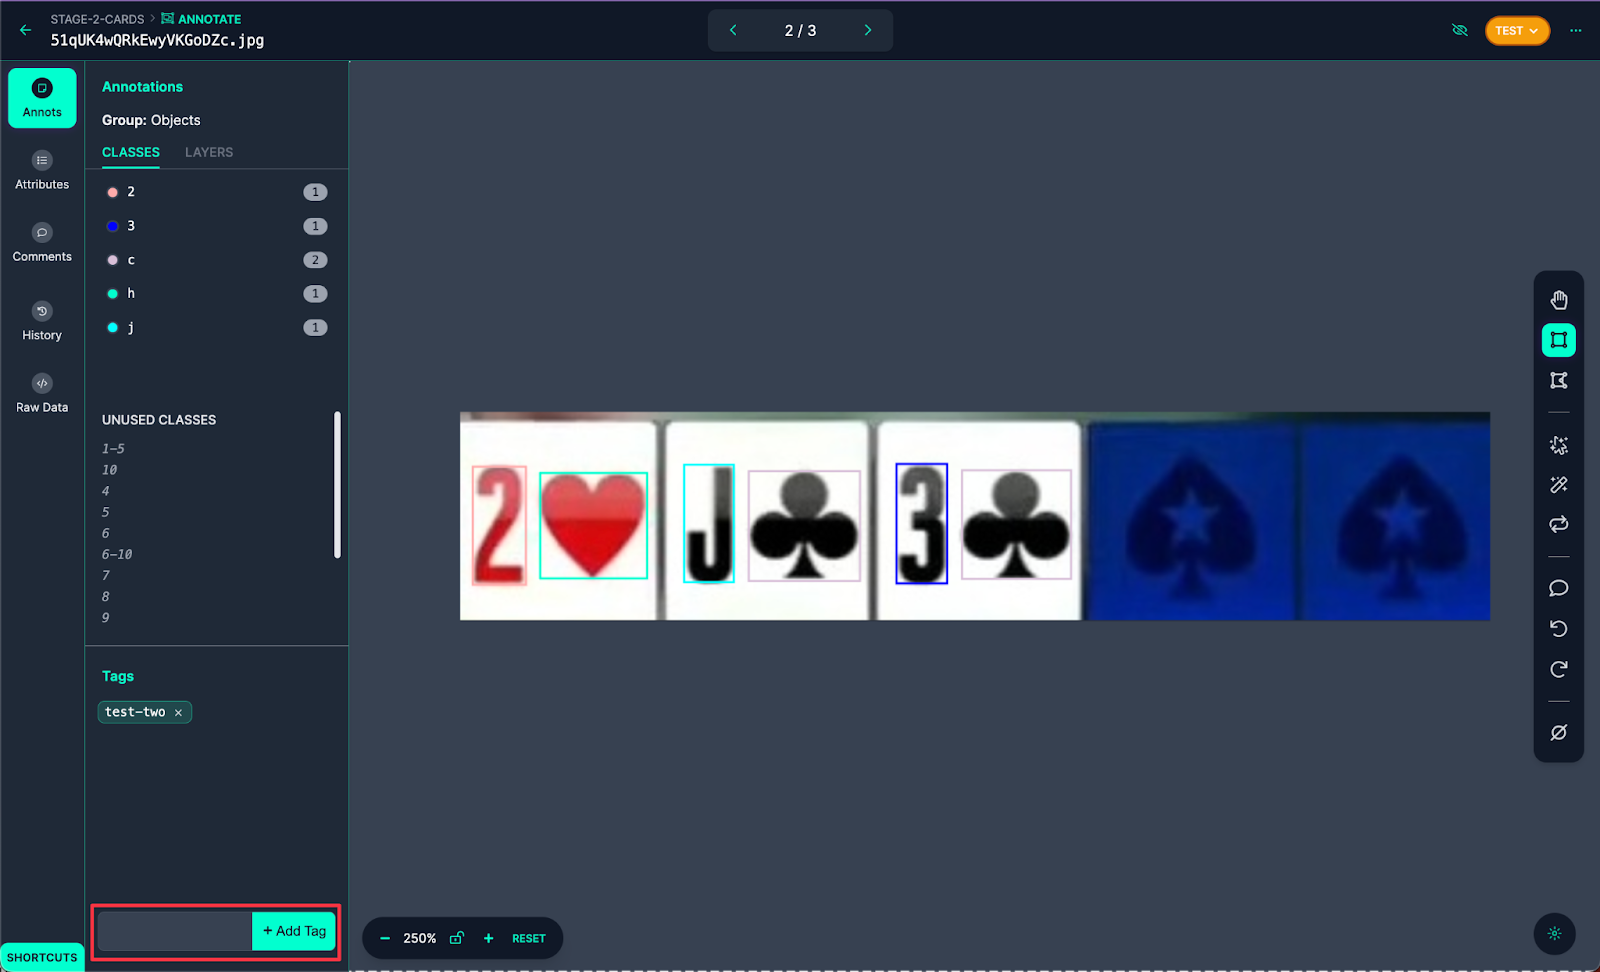
Tag Images Directly
When viewing an image directly, you can add tags to that image on the bottom-left corner of the UI. Make sure you are clicked into “Annots” on the vertical navigation bar.
Seamless Dataset Management with Filter by Tag
Exclude Images from Training
It is common to have images in your dataset that aren’t ready to be included in model training. This could be because quality is low (e.g., too blurry to be useful), the images need to be relabeled, or you just want to see how a model performs on less data.
To accomplish this, tag the relevant images and then Exclude that tag in the Filter by Tag preprocessing step.
Train a Location-Specific Model
Many Roboflow users need to deploy models across a wide geographic area. If the locations are sufficiently different, it can be advantageous to train location-specific models rather than one general model.
To test these location-specific models while keeping all of your data organized in the same project, tag images on upload based on their location. You can then `require` specific location tags during version generation.
Only Evaluate a Model on “Tough” Images
Images in the Valid set have more impact on model performance than images in the training dataset. You can selectively filter the images in the valid set to see which types of images lead to the best model accuracy.
Let’s say you wanted to run an experiment to see whether your overall model is better if the valid set over-indexes on the “tough” images where your model struggles.
First, filter your dataset to only include your valid set and tag the images in two groups, `Easy` and `Tough`. Then train models that `Exclude` one or the other tag to see which performs best. Just remember to test these models against the same test set to ensure your accuracy metrics are comparable!
Add a Subset of Data to Another Dataset
Beyond creating curated versions for training, you can also use Filter by Tag to selectively export images to be added to another project. This is often a necessary step when one dataset contains a small percentage of images needed for another dataset.
First, search your dataset for relevant images (say, all images that have a certain class). Then select those and tag them. Once they’re tagged, create a version of this dataset (with no augmentations, as you only want the raw images) and export it for re-upload into your second dataset.
Class Rebalancing
Model performance can be negatively impacted when one or two classes are underrepresented in a dataset. If your model is detecting the overrepresented Class A when the image contains the underrepresented Class B, your model may benefit from class rebalancing.
To successfully rebalance your classes, sort all images into two groups based on whether they contain the underrepresented class, and tag them accordingly. Generate two versions; each version should `require` one of the tags. When you generate the versions, use a higher number of augmentations applied for each image for your underrepresented version. Once done, export each version and re-combine them in Roboflow in a new project for training.
Conclusion
With the new Roboflow Filter by Tag feature, you can generate versions of dataset featuring images with a particular tag or set of tags. This feature allows you more control over the data included in the dataset on which you plan to train a model.
Filtering by tags without Roboflow usually involves wrangling JSON and writing custom programs. Now, you can do this in our UI. Sign up to get started.
Cite this Post
Use the following entry to cite this post in your research:
Jacob Witt. (Aug 23, 2023). Launch: Filter Image Datasets by Tag. Roboflow Blog: https://blog.roboflow.com/filter-image-datasets-by-tag/