
Florence-2, developed by Microsoft, is a state-of-the-art multimodal model architecture. With the base Florence-2 model weights, you can perform several tasks, from zero-shot object detection to optical character recognition (OCR). Florence-2 is licensed under an MIT license.
Here is an example of a Workflow running Florence-2 for OCR and object detection:

Roboflow has added support to use Florence-2 with Roboflow Workflows, our web-based computer vision application builder. With Workflows, you can build an application that uses Florence-2 in a few minutes.
In this guide, we are going to walk through how to use Florence-2 in Roboflow Workflows.
Without further ado, let’s get started!
Step #1: Create a Workflow
To get started, we need to create a Workflow.
Create a free Roboflow account. Then, click on “Workflows” in the left sidebar. This will take you to your Workflows home page, from which you will be able to see all Workflows you have created in your workspace.
Click “Create a Workflow” to create a Workflow.
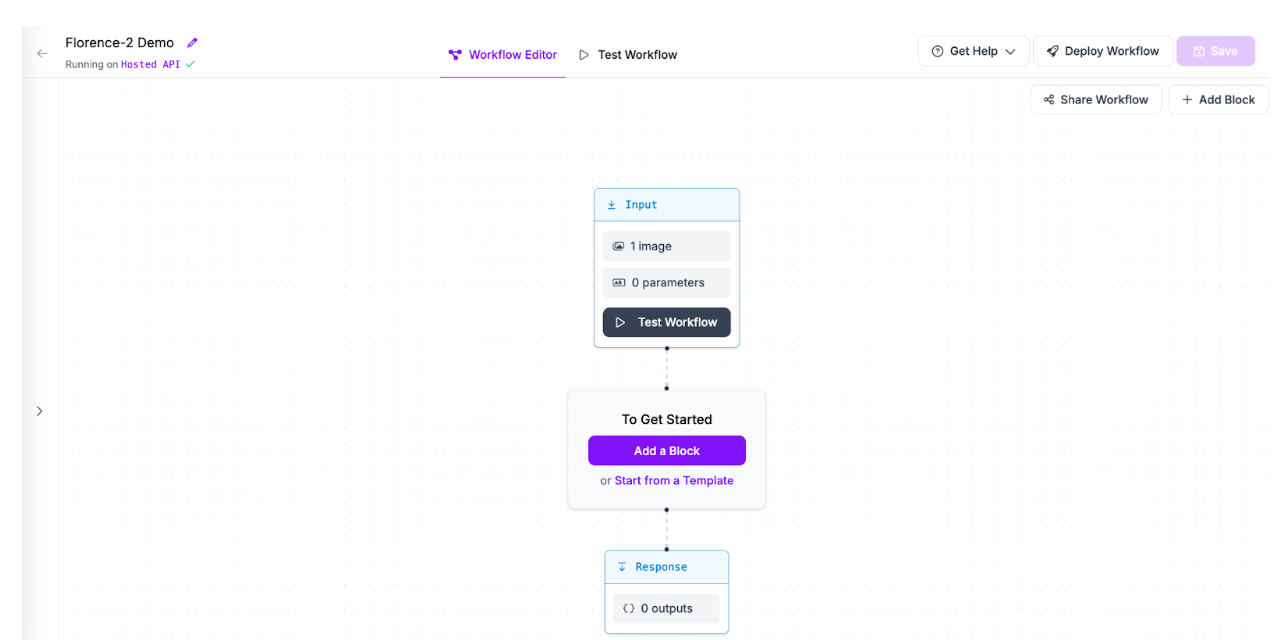
You will be taken into the Roboflow Workflows editor from which you can build your application:
Step #2: Setup Compute Resources
To use Florence-2 in Roboflow Workflows, you will need to set up a Dedicated Deployment with a GPU, or run your Workflow on a GPU-enabled device.
If you do not have a GPU-enabled device, you can set up a cloud Dedicated Deployment with an NVIDIA T4 GPU for use in your project. To learn more about our cloud Dedicated Deployments, refer to the Roboflow Documentation.
If you want to run your model on your own GPU-enabled device, you will need to set up a local Inference server. To get started, first make sure Docker is installed on your system. Refer to the official Docker installation instructions to learn how to set up Docker.
Then, run the following command to install Inference:
pip install inference
Next, run:
inference server start
This command will download the Inference Docker image that is optimized for your device architecture then set up a local container. This container will run a web service through which you can interact with your local, Docker-based Inference microservice.
Once you have an Inference server, you can use it with the Workflows web editor.
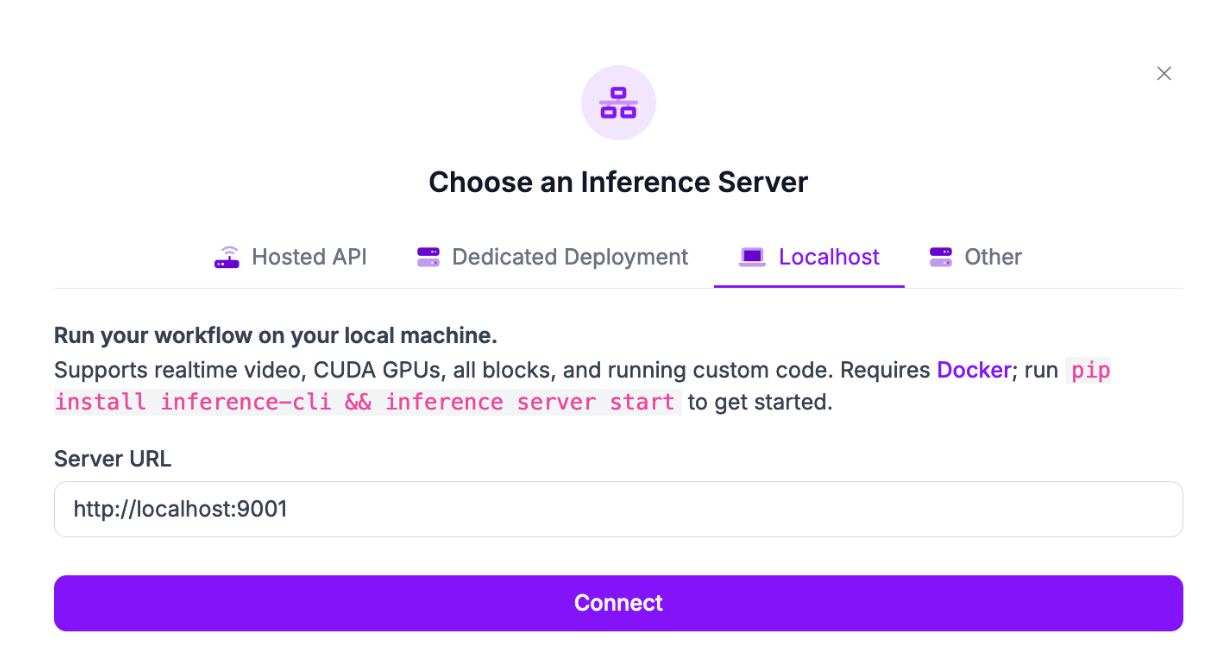
Click “Hosted API” in the top right corner of the Workflows web editor. Then, click “Dedicated Deployment” if you want to provision a Dedicated Deployment, or “Localhost” if you want to use a local Inference server.
Once you have set up compute for your Workflow, you can start experimenting with the Florence-2 blocks.
If you use a local server, all requests in the web editor will be routed to your local server. This allows you to experiment with Workflows interactively in the web editor without having to write any code.
Step #3: Add a Florence-2 Block
Blocks are steps in a Workflow. You can combine multiple blocks to create a complex, multi-step Workflow.
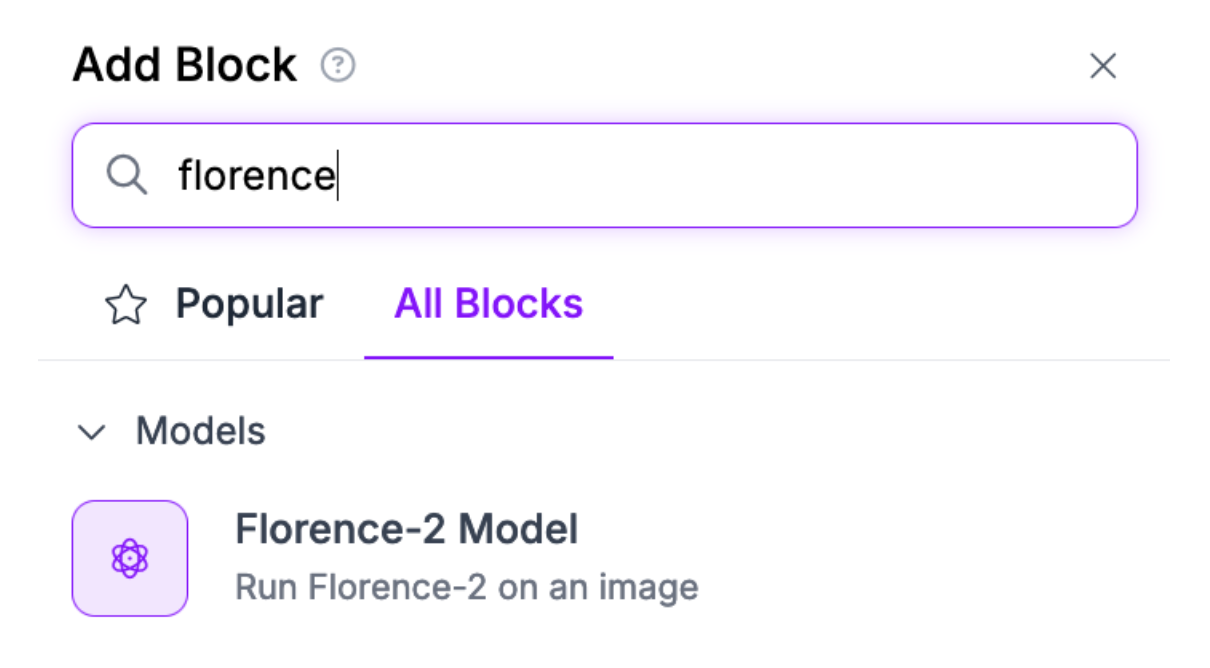
To add a Florence-2 block, click “Add a Block” then select “Florence-2 Model”:
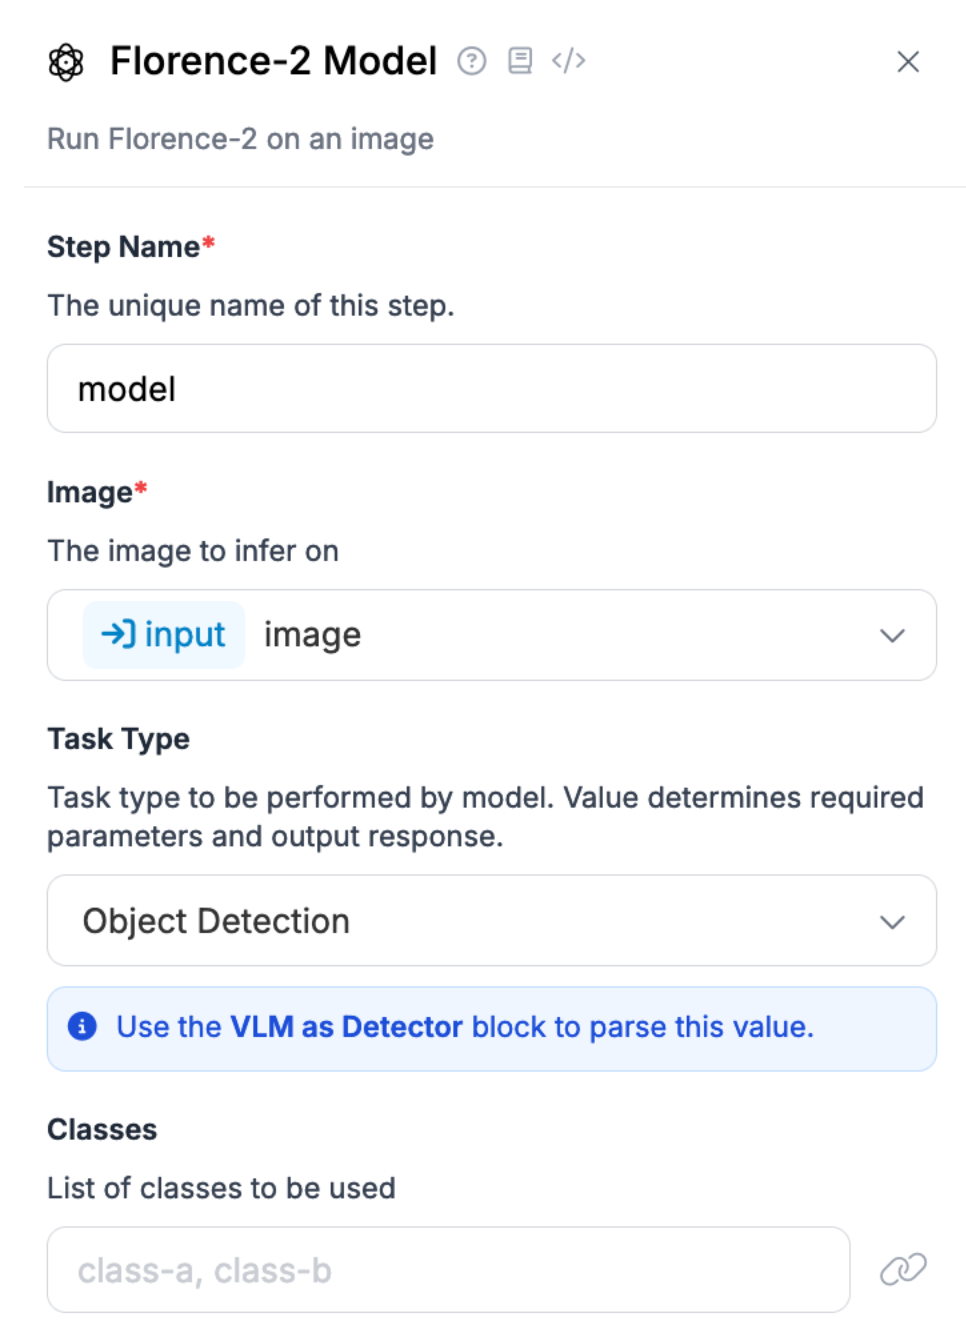
Your block will be added and a configuration panel will appear from which you can configure the block for the task type relevant to your project:
Florence-2 for Object Detection and Segmentation
By default, the Workflow will choose the task type Object Detection. This allows you to use Florence-2 as a zero-shot object detector.
You can also choose Prompted Instance Segmentation to use Florence-2 as a zero-shot image segmentation model.
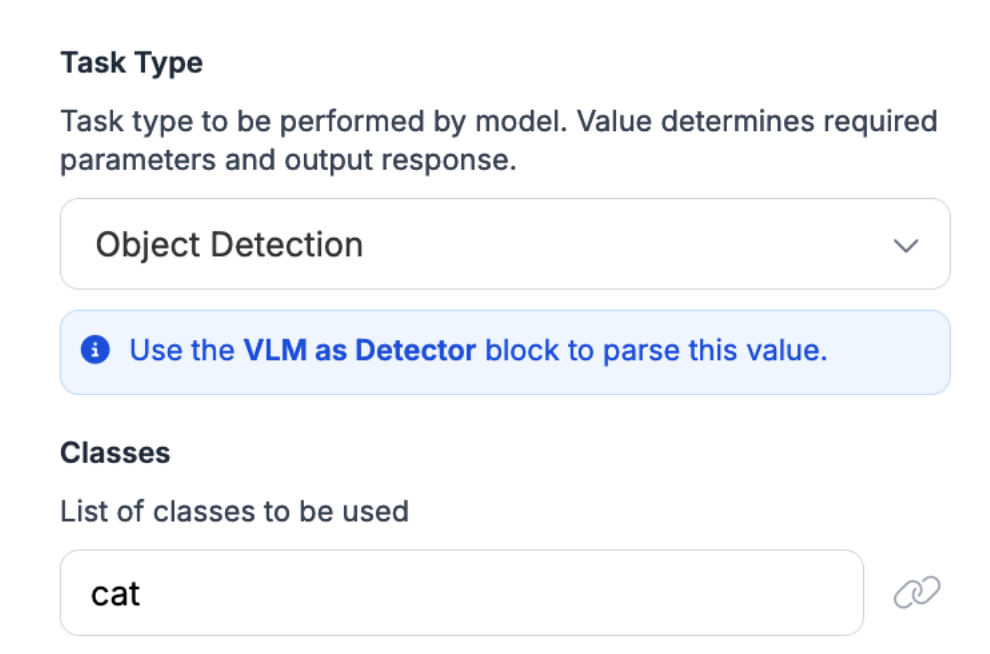
To use Florence-2 for object detection or segmentation, set one or more classes, separated by a comma, that you want to detect. Florence-2 works best when aiming to detect common objects (i.e. cats or cars).
Here is an example of a Florence-2 configuration to detect cats:

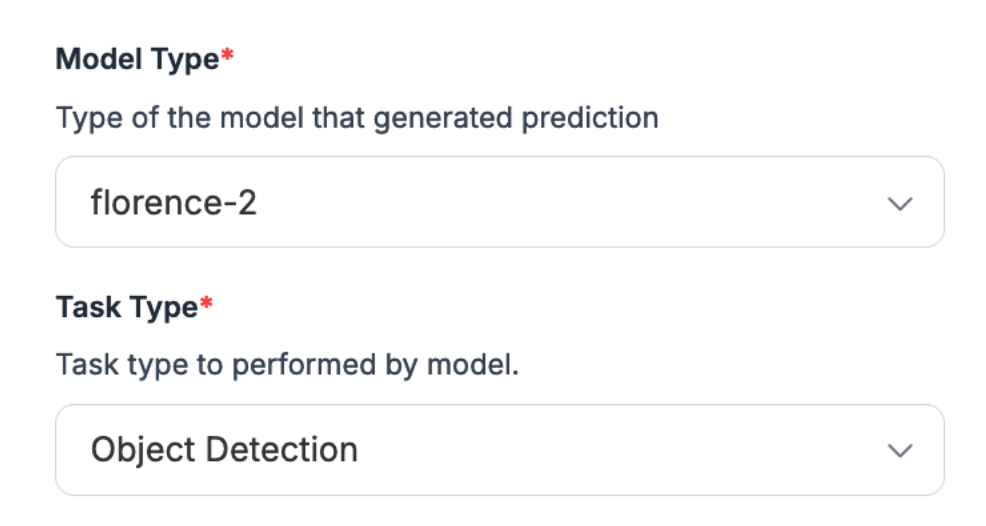
Next, click “Add a Block” and add a “VLM as Detector” block. This block will allow you to process model predictions into a format that allows them to be used by other Workflow blocks.
You will need to configure two values in the VLM as Detector block:
- The model type, which is florence-2 for this Workflow block setup, and;
- Task Type, which is Object Detection.
Here is what the block configuration should look like:
If you are using Florence-2 for instance segmentation, select the Instance Segmentation task type.
Once you have configured the block, you can use the Florence-2 predictions in your Workflow.
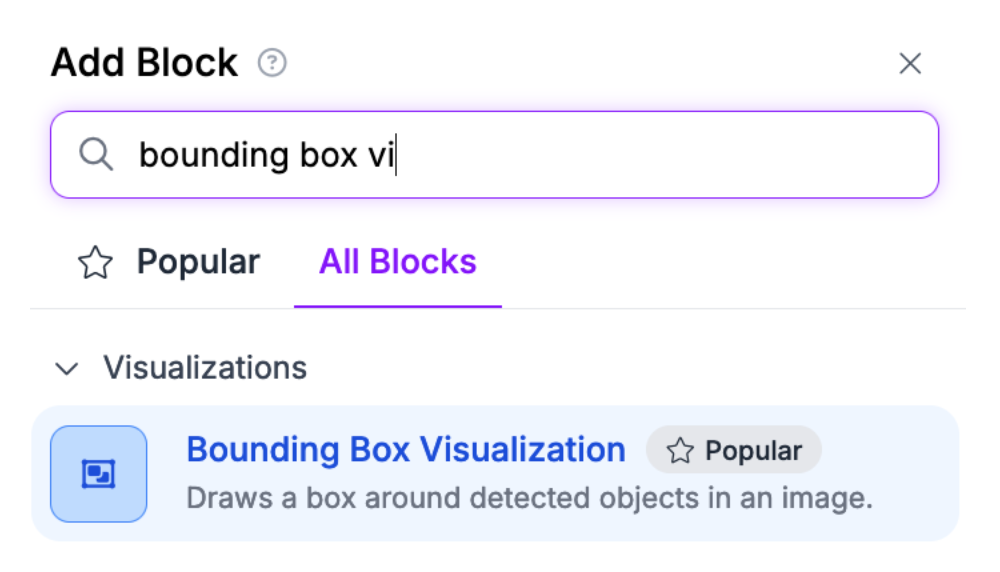
To visualize results from the Florence-2 object detection model, add a Bounding Box Visualization block:
To visualize results from the Florence-2 segmentation model, add a Mask Visualization block:

Connect the block to your VLM as Detector output.
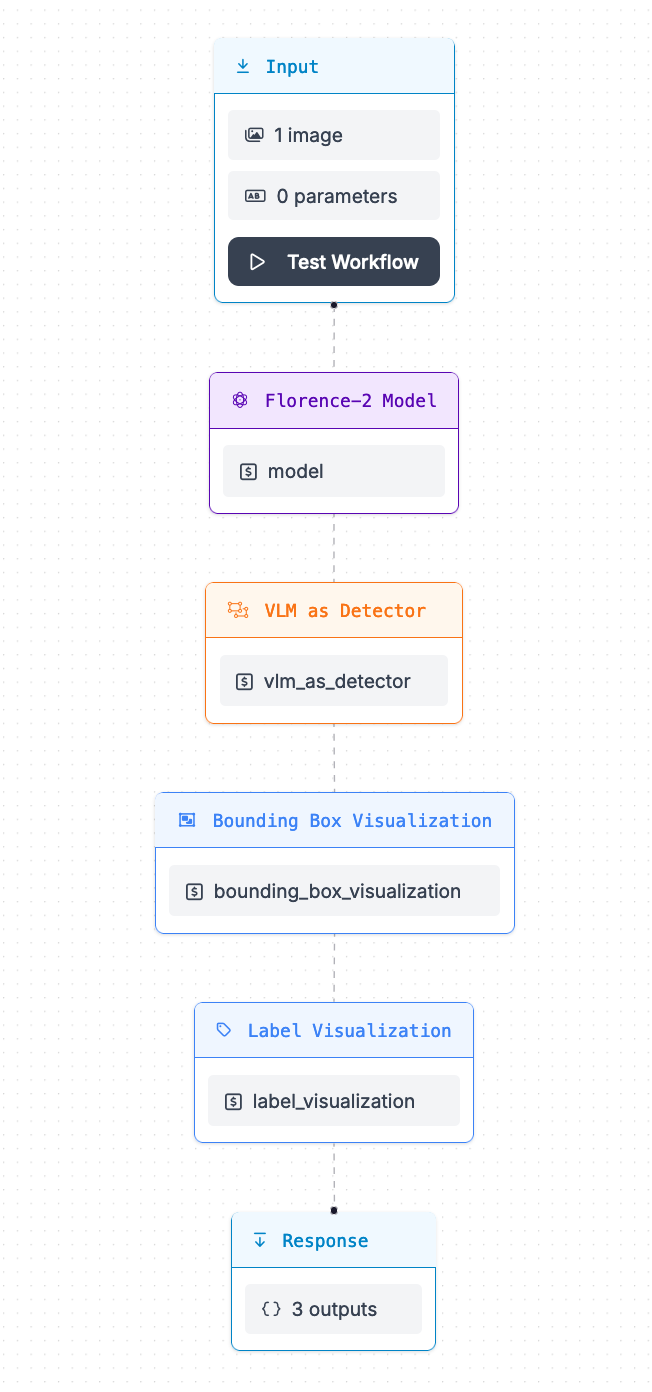
Your Workflow should look like this:
You can then test your Workflow.
To test your Workflow, click “Test Workflow” in the top panel of the Workflows web editor.
Then, upload an image on which you want to test your Workflow. Click “Test Workflow” to run your Workflow.
When you run your Workflow for the first time, the Florence-2 model weights will need to be retrieved and set up on your device. This may take several minutes, depending on the strength of your internet connection.
Then, the results from your system will appear on the web page.
Here is an example of the results from the Workflow above when used to detect cats in an image:
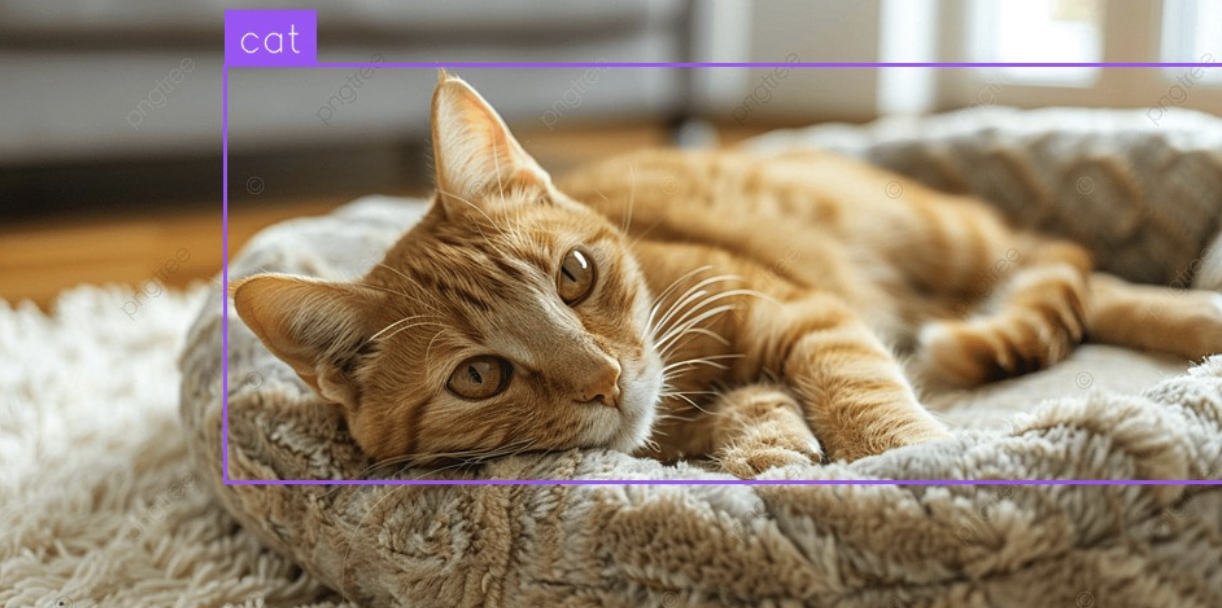
Our Workflow successfully detects cats using Florence-2.
Florence-2 for Optical Character Recognition
You can also use Florence-2 for optical character recognition. Indeed, Florence-2 is an effective OCR model. Of note, because Florence-2 runs on your own hardware, the model does not require external API calls to services like OpenAI or Anthropic. This means that you can run the system offline, without sending your data to third parties.
To use Florence-2 for OCR, select the “Text Recognition (OCR)” task type on a Florence-2 block:
You can then run your Workflow to retrieve text from an image.
The Workflow should look like this:

To test your Workflow, click “Test Workflow” in the top panel of the Workflows web editor.
Then, upload an image on which you want to test your Workflow. Click “Test Workflow” to run your Workflow.
Let's test on this image:
When you run your Workflow for the first time, the Florence-2 model weights will need to be retrieved and set up on your device. This may take several minutes, depending on the strength of your internet connection.
Then, the results from your system will appear on the web page.
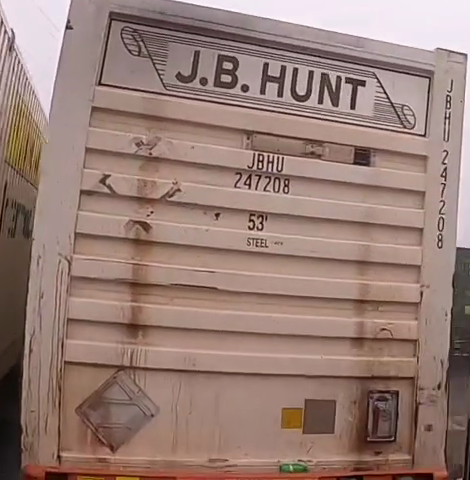
Here is an example of the results from the Workflow above when used to read text on a shipping container:

The full raw text is:
[
  "</s>J.B.HUNT",
  "JBHU",
  "247208",
  "53"
]
Florence-2 successfully read all of the letters and numbers in the container ID.
Of note, the model didn't read the vertical text. Multimodal models such as Florence-2 often struggle to read vertical text.
Florence-2 for Other Tasks
Roboflow Workflows supports using Florence-2 for:
- Bounding box classification
- Object detection
- OCR
- Text detection and OCR
- Captioning (Short)
- Captioning
- Captioning (Long)
- Detection then captioning
- Unprompted object detection
- Prompted object detection
- Prompted instance segmentation
- Segment a bounding box
- Caption a bounding box region
- Text recognition in a bounding box
- Region of interest proposal
You can choose among these tasks in the Task Type dropdown. By default, the raw response from the model will be added to your Workflow output.
Conclusion
Florence-2, developed by Microsoft, is an MIT-licensed multimodal vision model. Florence-2 supports many tasks, from zero-shot object detection to OCR to image segmentation.
In this guide, we walked through how to perform two common tasks with Florence-2:
- Object detection, with assistance from the Workflows bounding box visualization tools, and;
- OCR.
We created Workflows using both of the above capabilities.
To learn more about deploying Workflows on your own hardware, refer to the Workflows Deployment documentation.
To learn more about Florence-2, refer to our Florence-2 guide.
Cite this Post
Use the following entry to cite this post in your research:
James Gallagher. (Oct 16, 2024). Launch: Use Florence-2 in Roboflow Workflows. Roboflow Blog: https://blog.roboflow.com/florence-2-workflows/