
This tutorial covers training a YOLOv8 classification model using the Ultralytics pip package and a dataset from Roboflow Universe, demonstrated on a banana ripeness dataset that distinguishes ripe from overripe fruit. The steps include installing the ultralytics package, uploading and configuring a single-label classification dataset in Roboflow, training via the Python SDK, evaluating the trained model, and deploying the weights back to Roboflow for hosted API access or self-hosted inference.
YOLOv8 was launched in January 2023, the newest series of computer vision models for object detection, image segmentation, classification, and other tasks. YOLOv8 offers a developer-centric model experience with an intuitive Python package for use in training and running inference on models.
In this guide, we’re going to discuss how to use the YOLOv8 classification features to train a model that classifies whether a banana is ripe or overripe. We will use a banana dataset from Roboflow Universe for use in training our model.
Without further ado, let’s get started!
Interested in learning more about YOLOv8? We have guides on the YOLOv8 architecture, how to train a YOLOv8 object detection model, and how to train a YOLOv8 segmentation model.
Step 1: Install Ultralytics pip Package
Before we start training our model, we need to install the ultralytics pip package. ultralytics is the official pip package for YOLOv8. The SDK provides a range of Python methods for training, evaluating, and running inference on YOLOv8 methods. Unlike previous YOLO models, we’ll do our training directly in Python code rather than by running a script using the command line.
To install the ultralytics pip package, run the following command:
pip install "ultralytics<=8.3.40"Step 2: Upload Dataset to Roboflow
Now that we have the package installed, we’re ready to prepare our dataset for training. In this guide, we are going to train a model to detect whether a banana is ripe or overripe. We’ll use the Banana Ripeness Classification dataset hosted on Roboflow Universe. You can use any data you would like in this guide!
First, create a free Roboflow account. Go to the Universe dataset page for the banana ripeness dataset and click "Datasets" in the sidebar then click the v1" option:
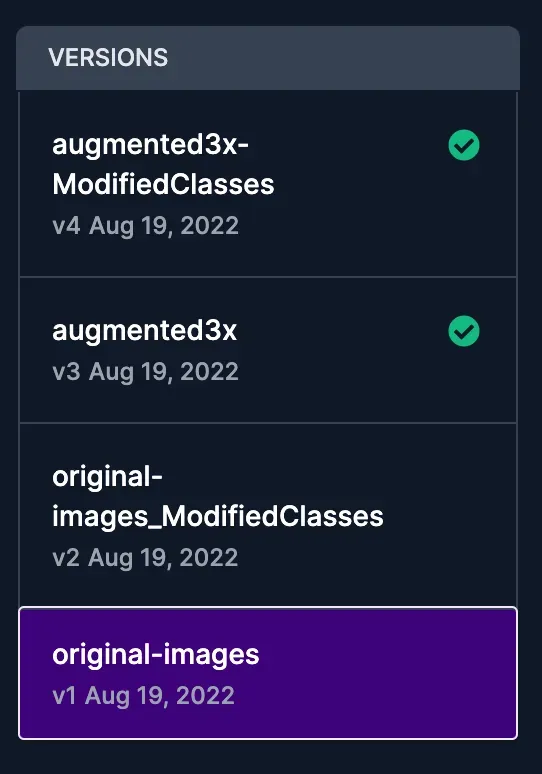
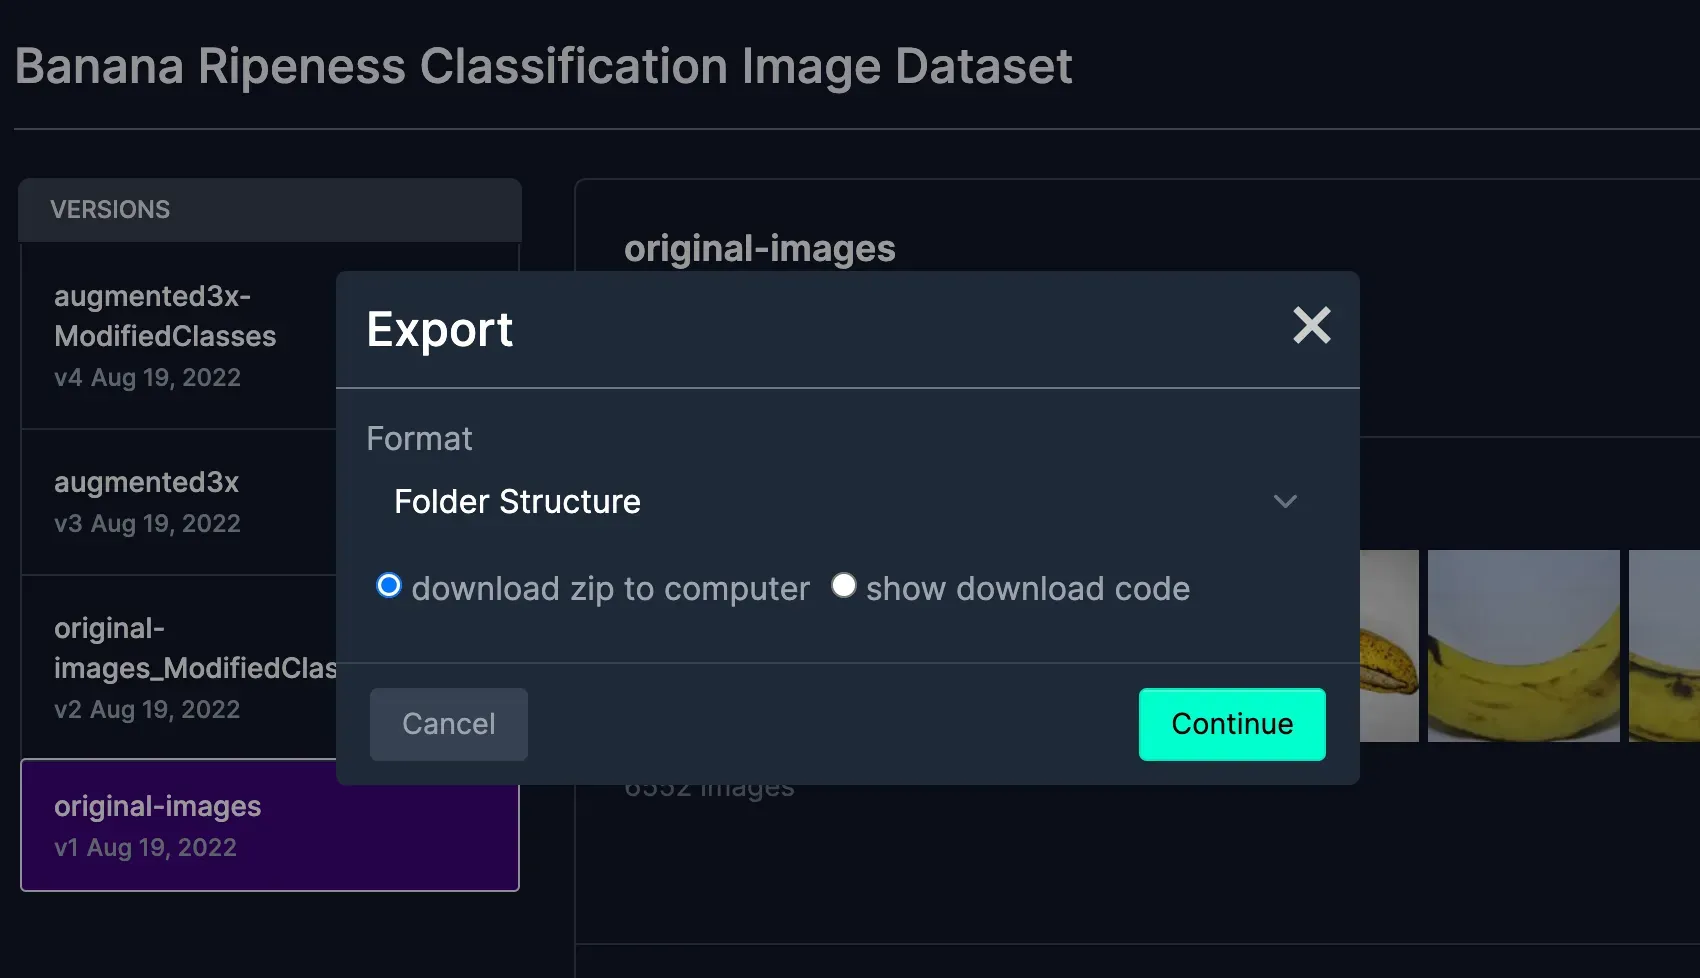
This dataset is smaller than the others so training will be faster (although there will be an accuracy trade-off). Then, download the dataset as a ZIP folder:
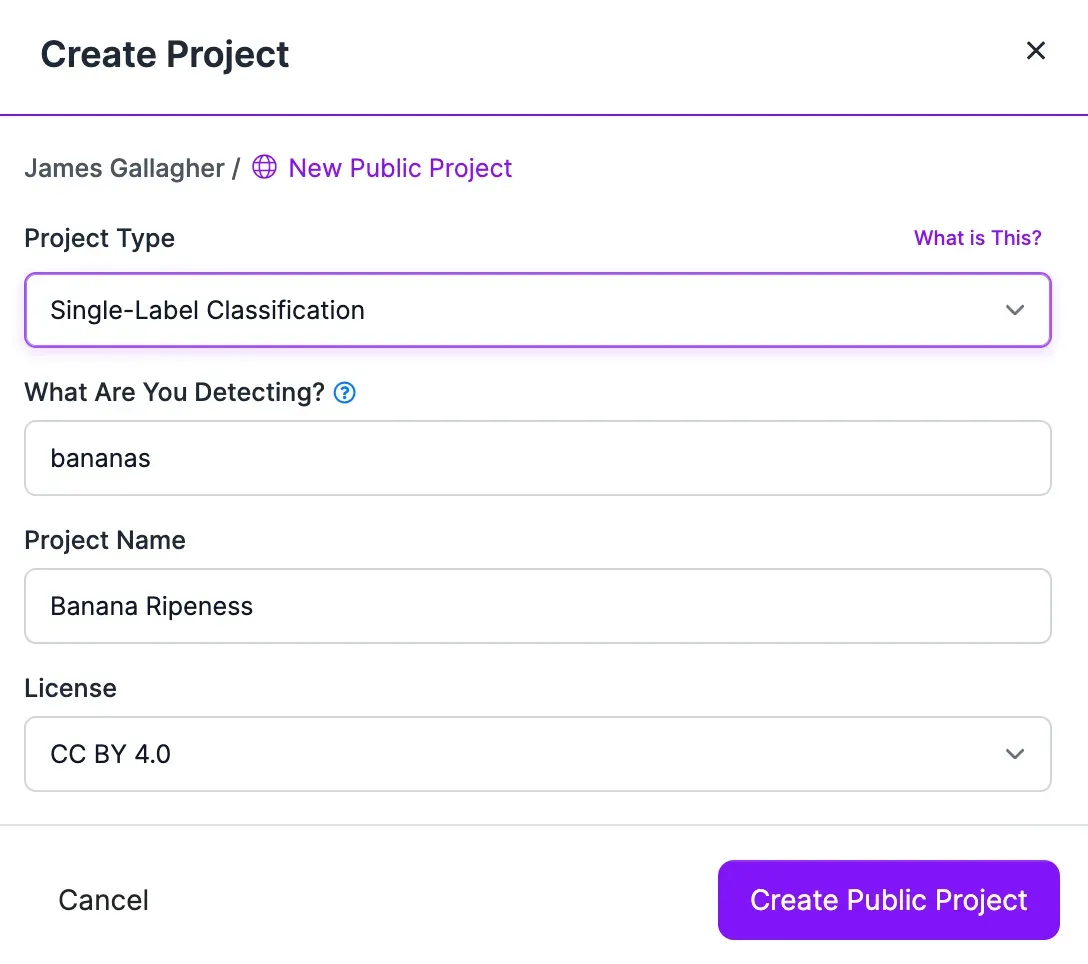
Next, go to the Roboflow dashboard and create a new project. When asked to specify a project type, select “Single-Label Classification”:
Next, drag your images into the Roboflow platform:
When asked, click "Save and Continue" to proceed uploading images to Roboflow.
If your images are not labeled already, you can label them in Roboflow Annotate, our image annotation solution.
You will be walked through a flow to approve annotations and add them to a dataset in the Roboflow platform. With your labeled images ready, click “Generate” in the sidebar of your Roboflow project to generate a version.
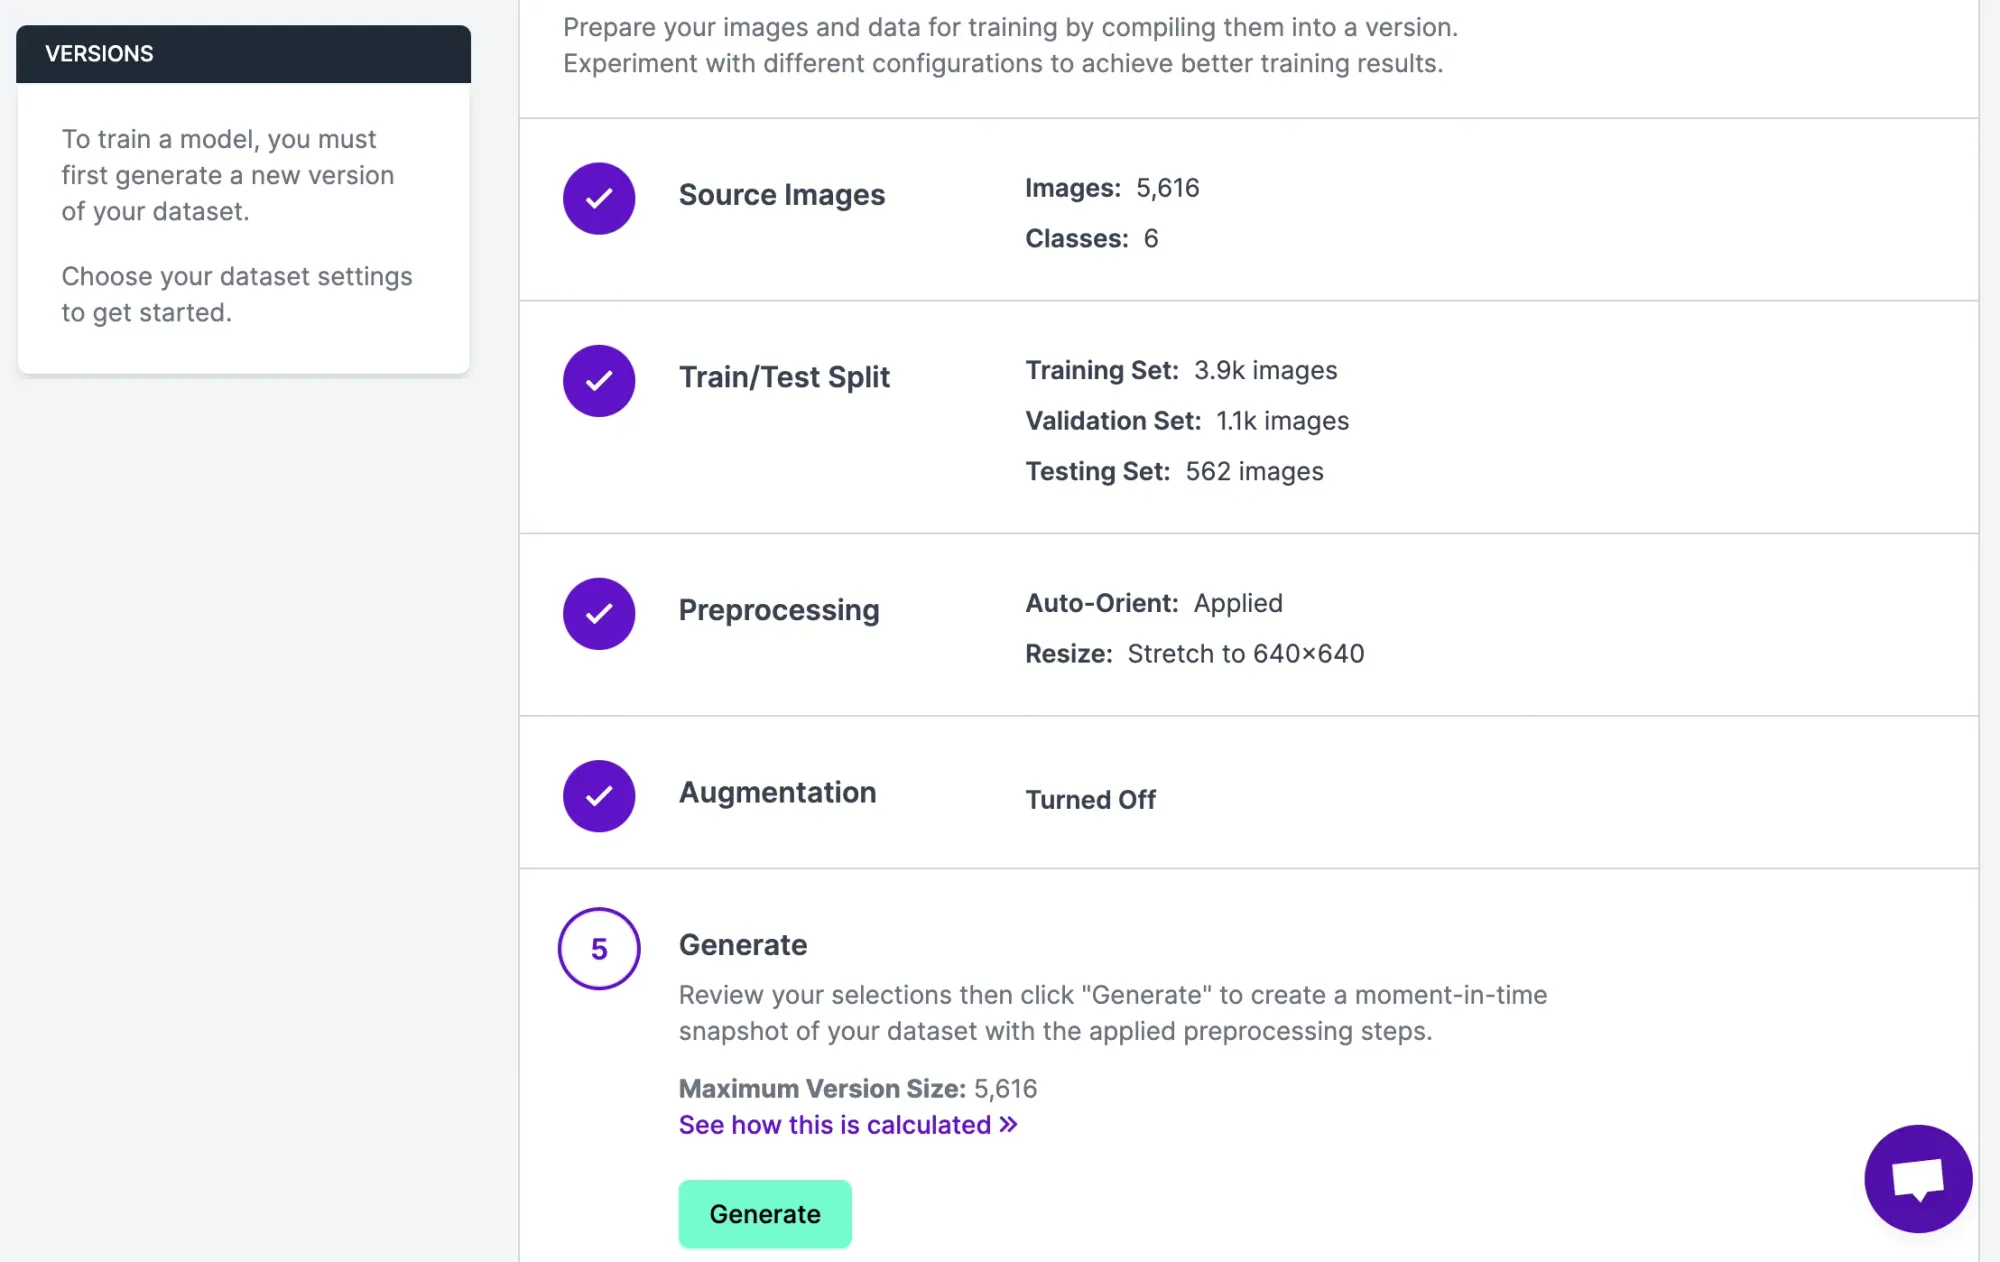
For this guide, we will leave all of the configuration options at their default values, which will give us a good starting point. Feel free to experiment with different augmentation options with reference to the guidance in our preprocessing and augmentation guide after you have trained your first model.
Click “Generate”. This is going to resize our images and ensure our data is ready for use in our model. Now we have an annotated dataset ready for use in our model.
Step 3: Train a YOLOv8 Classification Model
First, let’s download our data from Roboflow so that we can use it in our project:
from roboflow import Roboflow

rf = Roboflow(api_key="YOUR_API_KEY")

project = rf.workspace().project("YOUR_PROJECT_ID")
dataset = project.version(1).download("folder")
Susbstitute your API key and project ID with the values associated with your project. You can find these values with guidance from our project metadata and API key guide. Next, we can use the Ultralytics pip package to load a pre-trained model. We will train our custom model with the pre-trained model as a starting point:
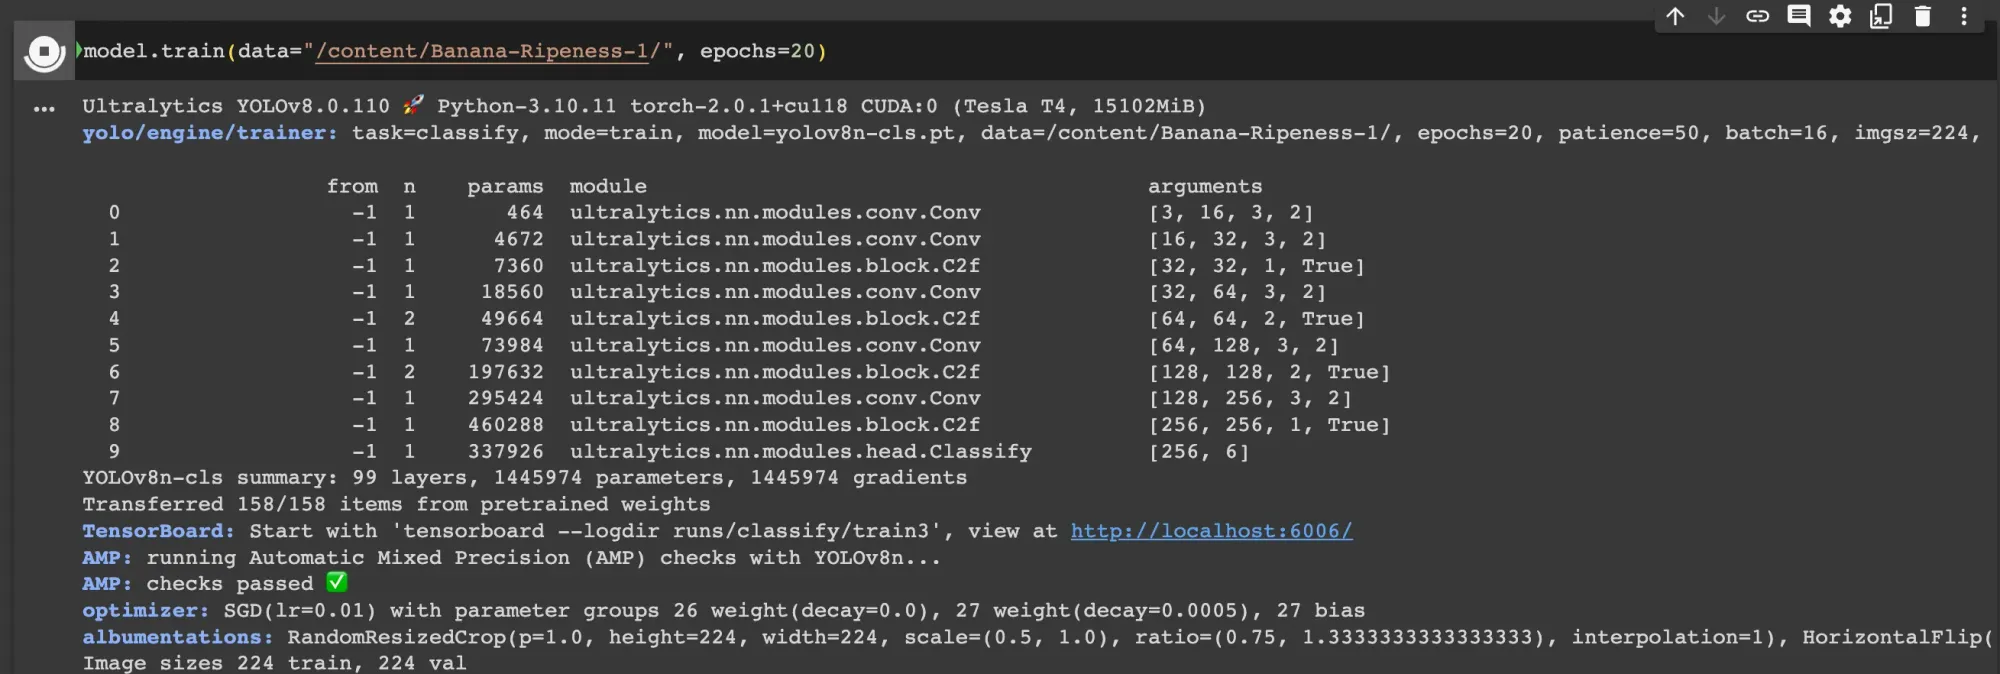
model = YOLO("yolov8n-cls.pt")

model.train(data="/full/path/to/dataset/", epochs=20)
In this code, we download the weights for the YOLOv8 classification model pre-trained on ImageNet. This provides us with a base point from which we can train our banana ripeness detection model. Next, we train our model. We have selected 20 epochs for training which will be enough for our example.
We recommend experimenting with this number to help you achieve optimal model performance. The default epochs for which a training job will run is 100, but we have reduced the number to 20 to train our model in a shorter period of time.
The training step will take between a few dozen minutes to an hour on a GPU depending on the hardware on which you are training and whether you have changed the epochs value. Feel free to go make a cup of tea or coffee while you wait!
When training is done, we can move on to testing and evaluating our model!
Step 4: Test Evaluate the Model
Before we run a full evaluation, let’s test our model on an example image:
results = model("./Banana-Ripeness-1/valid/freshripe/musa-acuminata-banana-ad75a3ca-394a-11ec-bd23-d8c4975e38aa_jpg.rf.9a0901469c07274fc8cbc92f1b256b85.jpg")

for result in results:
    probs = list(result.probs)
    classes = result.names

    highest_prob = max(probs)
    highest_prob_index = probs.index(highest_prob)

    print(f"Class: {classes[highest_prob_index]}")
Our code returns:
Class: freshripeThis image is classified as freshripe in our validation dataset. Our model has successfully identified the class associated with the image on which we run inference.
Now, let's use the val() function available with YOLOv8 to view metrics that show how our model performs:
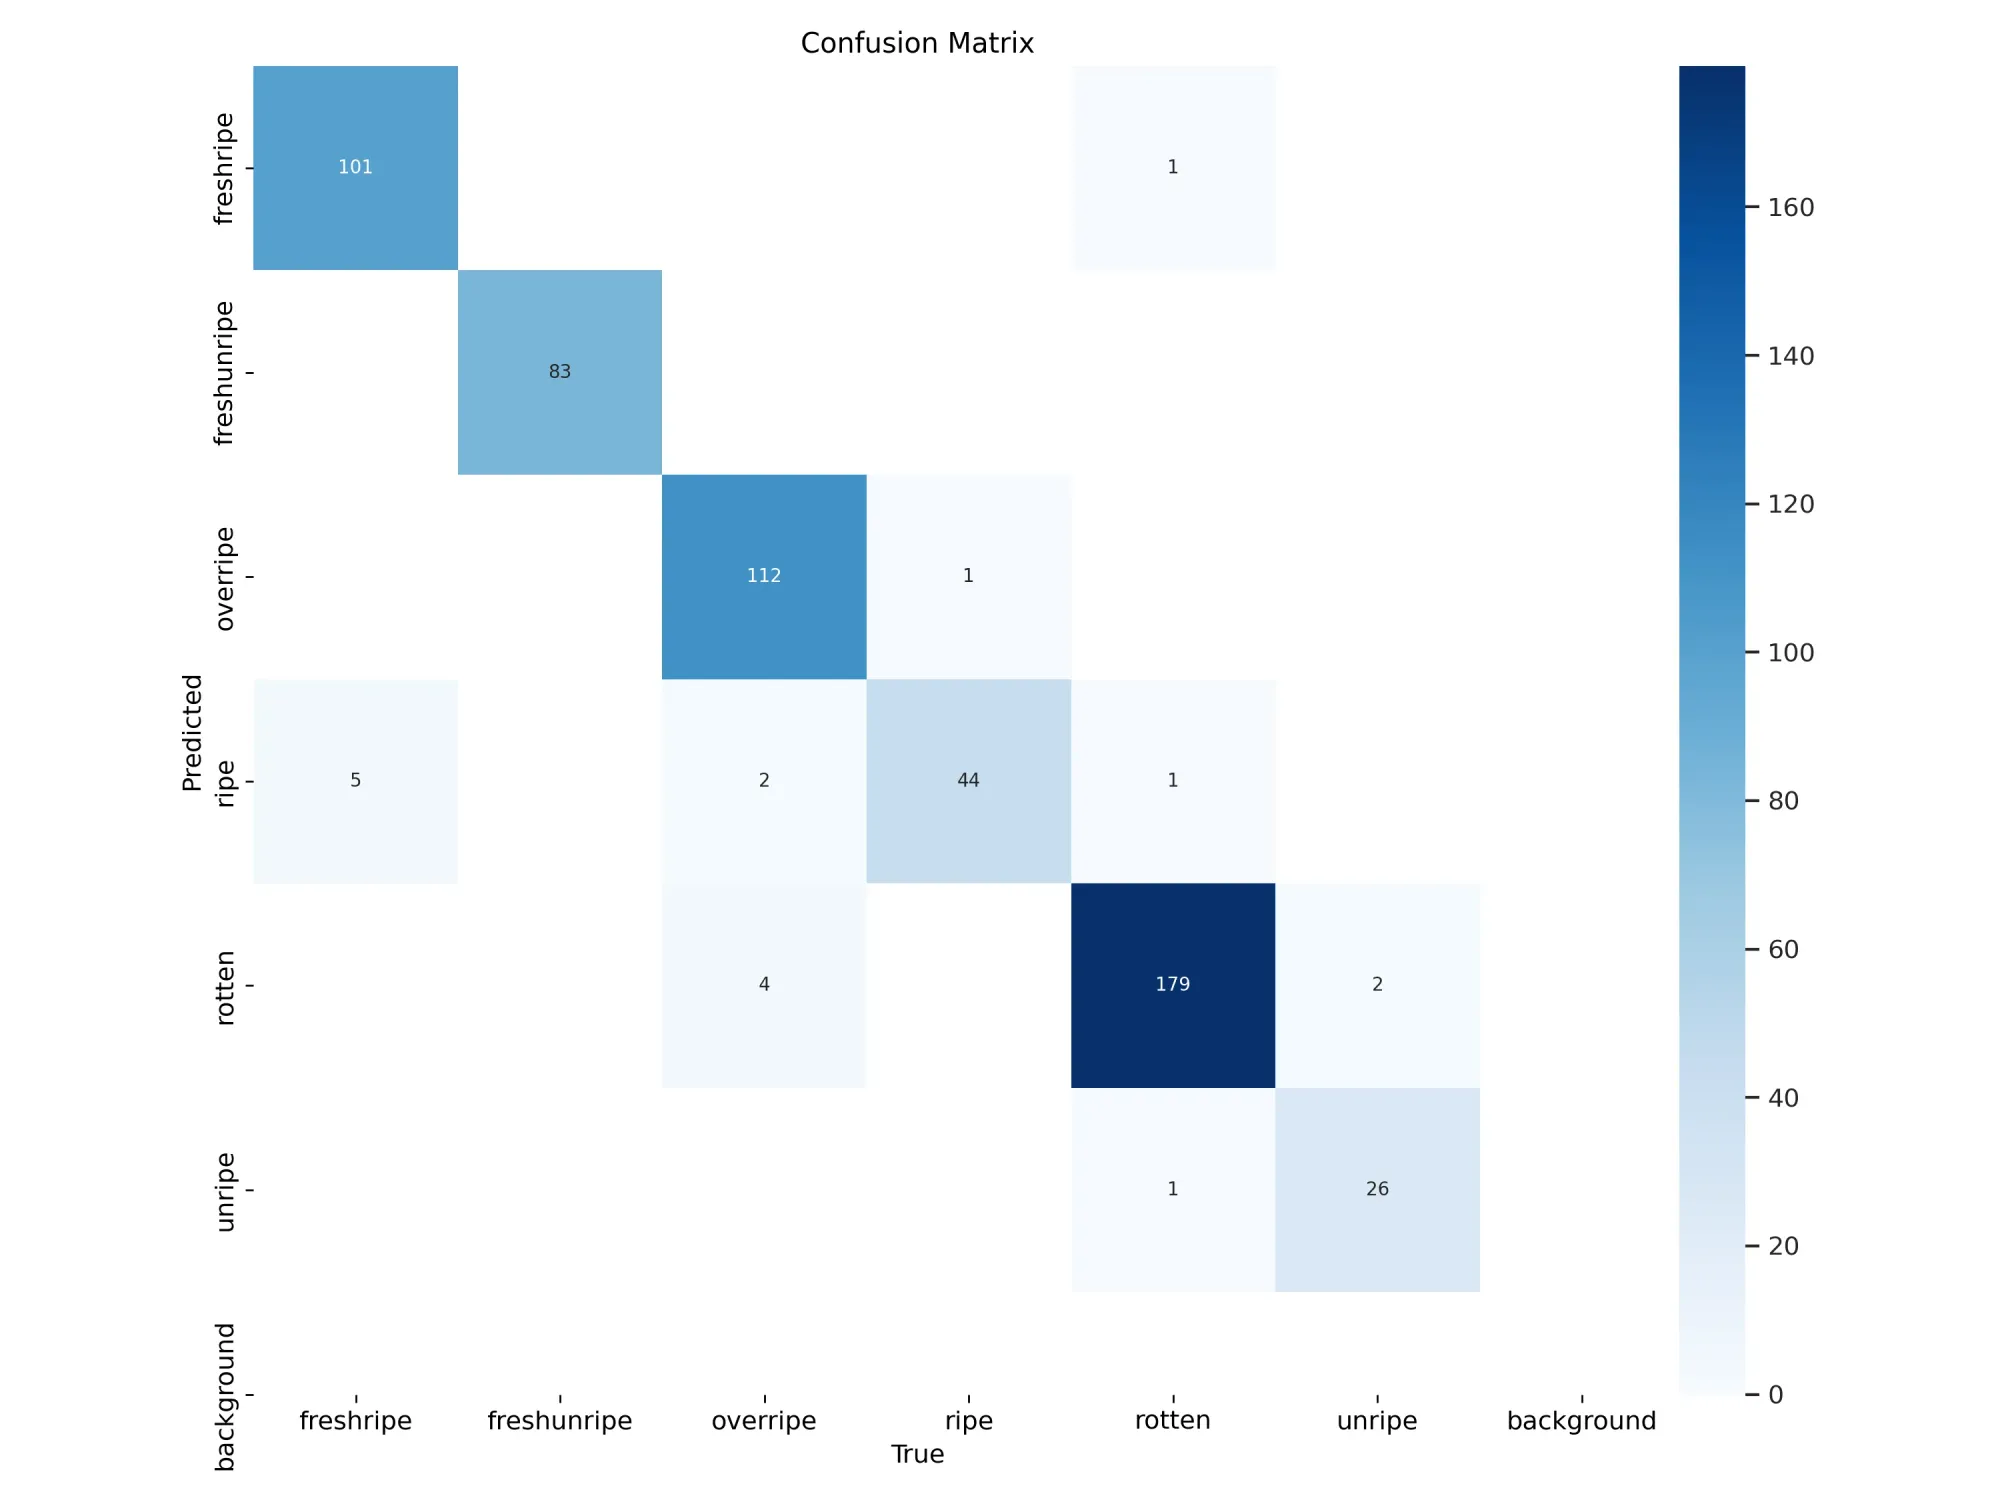
metrics = model.val()This will save various evaluation results in the runs/classify/val directory. For example, there is a confusion matrix that shows model performance when benchmarked against your val set or, if one is not found, your test set. We can plot this image using the following code:
from google.colab.patches import cv2_imshow
import cv2

cv2_imshow(cv2.imread("./runs/classify/val/confusion_matrix.png"))
If you are running outside of Google Colab, you can use cv2.imshow() without the Colab patch. We need to use the Colab patch because Colab does not support the cv2.imshow() function.
Here is the confusion matrix for our model:
Save and Deploy model
Once you have finished training your YOLOv8 model, you’ll have a set of trained weights ready for use. These weights will be in the /runs/classify/train/weights/best.pt folder of your project. You can upload and your model weights to Roboflow Deploy for autolabeling, autoscaling inference, and using later.
The .deploy() function in the Roboflow pip package supports uploading YOLOv8 weights.
You can only use the deploy function for projects you own in Roboflow.
Run the following code to save your model weights:
project.version(dataset.version).deploy(model_type="yolov8-cls", model_path=f"{HOME}/runs/classify/train/")To learn more about uploading custom model weights, refer to the Roboflow upload model weights guide.
Once your model weights have uploaded, they will be available for access through the Roboflow hosted API. You can also deploy your model on your own hardware with Roboflow Inference, an open source computer vision inference server.
Conclusion
YOLOv8 is the latest computer vision model series from Ultralytics, offering support for object detection, classification, and image segmentation, among other task types. YOLOv8 offers a Python SDK and command line tools through which you can train and validate YOLOv8 models.
In this guide, we have demonstrated how to train a YOLOv8 classification model on a custom dataset using the ultralytics pip package for model training and Roboflow for dataset preparation. Now you have the knowledge you need to train your own YOLOv8 classification models. Happy training and inferring!
Cite this Post
Use the following entry to cite this post in your research:
James Gallagher. (May 30, 2023). How to Train a YOLOv8 Classification Model. Roboflow Blog: https://blog.roboflow.com/how-to-train-a-yolov8-classification-model/