
What is LabelMe?
LabelMe is an open source image annotation tool, inspired by MIT's web annotation tool of the same name. LabelMe allows you to create annotations for object detection, classification, and segmentation computer vision datasets. You can draw annotations using polygon, rectangle, circle, line, and points.
In this guide, we are going to show how to use LabelMe. We will walk through:
- How to install LabelMe
- How to upload images
- How to create an annotation in LabelMe
- How to export data
- How to convert LabelMe annotations to different formats
Without further ado, let’s get started!
LabelMe Features
LabelMe provides a graphic interface through which you can annotate images. With LabelMe, you can annotate images for:
- Object detection, using bounding boxes and polygons;
- Instance segmentation;
- Semantic segmentation, and;
- Classification.
You can also annotate video data in LabelMe.
How to Install LabelMe
LabelMe offers both operating system-specific installation methods as well as a Python installation method. The Python installation method can be used across Windows (via WSL), Linux, and macOS, so we will use that method in this guide.
LabelMe previously offered a hosted web interface for annotating images, but the web tool is no longer open to new users.
To install LabelMe using Python, run the following command:
pip install labelmeWhen this command has finished running, you can start LabelMe using the following command:
labelmeLabelMe will start and pop up in a new window:
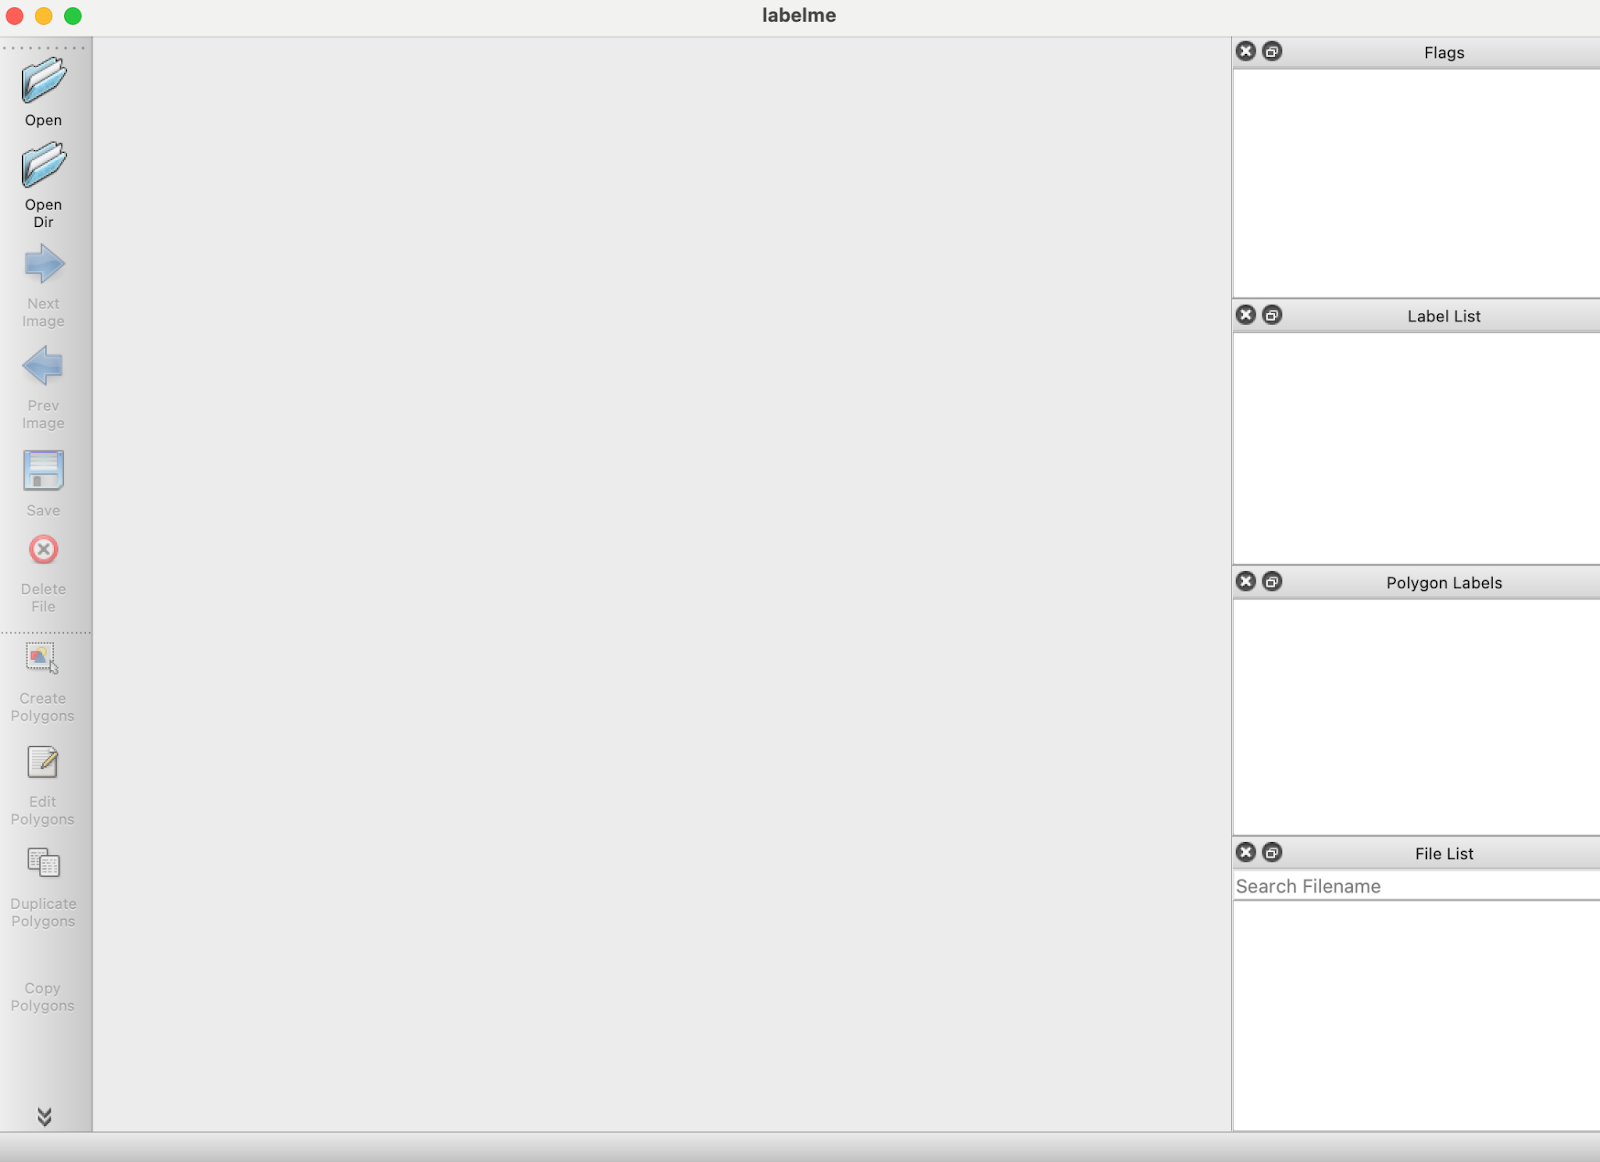
With LabelMe installed, we can start annotating images.
Upload Images to LabelMe
To annotate images in LabelMe, click “Open Dir” and choose a folder of images you want to open. You can also click “Open” to select individual images.
The folder of images (or individual image) you have opened in LabelMe will load. In this example, we will load a folder of images. After choosing a folder, an image appears that we can annotate. The sidebar shows a “File List” box in which you can navigate between images in the folder you have selected.
If you need images for your project, check out Roboflow Universe, a community for sharing computer vision datasets. There are over 200,000 public datasets on Universe that you can use to help with your projects.
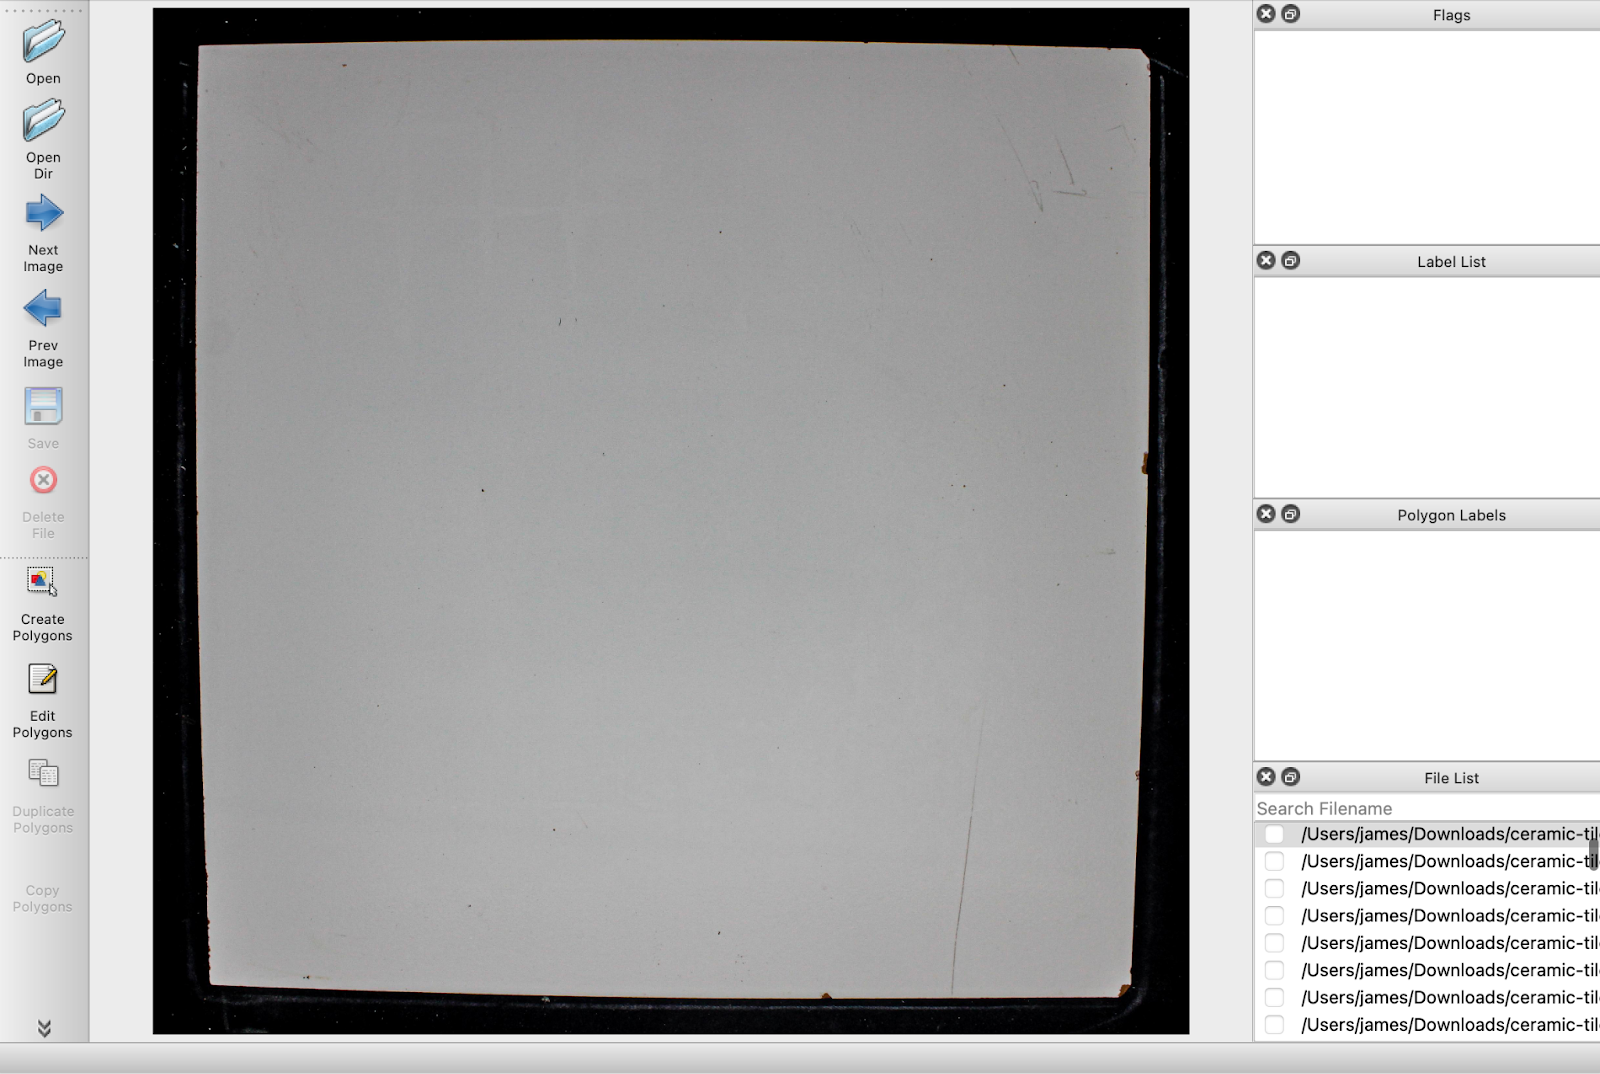
We now have images ready for annotation in LabelMe.
How to Create an Annotation in LabelMe
To create an annotation, click the “Create Polygons” button in the application sidebar, then click “Edit” in the application command tray to choose what type of polygon you want to create. Here is how the command tray appears on macOS (the tray will appear differently depending on the operating system you are using):
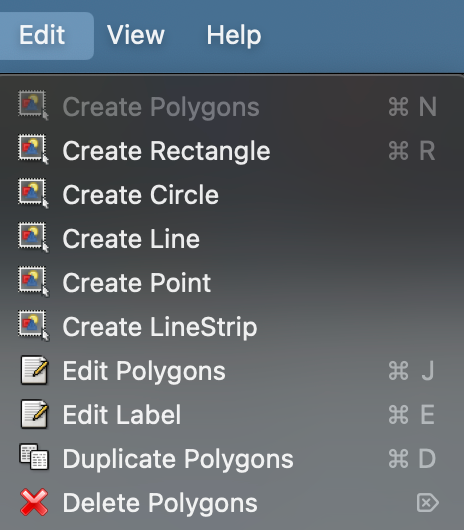
Here, we can click “Create Rectangle” to select the rectangle tool for use in drawing a bounding box. After selecting the rectangle tool, you can click anywhere on the loaded image to start drawing a bounding box:
To draw a bounding box, click on a point, then drag your cursor to draw the box. When you are finished, click your mouse or trackpad to set the box. Then, you will be asked to select a class for the object. You can add new classes as you go, and reuse existing classes you have set.
If you are new to labeling data, check out our How to Label Images for Computer Vision guide. The guide is filled with best practices that will help guide you to create high-quality annotations for use in training computer vision models.
The list of labels used in your project will be saved in the “Label List” column in the right panel in LabelMe.
To save an annotation, press Command + S (macOS) or Control + S. This will save a JSON file with your annotation data in the same folder as the image on which you are working is saved. For example, if you are working in a folder called “train”, the annotation will be saved in that folder.
How to Convert LabelMe Data
LabelMe saves annotations in a proprietary format. Annotated image data is saved in its own file. To use your annotations in training a computer vision model, you will likely have to convert the annotations to another format. With help from Roboflow, you can do this in a few clicks for free.
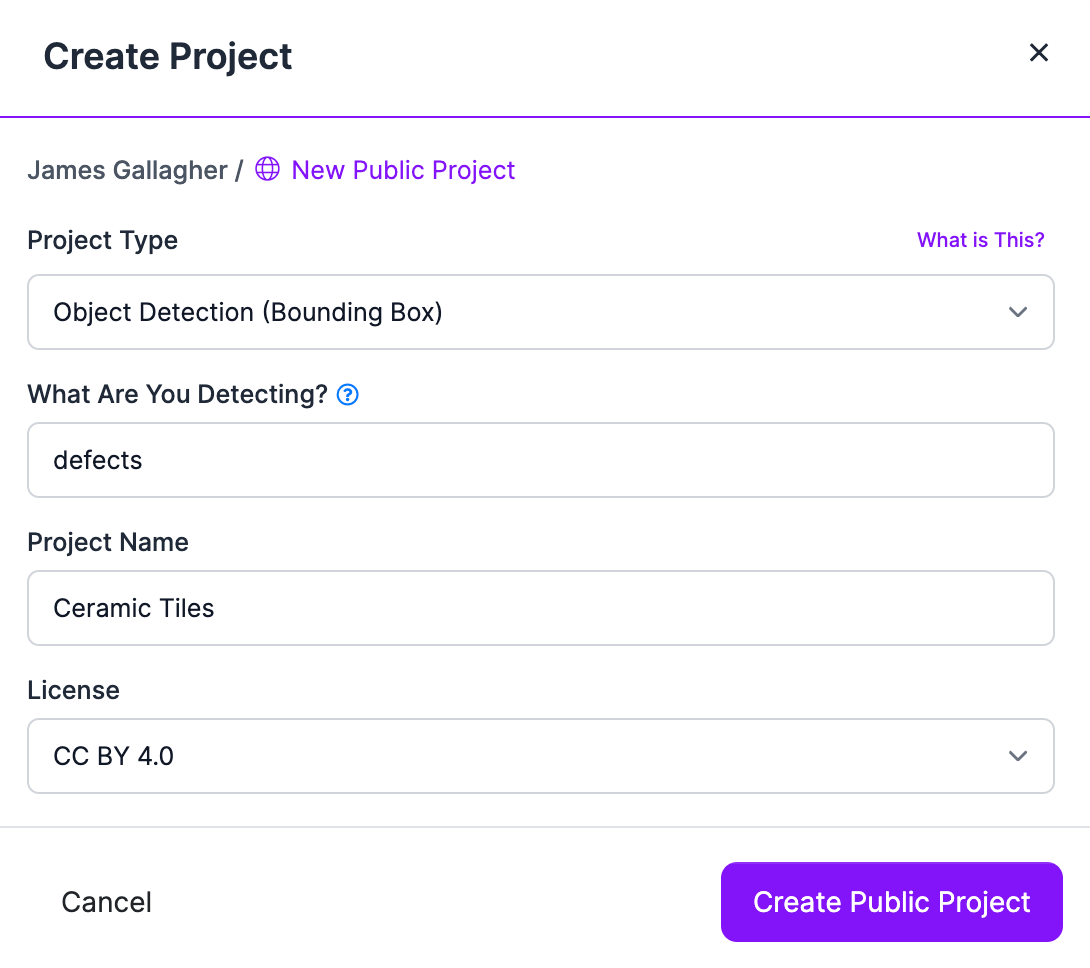
Create a free Roboflow account, then click “Create New Project” on the Roboflow dashboard. Set a name for your project and choose the type of project on which you are working (object detection, classification, segmentation). Then, click “Create Public Project”.
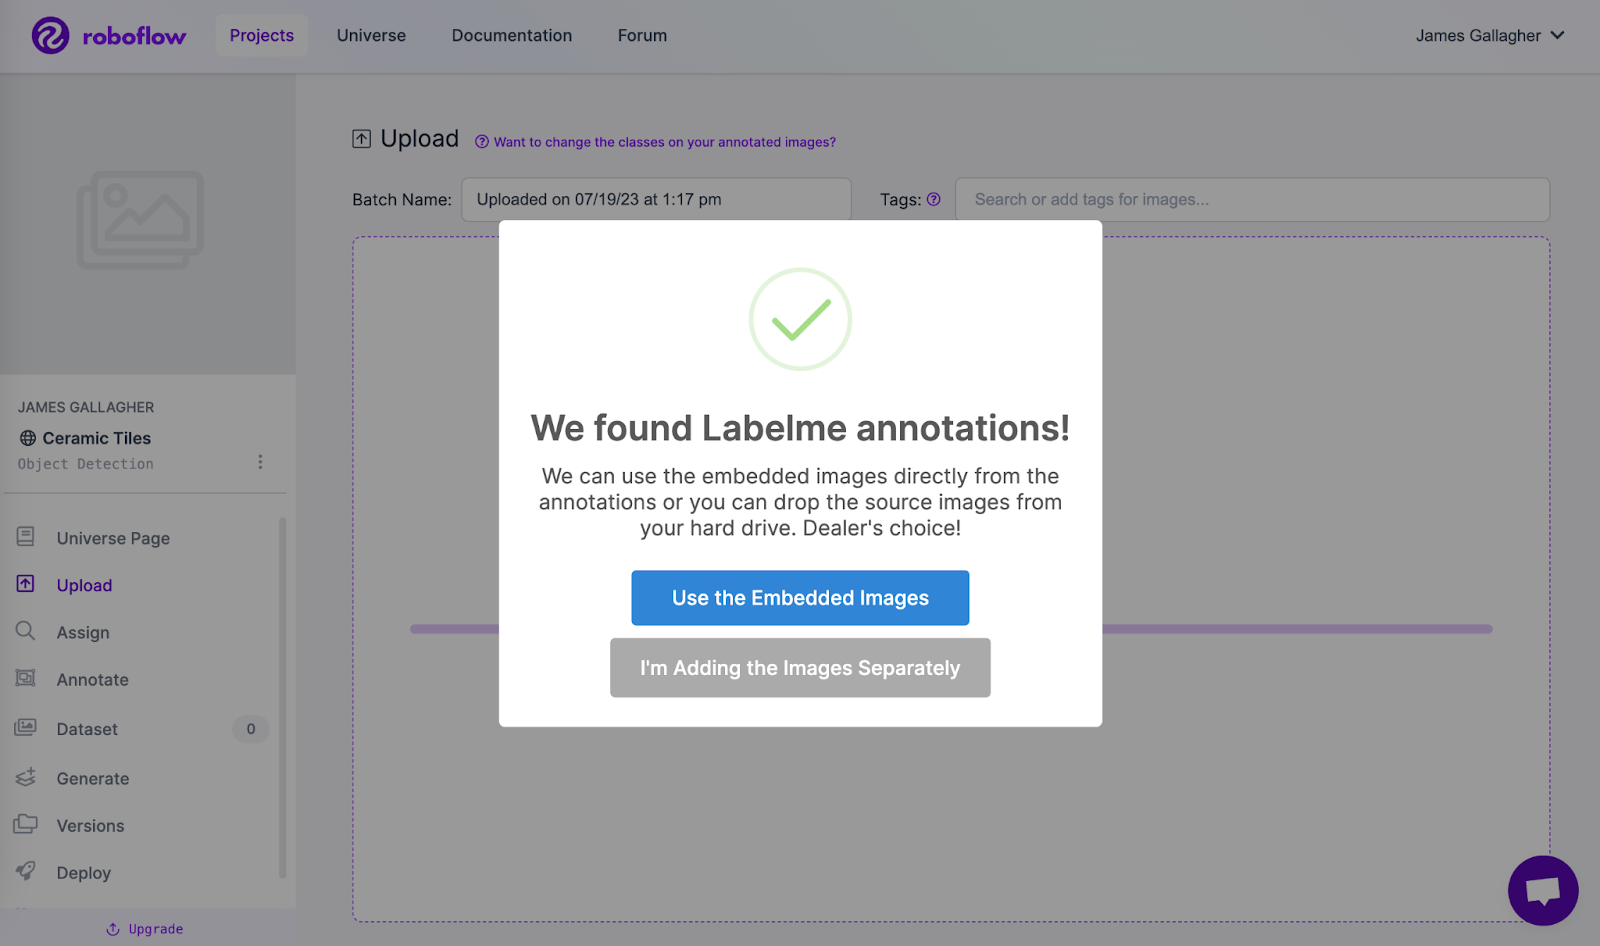
A box will appear in which you can drag and drop your images and annotations from LabelMe. When you drag your data into the box, a pop up will ask if you want to use the embedded images in the LabelMe annotations. Click “Use the Embedded Images”:
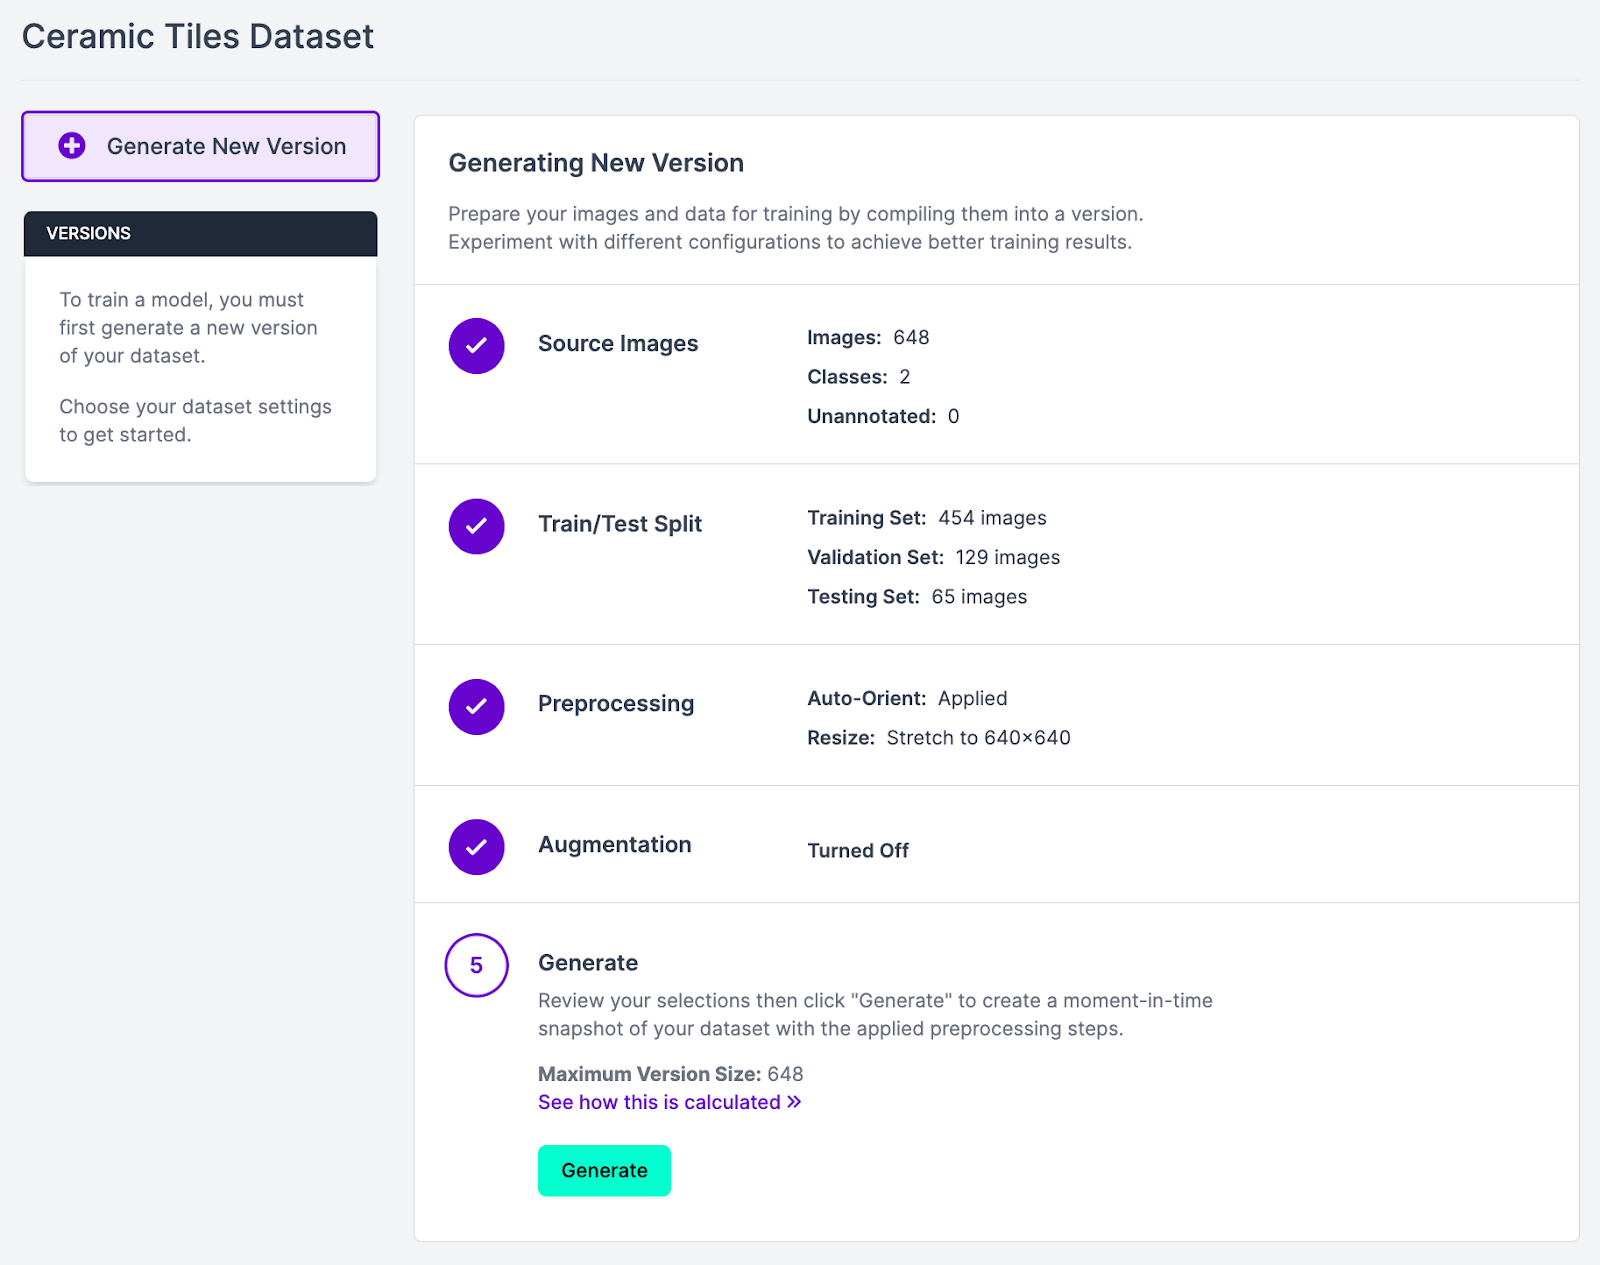
Once you have uploaded your data, click Generate in the sidebar to create a new project version. At this step, you can choose to apply any preprocessing steps and augmentations to your dataset. When you are ready to create your dataset, click “Generate”. This will create a frozen-in-time version of your data that you can export.
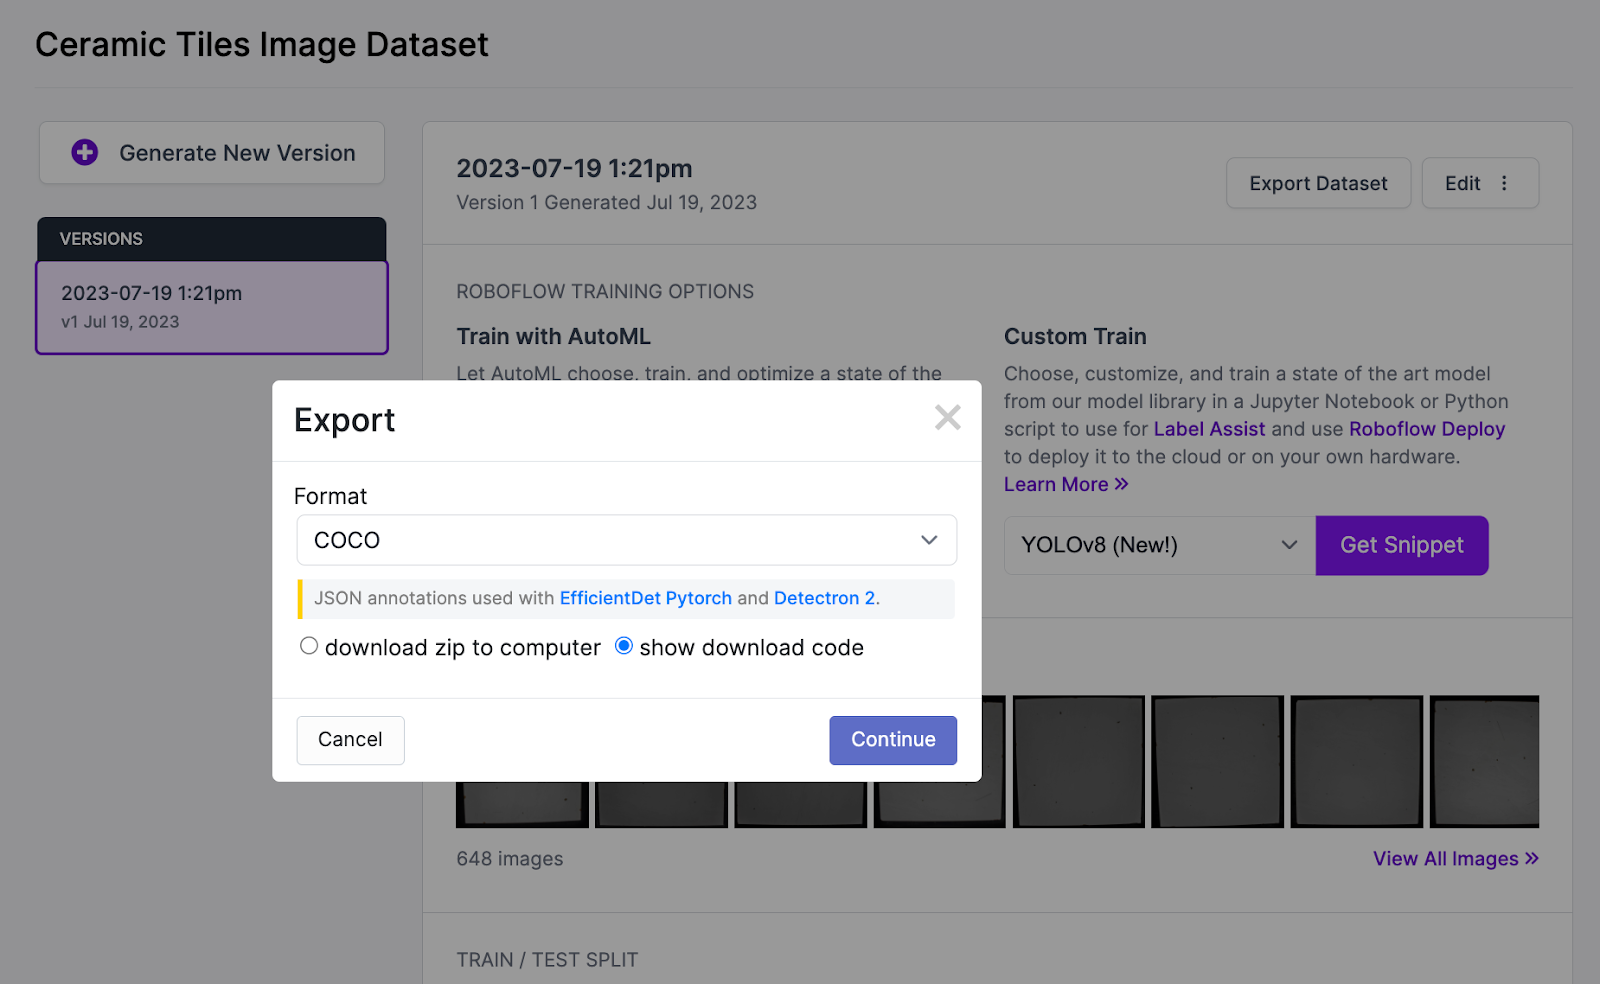
When your dataset has been generated, you can choose to export the data in various different formats (i.e. COCO, Pascal VOC):
LabelMe Alternatives
Within LabelMe, you can annotate polygons with a simple point and click. But, LabelMe is not the only tool available for this task. There are plenty of other annotation tools you can use for your computer vision project.
See how LabelMe stacks up against other annotation tools by checking out our other blog posts on alternative tools:
- How to Label Images in Roboflow Annotate
- How to Label Images in CVAT
- How to Label Images in VoTT
- How to Label Images in LabelImg
- How to Label Images in VGG Image Annotator
Conclusion
LabelMe is a free, open-source annotation tool that you can use for labeling computer vision datasets. In this guide, we have demonstrated how to use LabelMe. We walked through installing LabelMe, creating a label, and how you can convert LabelMe data to different formats.
Frequently Asked Questions
Is LabelMe free to use?
Yes. LabelMe is an open source tool and is free to use.
Does LabelMe have a hosted web interface?
The hosted LabelMe web interface is no longer officially supported, but you can still use the desktop application.
Cite this Post
Use the following entry to cite this post in your research:
James Gallagher. (Jul 20, 2023). How to Use LabelMe: A Complete Guide. Roboflow Blog: https://blog.roboflow.com/labelme/