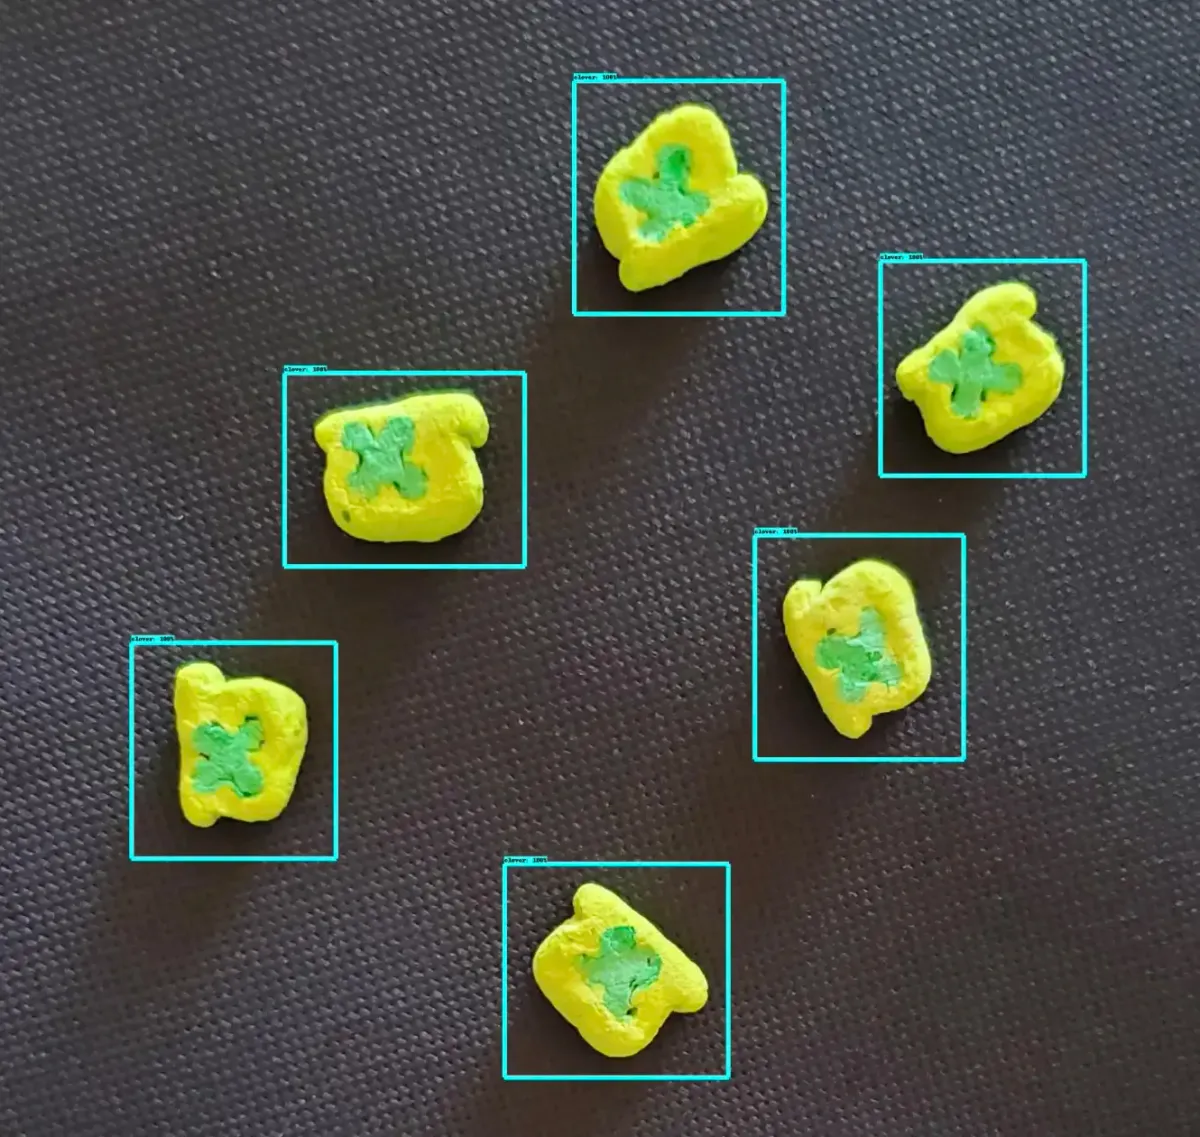
The marshmallows found in a box of Lucky Charms cereal - marbits as they were originally named by their creators Edward S. Olney and Howard S. Thurmon - are undoubtedly the best part of the classic breakfast cereal.
In August of 2020, General Mills began selling pouches of "Just Magical Marshmallows" in stores; it sold out everywhere almost immediately and my dad was unable to find them anywhere except on eBay for extraordinarily high prices. That's when he had an idea: "use a robot arm to separate out the marshmallows from a box of Lucky Charms." The only issue being he had no idea how to do it, and I was too busy with school to help with the project. Recently, I decided to pick up the project where he left off, using Roboflow. So today we'll take a look at how to do defect detection for food manufacturing using computer vision.
Get Started with Food Manufacturing Defect Detection
I am going to show you two different ways to train your dataset: using Roboflow Train or using the TensorFlow Object Detection API. In both cases, you will use Roboflow's platform to build and label your dataset.
With Roboflow Train, it takes no work to quickly get your model up and running with an API endpoint that you can use for inference. Roboflow Train is a one-click AutoML solution which means you do not need to bring your own model for training; this may not be important to you. If it isn't important to have granular control over the training process, then Roboflow Train is the best option.
The TensorFlow Object Detection API method, as previously mentioned, allows you to select the model you are using as well as export your model as a frozen graph; this is important if you would like to have a more hands-on model training process.
Step 1: Build the Dataset of Food Items
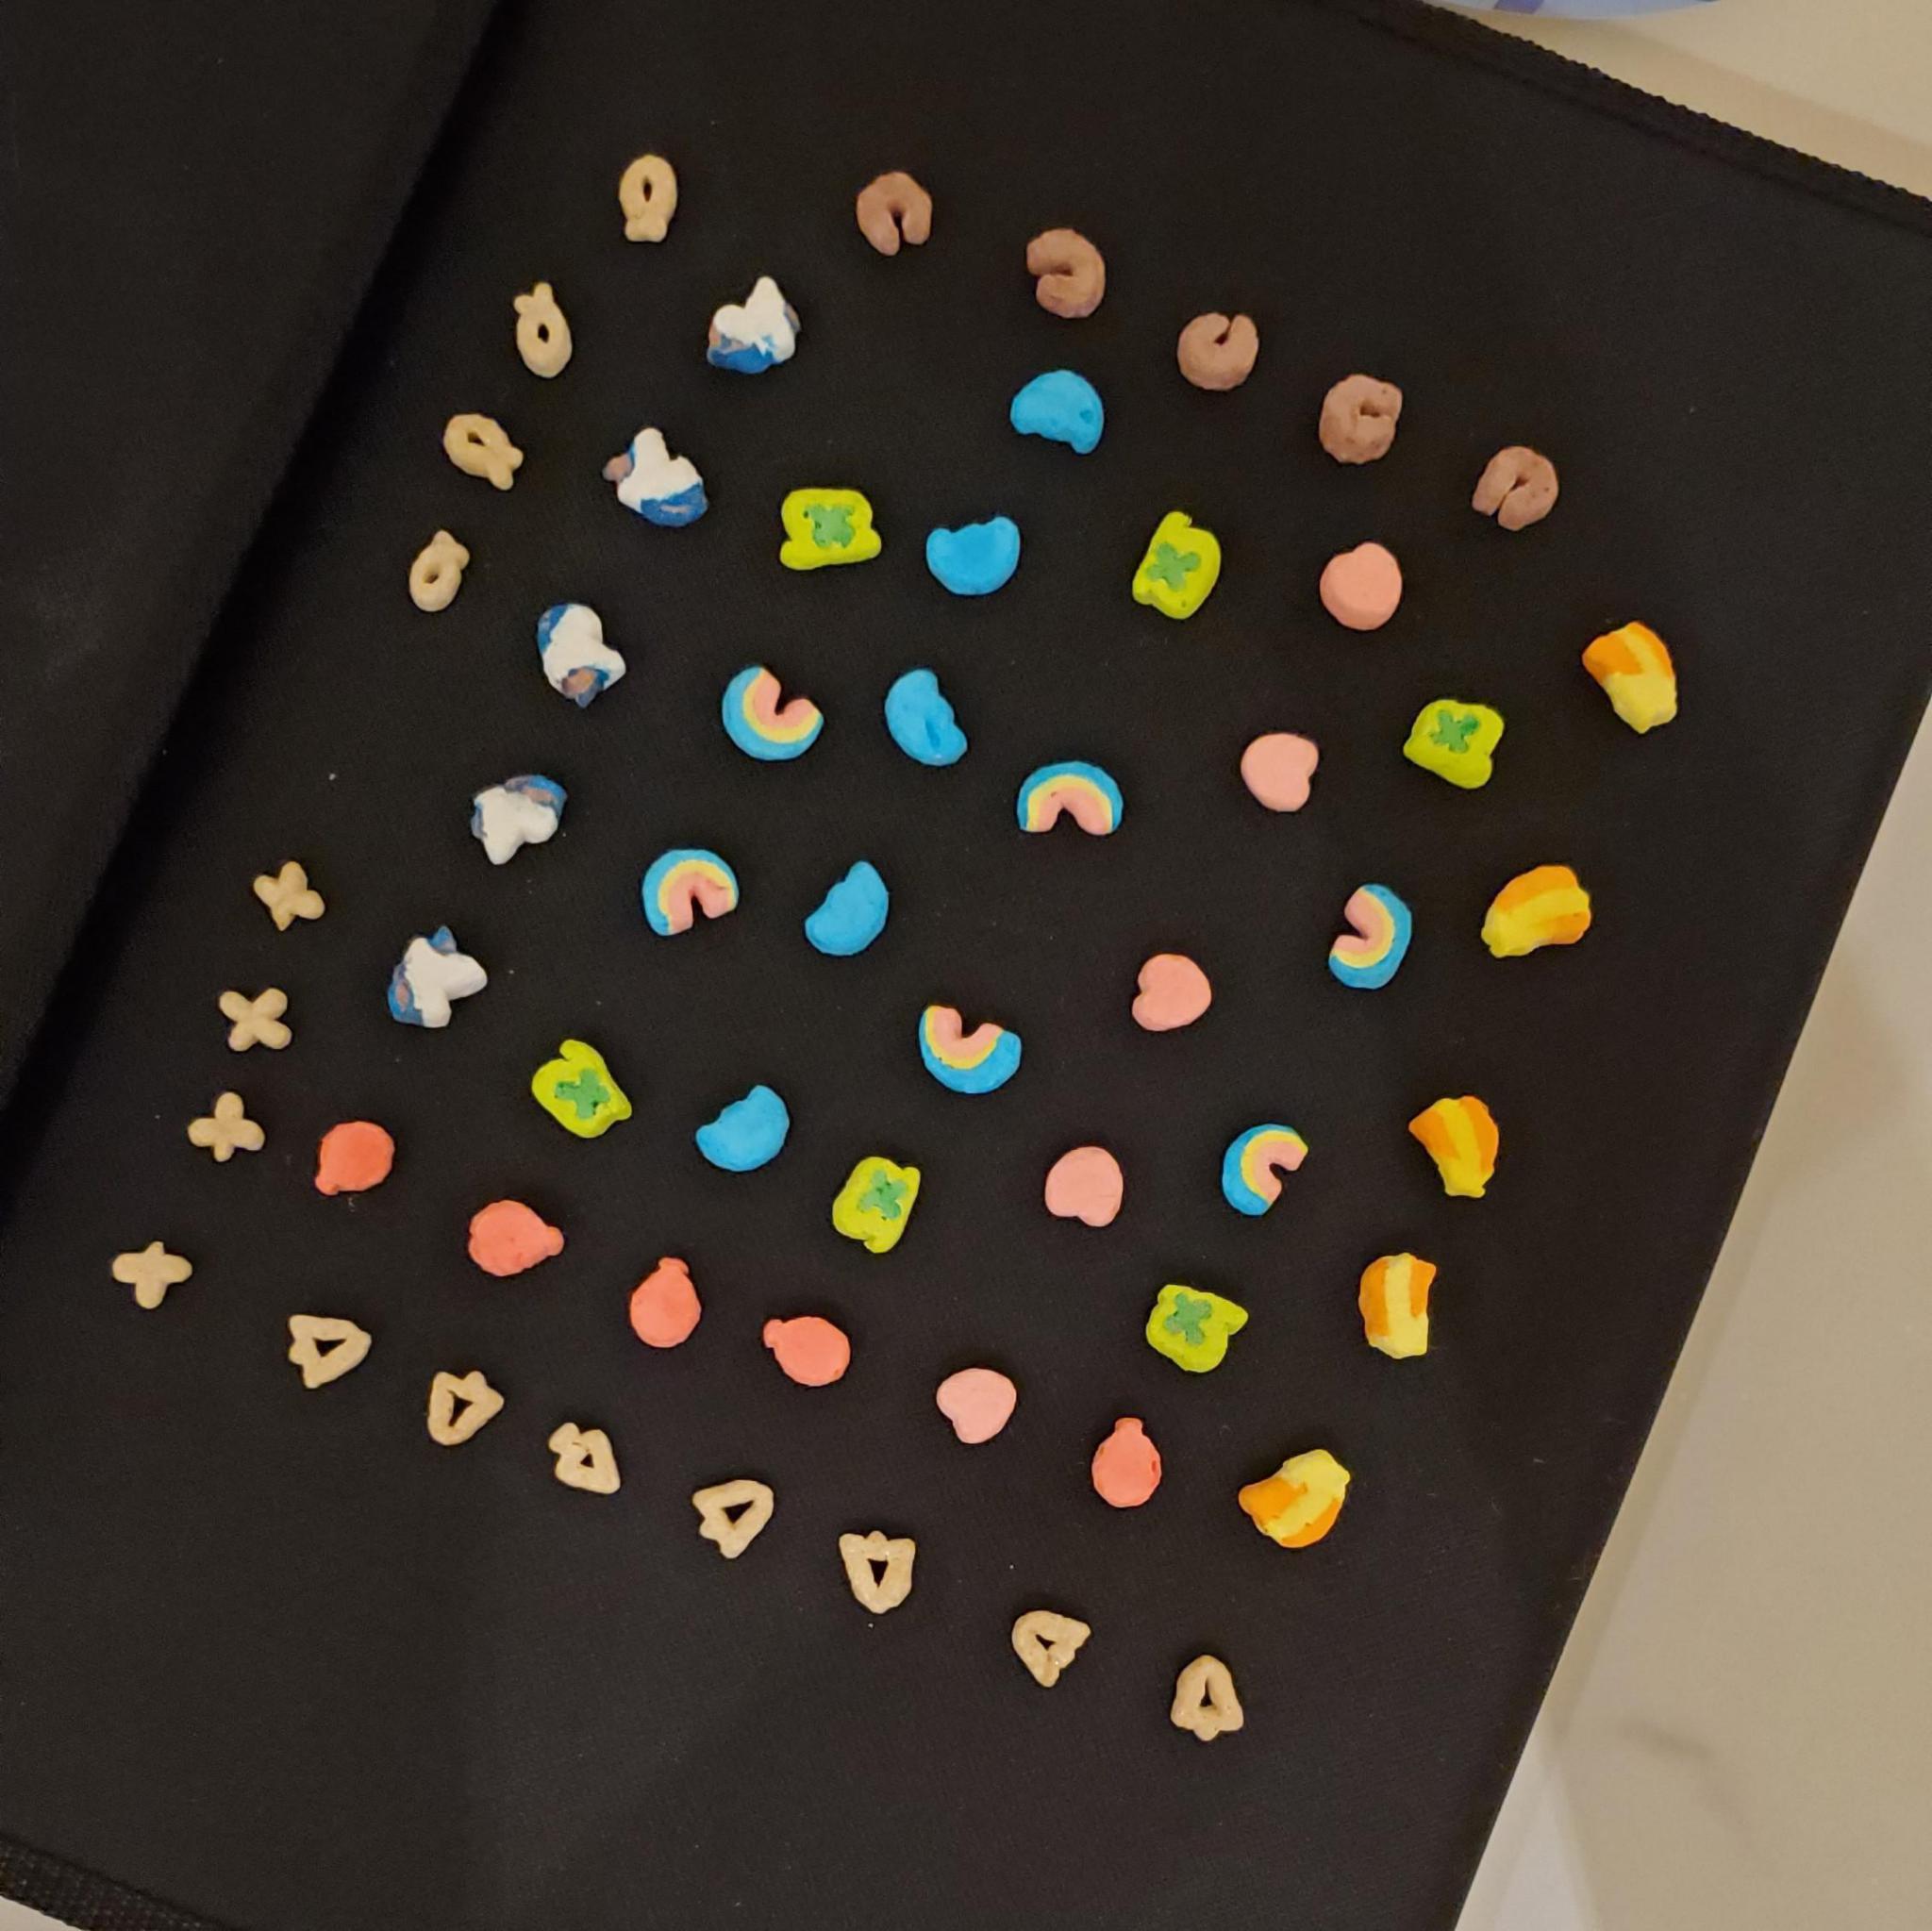
Many are unaware that each of these marbits each have names that describe their shape: unicorn, clover, balloon, heart, horseshoe, rainbow, star, and moon. We are going to build a dataset that has all of these marbits labeled, as well as including unlabeled images of the cereal pieces themselves.
To be able to use the robotic arm to pick out marshmallows, we took the approach of training the dataset with flat pictures of the marshmallows on a solid surface, rather than in a bowl with layers of cereal.
Step 2: Labeling Images and Creating a Dataset
Using Roboflow Annotate took about half an hour labeling the dataset with each of the different types of marbits. That made it possible to generate a version of the dataset with augmentations to increase the size of the rather small initial dataset.
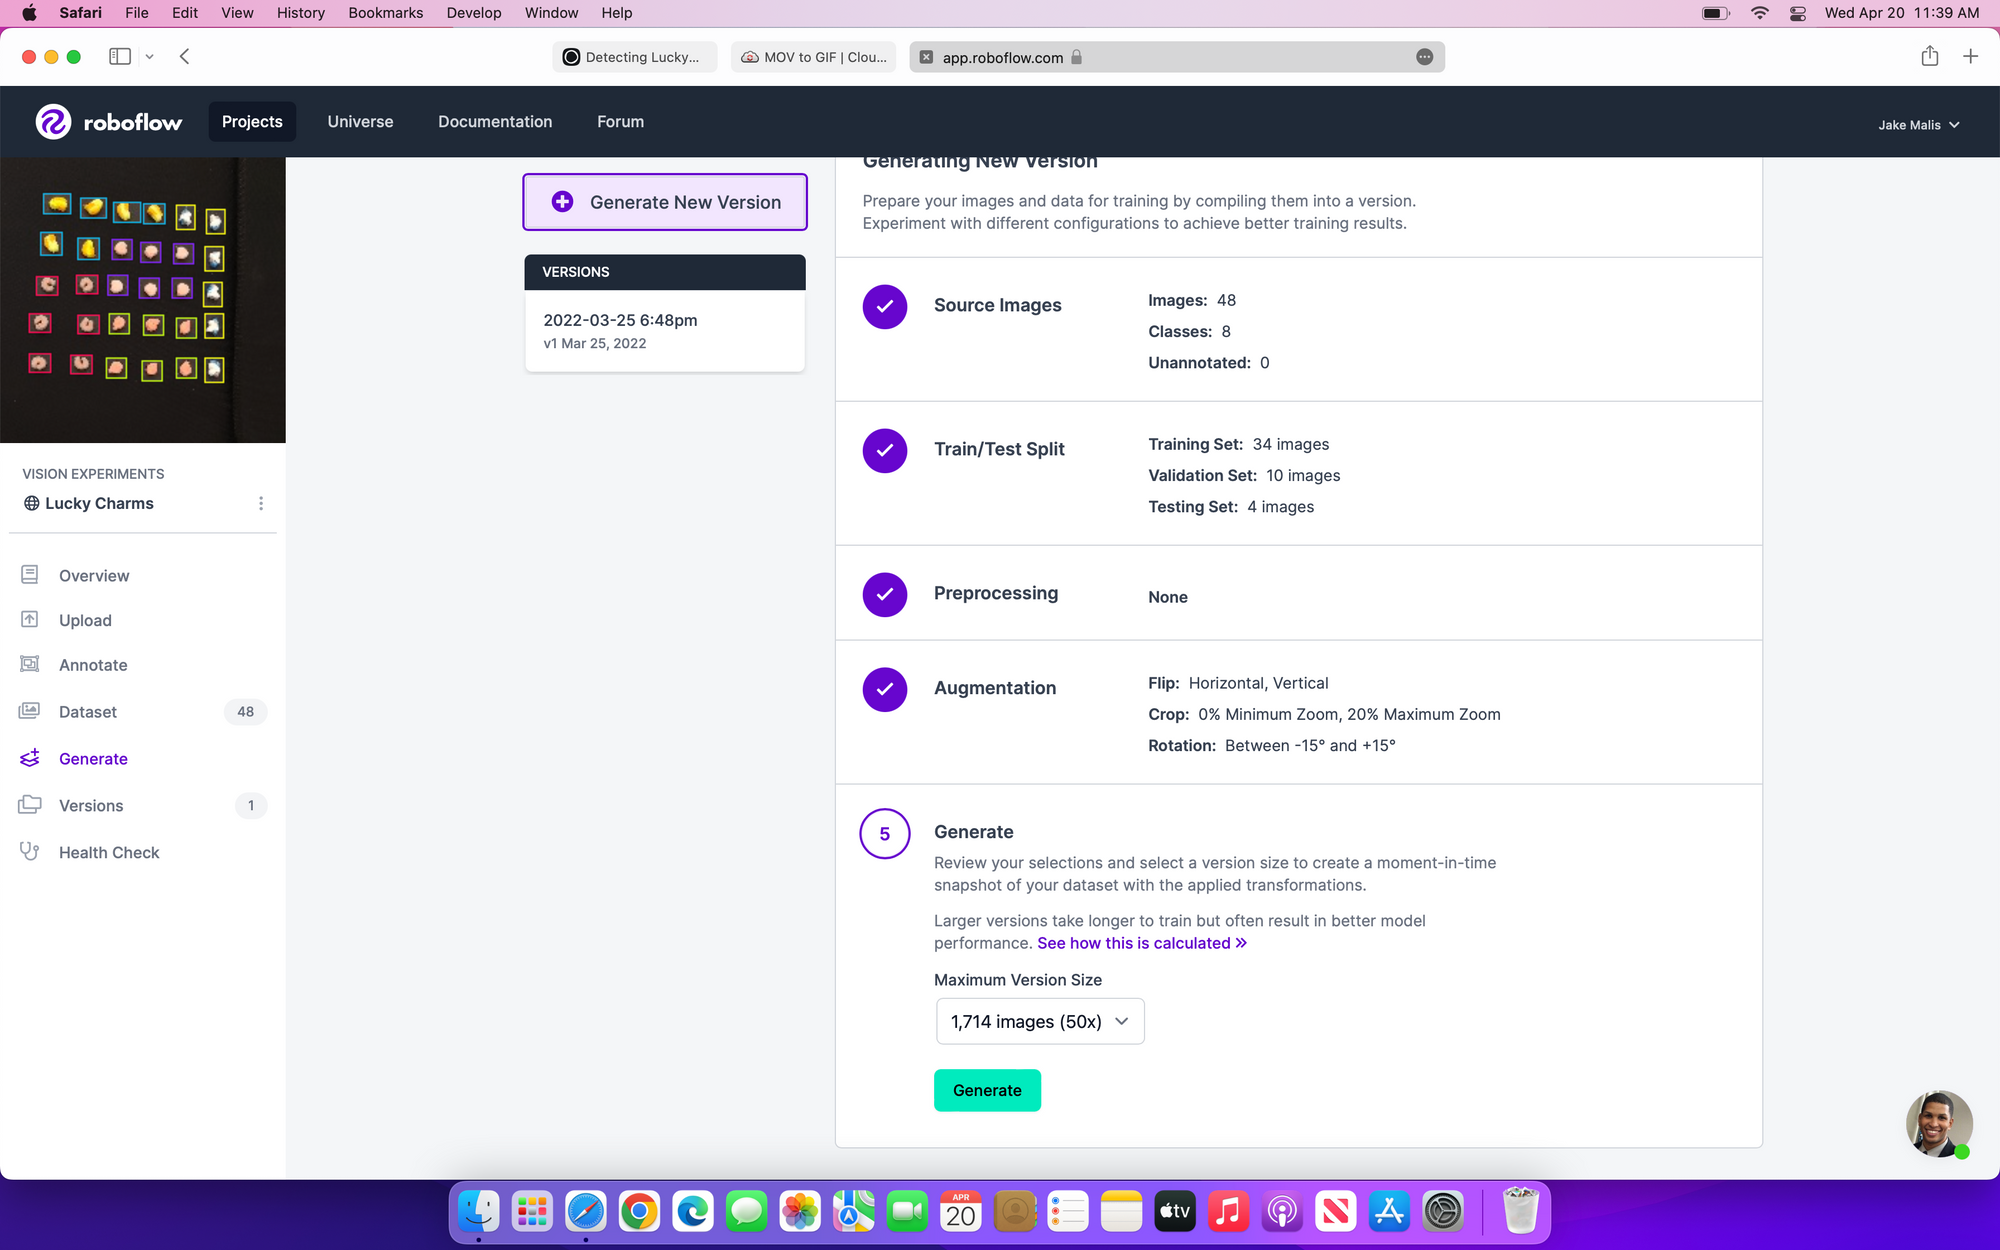
Step 3: Train and Test for Food Manufacturing Defect Detection Using Roboflow's Train Platform
If you decided that you don't need fine-grained control over the training process, then using Roboflow Train takes a few easy steps to train, test, and run inference on your model.
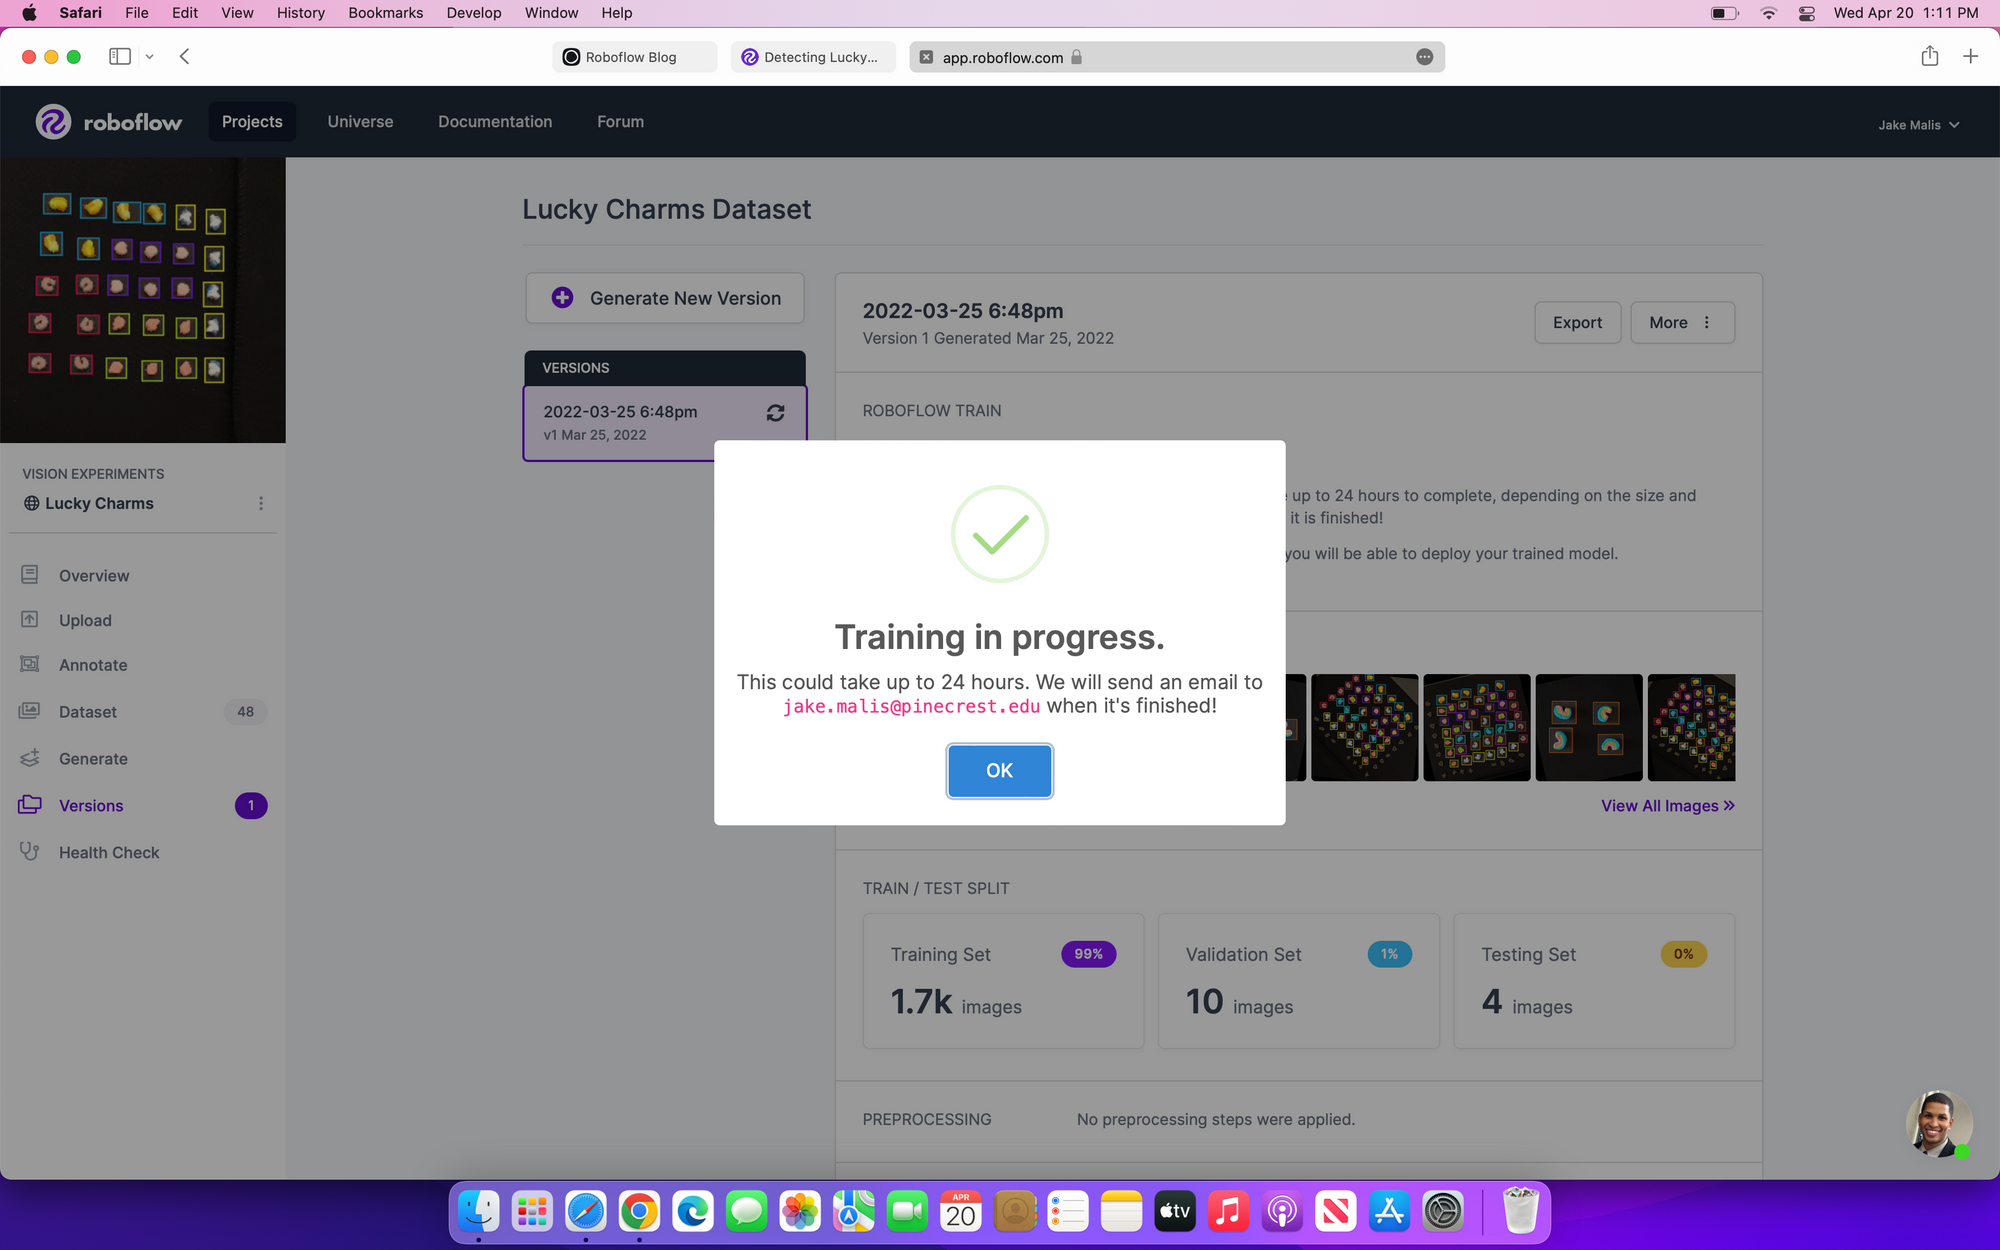
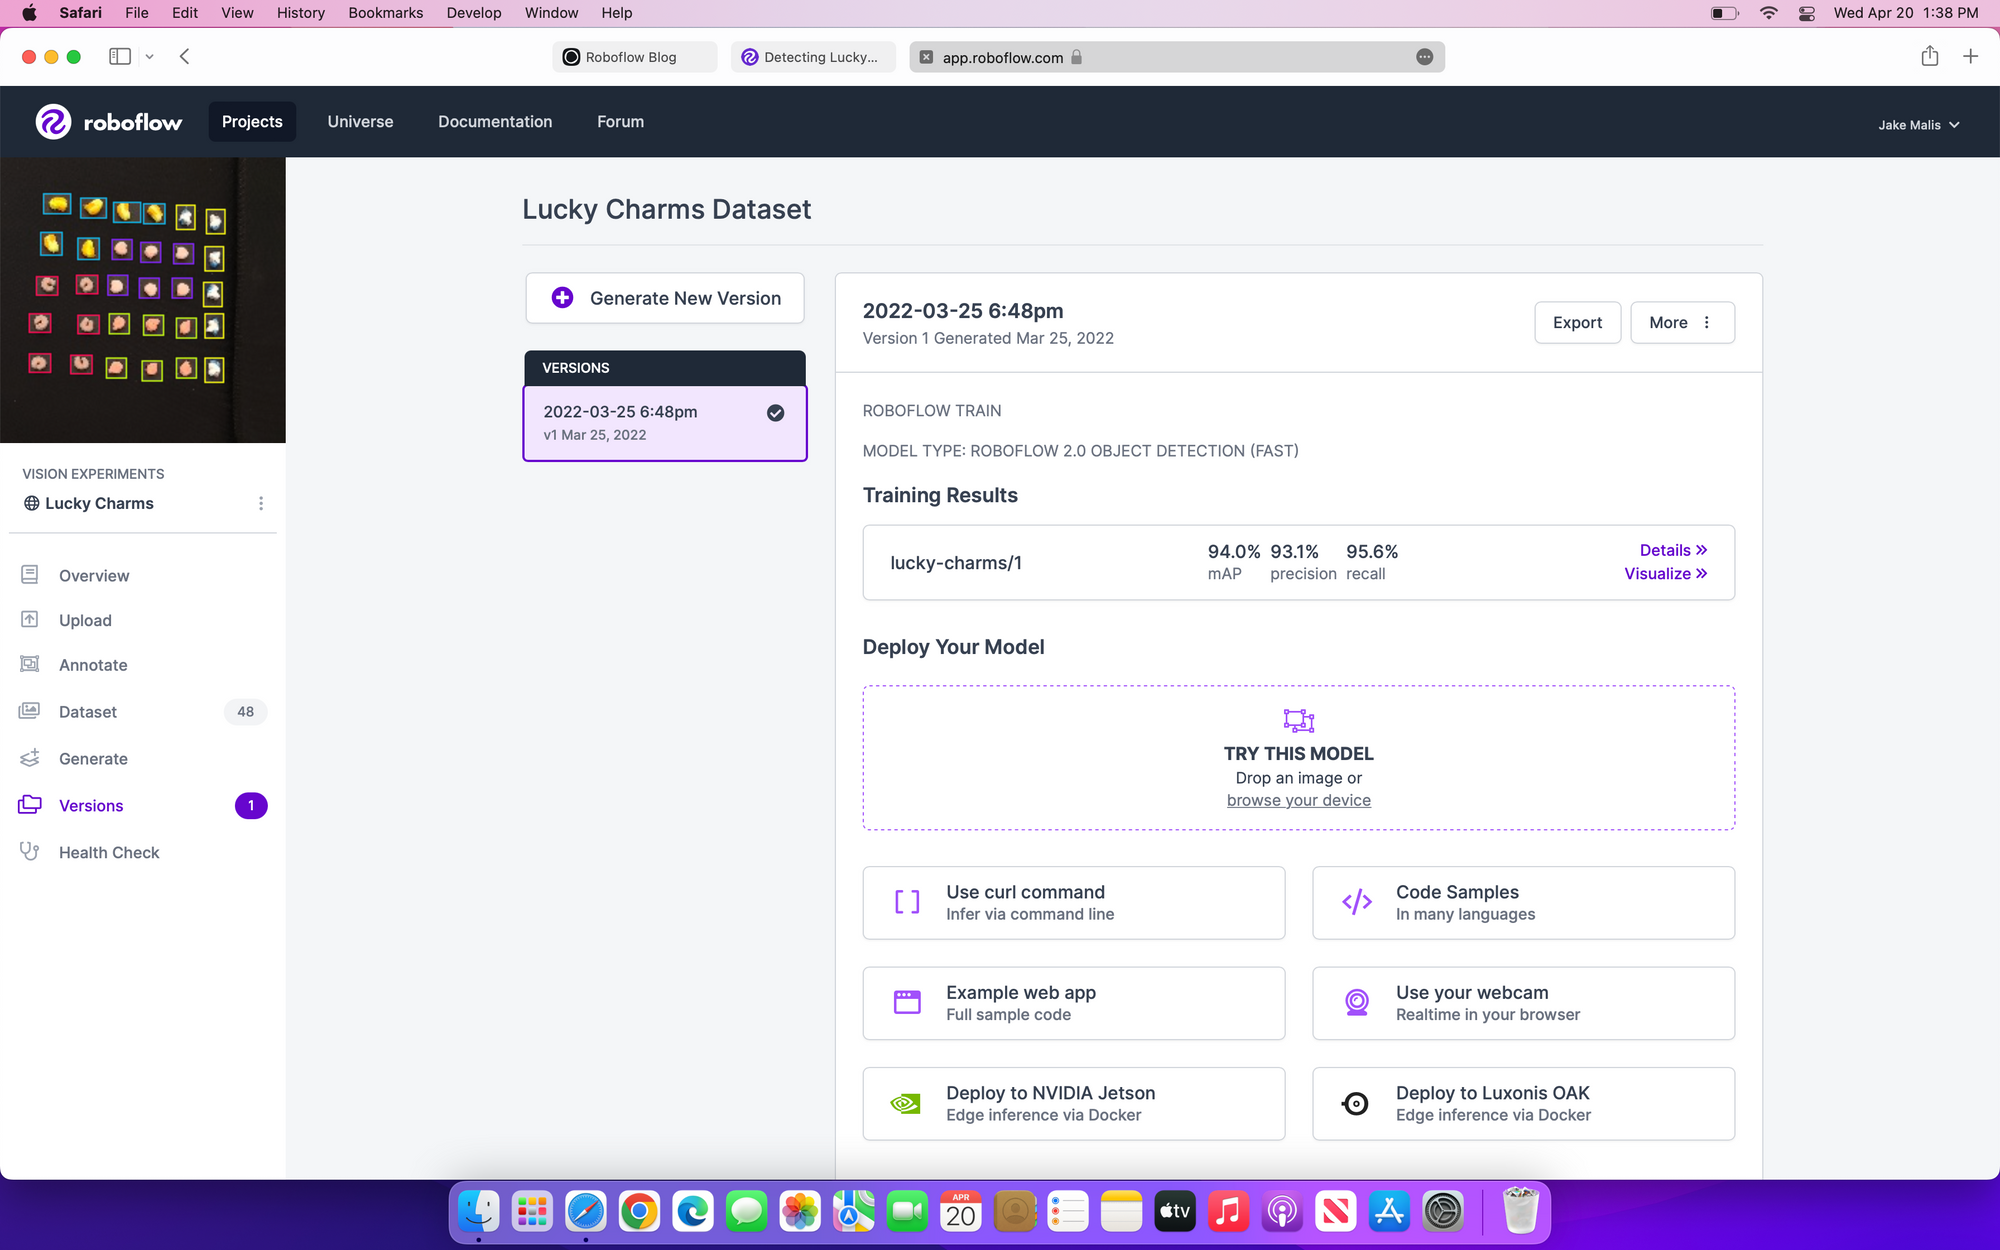
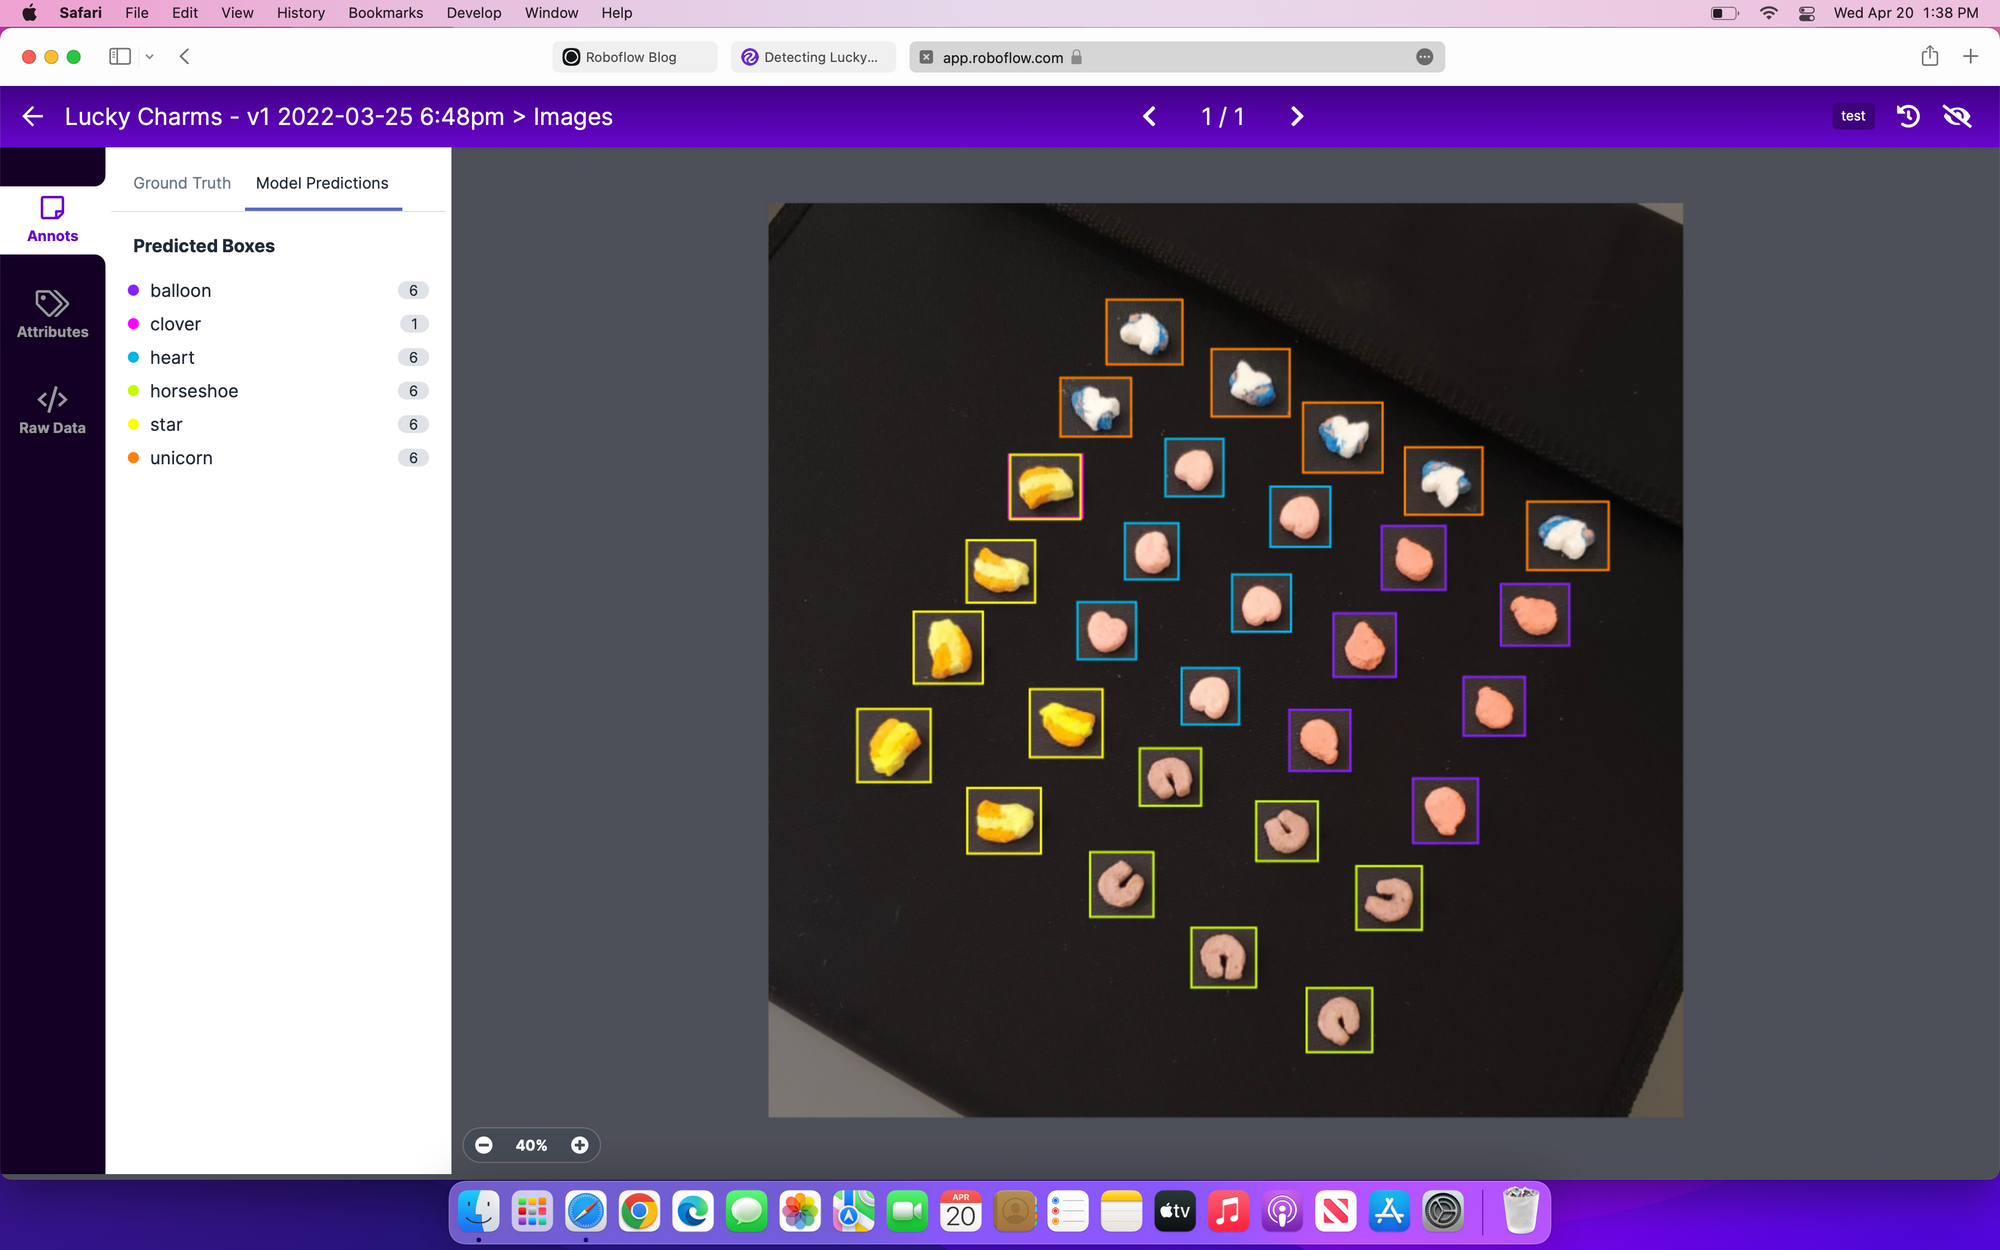
You can now deploy your model using a variety of options hosted by Roboflow. They have plenty of code samples for using their Hosted API. You can also run inference on a single image through the web app.
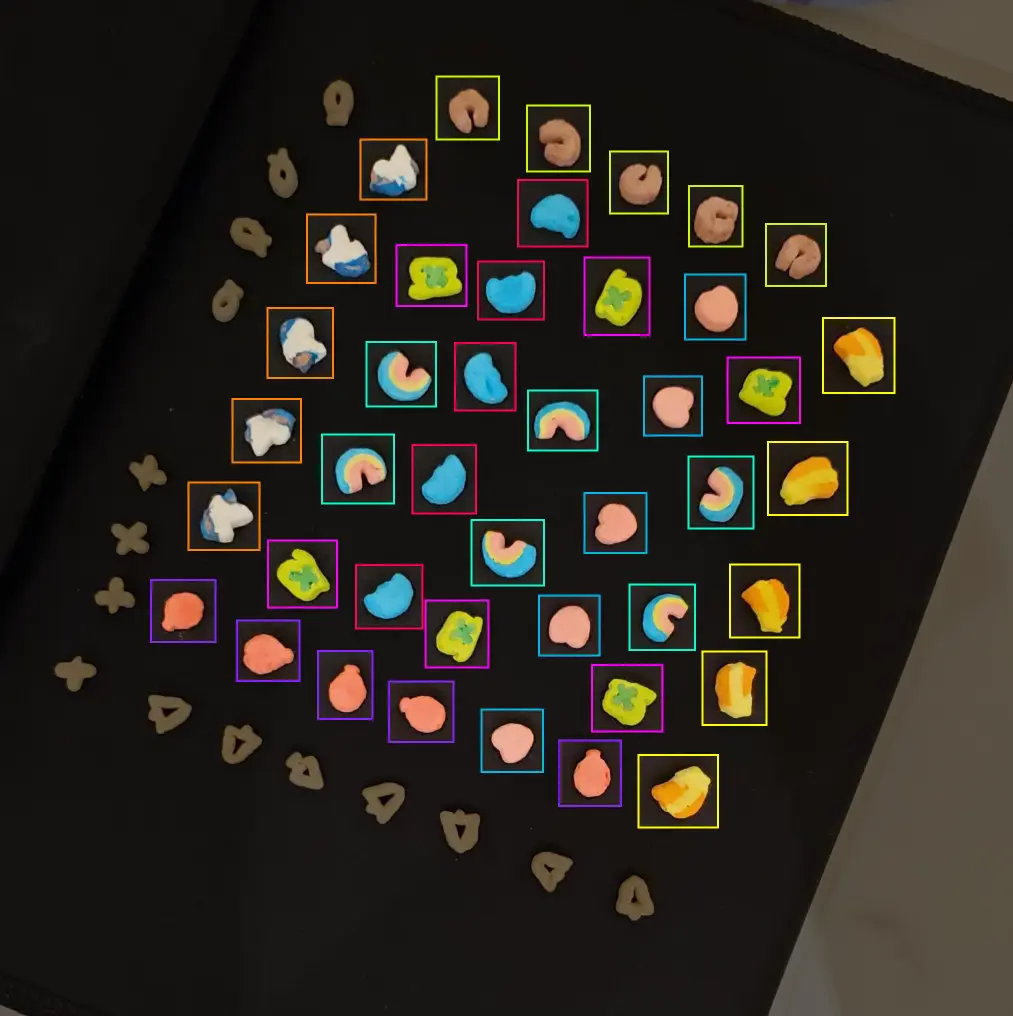
Training and testing with Google Colab using TensorFlow's Object Detection API
To follow along with the tutorial, you will need a Google Account and Google Cloud Storage bucket. This tutorial will help you to create a Google Cloud Storage Bucket.
You can following along with this Google Colab Notebook to train your own lucky charms detection model (or use mine).
Configure a remote Google Cloud Storage (GCS) bucket
We do this because we are going to use Google's TPUs (Tensor Processing Units) in order to train our model ~15x faster than using a GPU. Because of how fast data moves through the TPUs, Google requires all necessary data to be stored within their data centers to prevent unnecessary bottlenecks.
When following along you will need to change your project_name variable to that of your own project.
Downloads and Installations
Download and install the TensorFlow Object Detection API
The TensorFlow Object Detection API is a wonderful API created by the TensorFlow research team which makes it significantly easier to "construct, train and deploy object detection models" and is built on top of TensorFlow.
Download pre-trained Model
TensorFlow's Object Detection API GitHub page has a "model zoo" where they have a variety of common model architecture types trained on the popular COCO dataset.
With this code we are selecting EfficientDet D4–a relatively new fast and accurate model made by Google–as our model type and downloading the pretrained model inference graph and pipeline configuration file from the model zoo.
If you would like to use a different model, simply update the model and model_config variables with the links found in the model zoo.
Download Annotated Dataset from Roboflow as TFRecord
TFRecord is a format for saving structured data, in this case a dataset with image annotations, when training with TensorFlow.
When following along, use the image below as a reference on exporting your dataset as a TFRecord. Then replace the link in the last line of the code with your hosted dataset URL.
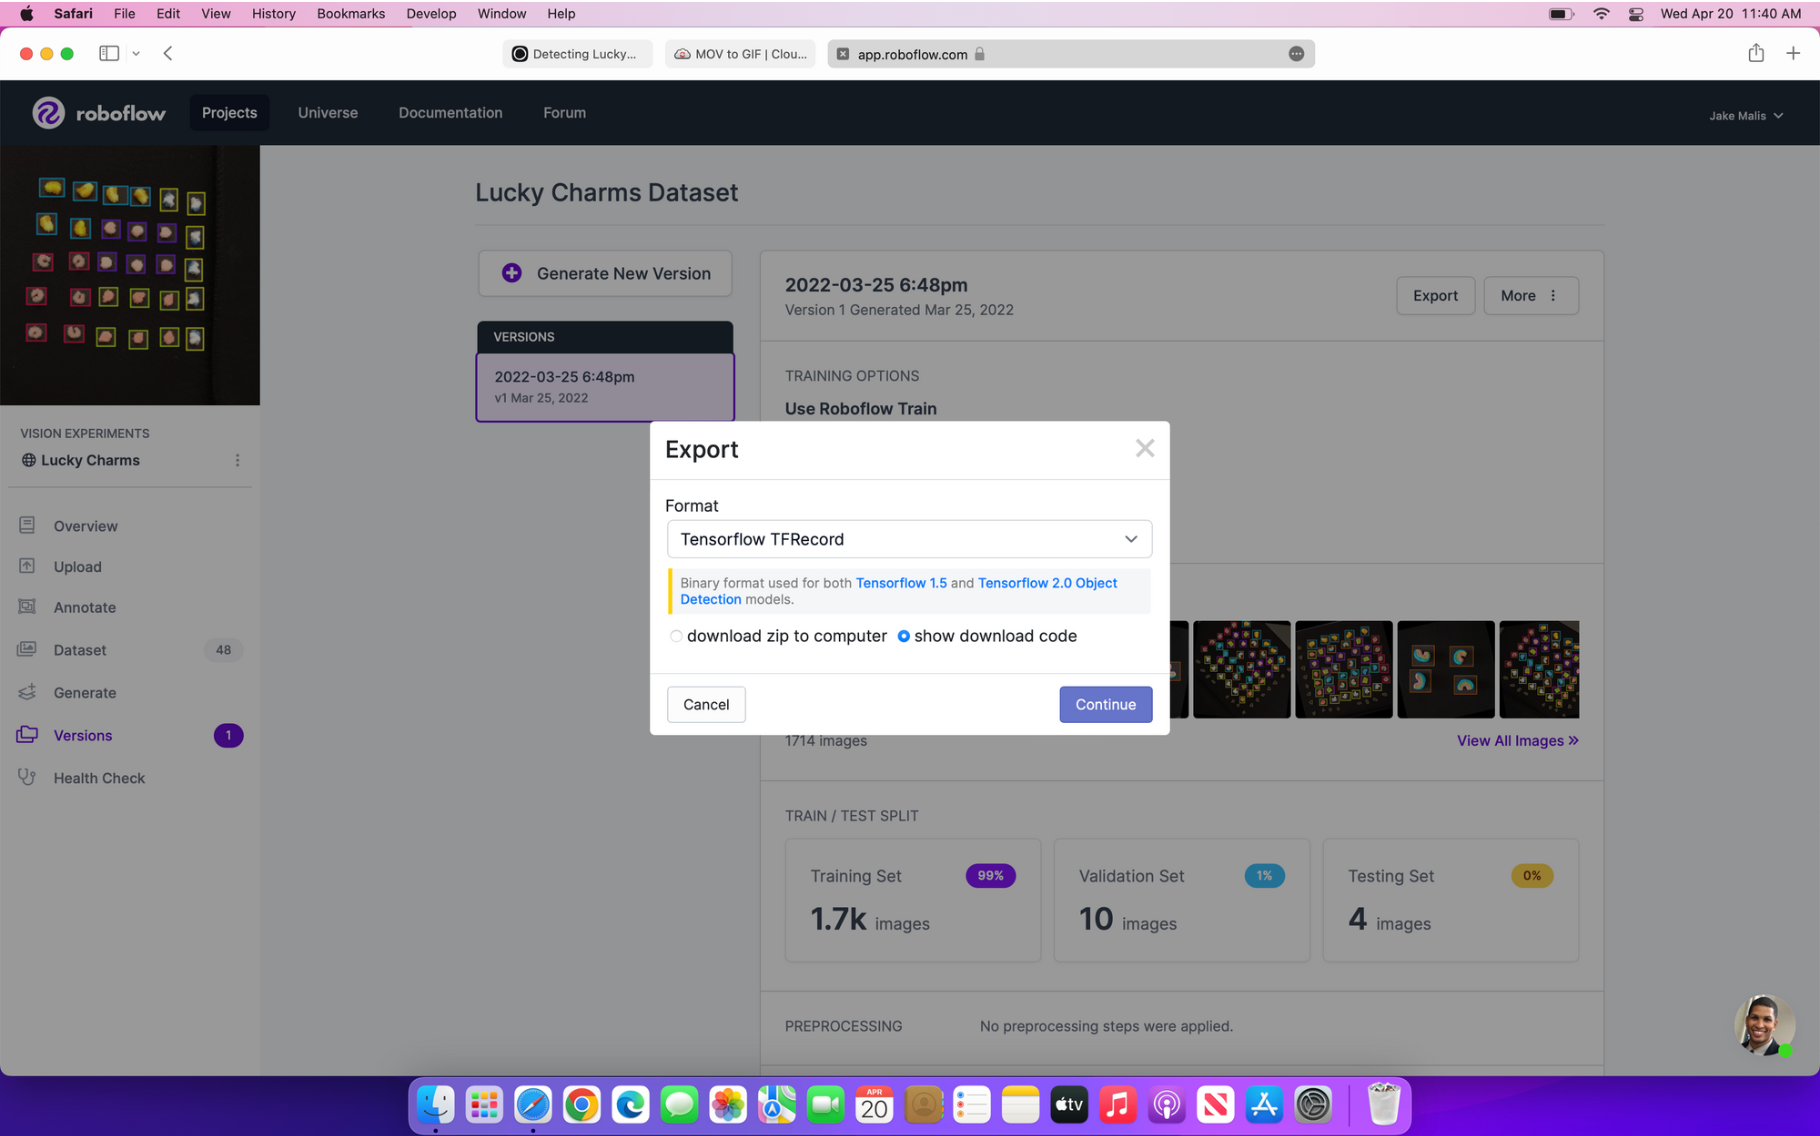
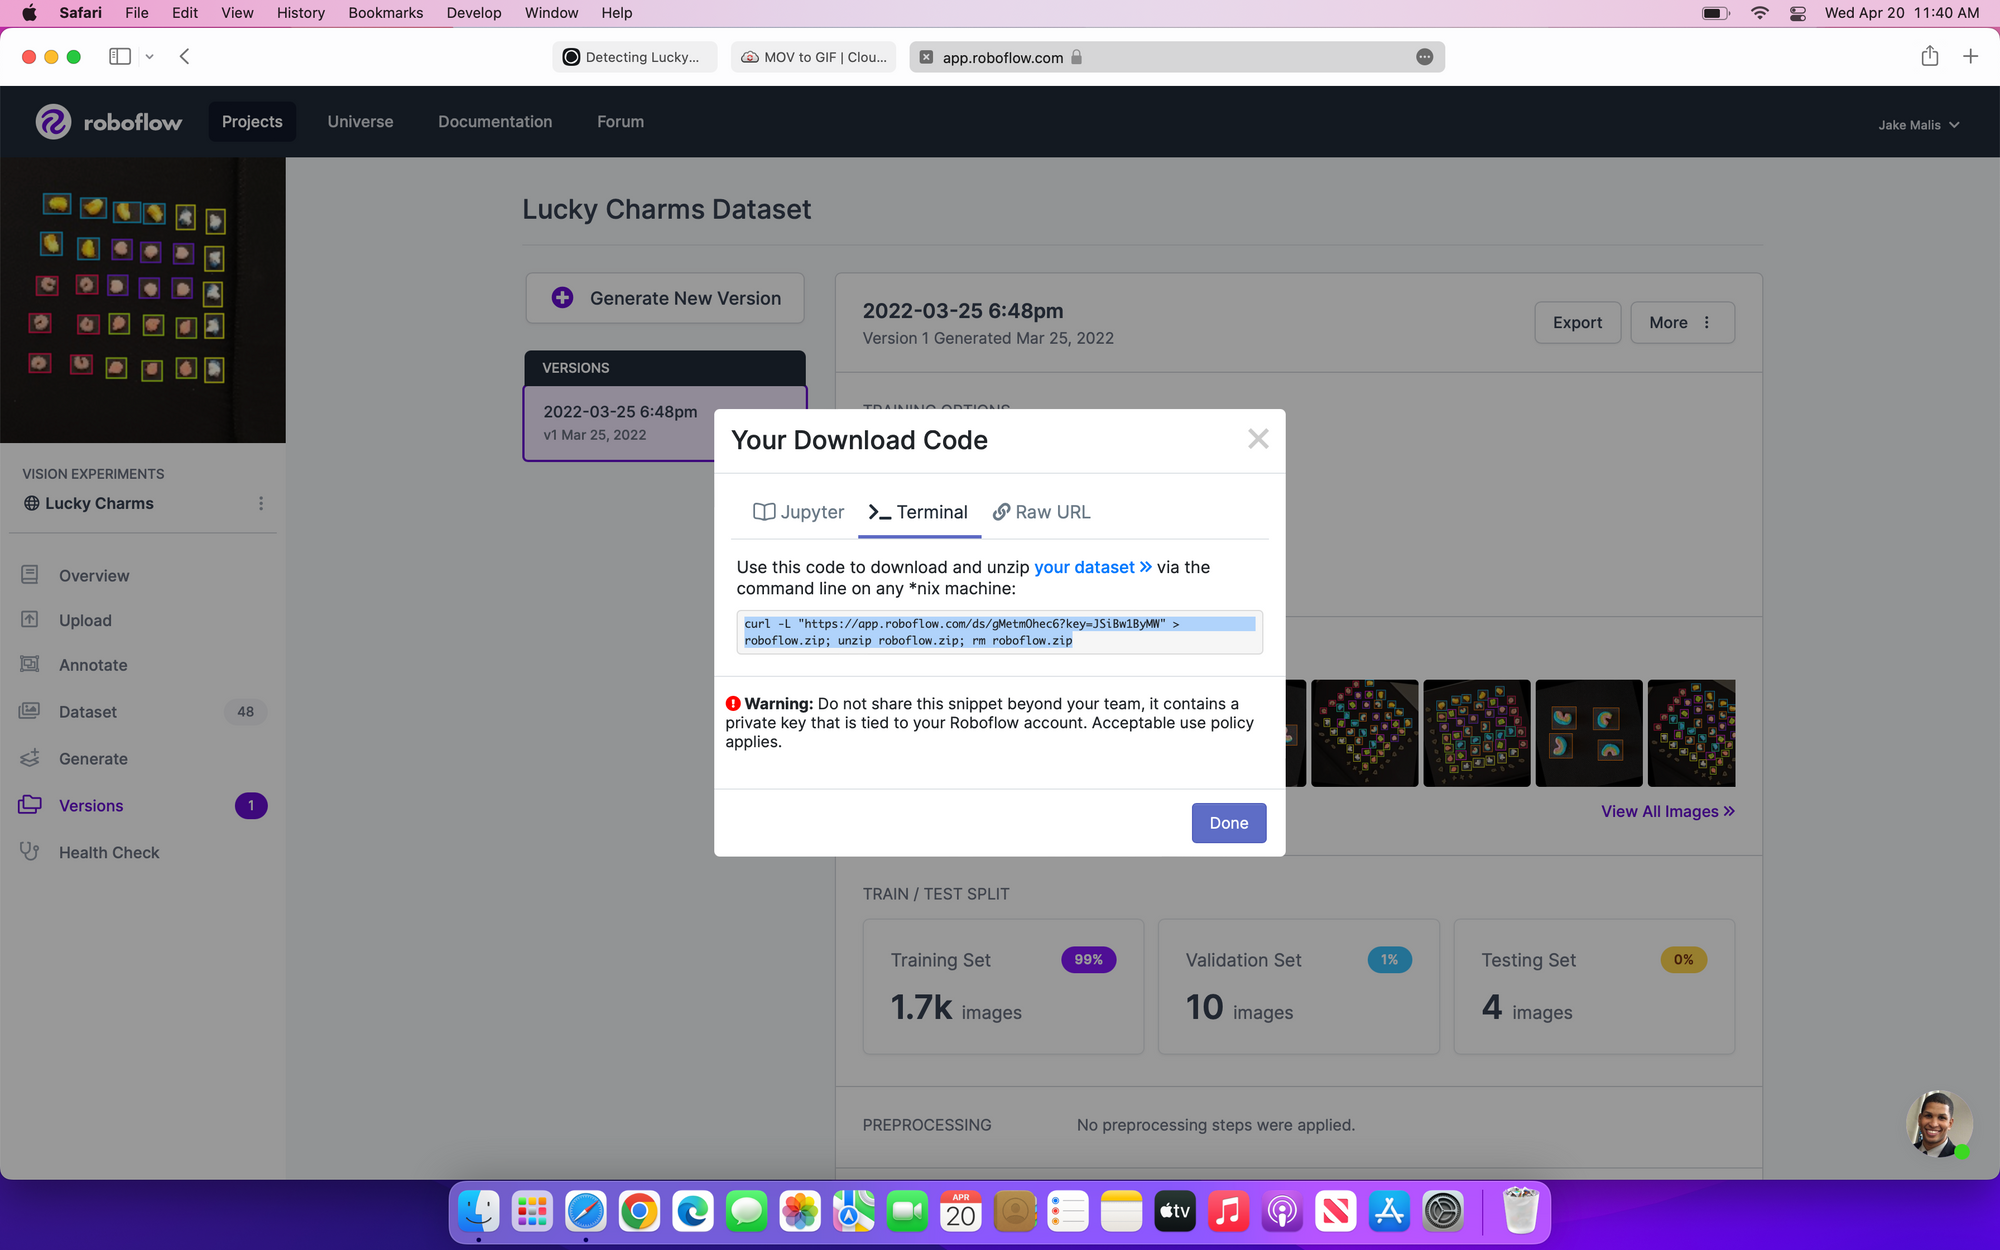
Export the dataset as a TFRecord (as shown on the left) and copy the download code in "terminal" format (as shown on the right).
Training Setup for Food Manufacturing Defect Detection
Now that we have everything we need downloaded and installed, we need to move all of the files into the right place, specify our training variables, and upload our files to Google Cloud Storage.
Setup Training Pipeline for File Locations
When we upload our pipeline file, saved as model.config the Object Detection API needs to know where to pull the data from, so we preemptively declare where we will upload each of the files in our Google Cloud Storage bucket.
Setup Training Variables
When training our network, we can choose to specify some training variables regardless of our model type. In this case, we want to specify our num_steps and batch_size. The number of steps during training represents the amount of times in which the program adjusts the model weights for a given batch. The size of the batch is the number of images given when the model completes a step.
Besides the training variables set above, we also need to tell the model the amount of classes our dataset has, which is dynamically set with the function get_num_classes so that this code could easily be reused for a different dataset, or if you wanted to only classify some of the marshmallow types.
The batch size isn't just an arbitrary number as it depends on the type of processor being used; TPUs can handle larger batch sizes than GPUs, so if you are running this code on a GPU you would need to lower the batch size to about 8.
Configure Pipeline Configuration File with Specific File Locations and Training Variables
Now that we have saved all of the important information for the pipeline file as local variables, we can now write these variables to the model.config file so that we can upload our data to the Google Storage Bucket.
Upload to Google Cloud Storage
This just uploads the dataset folder, with all of our pictures and annotations saved as TFRecord; the model folder, which has our downloaded model from TensorFlow's GitHub repository; and the model pipeline configuration file which we just finished writing to.
Train Model for Food Manufacturing Defect Detection
This process will still take around 4-5 hours even when using a TPU. It will periodically write checkpoints, but I would recommend letting it run all the way through as we previously limited the number of steps to 10,000.
Export Model
Save model checkpoints as frozen graph
Now that we have trained our model, we need to convert the final checkpoint into a frozen graph so that we can actually use our model to make predictions.
Save model to GCS
Now that we are copying the frozen graph to Google Cloud Storage, we will be able to access it even after we close our current Google Colab Notebook. Later, we will download the frozen graph files from Google Cloud Storage to a new notebook to run inference on.
As well, these files can be downloaded from Google Cloud Storage's website if you want to run inference locally on your computer or on an edge processor like the OAK-D Lite.
Test the Model
Since running through the entire training script takes time, I created another Colab notebook to run inference on if you wanted to use the frozen graph for something different than just overlaying bounding boxes on images. You can follow along with the testing part using this Colab notebook. The majority of the code in this notebook was explained as it is the same as in the previous notebook, or modified from TensorFlow's demo notebook with in-line code explanations.
All you need to do to try this on your own trained model is to replace the project_name variable in the first code cell with the project name for your own project and the bucket variable in the 5th code block. As well, ensure that the model variable is the same as the model you trained your dataset on. Once you are on the "Run detection on uploaded images to root directory" step, upload .jpg photos saved locally to the root directory in order to have the code run inference.
Future Steps for Food Manufacturing Defect Detection
Now that we can detect lucky charms with high accuracy from an overhead view, we can attach an OAK-D Lite to the Dobot robot arm shown below to separate the marbits from the cereal pieces. Stay tuned for part 2.
Robotic arm capable of separating manufactured food items
Cite this Post
Use the following entry to cite this post in your research:
Jake Barone Malis. (Jun 6, 2022). Food Manufacturing Defect Detection with Lucky Charms. Roboflow Blog: https://blog.roboflow.com/object-detection-food-manufacturing/
