
Stable Diffusion's img2img pipeline can generate new training images by transforming existing ones according to a text prompt, which is useful for domain adaptation and augmenting computer vision datasets with more visual variety. This tutorial sets up the Hugging Face Diffusers library in a SageMaker Studio Lab or SageMaker Notebook, runs the img2img pipeline with custom prompts and negative prompts, and then uploads the generated images to a Roboflow project for annotation and use in model training.
One of the most interesting applications of machine learning right now is generative AI. Generative AI is the process of using models to create new content like audio, images, text, and videos.
Many popular use cases for generative AI are focused on end consumers but there are many applications for enterprise businesses. This post will showcase how you can use the latest image-to-image technology, Stable Diffusion img2img pipeline, to generate more robust computer vision training data. See our earlier post covering how to generate images via a text prompt.
Project Overview
In this blog post, we will explore the installation and implementation of the Stable Diffusion Image-to-Image Pipeline using the Hugging Face Diffusers library, SageMaker Notebooks, and private or public image data from Roboflow.
Stable Diffusion is a deep learning model released in 2022. It is primarily used to generate detailed images conditioned on text descriptions, inpainting (adding features to an existing image), outpainting (removing features from an existing image), and generating image-to-image translations guided by a text prompt.
The Stable Diffusion Image-to-Image Pipeline is a new approach to img2img generation that uses a deep generative model to synthesize images based on a given prompt and image.
Step 1: Create a Notebook
Option 1: Create a notebook in SageMaker Studio Lab
You can use SageMaker Studio Lab or SageMaker Notebooks. Download the repository on GitHub with the full notebook that we’ll be walking through in this tutorial if you would like a full copy to use as you work through our guide.
SageMaker Studio Lab is a free version of Amazon SageMaker. It is a hosted JupyterLab environment that comes with persistent storage and free CPU or GPU compute. If you don’t already have an account, you need to request one. Typical approval times are 1-2 days. With that said, you can use the Roboflow promo code "ROBOFLOW-7029E" for instant and free access.
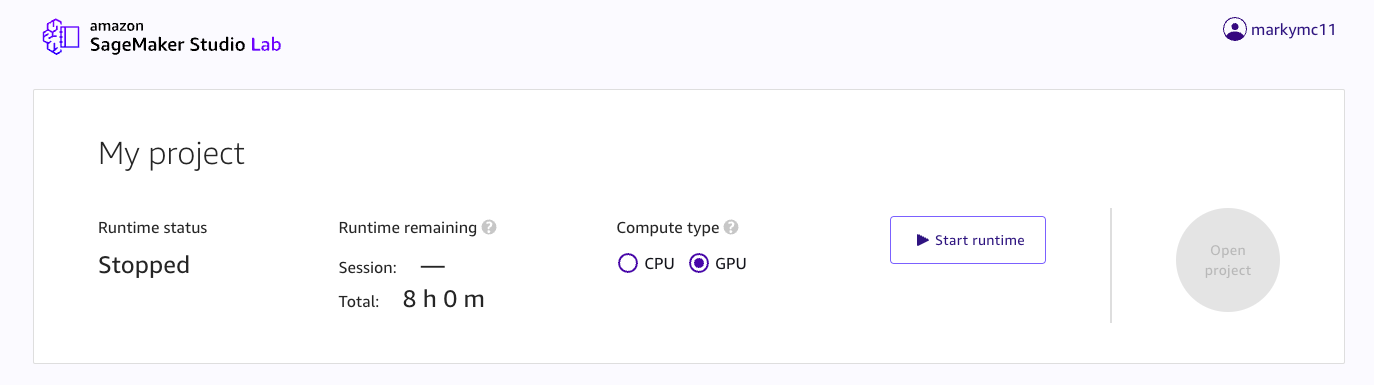
In SageMaker Studio Lab, select compute type of GPU and click start runtime. This will open a JupyterLab environment:
Option 2: Create a notebook in SageMaker Notebooks
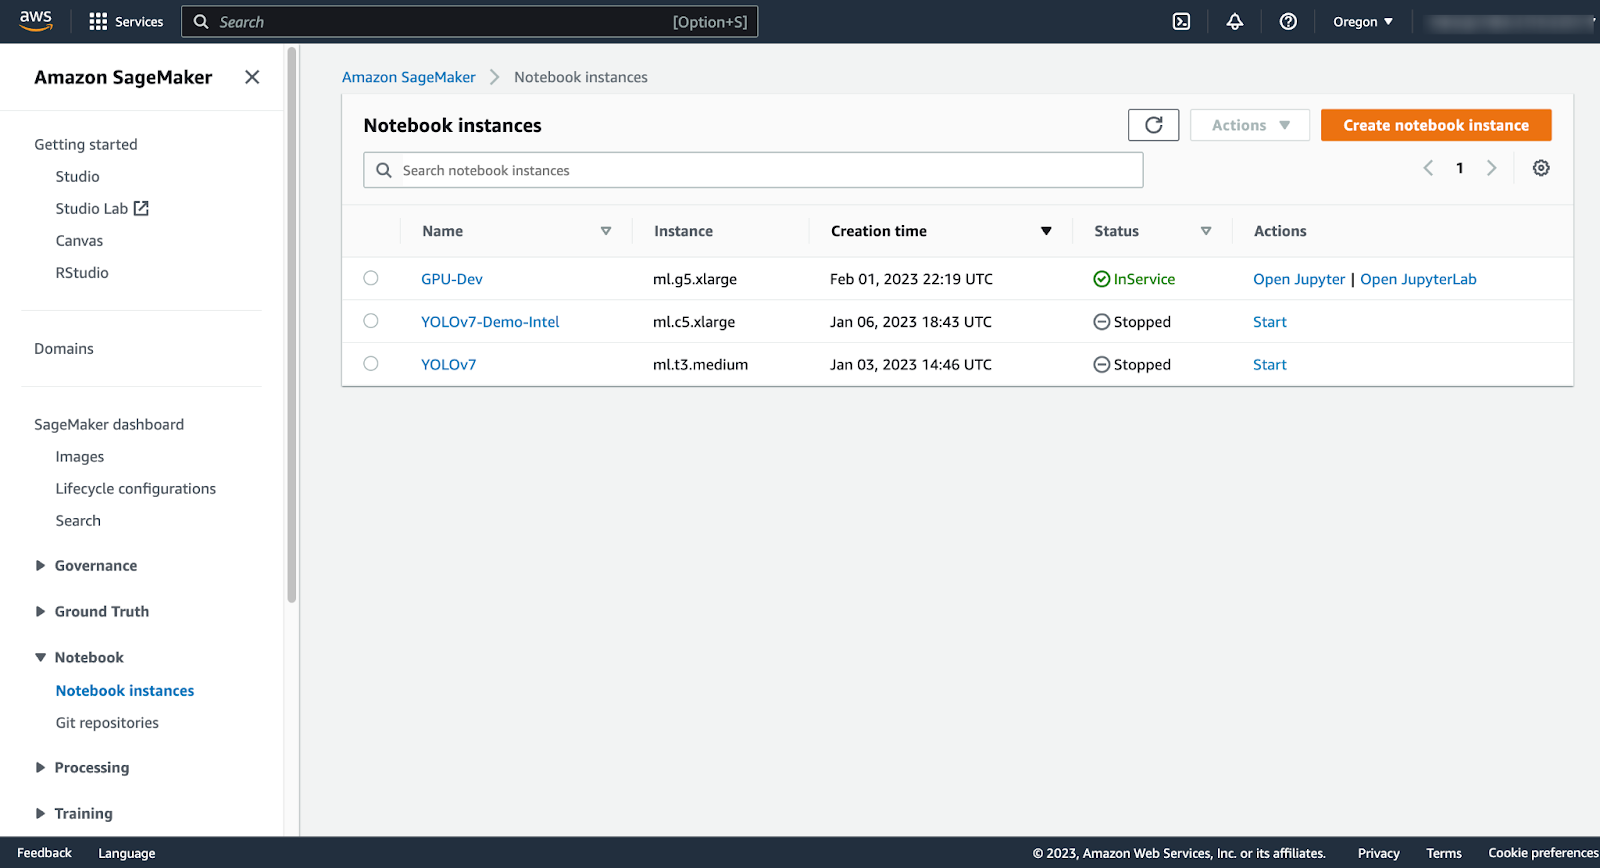
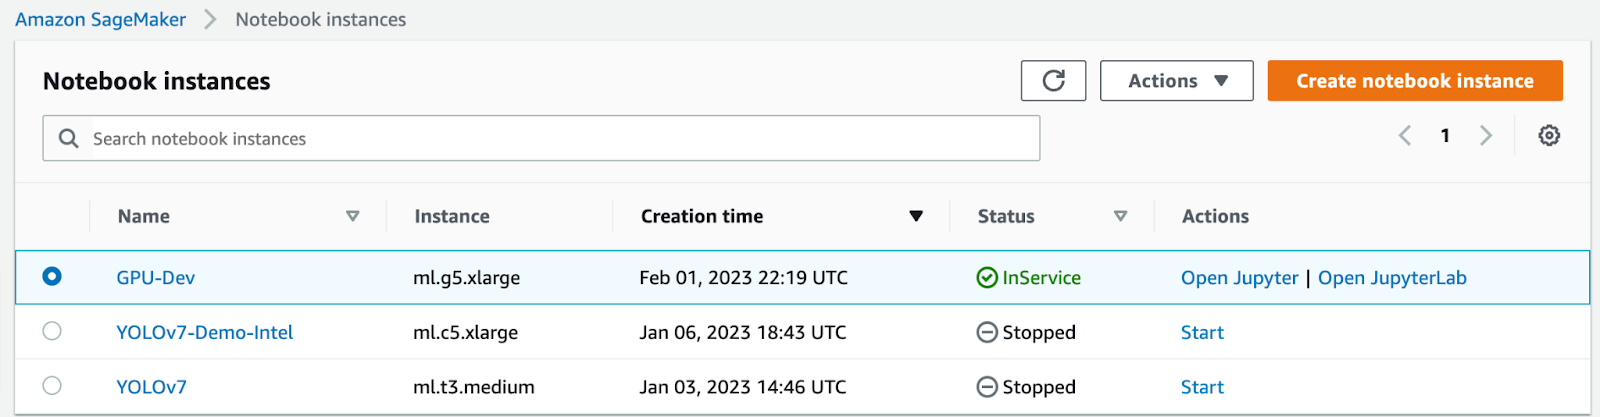
Login to your AWS account and navigate to the SageMaker homepage. Open the Notebooks section in the left pane and click notebook instances:
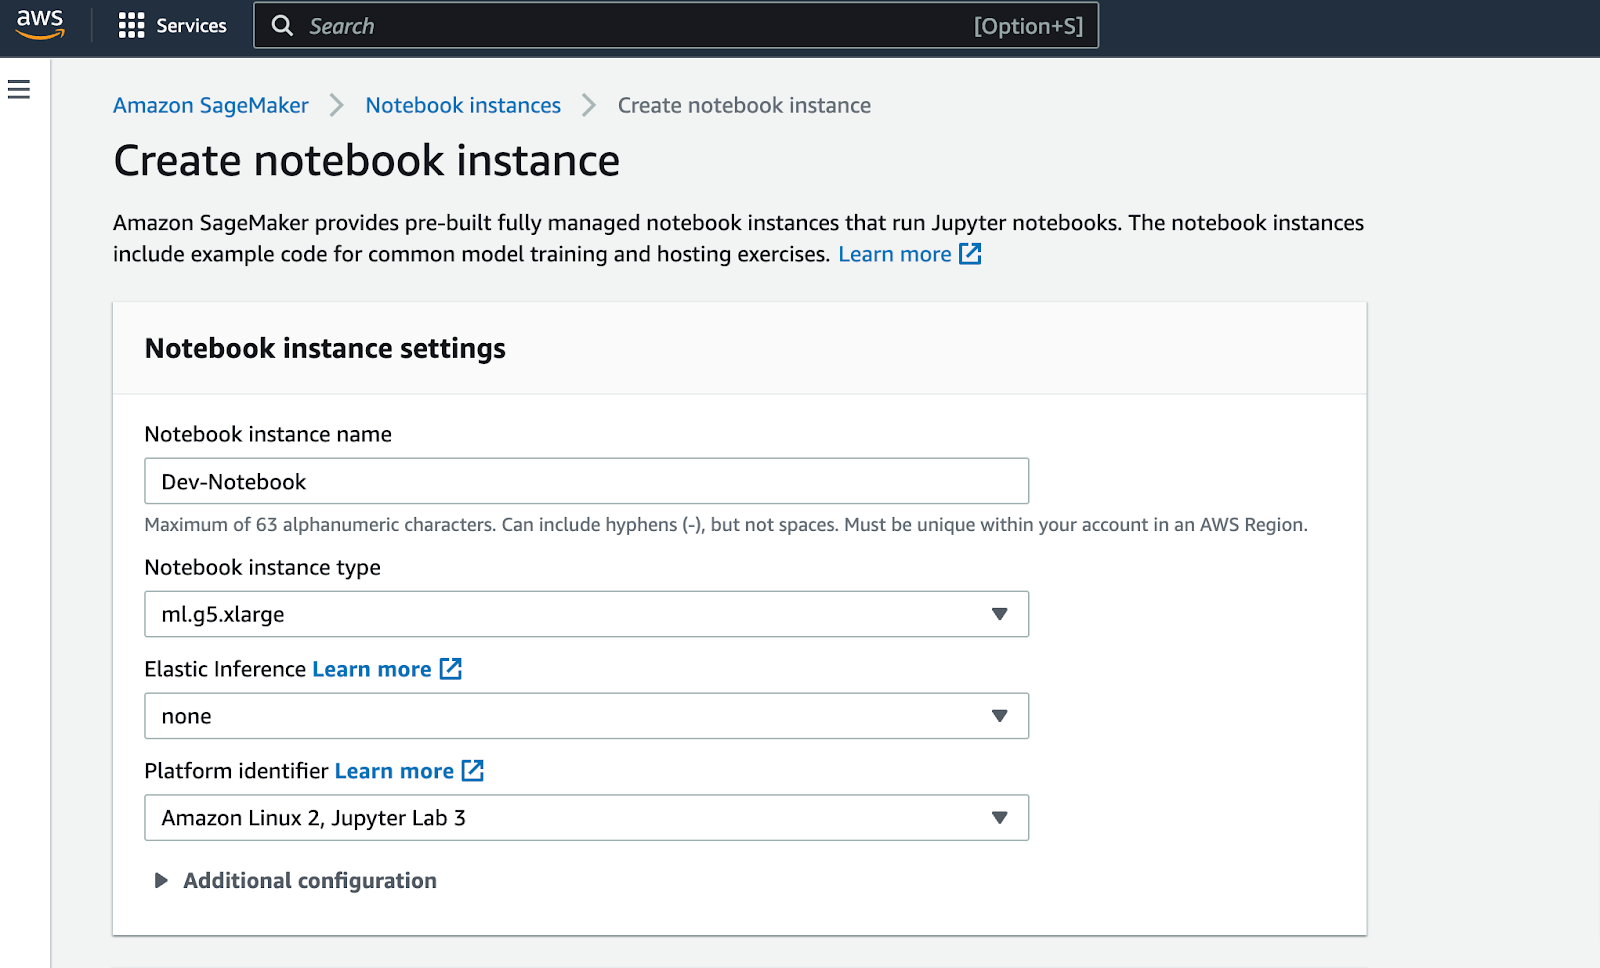
Click create notebook instance. This will take you to the notebook provisioning page. When in the provisioning page, you will name your notebook, assign an instance type (we used a g5.xlarge instance), which are NVIDIA A10G Tensor Core GPUs. Leave all else default in the notebook settings.
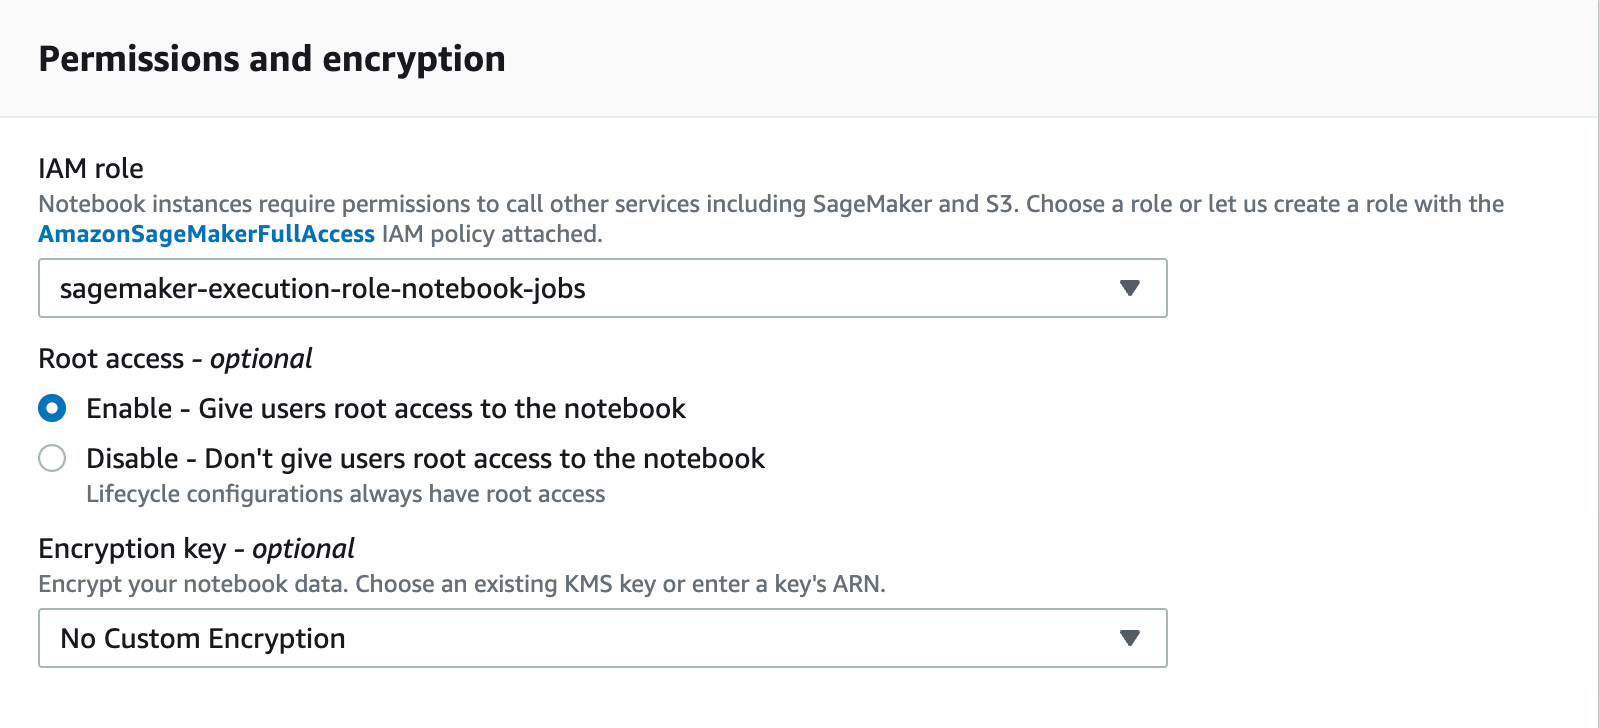
In the permissions and encryption section you can create a new role, or use an existing role. We are not accessing S3 or any other services in this post so the default role will be fine.
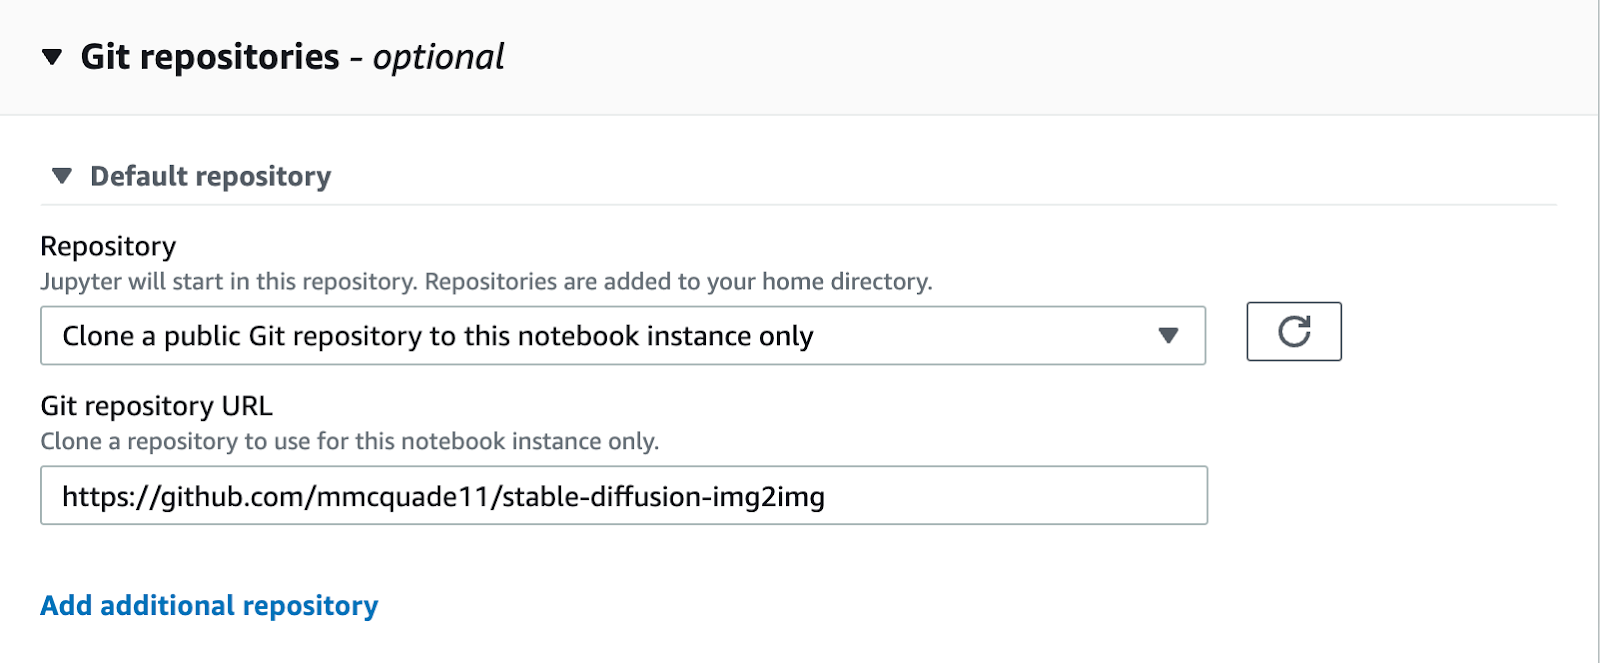
In the Git Repositories section, you can choose to clone a public Git repo and enter in the GitHub URL of https://github.com/mmcquade11/stable-diffusion-img2img.git. This will bring the notebook on which we will be working into your instance.
Leave the values in all of the other fields as the default and click “Create Notebook Instance”. This will take a couple of minutes to provision. Once your notebook is provisioned, you will be able to go to actions > start. When showing “InService”, click “Open JupyterLab”
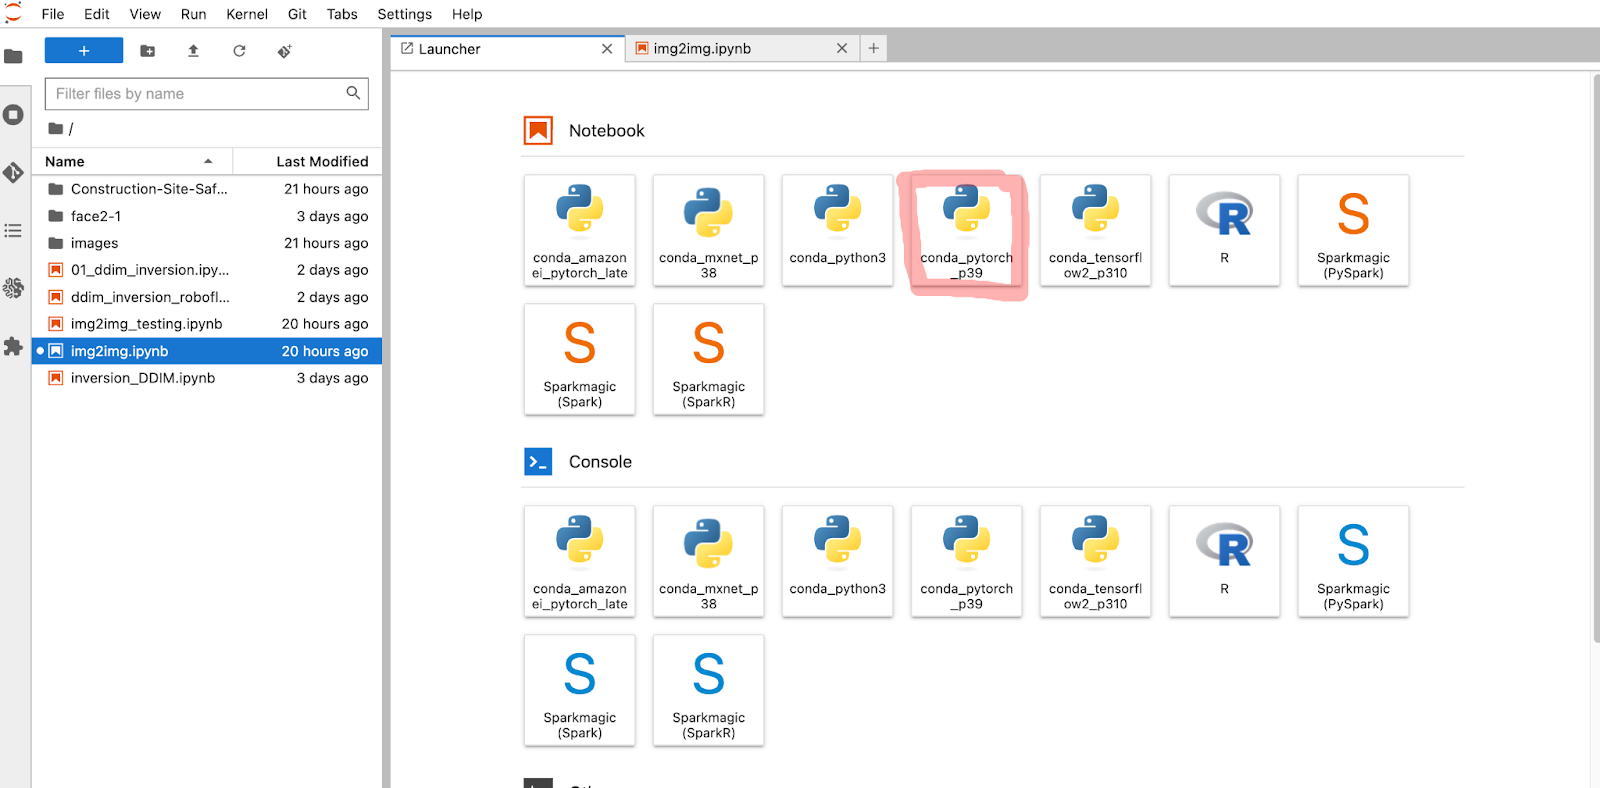
When opening the img2img notebook, ensure conda_pytorch_p39 is the notebook environment selected. When opening the notebook, it should prompt you to select the kernel.
Notebook setup complete. Now let's dig in.
Step 2: Notebook Walkthrough
For this use case, we will pull down a publicly available construction safety dataset from Roboflow Universe. Roboflow Universe is the world's largest collection of open source computer vision datasets and APIs.
We will then generate images using Stable Diffusion’s img2img capabilities, adding different backgrounds like a snowy landscape, a dark evening, and a rainstorm. This can be hugely valuable to allow your machine learning model to learn on a variety of new backgrounds with your objects.
Installation of Required Libraries
The first step to implement our Stable Diffusion Image-to-Image Pipeline is to install the necessary libraries. To do so, we use pip to install the following libraries: transformers, diffusers, accelerate, torch, ipywidgets, ftfy.
!pip install -q transformers diffusers accelerate torch==1.13.1
!pip install -q "ipywidgets>=7,<8" ftfy
Authentication with Hugging Face Hub
The Stable Diffusion model, in this case stable-diffusion-2 by Stability AI, is available on the Hugging Face Hub. We need to authenticate ourselves with the Hugging Face Hub to be able to access the pre-trained models.
from huggingface_hub import notebook_login

notebook_login()
You will be prompted to enter your Hugging Face access token. If you don’t have one, you can create one on the Hugging Face website.
Importing Required Dependencies
We now import the required dependencies, which include diffusers, StableDiffusionImg2ImgPipeline, EulerDiscreteScheduler, Path, Image, torch, and re.
from diffusers import StableDiffusionImg2ImgPipeline, EulerDiscreteScheduler
from pathlib import Path
from PIL import Image
import torch
import re
Next, let's remove all non-word characters and foreign characters:
def slugify(text):
   text = re.sub(r"[^\w\s]", "", text)
   text = re.sub(r"\s+", "-", text)
   return text
Finally, we need to define the model with which we are working:
model_id = "stabilityai/stable-diffusion-2"Use Custom Data for Prompting
To generate images using the Stable Diffusion Image-to-Image Pipeline, we need images as our input images.
In this example, we are using a construction site safety dataset from Roboflow. To download the dataset, we install the Roboflow library and use the API key to access the dataset. To learn how to access your Roboflow API key, go here.
!pip install -q roboflow

from roboflow import Roboflow
rf = Roboflow(api_key="YOUR_API_KEY_HERE")
project = rf.workspace("roboflow-universe-projects").project("construction-site-safety")
dataset = project.version(1).download("coco")
Select a few images from the dataset and build a list, then create the ability to iterate through that list and resize the images as well as convert to RGB.
images = ["/home/ec2-user/SageMaker/Construction-Site-Safety-1/train/000246_jpg.rf.803c6bf16e1d86b997796ebb8b4b2152.jpg",
"/home/ec2-user/SageMaker/Construction-Site-Safety-1/train/000830_jpg.rf.a21dcfb4aa17f2b4c0d22ba91549b7db.jpg",
"/home/ec2-user/SageMaker/Construction"]

init_images = [Image.open(image).convert("RGB").resize((768,768)) for image in images]
Define Prompts and Negative Prompts
Here we define our text guided prompt that our model will use to generate our new images. We also define our negative prompts. Negative prompting indicates which terms you do not want to see in the resulting image.
Since we will generate 3 images for this example, we will create a list of 3 images and then a corresponding list of 3 prompts. You can create a list size of images and prompts of your choosing.
prompts = ["construction worker in snowy landscape",
"construction worker in dark evening",
"construction worker in rain storm"]

negative_prompts = ["blurry, dark photo, blue",
"blurry, dark photo, blue",
"blurry, dark photo, blue"]
Next, let's create a scheduler and a pipeline for our project:
device = "cuda" if torch.cuda.is_available() else "cpu"
# Use the Euler scheduler here instead of default
scheduler = EulerDiscreteScheduler.from_pretrained(
    model_id, subfolder="scheduler")
pipe = StableDiffusionImg2ImgPipeline.from_pretrained(
    model_id, scheduler=scheduler, torch_dtype=torch.float16)
pipe = pipe.to(device)
Next, let's create a directory in which to store our generated images:
DIR_NAME="./images/"
dirpath = Path(DIR_NAME)
# create parent dir if doesn't exist
dirpath.mkdir(parents=True, exist_ok=True)
Now that we have our directory created, we can define our pipeline parameters and generate images based on prompts! We will generate 1 image per prompt, which matches our input image. 1 input image <> 1 prompt <> 1 generated image:
steps = 20
scale = 9
num_images_per_prompt = 1
seed = torch.randint(0, 1000000, (1,)).item()
generator = torch.Generator(device=device).manual_seed(seed)

output = pipe(prompts, negative_prompt=negative_prompts, image=init_images, num_inference_steps=steps,
guidance_scale=scale, num_images_per_prompt=num_images_per_prompt, generator=generator)
torch.Generator(device=device).manual_seed(seed) allows you to choose the random seed. We can run batched inference by simply passing a list of prompts and generators.
Next, we iterate through and push our generated images into our image directory:
for idx, (image,prompt) in enumerate(zip(output.images, prompts*num_images_per_prompt)):
    image_name = f'{slugify(prompt)}-{idx}.png'
    image_path = dirpath / image_name
    image.save(image_path)
You can go into your image directory and open the generated images. You can see the images have been generated using your original image as a base and adding to the image based on your text prompt. Here is an example of a snowy landscape image being generated:

We have now successfully generated an image in our notebook!
Upload Images to Roboflow
Once your images are generated, call the Roboflow Upload API so we can push our images into a Roboflow project. Make sure you have an account, and you will need to create a project before you continue:
import os
HOME = os.getcwd()
image_dir = os.path.join(HOME, "images", "")

image_dir

import glob

## DEFINITIONS
# glob params
file_extension_type = ".png"

## INIT
# roboflow pip params
rf = Roboflow(api_key="YOUR_API_KEY_HERE")
upload_project = rf.workspace().project("YOUR_PROJECT_NAME_HERE")

## MAIN
# glob images
image_glob = glob.glob(image_dir + '/*' + file_extension_type)

# perform upload
for image in image_glob:
    upload_project.upload(image, num_retry_uploads=3)
    print("*** Processing image [" + str(len(image_glob)) + "] - " + image + " ***")
In the code above, substitute your API key and project name with a project and API that you create in Roboflow. After pushing your images to Roboflow, you should see them in your projects Annotate section.
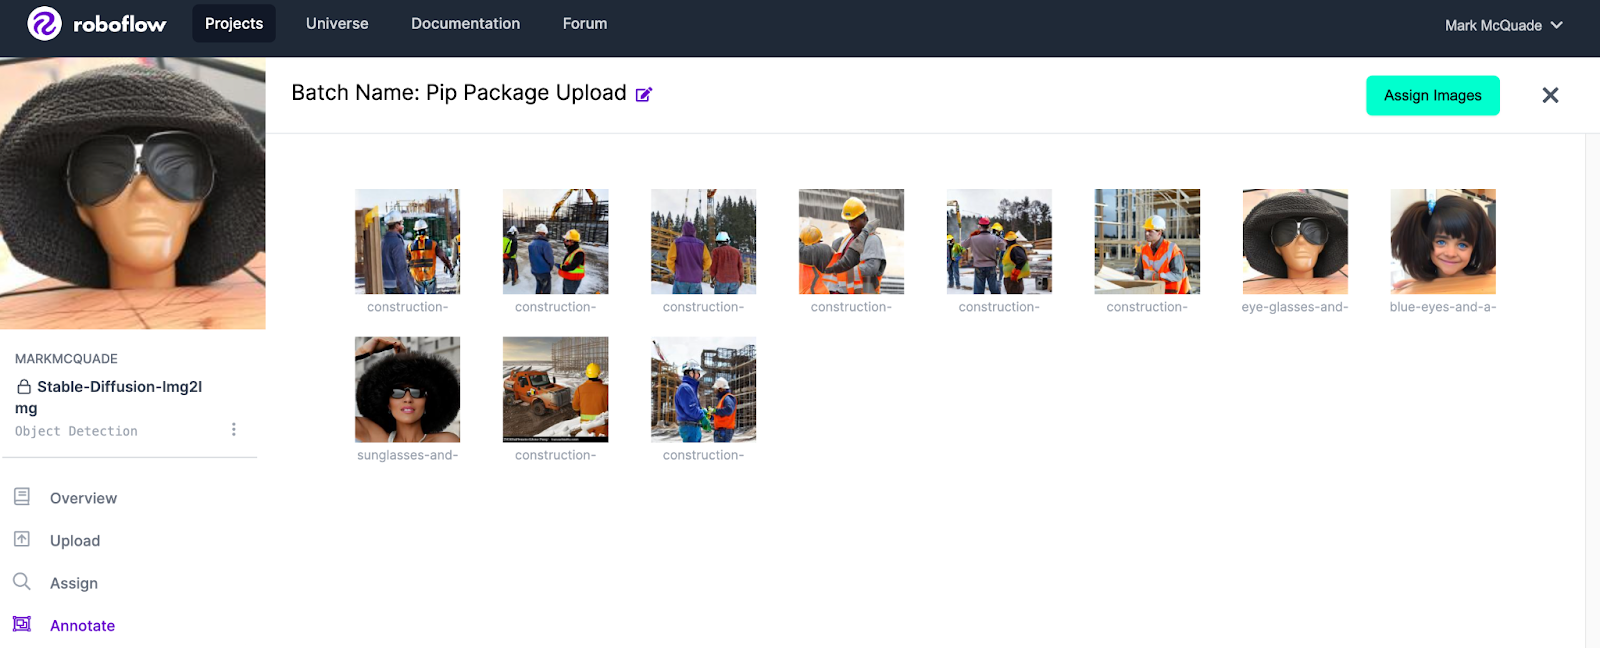
You can now begin annotating your AI generated images and use them to improve the performance of your model.
Conclusion
Stable diffusion for image-to-image generation can be a valuable asset in enterprise computer vision toolkits. The ability to transfer styles, perform domain adaptation, and generate new images has numerous use cases in a wide variety of industries.
Generative models have taken the world by storm, and their ability to generate new, unique, and diverse outputs from a given input has been instrumental in driving large advancements in fields such as computer vision, natural language processing, and many others.
As the field continues to advance and more research is conducted, we can expect to see even more enterprise applications of generative AI in the future.
Cite this Post
Use the following entry to cite this post in your research:
Mark McQuade. (Feb 10, 2023). How to Build a Stable Diffusion Image-to-Image Pipeline. Roboflow Blog: https://blog.roboflow.com/stable-diffusion-image-to-image-pipeline/