Roboflow Inference is an open source project you can use to run inference on state-of-the-art computer vision models. With no prior knowledge of machine learning or device-specific deployment, you can deploy a computer vision model to a range of devices and environments.
Using Inference, you can deploy object detection, classification, segmentation, and a range of foundation models (i.e. SAM and CLIP) for production use. With an optional Enterprise license, you can access additional features like device management capabilities and load balancer support.
In this guide, we are going to show you how to deploy Roboflow Inference to Azure. We will deploy a virtual machine on Azure, install Docker, install Inference, then run inference locally on a computer vision model trained on Roboflow.
Without further ado, let’s get started!
Deploy Roboflow Inference on Azure
To get started, you will need a Microsoft Azure account. You will also need a Roboflow account with a trained model. Learn how to train a computer vision model on Roboflow. Alternatively, you can deploy a foundation model like SAM or CLIP, for which you do not need a trained model.
For this guide, we will be deploying a solar panel object detection model that processes aerial imagery in bulk. We will use an Azure Virtual Machine to run inference.
Step #1: Create an Azure Virtual Machine
Go to the Microsoft Azure dashboard and search for “Virtual Machines” in the product search bar. Click “Create” to create a virtual machine:
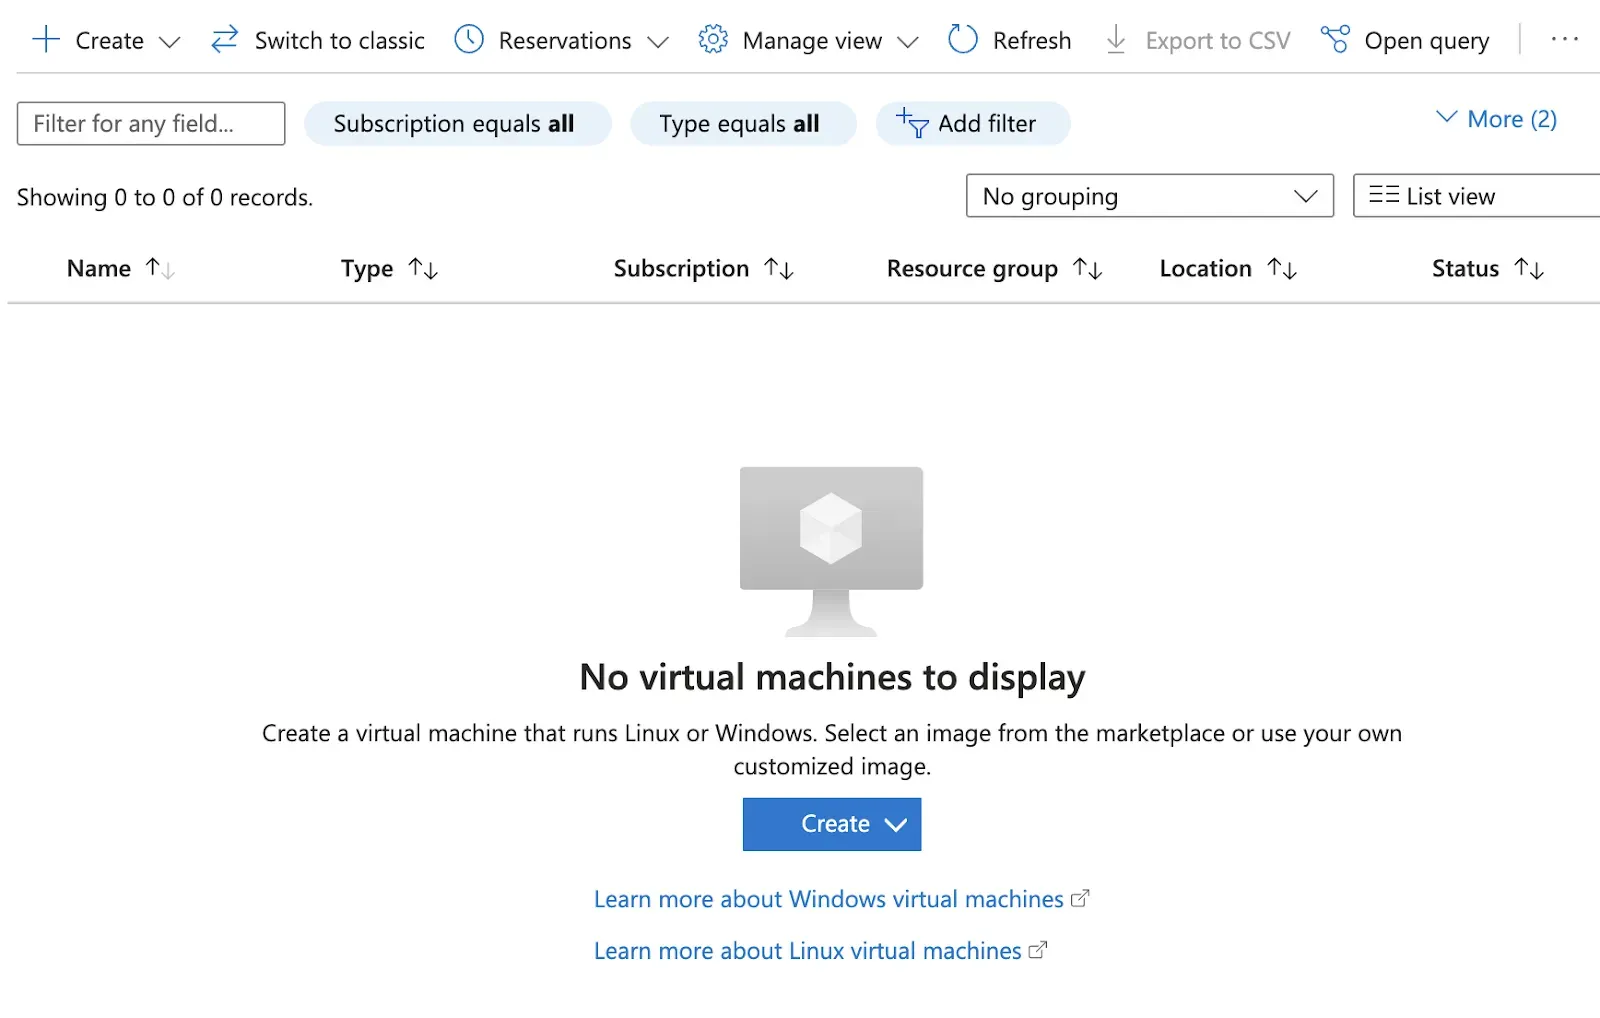
Choose to create an “Azure virtual machine” in the dropdown that appears. Next, you will be asked to configure your virtual machine. How you configure the virtual machine is dependent on how you plan to use the virtual machine so we will not cover specifics in this tutorial.
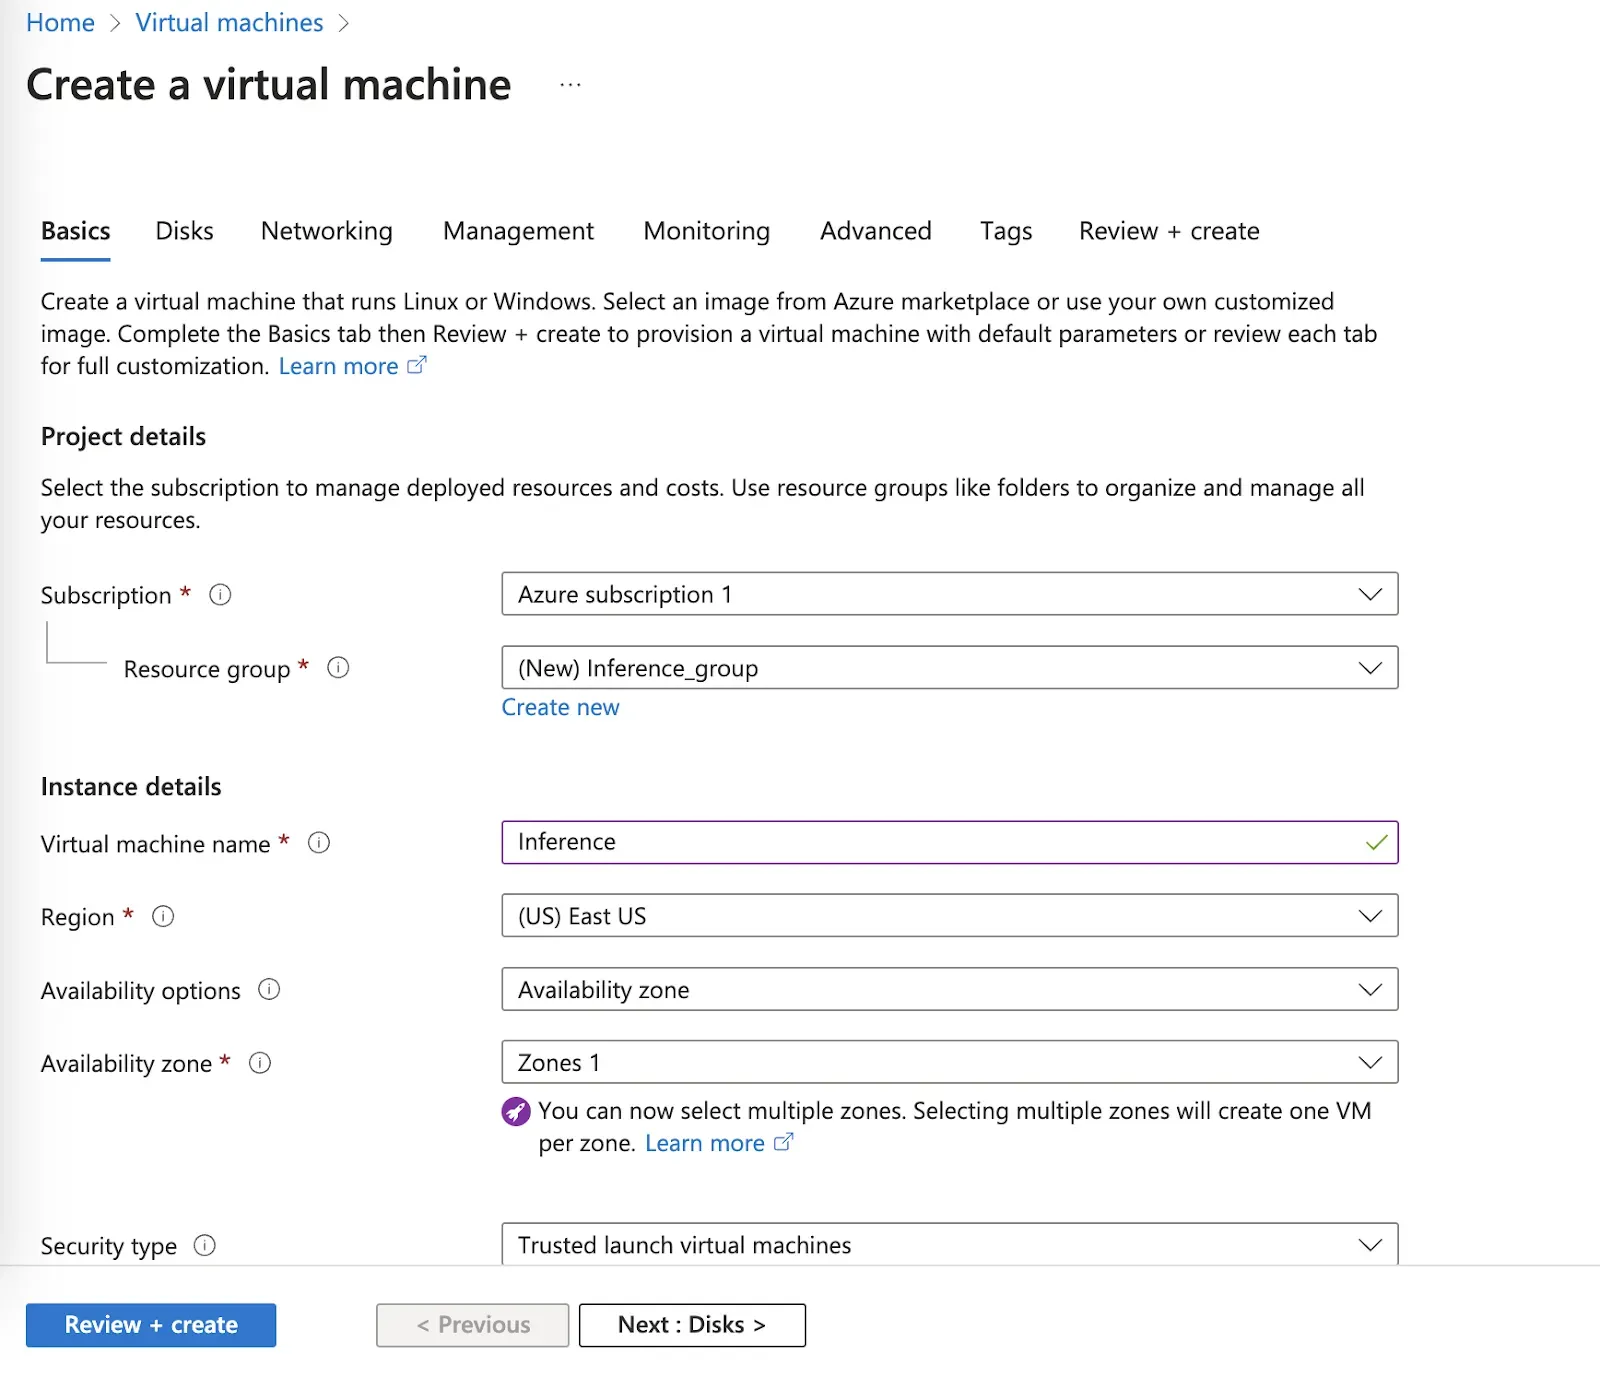
Roboflow Inference can run on both CPU (x86 and ARM) and NVIDIA GPU devices. For the best performance in production, we recommend deploying a machine with an NVIDIA GPU. For testing, use the system that makes sense given your needs.
In this guide, we will deploy on a CPU device.
Once you confirm deployment of your virtual machine, Azure will show the progress of the deployment:
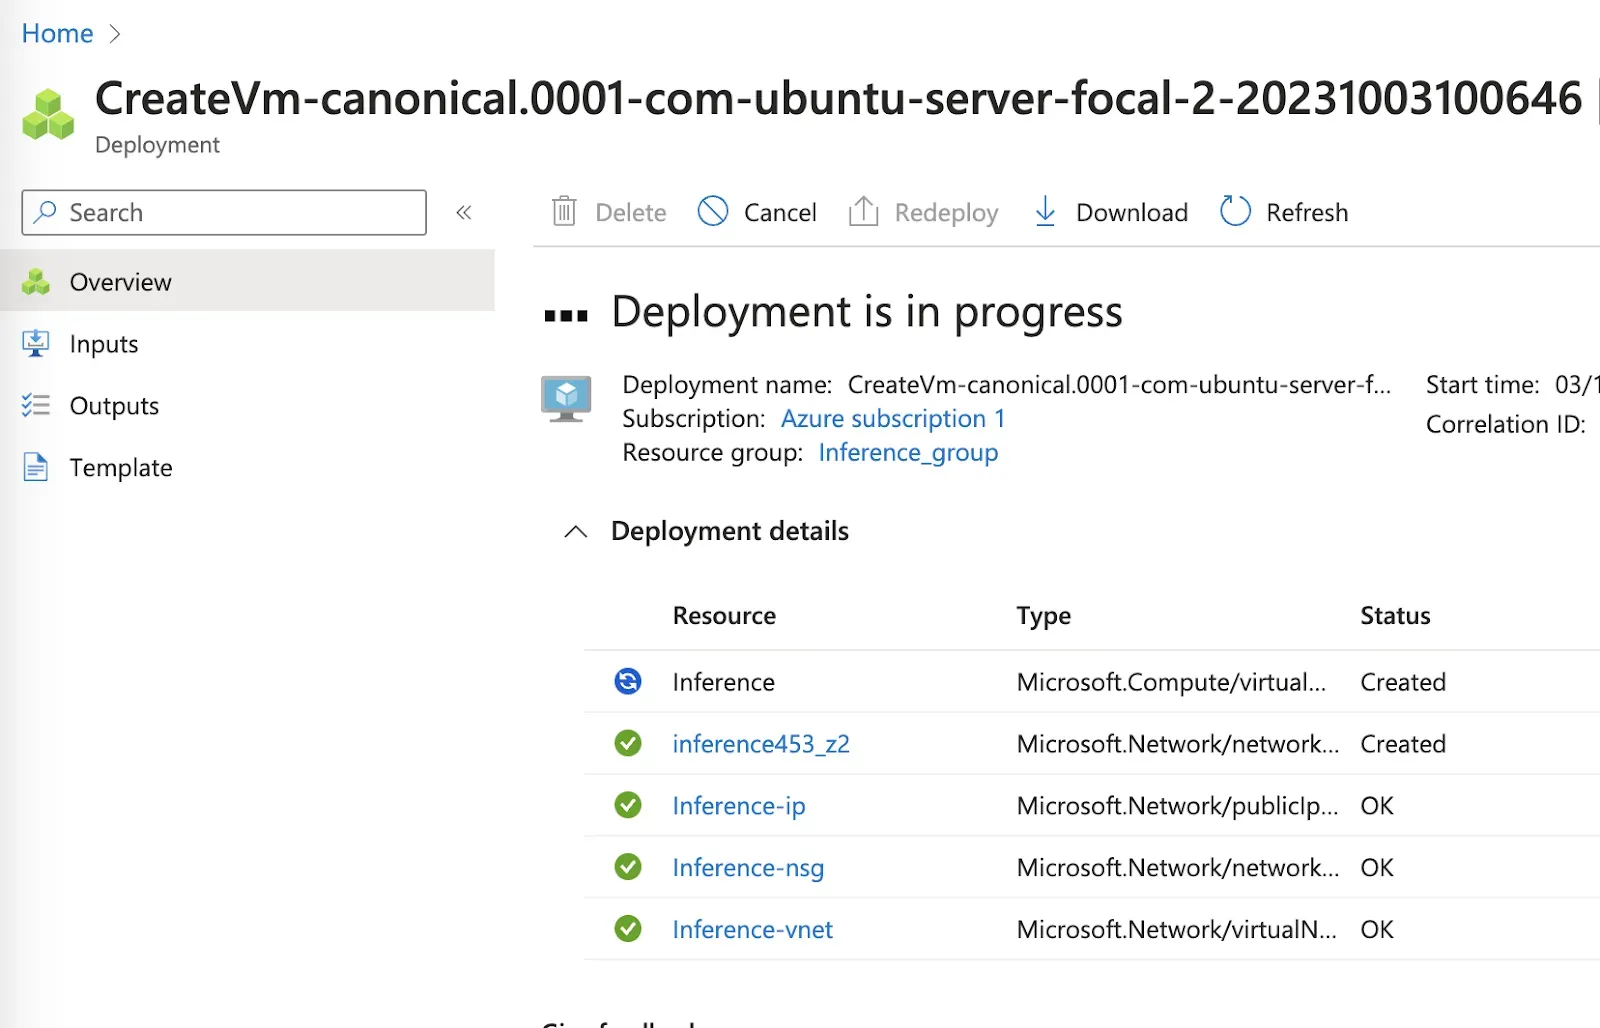
When your virtual machine is ready, a pop up will appear. Click “View resource” to view the virtual machine. Or, go back to the Virtual Machines homepage and select your newly-deployed virtual machine.
Step #2: Sign into Virtual Machine
To sign into your virtual machine, first click “Connect”.
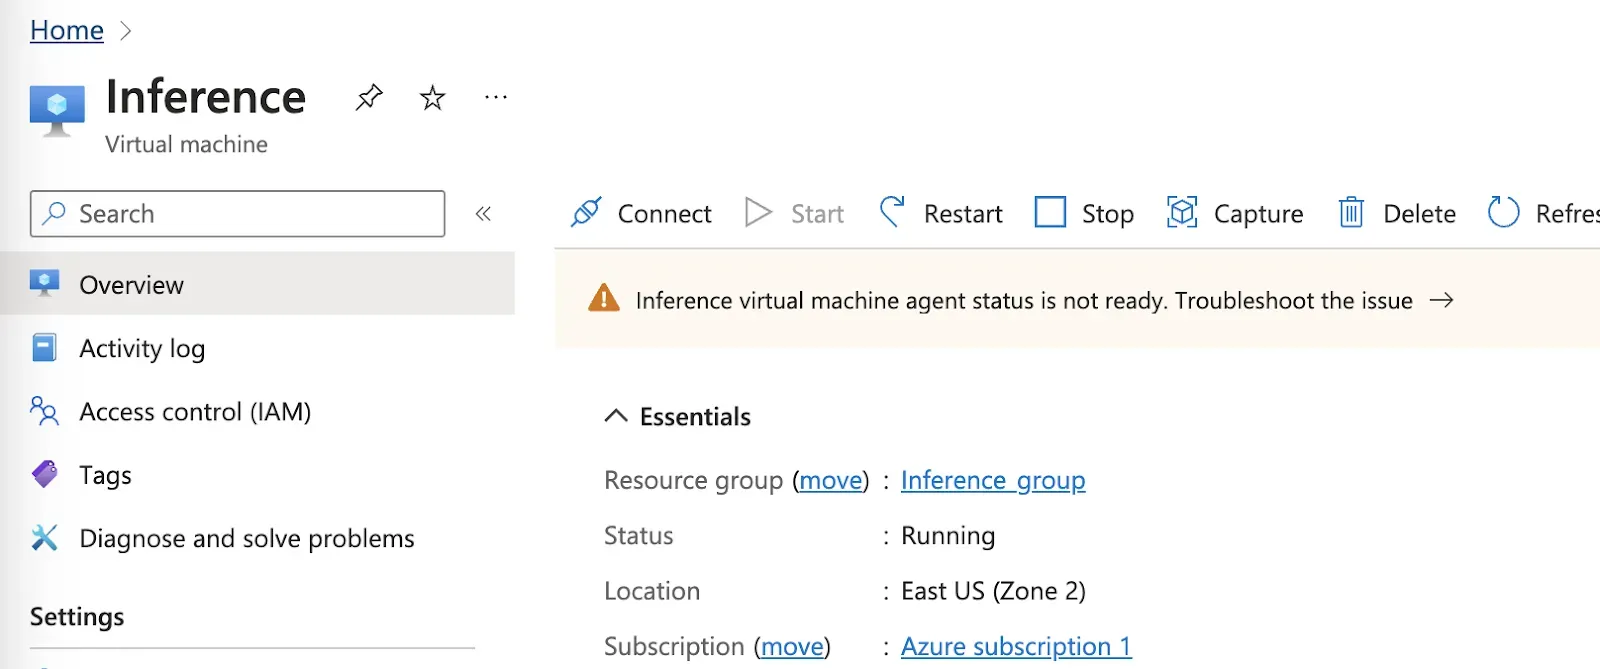
Choose the authentication method that you prefer.
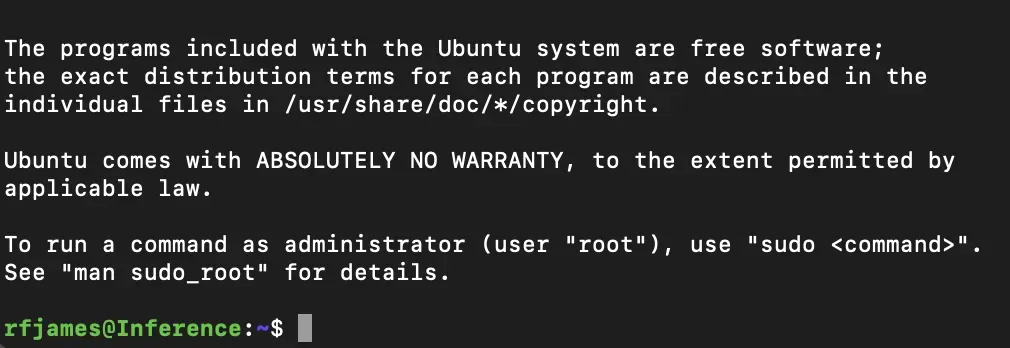
In this guide, we will SSH into our virtual machine via the command line. When you SSH into the virtual machine, you will see the standard shell in which to write commands.
Step #3: Install Roboflow Inference
Now we have a virtual machine ready, we can install Roboflow Inference. In this guide, we are deploying on a machine with a CPU. Thus, we will walk through the CPU installation instructions. If you are deploying on a GPU, refer to the Roboflow Inference Docker installation instructions to install Inference.
Whether you are using a GPU or CPU, there are three steps to install Inference:
- Install Docker.
- Pull the Inference Docker container for your machine type.
- Run the Docker container.
The Docker installation instructions vary by operating system. To find out the operating system your machine is using, run the following command:
lsb_release -aIn this example, we are deploying on a Ubuntu machine. Thus, we need to follow the Ubuntu Docker installation instructions. Follow the Docker installation instructions for your machine.
Once you have installed Docker, you can install Inference. Here is the command to install Inference on a GPU:
docker pull roboflow/roboflow-inference-server-cpuYou will see an interactive output that shows the status of downloading the Docker container.
Once the Docker container has downloaded, you can run Inference using the following command:
docker run --net=host roboflow/roboflow-inference-server-cpu:latestBy default, Inference is deployed at http://localhost:9001.
Step #4: Test Model
All inferences are run on-device for maximum performance. Now that we have Inference running, we can start loading a model to use.
To load a model, we need to make a HTTP request to Inference. The first time we make a HTTP request, Inference will download and set up the weights for the model on which you want to run inference. In this guide, we will deploy a solar panel model trained on Roboflow.
To make a request, we will need a few pieces of information:
- Our Roboflow API key
- Our model ID
- Our model version
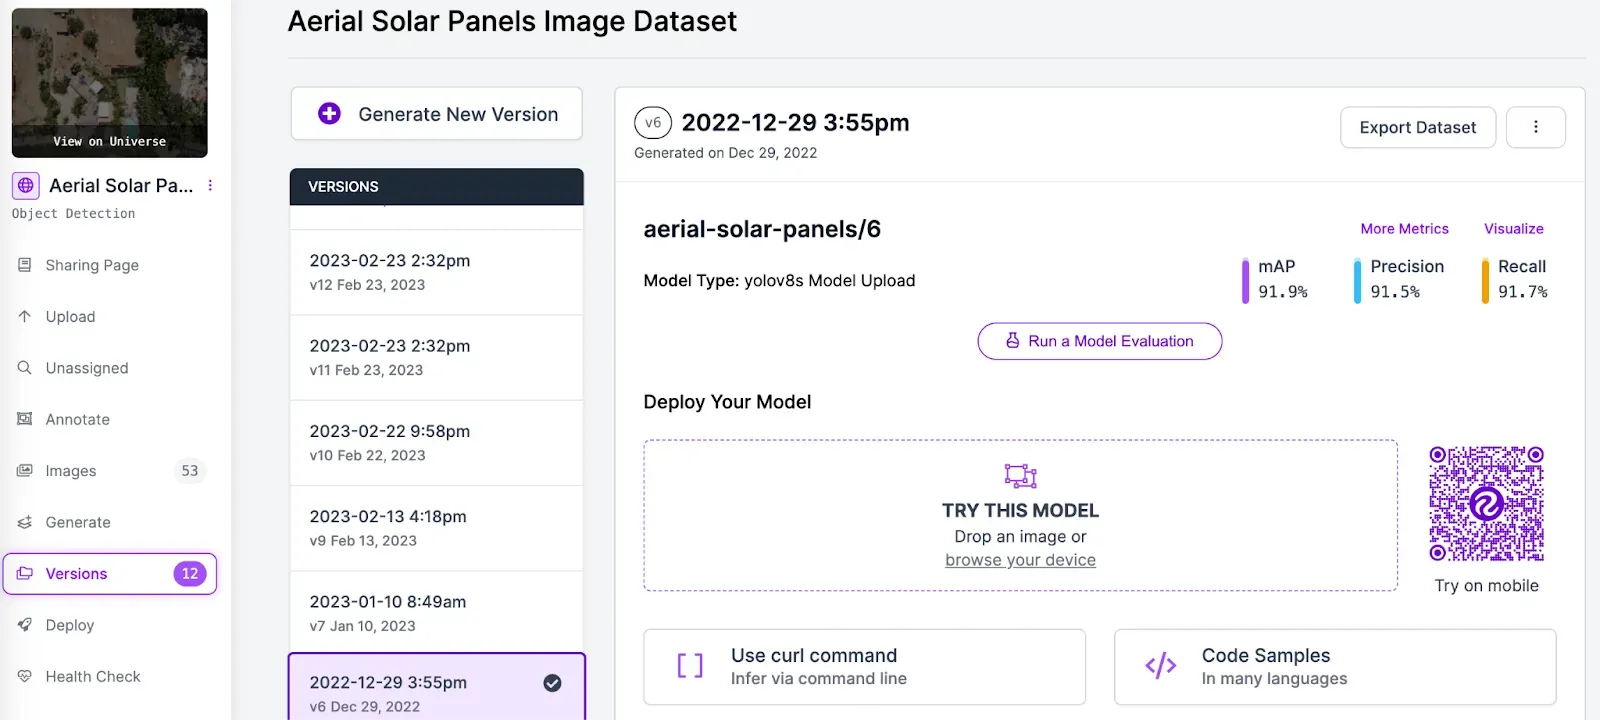
To retrieve this information, go to your Roboflow dashboard and select a project. Then, click “Versions” in the sidebar of the project and select the version you want to deploy.
Create a new Python file and add the following code:
import requests

dataset_id = ""
version_id = "1"
image_url = ""

api_key = "ROBOFLOW_API_KEY"
confidence = 0.5

url = f"http://localhost:9001/{dataset_id}/{version_id}"

params = {
    "api_key": api_key,
    "confidence": confidence,
    "image": image_url,
}

res = requests.post(url, params=params)

print(res.json())
In the code above, replace the following values with the information available on the Version page we opened earlier:
- dataset_id: The ID of your dataset (in this example, “construction-safety-dkale”).
- version_id: The version you want to deploy (in this example, 1).
- image_url: The image on which you want to run inference. This can be a local path or a URL.
- api_key: Your Roboflow API key. Learn how to retrieve your Roboflow API key.
Now we are ready to run inference. The script above will run inference on an image and return a JSON representation of all of the predictions returned by the model.
The following tutorials show a few of the many projects you can build with Inference:
- Using object detection models with Inference
- Building a semantic search engine with CLIP and Faiss
- Using gaze detection with Inference
- Monitor inventory with Inference
- Monitor videos with Inference
Conclusion
In this guide, we have deployed a computer vision model to Azure with Roboflow Inference. We created an Azure virtual machine in which to run our model, installed Roboflow Inference via Docker, and ran inference on an image.
Now that you have Inference set up, the next step is to configure your server according to your needs. For example, you could deploy Inference to a public domain behind authentication or configure access in a VPC.
Contact the Roboflow sales team to learn more about Roboflow Enterprise offerings.
Cite this Post
Use the following entry to cite this post in your research:
James Gallagher. (Oct 9, 2023). Deploy Computer Vision Models with Roboflow Inference and Azure. Roboflow Blog: https://blog.roboflow.com/azure-deploy-vision-models/
