
Depth Anything is a family of computer vision models designed to estimate depth, meaning how far objects are from the camera, using visual input. This depth helps machines understand the 3D structure of an environment, making it useful in applications such as autonomous driving, robotics, augmented reality, and 3D scene reconstruction.
The Depth Anything family has evolved through multiple iterations, including 1 and 2, with the latest release, Depth Anything 3, launched on November 14, 2025.
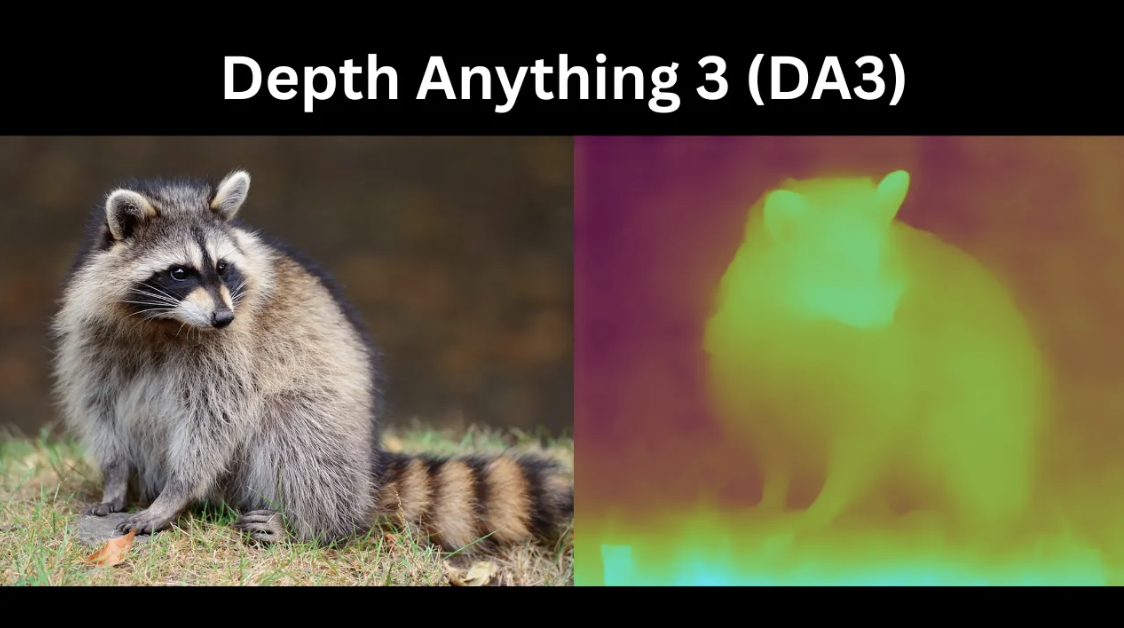
In this blog, we explore Depth Anything 3, discuss its key applications and improvements over Depth Anything 2, and walk through building a simple depth estimation workflow using Depth Anything 3 in Roboflow Workflows to create depth maps, as shown below.
What Is Depth Anything 3?
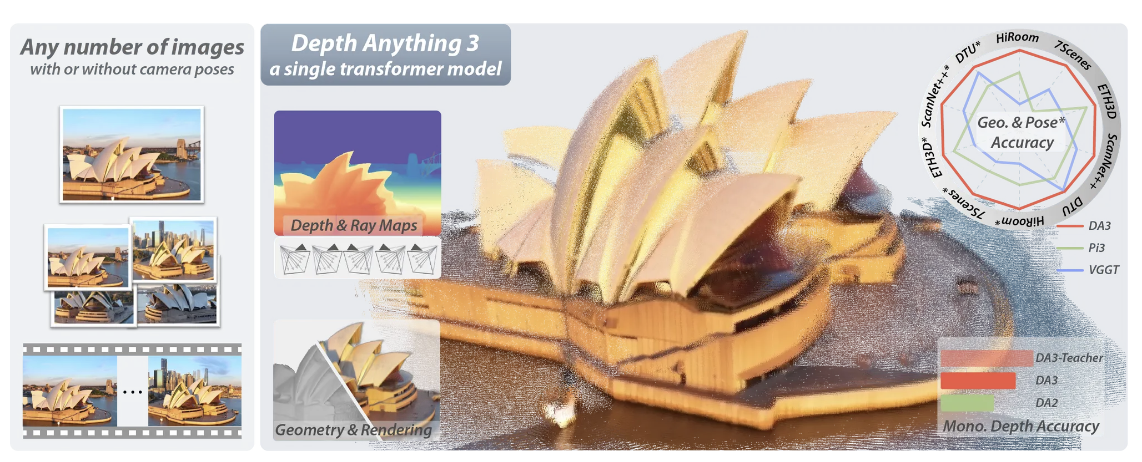
Depth Anything 3 (DA3) is a unified, generalist computer vision model that reconstructs spatially consistent 3D geometry from arbitrary visual inputs ranging from a single image to stereo pairs, multi view collections, and video streams.
Unlike traditional computer vision where tasks such as monocular depth estimation, multi view stereo, and camera pose estimation require separate, specialized models, DA3 addresses all of them with a single architecture. It reframes these tasks as one fundamental problem: recovering 3D structure from visual observations, making DA3 both unified and generalist.
For each input image, DA3 generates three complementary outputs, collectively called “depth-ray-camera”:
- Depth: An exponential depth map of size H × W that represents per-pixel distance information from the Camera.
- Ray: A dense ray map tensor of size H × W × 6 encoding the geometry of each pixel. For every pixel, the model predicts a six-dimensional vector comprising the ray origin (the camera center in world coordinates) and the ray direction (the vector passing through the pixel). This depth-ray representation provides a minimal yet sufficient target for reconstructing a 3D point cloud.
- Camera: The Camera Head predicts global camera parameters directly. While the ray map theoretically contains complete camera pose information, extracting standard camera parameters from millions of rays is computationally expensive at inference. The Camera Head acts as a lightweight shortcut, using a dedicated camera token to efficiently output camera parameters without the need for costly camera pose recovery.
Together, these components enable efficient, accurate, and scalable recovery of 3D structure and camera pose from any visual input.
Key Improvements of Depth Anything 3
- Multi-View Support: While Depth Anything 2 (DA2) handles only single images, DA3 is an Any-View Generalist capable of processing single images, stereo pairs, multi-view collections, and videos, ensuring geometric consistency across views to accurately recover 3D visual space.
- Beyond Monocular Depth: DA2 focuses on monocular depth estimation, whereas DA3 serves as a foundation model for reconstructing 3D visual space from arbitrary visual feeds and also fully supports depth estimation.
- Cross-View Reasoning: Unlike DA2, which processes video frames independently and may produce inconsistencies, DA3 uses an input-adaptive cross-view self-attention mechanism to integrate information across multiple views.
- Enhanced Depth Representation: DA3 predicts exponential depth and dense ray maps, enabling more accurate metric geometry and multi-view reconstruction. It replaces DA2’s affine-invariant disparity target, which prioritized visual quality over 3D geometric accuracy and spatial consistency.
- Improved Monocular Performance: Even as a multi-view generalist, DA3 outperforms DA2 on standard monocular depth benchmarks such as ETH3D and KITTI, achieving over a 10% relative improvement on ETH3D.
Applications of Depth Anything 3
Depth Anything 3 (DA3) supports a wide range of real-world applications, including:
Robotics & SLAM
Robotics relies on 3D vision, where a system estimates its camera pose to track location while reconstructing the scene’s geometry, a process called Simultaneous Localization and Mapping (SLAM).
DA3 enables this by jointly estimating depth and pose, tracking the camera trajectory, and producing dense, pixel-aligned depth and ray maps for accurate 3D point clouds.
Mixed & Augmented Reality (AR/VR)
DA3 provides the spatial intelligence for Mixed and Augmented Reality by enabling real-time 3D understanding of physical environments, reconstructing consistent 3D scenes from live video, and supporting view synthesis from camera angles that were never captured, enabling immersive experiences.
Autonomous Driving & Navigation
In autonomous driving, DA3 enables safe navigation with accurate metric depth maps. Fine-tuned on large driving datasets, it delivers sharp boundaries, precise scale, and preserves fine details often missed by traditional sensors. Its any-view design ensures consistent 3D reconstruction across all camera views:
3D Content Creation & Rendering
DA3 enables instant 3D content creation by converting images or video into spatially consistent 3D representations. It reconstructs multi-view point clouds for indoor and outdoor environments, supports real-time point cloud generation and 3D Gaussian Splatting for novel views, maintains cross-view consistency, and works with posed or unposed inputs, making it a fast, all-in-one engine for scalable 3D rendering.
How to Run a Depth Estimation 3 on Roboflow Workflows
Roboflow Workflows is a web-based tool for building visual AI workflows, allowing us to seamlessly chain multiple computer vision tasks, such as object detection, depth estimation, bounding box visualization, and more.
The following steps outline how to create a depth estimation workflow that generates depth maps using the Depth Anything 3 model on Roboflow Workflows. Here's the workflow we'll create.
Step 1: Setup Your Roboflow Workflow
To get started, create a free Roboflow account and log in. Next, create a workspace, then click Workflows in the left sidebar and select Create Workflow.
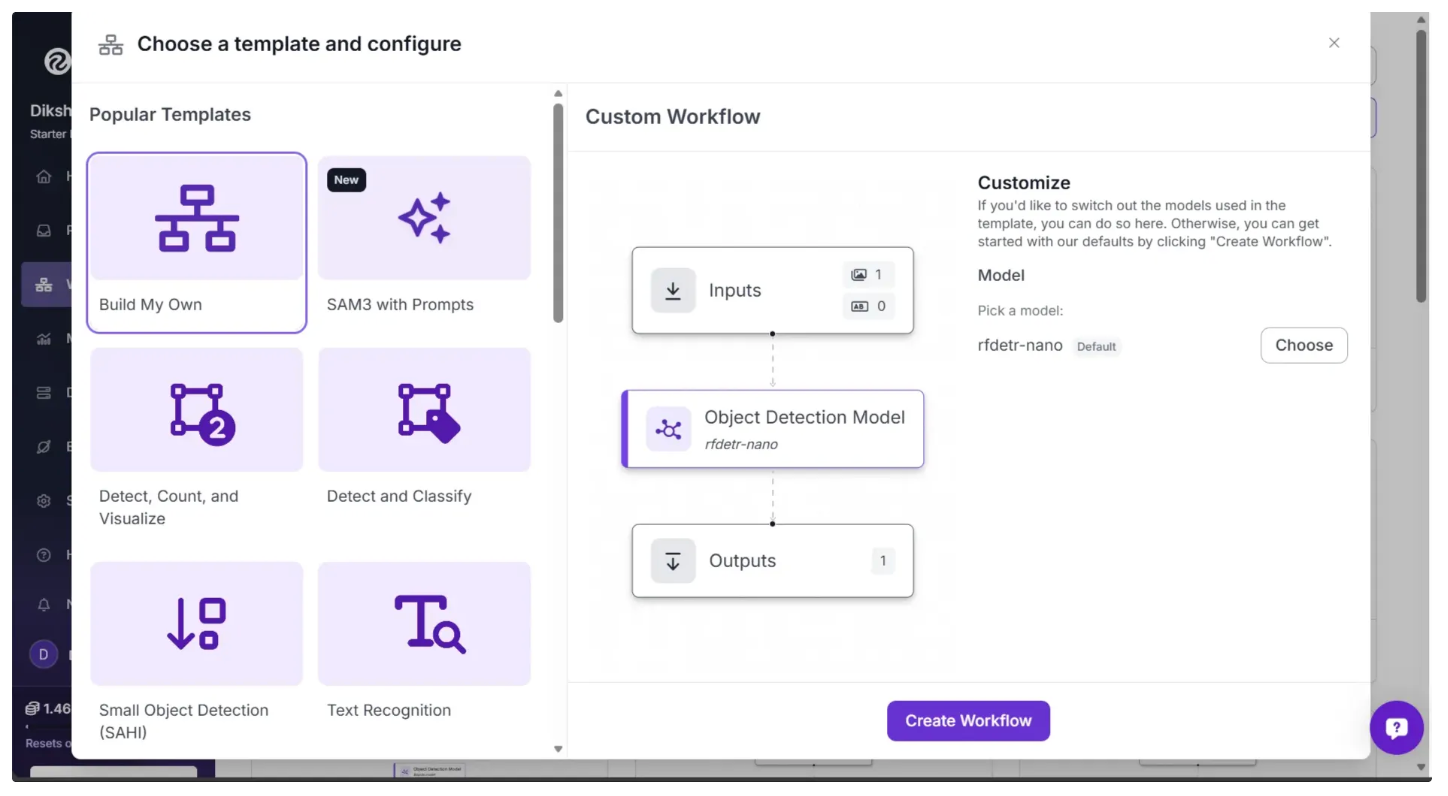
This will open a modal like the one shown below, where you can choose from various templates for segmentation, OCR, object detection, and more. For depth estimation, select Build My Own, as shown below:
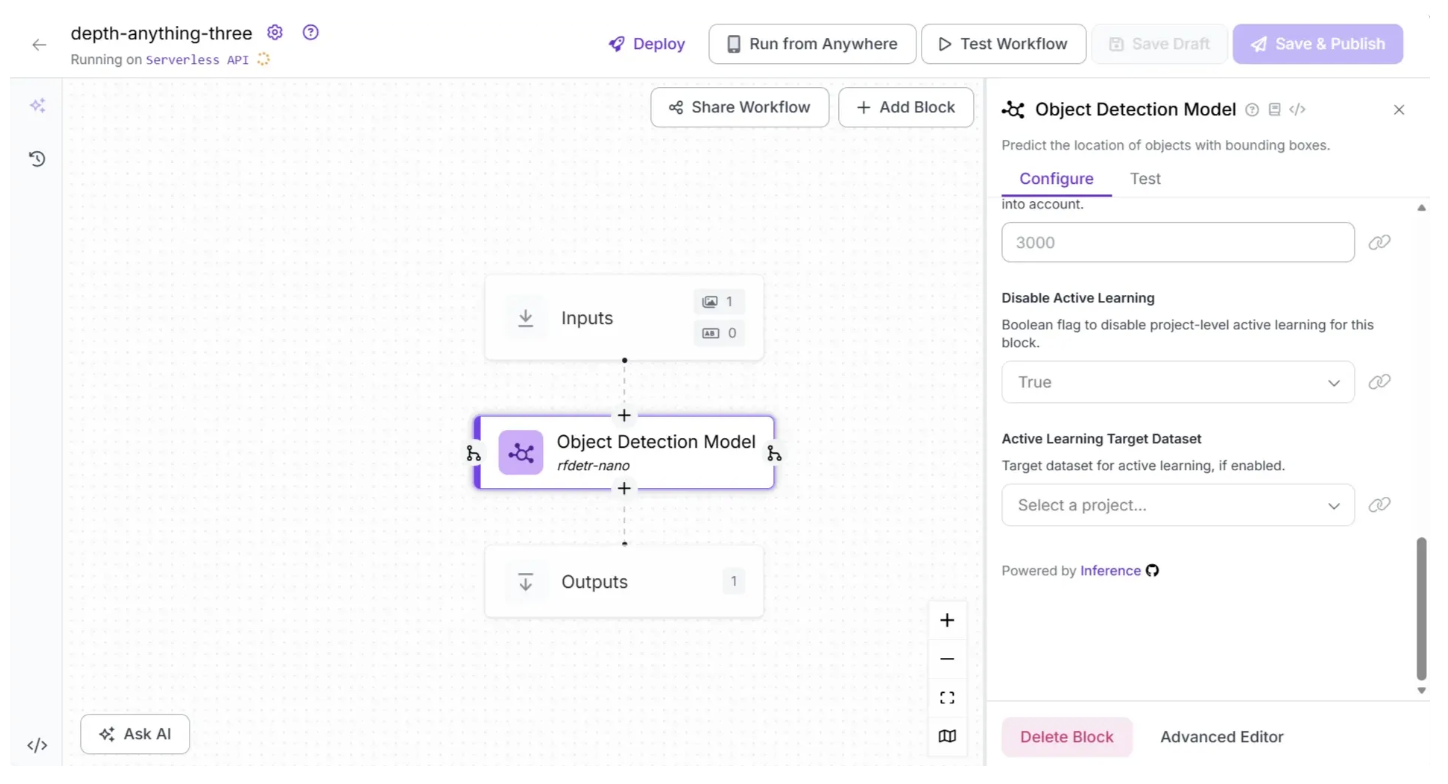
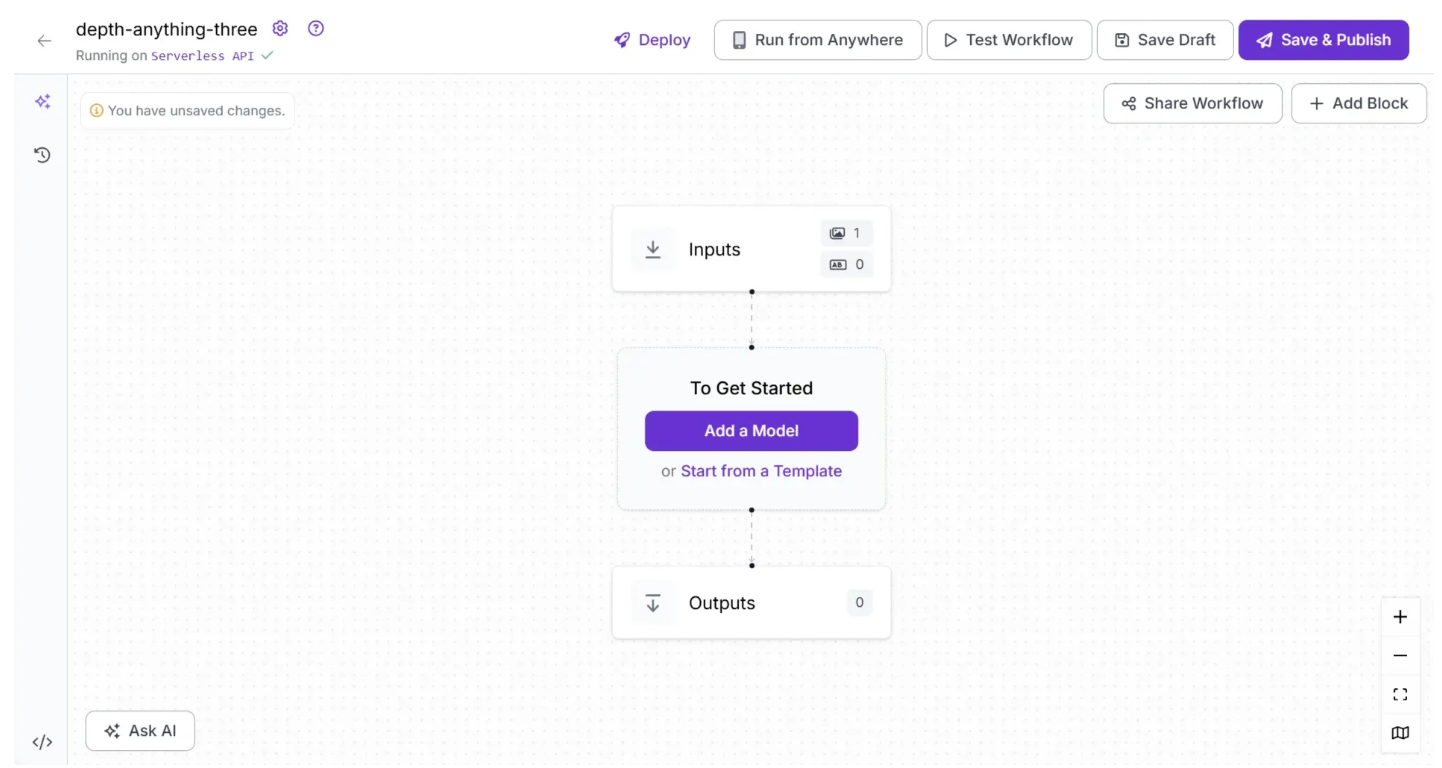
Then you’ll be taken to a blank workflow editor, ready to build your AI-powered workflow, where you’ll see three workflow blocks: Inputs, Outputs, and an Object Detection Model.
In our Depth Estimation workflow, we do not require an Object Detection Model, so you can delete it by selecting it and clicking the “Delete Block” button, as shown below:
After deleting the Object Detection Model block, the workflow should look like the one shown below:
The Depth Estimation block is currently only supported through local inference. Therefore you need to run a local inference server to use it.
To do this, click the text following “Running on” in the top-left corner, then select “Local Device” as shown below.
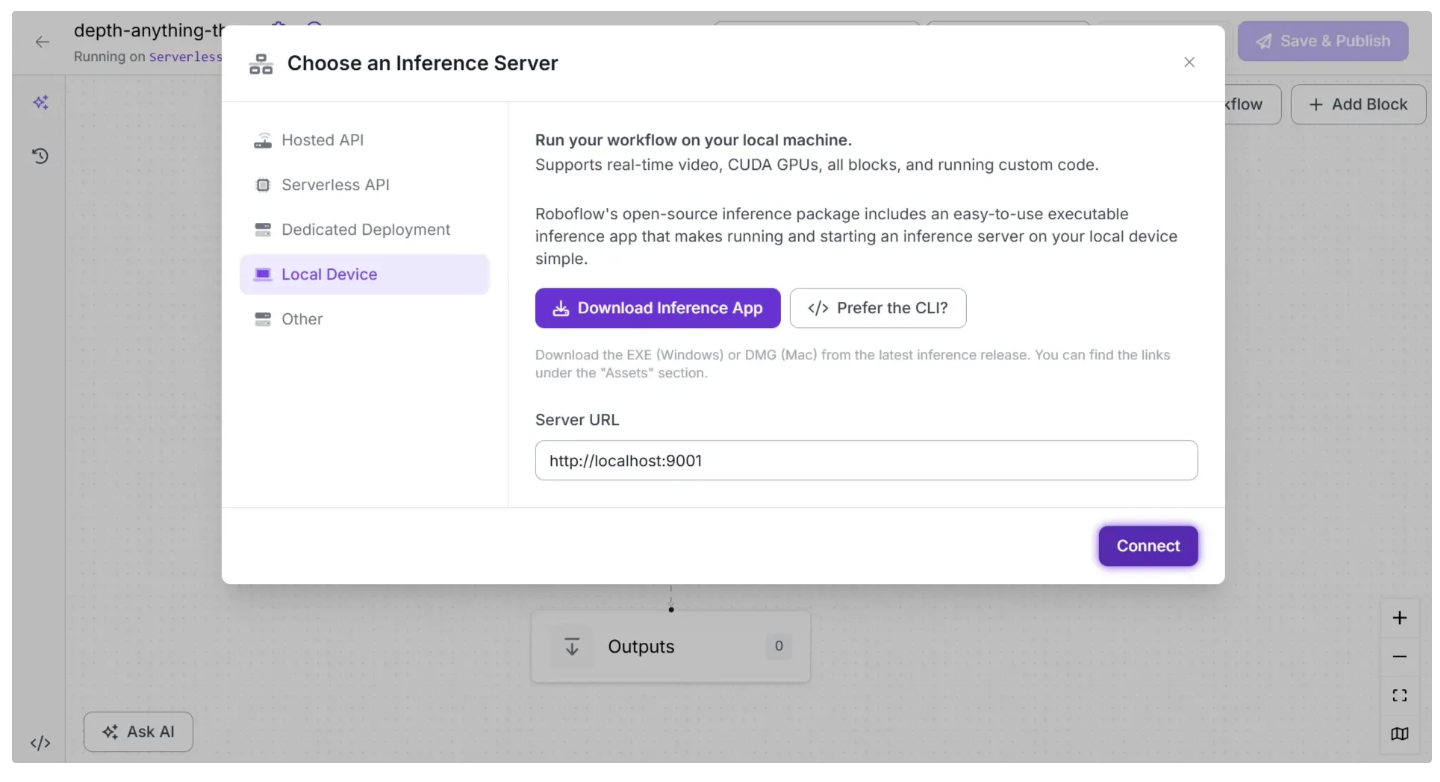
Before connecting to http://localhost:9001, you need to run an inference server on your local device. You can do this by downloading the inference app using the “Download Inference App” button and running it after it is installed.
When you run it, a local server will start on port 9001 after a few minutes as shown below:

Alternatively, you can install and run it using the command-line instructions provided here.
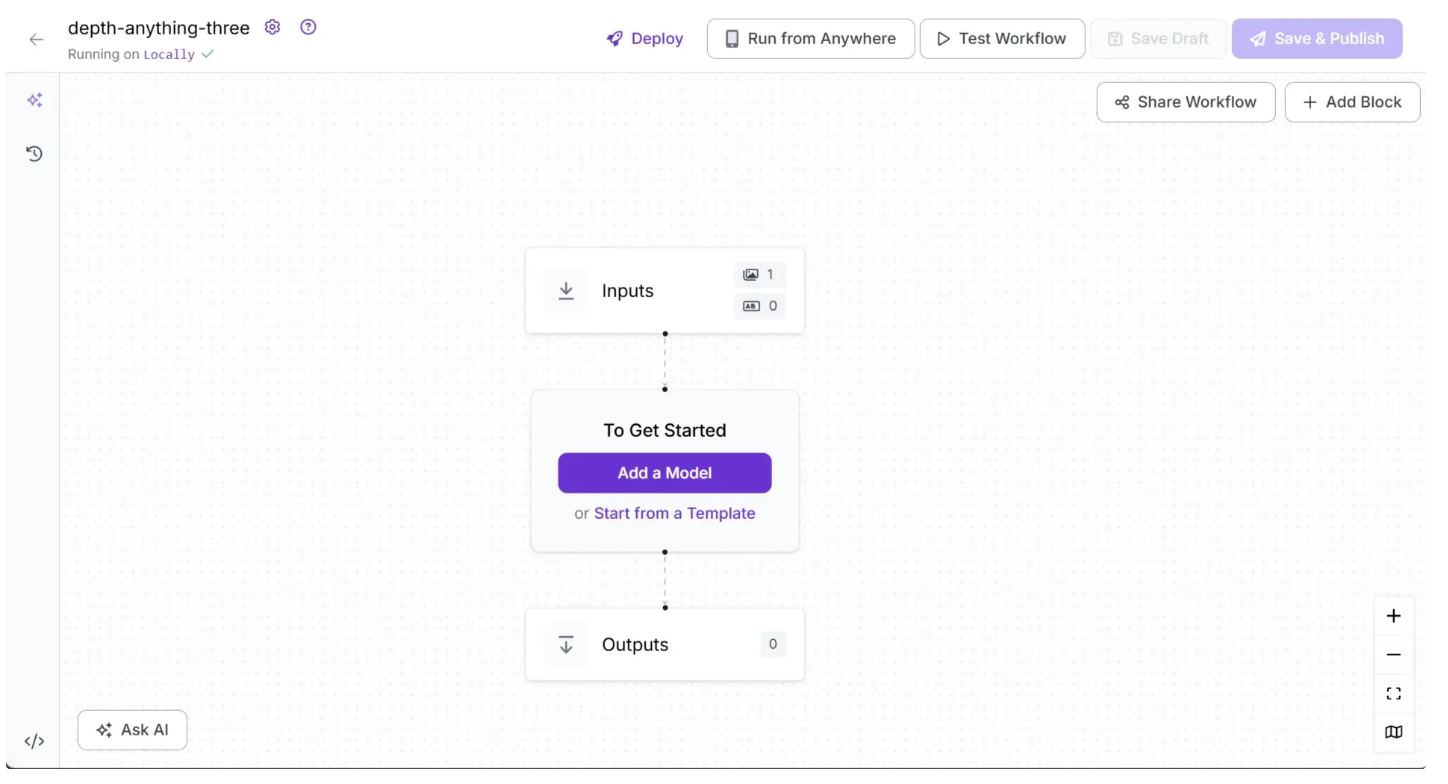
Once you run the local server and click Connect, it should display “Running on Locally” as shown below:
Step 2: Add an Depth Estimation Block
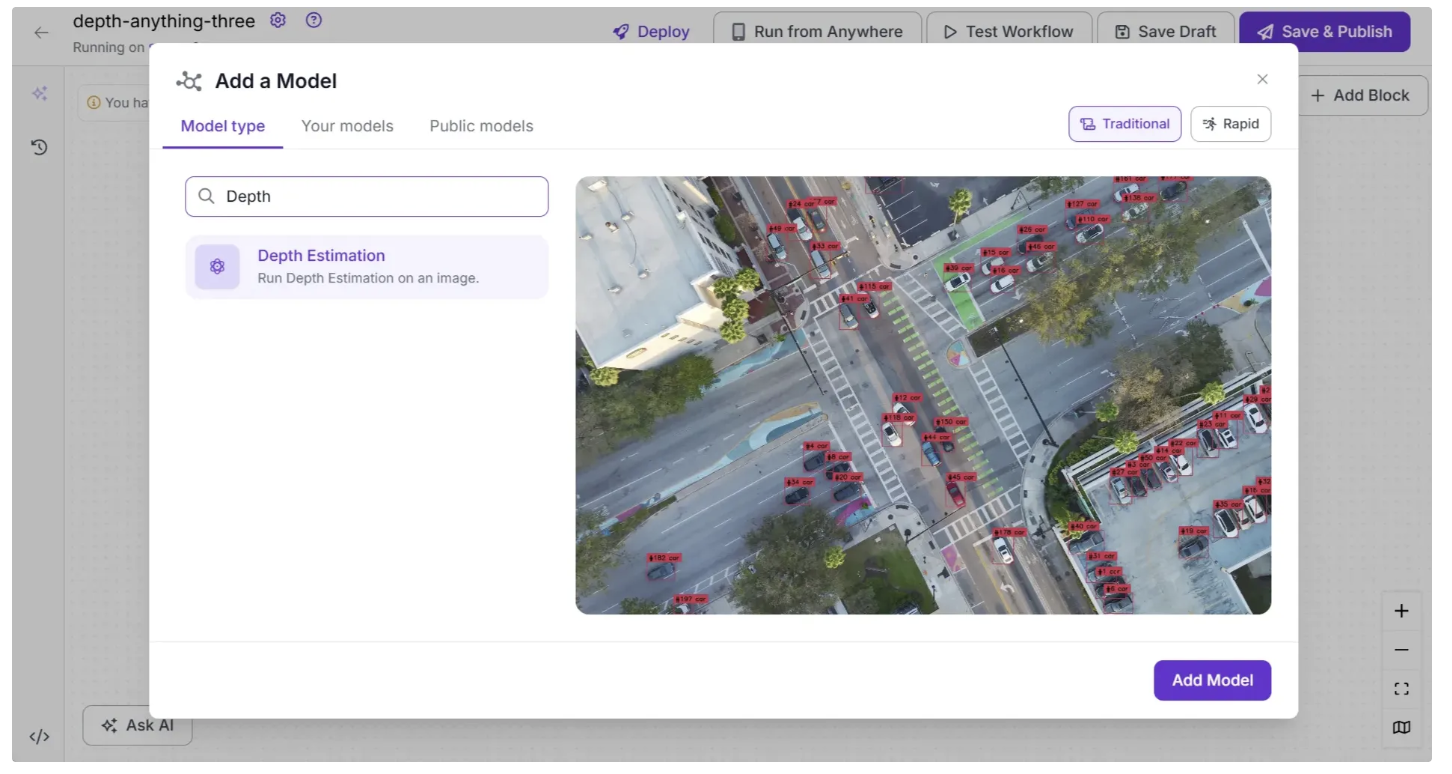
Now, add a Depth Estimation block to your workflow. This block allows your workflow to run Depth Anything 3 without requiring you to set up the model yourself. To do this, click “Add a Model” in the workflow editor, search for “Depth Estimation,” and then click “Add Model,” as shown below:
Your workflow should now look like this:

By default, the selected model is Depth Anything 3 in the Small variant. If it is not selected, you can configure the Depth Estimation block to use the Depth Anything 3 model by choosing it from the Model Version parameter dropdown in the Configure tab of the Depth Estimation block.
Step 3: Setup Outputs
To Configure the Output from the workflow utilizing Depth Estimation, click on the Outputs block as shown below:
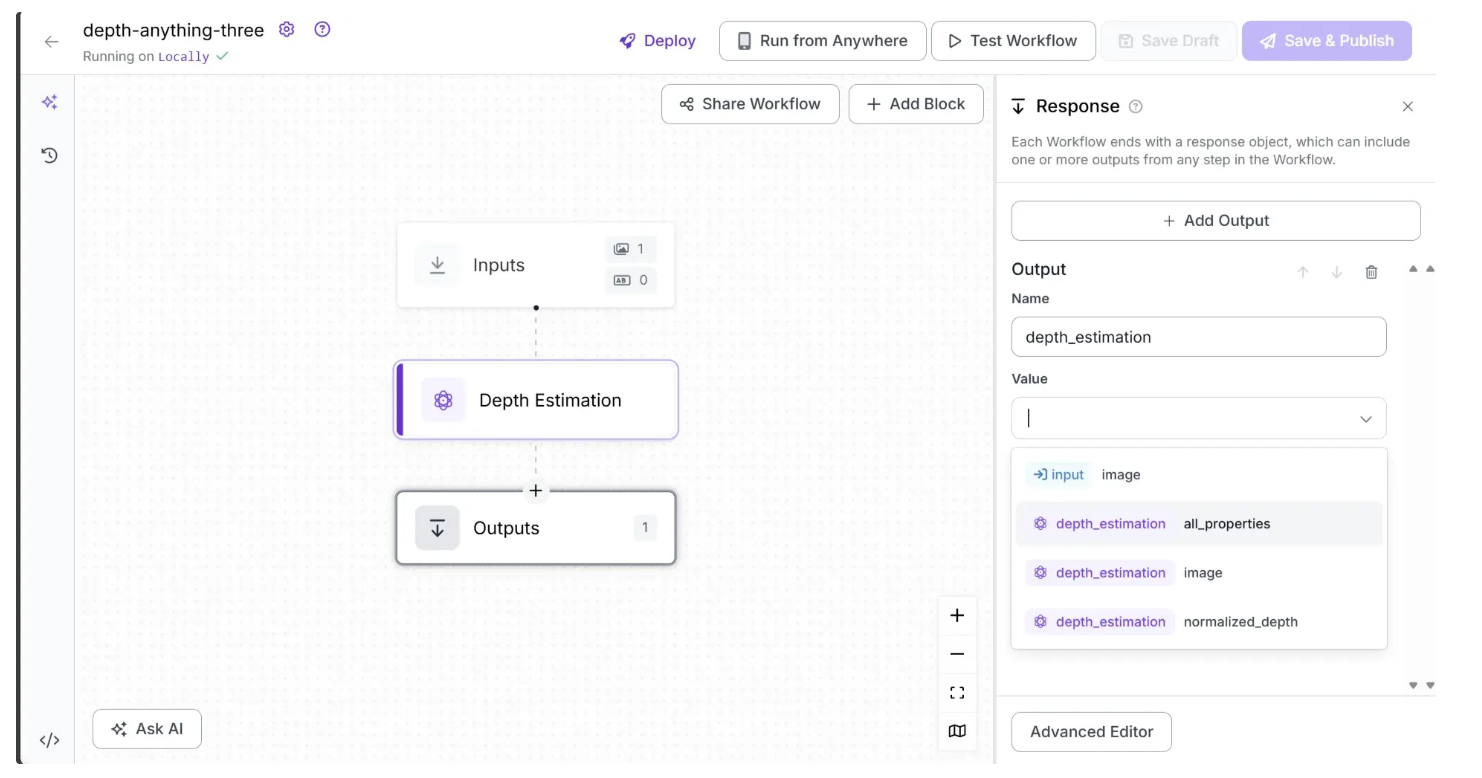
Among the available output options, you can select ‘image’ to obtain a depth-estimated image, a gradient visualization in which brighter pixels represent closer objects and darker pixels represent objects that are farther away.
You can also choose ‘normalized_depth’ to obtain a 2D array of depth values for each pixel, ranging from 0 to 1, where lower values indicate objects closer to the camera and higher values indicate objects farther away.
Alternatively, selecting ‘all_properties’ will output both the depth-estimated image and the normalized depth array. In this workflow example, we select ‘all_properties’ as the output value.
Step 4: Run the Workflow
Your workflow is now complete. To run it, click the “Test Workflow” button in the top-right corner and then click “Run.” When run, the output should look something like this:

To run the Workflow as an API using Python, start by running the following code:
pip install inference-sdk
Now run the script below:
from inference_sdk import InferenceHTTPClient
import base64

client = InferenceHTTPClient(
    api_url="http://localhost:9001",
    api_key="YOUR_ROBOFLOW_API_KEY"
)

result = client.run_workflow(
    workspace_name="your-workspace", # Replace with your workspace name
    workflow_id="depth-anything-three", # Replace with your workflow ID
    images={
        "image": "YOUR_IMAGE.jpg"
    },
    use_cache=True # Speeds up repeated requests
)

print(result)
# Extract the Base64-encoded image representation from the result
base64_data = result[0]['depth_estimation']['image']
# Decode and save to file
with open("depth_estimation.png", "wb") as f:
    f.write(base64.b64decode(base64_data))

print("Image saved as depth_estimation.png")
For the above script, you can find your Roboflow API key by following this guide.
You can find various versions of the script for running locally in different environments by navigating to “Deploy”.
Conclusion: Build with Depth Anything 3
Depth Anything 3 powers a wide range of real-world applications, from robotics and autonomous driving to AR/VR and 3D content creation.
Its ability to generate accurate, multi-view-consistent depth maps, rays, and camera parameters makes it a versatile solution for any task requiring spatial understanding.
With Roboflow Workflows, integrating DA3 into your computer vision pipelines is fast, easy, and seamless. Get started today.
Written by Dikshant Shah
Cite this Post
Use the following entry to cite this post in your research:
Contributing Writer. (Jan 14, 2026). Depth Anything 3 for Depth Estimation. Roboflow Blog: https://blog.roboflow.com/depth-anything-3/