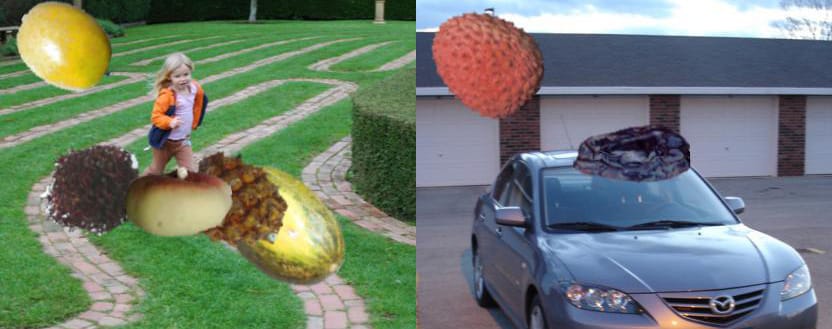
Synthetic datasets are increasingly being used to train computer vision models in domains ranging from self driving cars to mobile apps. The appeals of synthetic data are alluring: you can rapidly generate a vast amount of diverse, perfectly labeled images for very little cost and without ever leaving the comfort of your office.
The utility of synthetic data relies on the ability of your models to generalize what they learn to real-world use cases. It's often hard to know ahead of time whether you can generate images sufficiently similar to real images without giving it a try. But the good news is: it's easy to try! And we're about to show you how.
Synthetic Image Data Generation
This guide is part of a series of posts on generating synthetic data. We also have guides that let you generate synthetic data with the following tools:
What Is Synthetic Data?
Synthetic data is information added to a dataset, generated from existing representative data in the dataset, to help a model learn features. Using synthetic data helps a model generalize and can help a model identify edge cases that may not be well represented in your current dataset.
In computer vision, synthetic data involves generating new images that contain features you want to be in your dataset.
In this project, we'll be creating an object detection dataset to identify fruit. We'll be creating this dataset by combining images from two classification datasets – we'll even be automatically adding annotations to our images.
I used the dataset we'll derive in this post to train a model and create an example "Fruit Finder" mobile application. It works pretty well!
In this tutorial, I'll walk you through the process of creating creating a new object detection dataset. We'll be combining images from two open source classification datasets: Horea94's Fruit Classification Dataset and Google's Open Images Dataset.
The Fruit Classification Dataset is a collection of fruit images on white backgrounds. The fruits are labeled as entire images (i.e. there are not bounding boxes).

Google's Open Images Dataset, in total, features 513GB of images in a wide array of contexts. We'll be working with the validation set, a 12GB subset, as our background images.
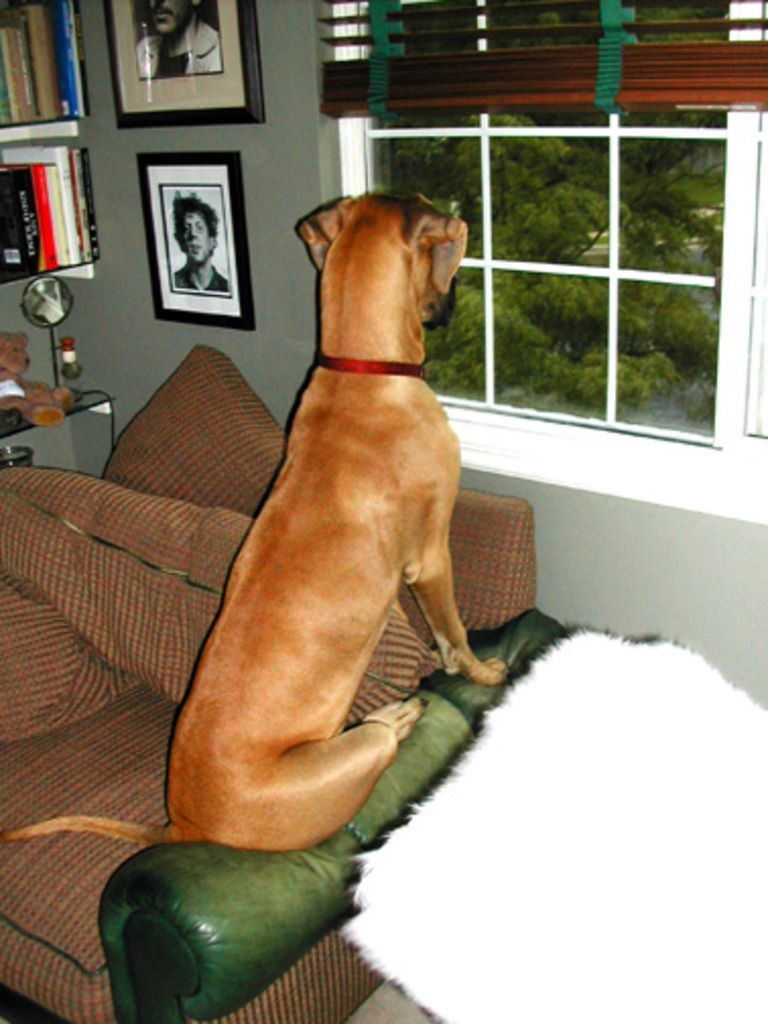
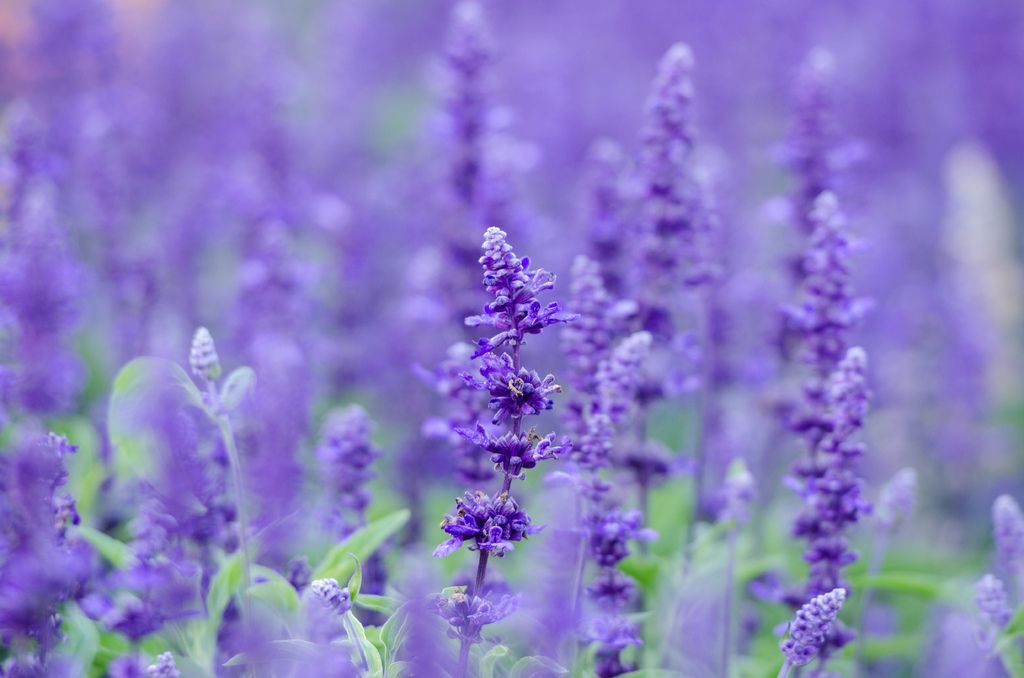
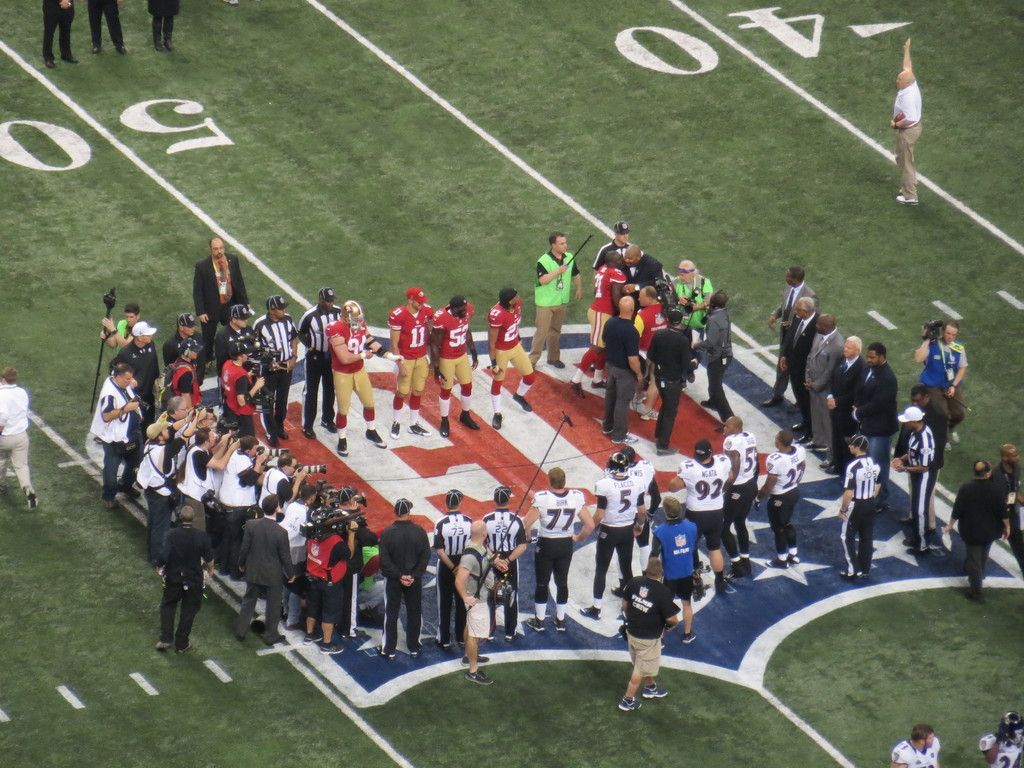
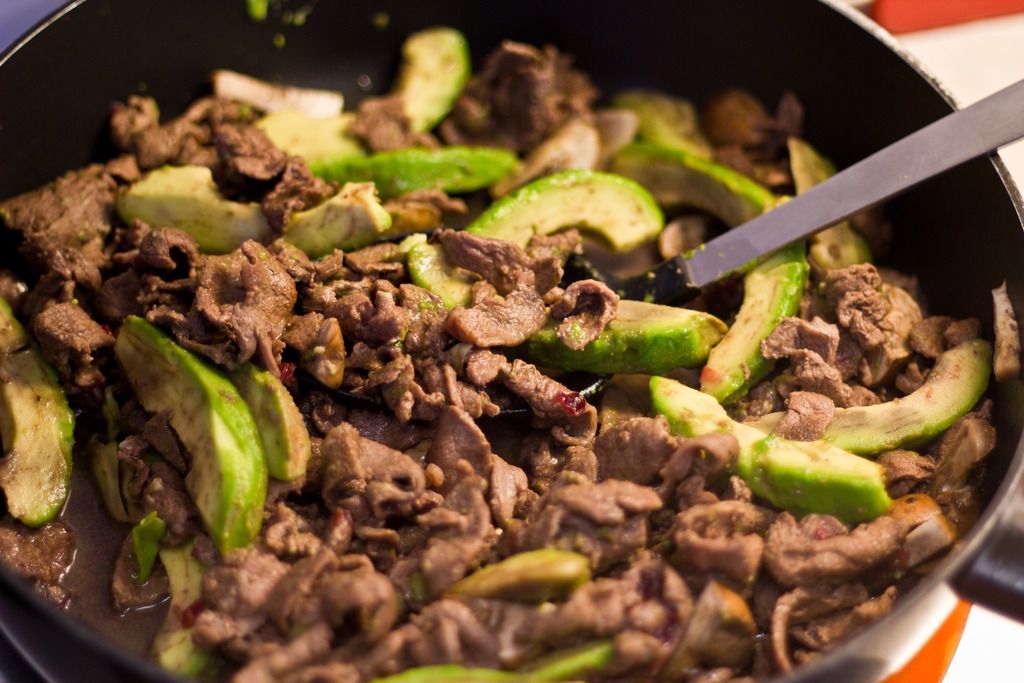
Example images from Google's Open Image Dataset that we will use as backgrounds.
To composite our images, we'll be "copying" fruit images, removing their white backgrounds, and "pasting" them on top of images from Google's Open Image Dataset. We will also record where in the images we placed which fruits so we can create bounding box annotations to train our object detection model.
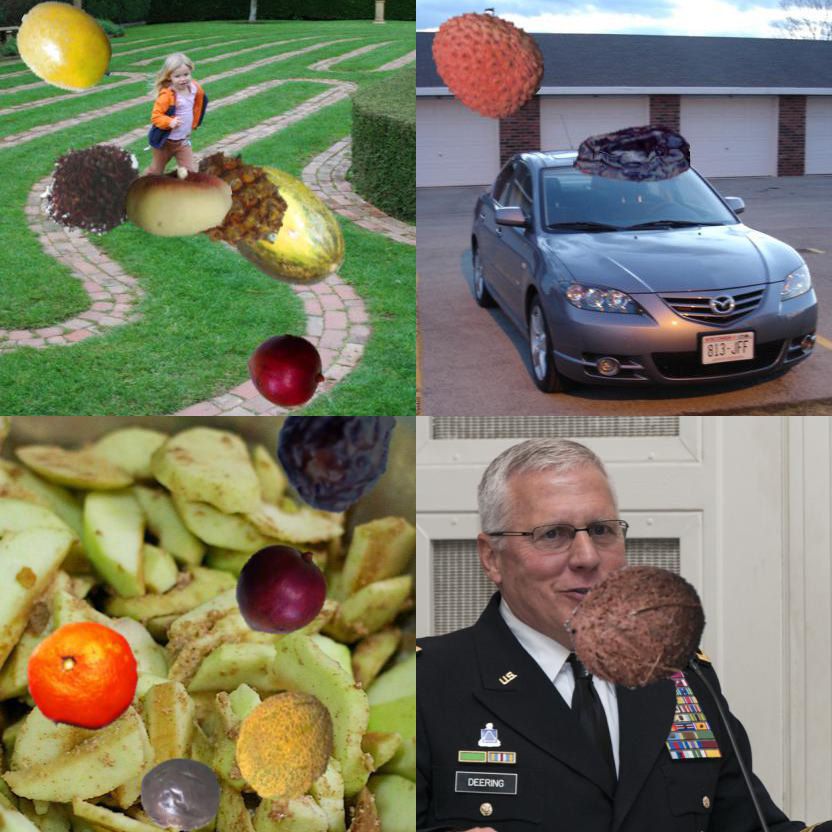
Yikes, these images look pretty funky. Will they be useful in training a model? As it turns out, yes!
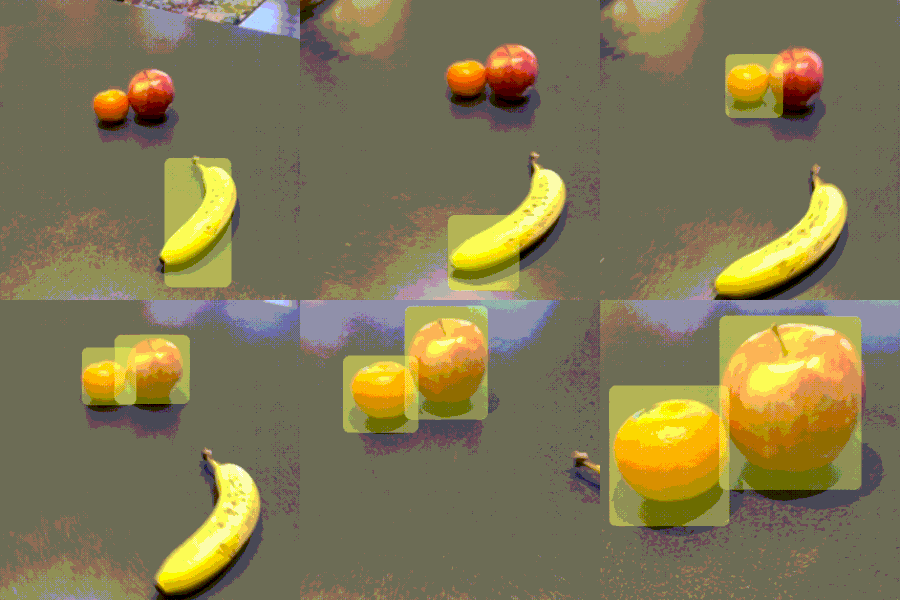
I trained a model on the dataset using Apple's CreateML no-code training app. While the results aren't perfect, the model was able to find fruits in the real world despite being trained only on our synthetic images.
Often, a good strategy is to bootstrap your project using a model trained on artificial data and introduce real-world data over time. Imagine launching an app to users that is 80% accurate with a model trained on artificial data. You can use your users' bug reports to collect real-world images that your model is having trouble with and train an improved model on a hybrid of your synthetic data plus those new images. After repeating this process enough times, your model will eventually perform well in almost all real world scenarios.
Cheat Codes
️If you just want to download the final result, the Fruit Object Detection Dataset is available here. And the full source code for generating it is available on Roboflow's GitHub along with a pre-trained CoreML model. We also have a full CreateML no-code object detection tutorial here.
Getting Started with Synthetic Image Data Generation
First, we need to download our source images. Our background images are drawn from Google's Open Images validation set (41,620 images; 12GB). Our subjects are fruit photos taken on a white background by Horea94 available to clone via his github. I downloaded and extracted these files to ~/OpenImages and ~/Fruit-Images-Dataset respectively.

For this tutorial, our output images are going to be 416x550 so we want to make sure our background images are at least that size. We also want to make sure our backgrounds are not introducing errors of their own into our data. For our purposes, this means removing background images that contain fruit. You can do this filter on your own. Otherwise, I've already compiled a list of about 10,000 images that meet these criteria.
Next, we need to install the software we're going to use to generate the images. In this tutorial I'm going to be using Node.js, node-canvas, a couple of utility packages (async, lodash, and handlebars), and a flood fill library we expanded for use with node-canvas.
# first install Node.js from https://nodejs.org/en/

# then, create a project directory
mkdir synthetic-fruit-dataset
cd synthetic-fruit-dataset

# and install our dependencies
npm install canvas async lodash handlebars @roboflow/floodfill
The Code to Generate Our Images
Now that we're all setup, create a generate.js file and load our dependencies.
// system packages
const fs = require('fs');
const path = require('path');
const os = require('os');

// basic helpers
const async = require('async');
const _ = require('lodash');

// drawing utilities
const { createCanvas, loadImage, CanvasRenderingContext2D } = require('canvas');
const floodfill = require('@roboflow/floodfill')(CanvasRenderingContext2D);
Then, we'll need to create a template for storing our annotations. I've chosen to do this in VOC XML format which means we will create one XML file for each image we generate. The annotations tell our model where we placed the fruits (and what type of fruit it is).
Create a file called voc.tmpl in your project directory with the contents:
<annotation>
	<folder></folder>
	<filename>{{filename}}</filename>
	<path>{{filename}}</path>
	<source>
		<database>roboflow.ai</database>
	</source>
	<size>
		<width>{{width}}</width>
		<height>{{height}}</height>
		<depth>3</depth>
	</size>
	<segmented>0</segmented>
    {{#each boxes}}
	<object>
		<name>{{cls}}</name>
		<pose>Unspecified</pose>
		<truncated>0</truncated>
		<difficult>0</difficult>
		<occluded>0</occluded>
		<bndbox>
			<xmin>{{xmin}}</xmin>
			<xmax>{{xmax}}</xmax>
			<ymin>{{ymin}}</ymin>
			<ymax>{{ymax}}</ymax>
		</bndbox>
	</object>
    {{/each}}
</annotation>
Recall, we are using handlebars for our templating so we need to load it and reference our voc.tmpl file back in generate.js:
// for writing annotations
var Handlebars = require('handlebars');
var vocTemplate = Handlebars.compile(fs.readFileSync(__dirname + "/voc.tmpl", "utf-8"));
Now we will set some constants we will later use:
// how many images we want to create
const IMAGES_TO_GENERATE = 5000;
// how many to generate at one time
const CONCURRENCY = Math.max(1, os.cpus().length - 1);

// approximate aspect ratio of our phone camera
// scaled to match the input of CreateML models
const CANVAS_WIDTH = 416;
const CANVAS_HEIGHT = 550;

// the most objects you want in your generated images
const MAX_OBJECTS = 10;
Then, some setup to tell our script where the images we downloaded live in our filesystem and where we want our outputted images to go (you may need to change some of these paths if you are using Windows or saved your images in a different location):
// where to store our images
const OUTPUT_DIR = path.join(__dirname, "output");

// location of jpgs on your filesystem (validation set from here: https://www.figure-eight.com/dataset/open-images-annotated-with-bounding-boxes/)
const OPEN_IMAGES = path.join(os.homedir(), "OpenImages");
// text file of good candidate images (I selected these for size & no fruit content)
const BACKGROUNDS = fs.readFileSync(__dirname + "/OpenImages.filtered.txt", "utf-8").split("\n");

// location of folders containing jpgs on your filesystem (clone from here: https://github.com/Horea94/Fruit-Images-Dataset)
const FRUITS = path.join(os.homedir(), "Fruit-Images-Dataset/Training");
Now, we'll search through the fruit folder to find all the different types of fruit and transform them a bit for our purposes (in Horea94's version he had labels like "Apple Golden 1" and "Apple Red 2" but we just want to label all of these "Apple"). And then we'll store a list of all the image files present in each folder.
// get class names
const folders = _.filter(fs.readdirSync(FRUITS), function(filename) {
    // filter out hidden files like .DS_STORE
    return filename.indexOf('.') != 0;
});
var classes = _.map(folders, function(folder) {
    // This dataset has some classes like "Apple Golden 1" and "Apple Golden 2"
    // We want to combine these into just "Apple" so we only take the first word
    return folder.split(" ")[0];
});

// for each class, get a list of images
const OBJECTS = {};
_.each(folders, function(folder, i) {
    var cls = classes[i]; // get the class name

    var objs = [];
    objs = _.filter(fs.readdirSync(path.join(FRUITS, folder)), function(filename) {
        // only grab jpg images
        return filename.match(/\.jpe?g/);
    });

    objs = _.map(objs, function(image) {
        // we need to know which folder this came from
        return path.join(folder, image);
    });

    if(!OBJECTS[cls]) {
        OBJECTS[cls] = objs;
    } else {
        // append to existing images
        _.each(objs, function(obj) {
            OBJECTS[cls].push(obj);
        });
    }
});
// when we randomly select a class, we want them equally weighted
classes = _.uniq(classes);
Next, we'll create the output directory we specified earlier if it doesn't already exist so that we have someplace to save our generated images:
// create our output directory if it doesn't exist
if (!fs.existsSync(OUTPUT_DIR)) fs.mkdirSync(OUTPUT_DIR);
And now, the core loop, generating images with a createImage function we are about to define and printing progress as we go. Note: even though javascript is single-threaded, we use async.timesLimit to parallelize the process so we can be maximizing CPU usage while waiting for image files to load and write to disk. Also note the use of _.defer here to ensure our createImage function is defined before running this code block.
// create the images
_.defer(function() {
    var num_completed = 0;
    const progress_threshold = Math.max(1, Math.round( Math.min(100, IMAGES_TO_GENERATE/1000) ) );
    async.timesLimit(IMAGES_TO_GENERATE, CONCURRENCY, function(i, cb) {
        createImage(i, function() {
            // record progress to console
            num_completed++;
            if(num_completed%progress_threshold === 0) {
                console.log((num_completed/IMAGES_TO_GENERATE*100).toFixed(1)+'% finished.');
            }
            cb(null);
        });
    }, function() {
        // completely done generating!
        console.log("Done");
        process.exit(0);
    });
});
Now, we define createImage. It creates a canvas, draws a randomly selected background image at a size large enough to fill the whole canvas, determines how many fruits to add (weighted towards lower numbers), calls addRandomObject which we are about to define, and then writes two files: our synthetic image and our XML annotation file.
const createImage = function(filename, cb) {
    // select and load a random background
    const BG = _.sample(BACKGROUNDS);
    loadImage(path.join(OPEN_IMAGES, BG)).then(function(img) {
        var canvas = createCanvas(CANVAS_WIDTH, CANVAS_HEIGHT);
        var context = canvas.getContext('2d');

        // scale the background to fill our canvas and paint it in the center
        var scale = Math.max(canvas.width / img.width, canvas.height / img.height);
        var x = (canvas.width / 2) - (img.width / 2) * scale;
        var y = (canvas.height / 2) - (img.height / 2) * scale;
        context.drawImage(img, x, y, img.width * scale, img.height * scale);

        // calculate how many objects to add
        // highest probability is 1, then 2, then 3, etc up to MAX_OBJECTS
        // if you want a uniform probability, remove one of the Math.random()s
        var objects = 1+Math.floor(Math.random()*Math.random()*(MAX_OBJECTS-1));

        var boxes = [];
        async.timesSeries(objects, function(i, cb) {
            // for each object, add it to the image and then record its bounding box
            addRandomObject(canvas, context, function(box) {
                boxes.push(box);
                cb(null);
            });
        }, function() {
            // write our files to disk
            async.parallel([
                function(cb) {
                    // write the JPG file
                    const out = fs.createWriteStream(path.join(__dirname, "output", filename+".jpg"));
                    const stream = canvas.createJPEGStream();
                    stream.pipe(out);
                    out.on('finish', function() {
                        cb(null);
                    });
                },
                function(cb) {
                    // write the bounding boxes to the XML annotation file
                    fs.writeFileSync(
                        path.join(__dirname, "output", filename+".xml"),
                        vocTemplate({
                            filename: filename + ".jpg",
                            width: CANVAS_WIDTH,
                            height: CANVAS_HEIGHT,
                            boxes: boxes
                        })
                    );

                    cb(null);
                }
            ], function() {
                // we're done generating this image
                cb(null);
            });
        });
    });
};
And then, finally, our addRandomObject function that chooses one of our classes (Apple/Banana/etc), loads a random image from that folder, erases the white background, adds some random transformations (hue/saturation/lightness, scale, and rotation), and draws it at a random x/y position on top of our background.
const addRandomObject = function(canvas, context, cb) {
    const cls = _.sample(classes);
    const object = _.sample(OBJECTS[cls]);

    loadImage(path.join(FRUITS, object)).then(function(img) {
        // erase white edges
        var objectCanvas = createCanvas(img.width, img.height);
        var objectContext = objectCanvas.getContext('2d');

        objectContext.drawImage(img, 0, 0, img.width, img.height);

        // flood fill starting at all the corners
        const tolerance = 32;
        objectContext.fillStyle = "rgba(0,255,0,0)";
        objectContext.fillFlood(3, 0, tolerance);
        objectContext.fillFlood(img.width-1, 0, tolerance);
        objectContext.fillFlood(img.width-1, img.height-1, tolerance);
        objectContext.fillFlood(0, img.height-1, tolerance);

        // cleanup edges
        objectContext.blurEdges(1);
        objectContext.blurEdges(0.5);

        // make them not all look exactly the same
        // objectContext.randomHSL(0.1, 0.25, 0.4);
        objectContext.randomHSL(0.05, 0.4, 0.4);

        // randomly scale the image
        var scaleAmount = 0.5;
        const scale = 1 + Math.random()*scaleAmount*2-scaleAmount;

        var w = img.width * scale;
        var h = img.height * scale;

        // place object at random position on top of the background
        const max_width = canvas.width - w;
        const max_height = canvas.height - h;

        var x = Math.floor(Math.random()*max_width);
        var y = Math.floor(Math.random()*max_height);

        context.save();

        // randomly rotate and draw the image
        const radians = Math.random()*Math.PI*2;
        context.translate(x+w/2, y+h/2);
        context.rotate(radians);
        context.drawImage(objectCanvas, -w/2, -h/2, w, h);
        context.restore();

        // return the type and bounds of the object we placed
        cb({
            cls: cls,
            xmin: Math.floor(x),
            xmax: Math.ceil(x + w),
            ymin: Math.floor(y),
            ymax: Math.ceil(y + h)
        });
    });
};
And that's all there is to it! Once you run the code (by typing node generate.js in your project directory), you'll get an output folder containing IMAGES_TO_GENERATE synthetic images and their corresponding annotations.
Now We're Ready to Train a Model!
But how do we use our dataset? This is where Roboflow comes in. Just create a new dataset, upload your output folder, and you can export it for use with most common ML models in 3 clicks. If you want to be walked through that process, you're in luck; we have a Getting Started guide here and a CreateML object detection tutorial here. It's completely free to sign up and use for datasets under 1000 images.
I used Create ML for my example above, but we have several examples in our model library ranging from YOLO v3 to Faster R-CNN to EfficientDet. We even have several end to end tutorials to help you train using these models.
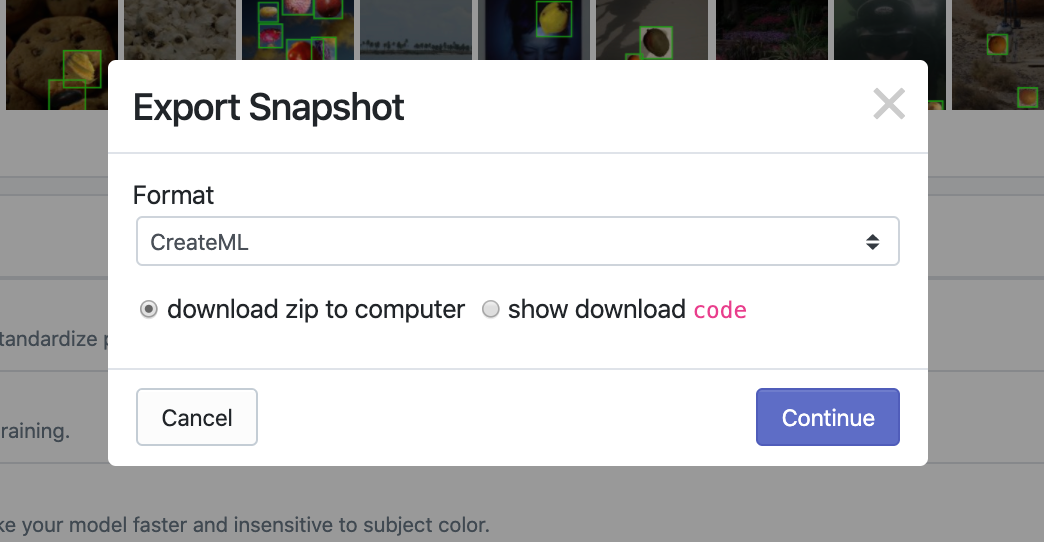
Looking forward to seeing what you come up with! Drop us a line if you make a unique Synthetic Dataset, we may even host it for you on Roboflow Public Datasets.
Frequently Asked Questions About Synthetic Image Data Generation
What is the difference between synthetic and augmented data?
Synthetic data is new data that may or may not be generated using existing images in a dataset, whereas augmented data is an image from a dataset to which a specific augment has been applied (i.e. tiling, rotating).
What is the use of synthetic data?
Adding synthetic data to a project helps a model generalize to learn new features and edge cases that may either be underrepresented or absent from a current dataset.
Cite this Post
Use the following entry to cite this post in your research:
Brad Dwyer. (Apr 15, 2020). How to Create a Synthetic Dataset for Computer Vision. Roboflow Blog: https://blog.roboflow.com/how-to-create-a-synthetic-dataset-for-computer-vision/
