
Drawing bounding boxes is a post-processing step separate from the model itself, and the Roboflow supervision library makes it straightforward in Python. This tutorial shows how to load detections from any supported source (including Roboflow Inference and RF-DETR), annotate an image with sv.BoundingBoxAnnotator, and display the result. The supervision package also includes over ten additional annotators for rounded boxes, segmentation masks, labels, and color fills.
When you see computer vision models in demos, you'll usually see boxes drawn around predictions. These are called bounding boxes. Bounding boxes help visualize the results of a model.
Using bounding boxes, you can evaluate how your model performs (i.e. if there are certain predictions it misses, or certain objects that tend to come up as false positives more). In combination with understanding class balance in your dataset, what you learn from testing your model and analyzing the bounding boxes will be helpful to improving model performance.
But, bounding boxes are not drawn on photos by the model itself. This is a post-processing step that may or may not be done by a model. When you use the Roboflow Python package, for example, you may opt only to parse the JSON output of a model and opt to draw your own bounding boxes.
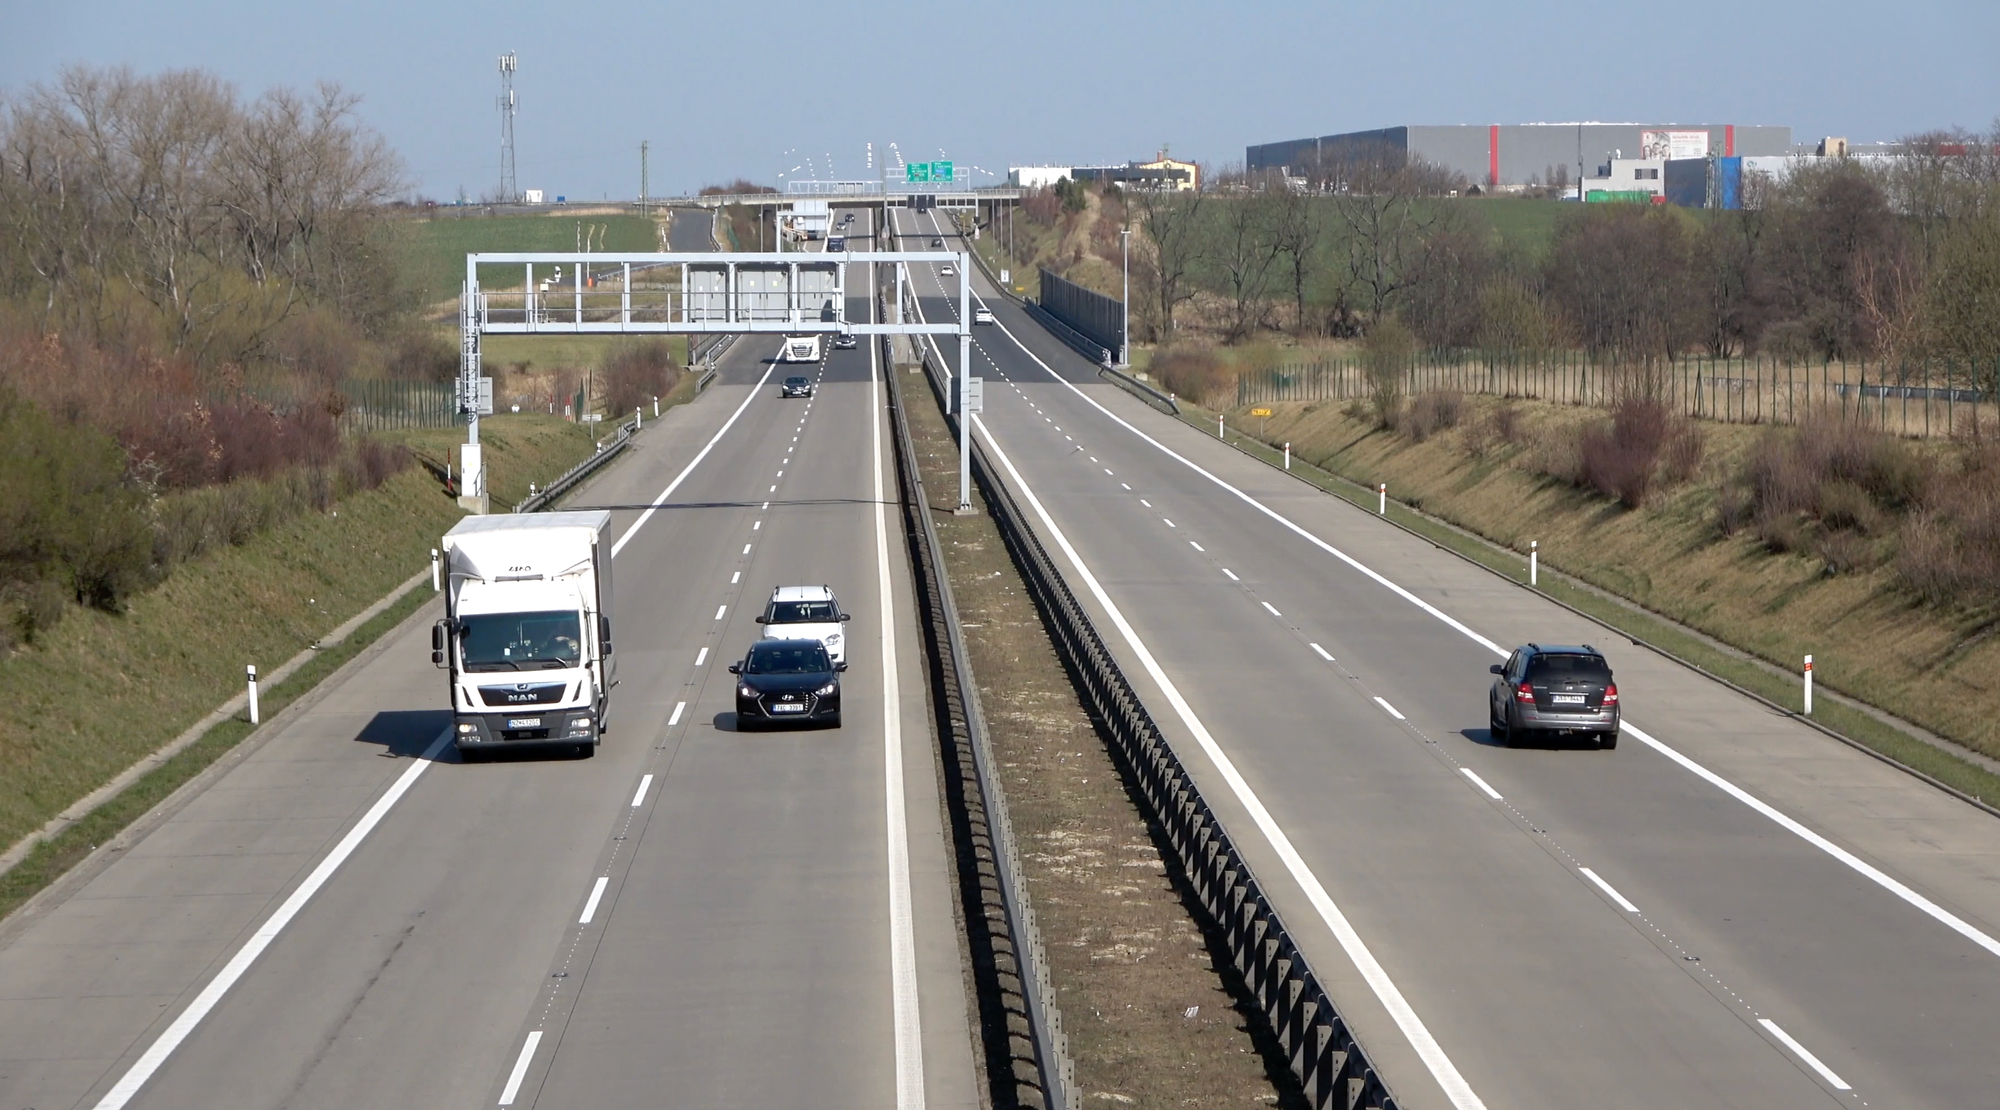
Here's an example image with a bounding box that we'll create in this tutorial:

In this article, we're going to talk about how to draw a bounding box on an image in Python. Before we get started, check out the live demo below to see this method in action. The workflow uses the same code that we will cover in this blog.
How to Draw a Bounding Box in Python
To draw a bounding box in Python, we need four coordinates: one coordinate representing each corner of a bounding box. The Roboflow API, for example, provides an x and y coordinate alongside the height and width of a bounding box.
With this information, we can calculate the coordinates for each corner of the box and visualize a bounding box.
For this guide, we are going to use the supervision Python package, which provides over 10 annotators for use in visualizing computer vision predictions. These include label, box, segmentation mask, and blur annotators.
You can use supervision to plot bounding boxes from raw coordinates. You can also load coordinates from various supported libraries (i.e. Roboflow Inference, Detectron2, Transformers, RF-DETR) and plot predictions.
To get started, first install supervision:
pip install supervisionStep #1: Load Bounding Boxes into Supervision
Create a new file and add the following code:
import supervision as sv
import cv2
import numpy as np

image = cv2.imread("image.jpeg")

detections = sv.Detections(
  xyxy=np.array([x0, y0, x1, y1]),
  class_id=np.array([0]),
  confidence=np.array([0.94])
)

bounding_box_annotator = sv.BoundingBoxAnnotator()
annotated_frame = bounding_box_annotator.annotate(
    scene=image.copy(),
    detections=detections
)

sv.plot_image(annotated_frame)
You will need to add in your own list of predictions with the x, y, width and height values that represent the bounding box that you want to draw. For this example, we have added a prediction returned by the Roboflow model we discuss at the end of this article.
Above, replace the values of x0, y0, x1 and y1 with the corresponding values for your prediction. If you have multiple boxes to plot, add them as a new list item in the NumPy array.
Alternatively, you can directly load predictions from models like detectron2, RF-DETR, and Roboflow models. To learn how, refer to the supervision Detections API documentation.
Here is an example of loading detections from Roboflow supervision:
import cv2
import supervision as sv
from inference import get_model

model = get_model(model_id="rf-detr-base-coco")
image = cv2.imread(<SOURCE_IMAGE_PATH>)
results = model.infer(image)[0]
detections = sv.Detections.from_inference(results)
Step #2: Plot Bounding Boxes
Let's run our code on this image:
Let's run our code! After doing so, we can open up our "example_with_bounding_boxes.jpg" file to see the result of our prediction. Here are the results:
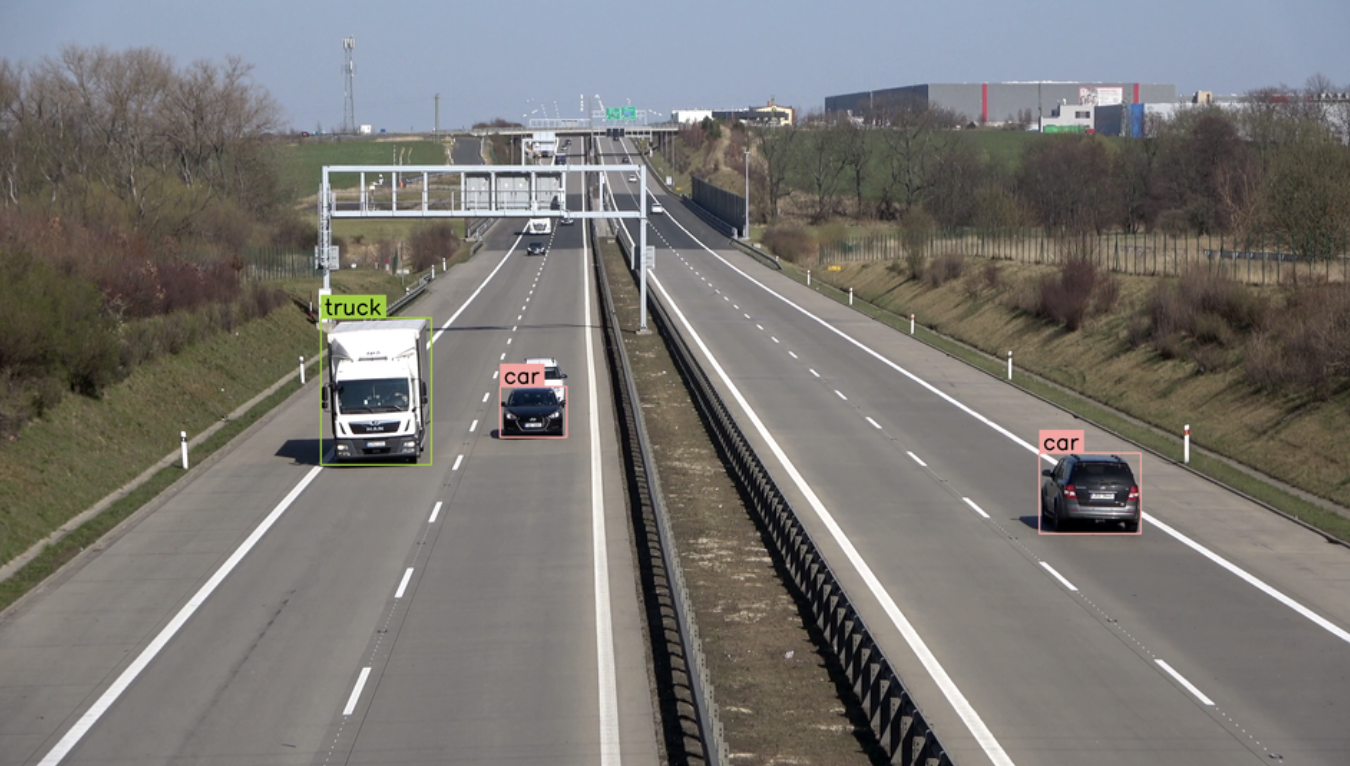
We successfully have bounding boxes and accompanying labels on our image!
Bonus: Additional Annotators
The supervision Python package has support for a wide range of annotators for object detection, segmentation, and keypoint detection.
For example, you can use the rounded box annotator to draw rounded bounding boxes around objects, or the color annotator to fill bounding box areas with specific colours.
To learn more about the annotators available in Roboflow supervision, refer to the supervision Annotators documentation.
Conclusion
In this guide, we have discussed how to draw a bounding box in Python using the supervision Python package. We used the sv.BoundingBoxAnnotator to plot bounding boxes, then the sv.plot_image() function to display the annotated image.
To learn more about the supervision Python package, refer to the supervision documentation.
Cite this Post
Use the following entry to cite this post in your research:
James Gallagher. (Sep 3, 2024). How to Draw a Bounding Box with Python. Roboflow Blog: https://blog.roboflow.com/how-to-draw-a-bounding-box-in-python/