
OpenAI’s vision models such as GPT-4o perform well at a wide range of tasks, from visual question answering to image classification. One of the most exciting applications of these capabilities is optical character recognition (OCR), which allows the model to interpret and convert images of handwritten or printed text into digital text.
This tutorial will guide you through setting up GPT-4’s vision model to translate paper notes and save the contents in a Google Document. We will use Roboflow Workflows, a low-code computer vision application builder, to create our application. Let’s get started! By leveraging the Google API and Roboflow Workflow, you can seamlessly integrate AI-driven text recognition into your document creation process.
Step #1: Set up a Workflow
Roboflow Workflows is a web-based, interactive computer vision application builder. You can use Workflows to define multi-stage computer vision applications that can be run in the cloud or on your own hardware.
Workflows can also call external vision-capable APIs such as GPT-4o, a feature we will leverage in our application.
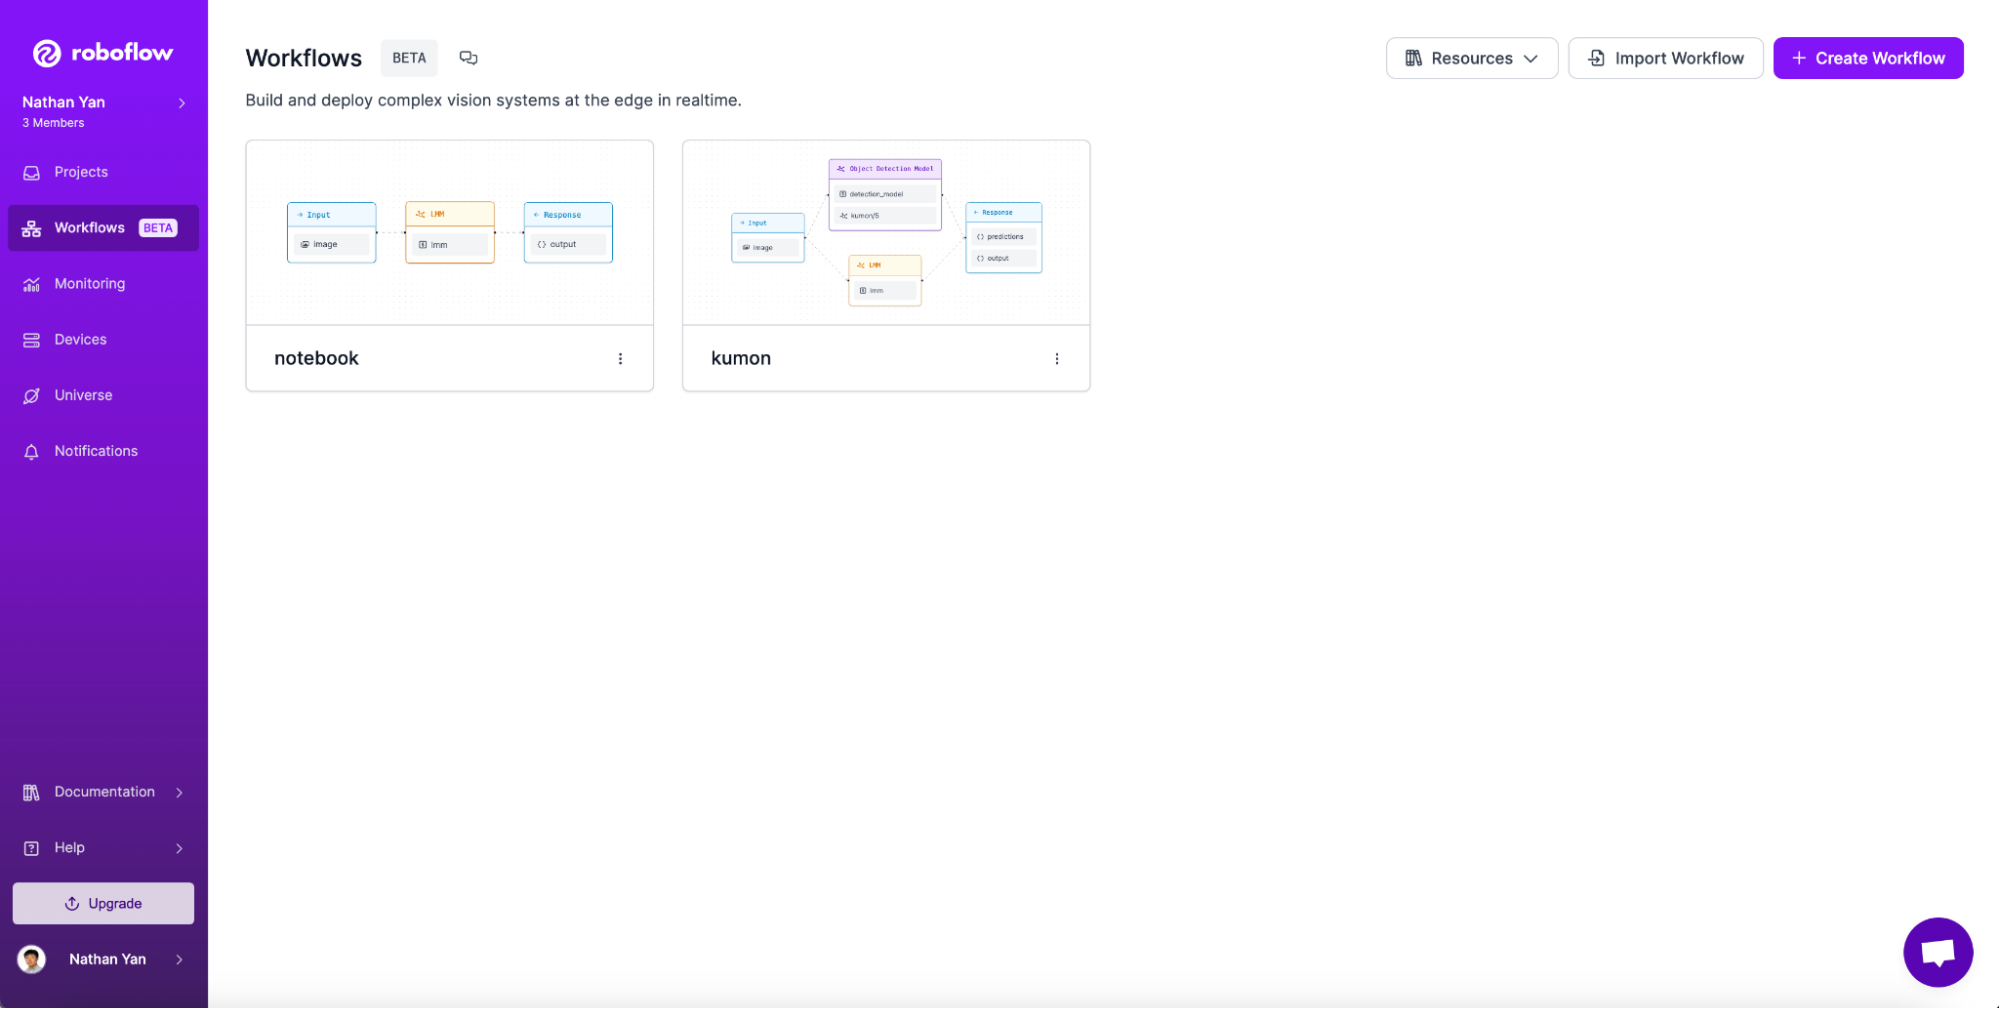
To get started, first go to Workflows in the Roboflow application:
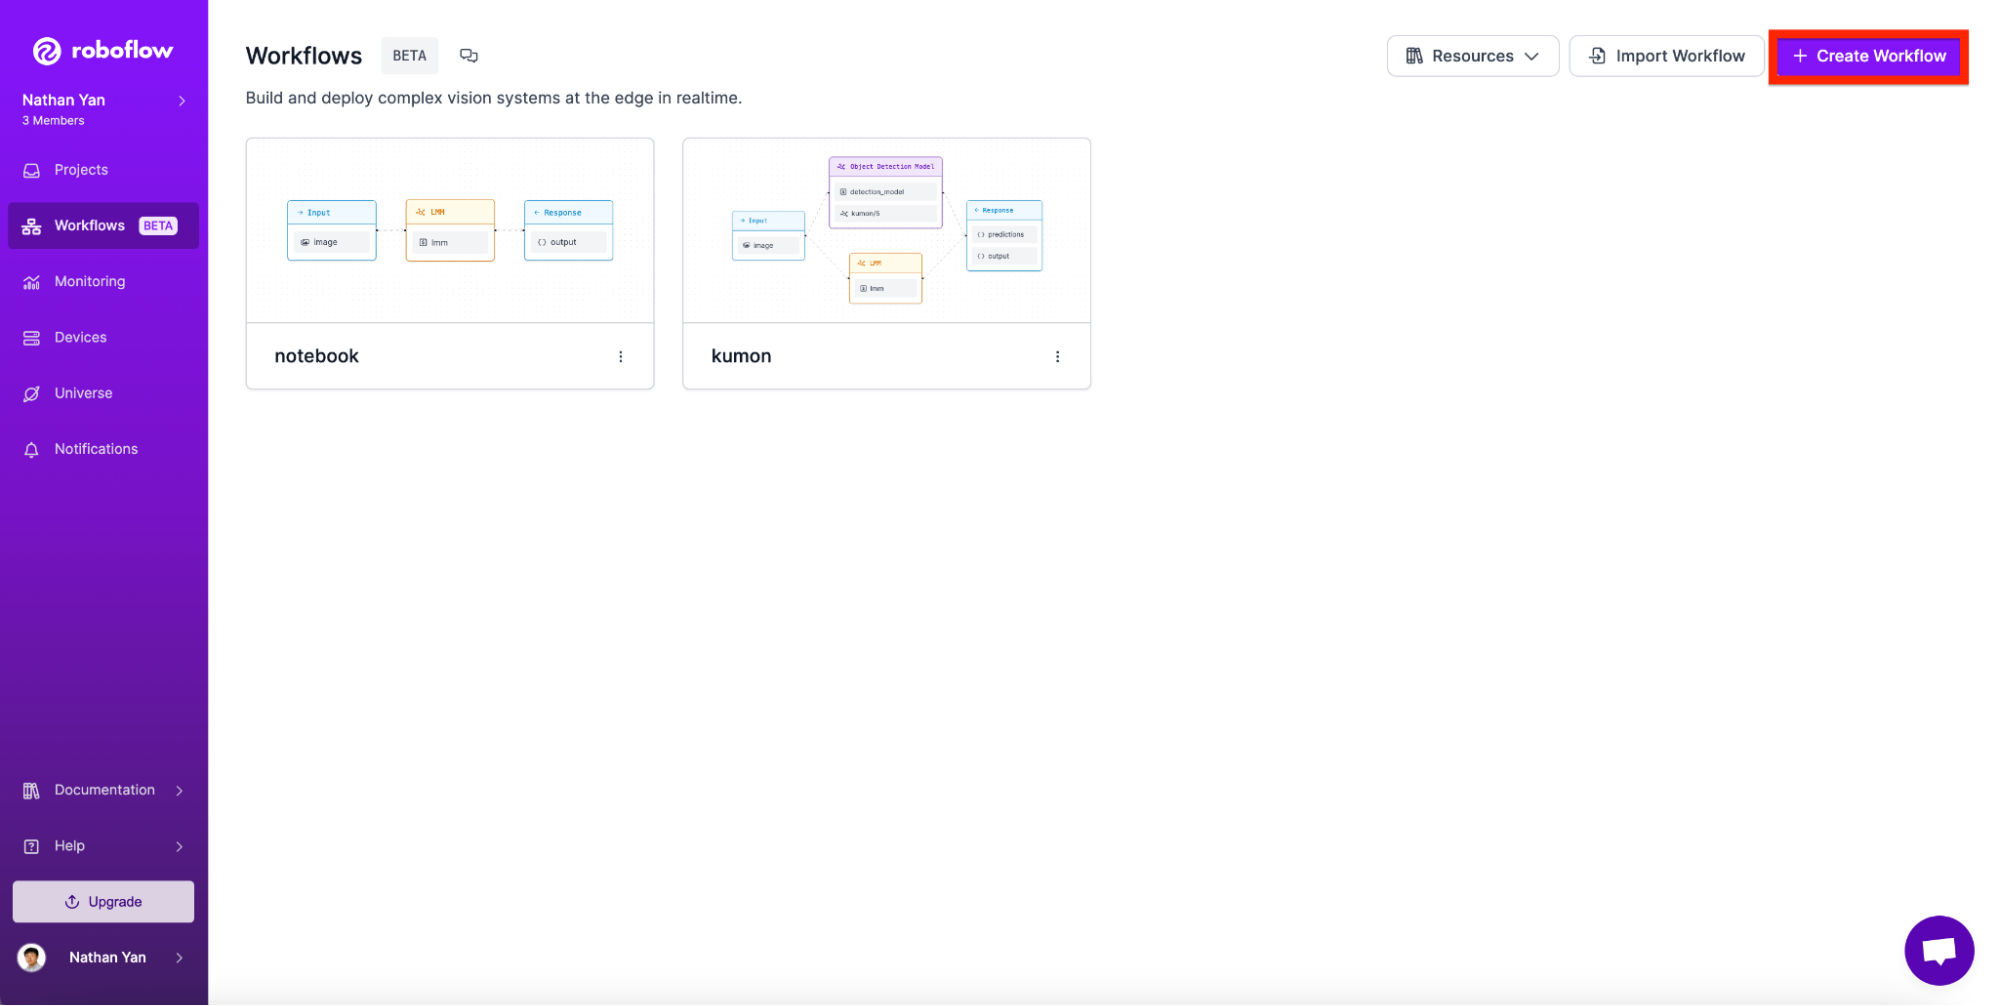
Then, click on “Create Workflow”.
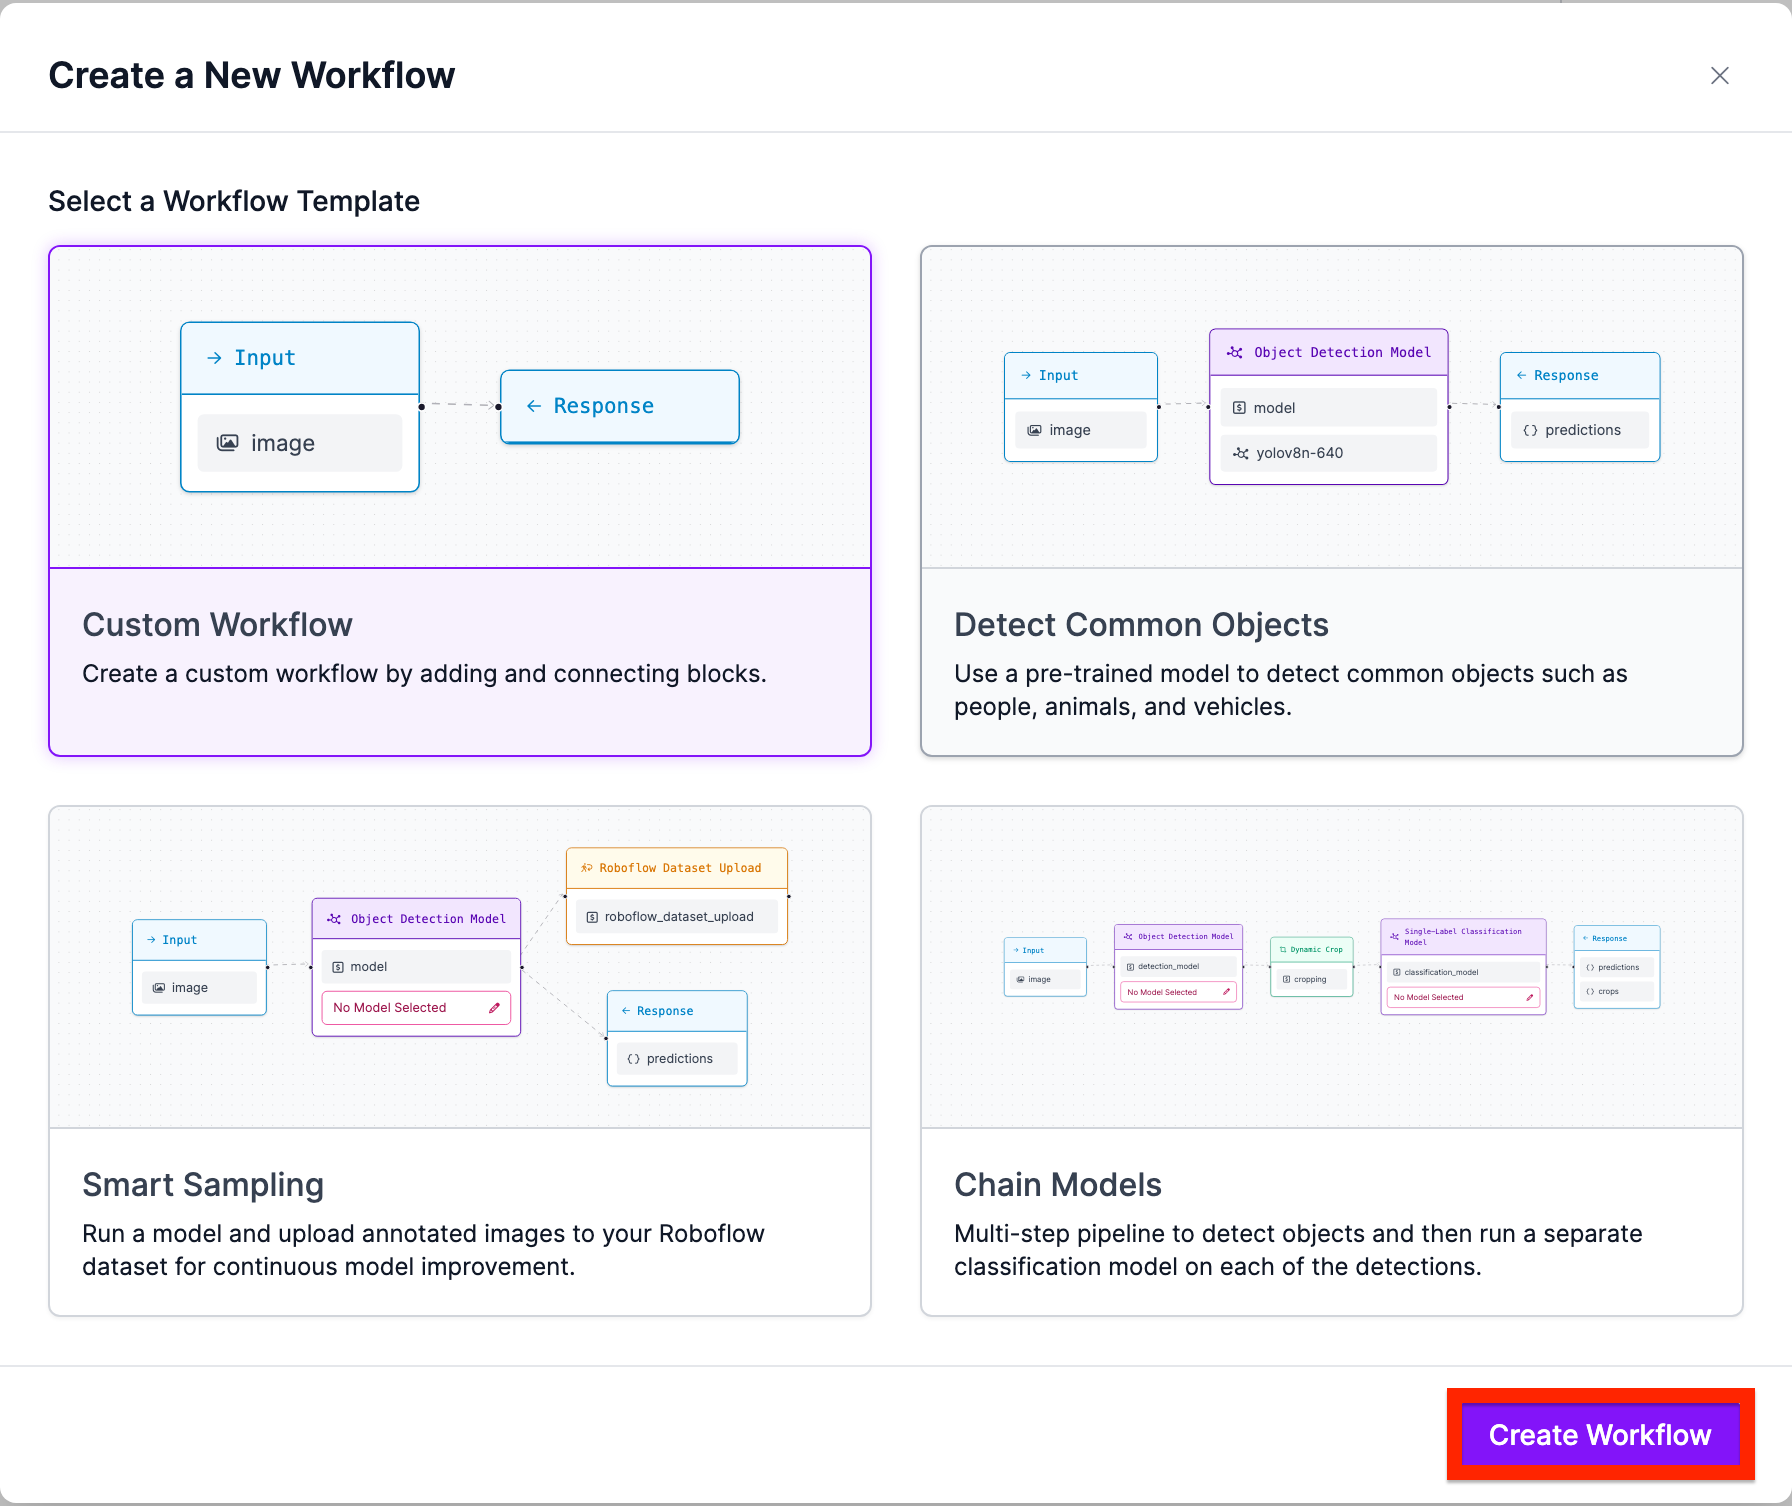
Next, click “Custom Workflow” and click “Create”:
Next, navigate to add block and search for “LMM”:
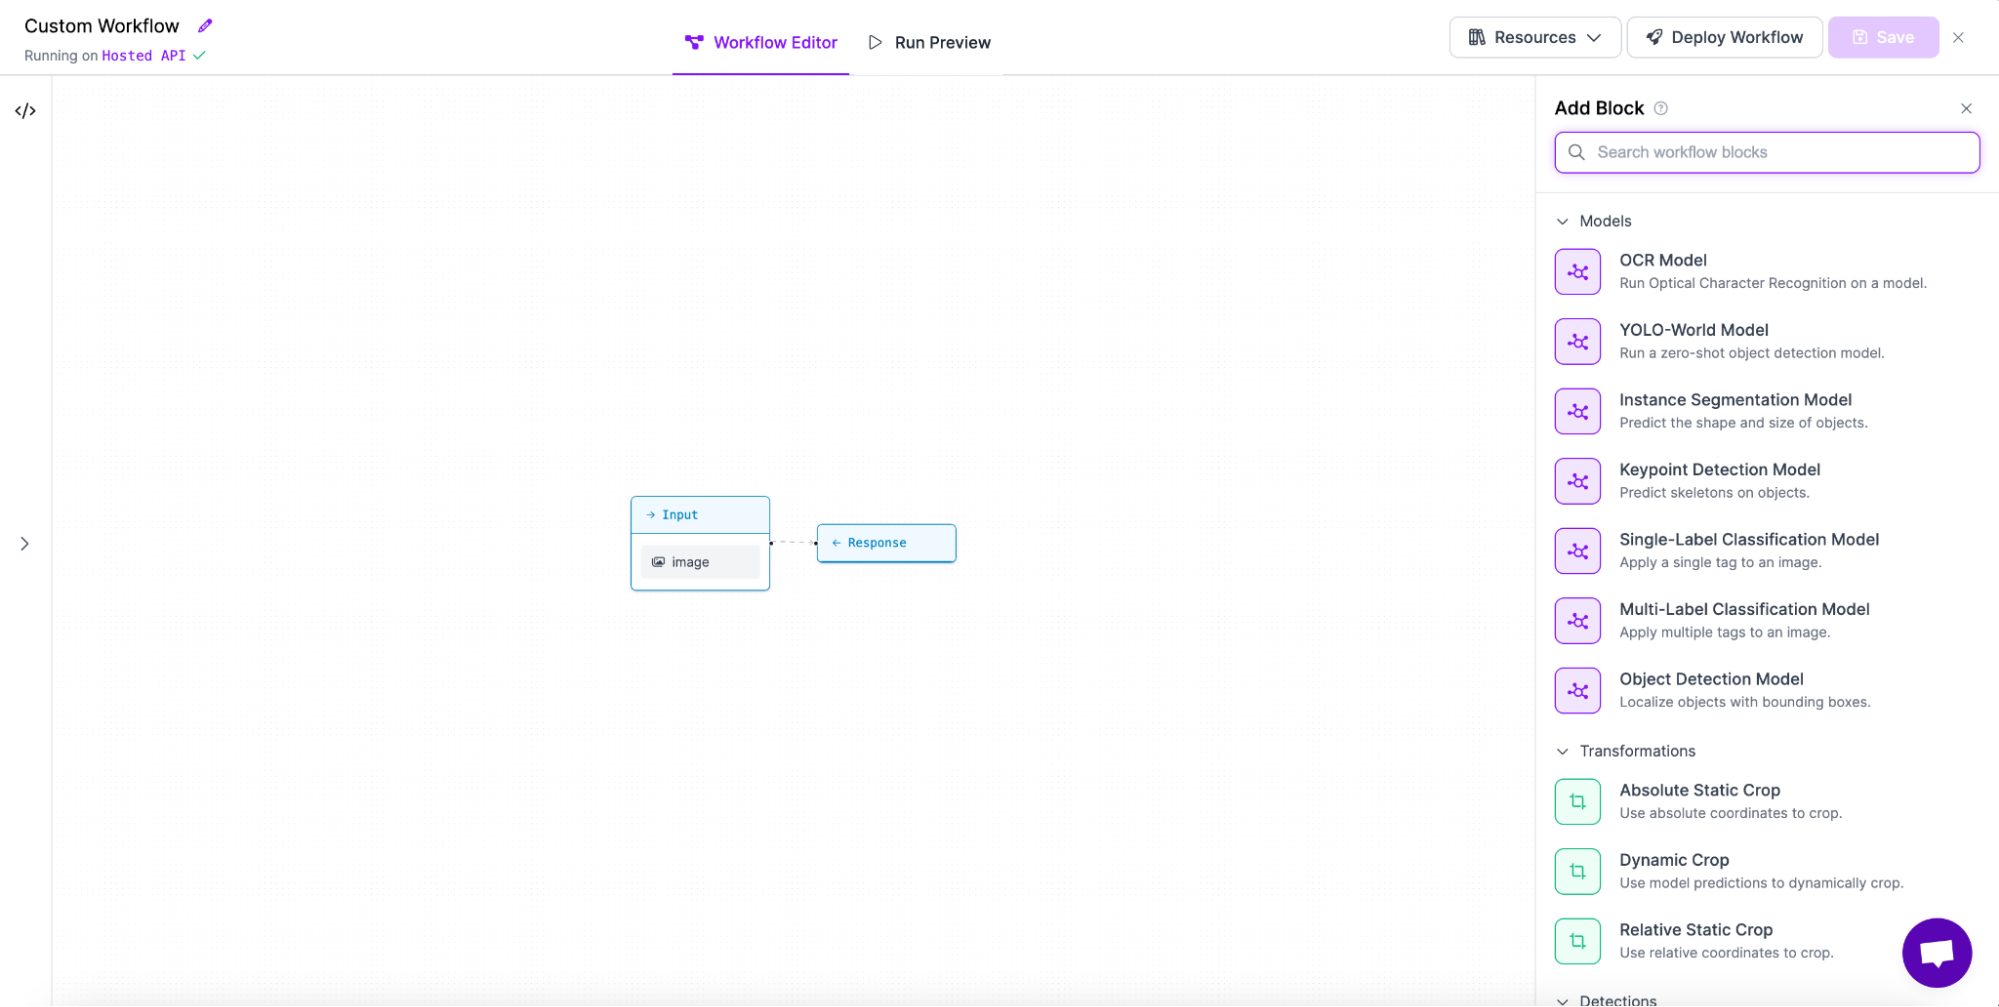
Add the LMM block:

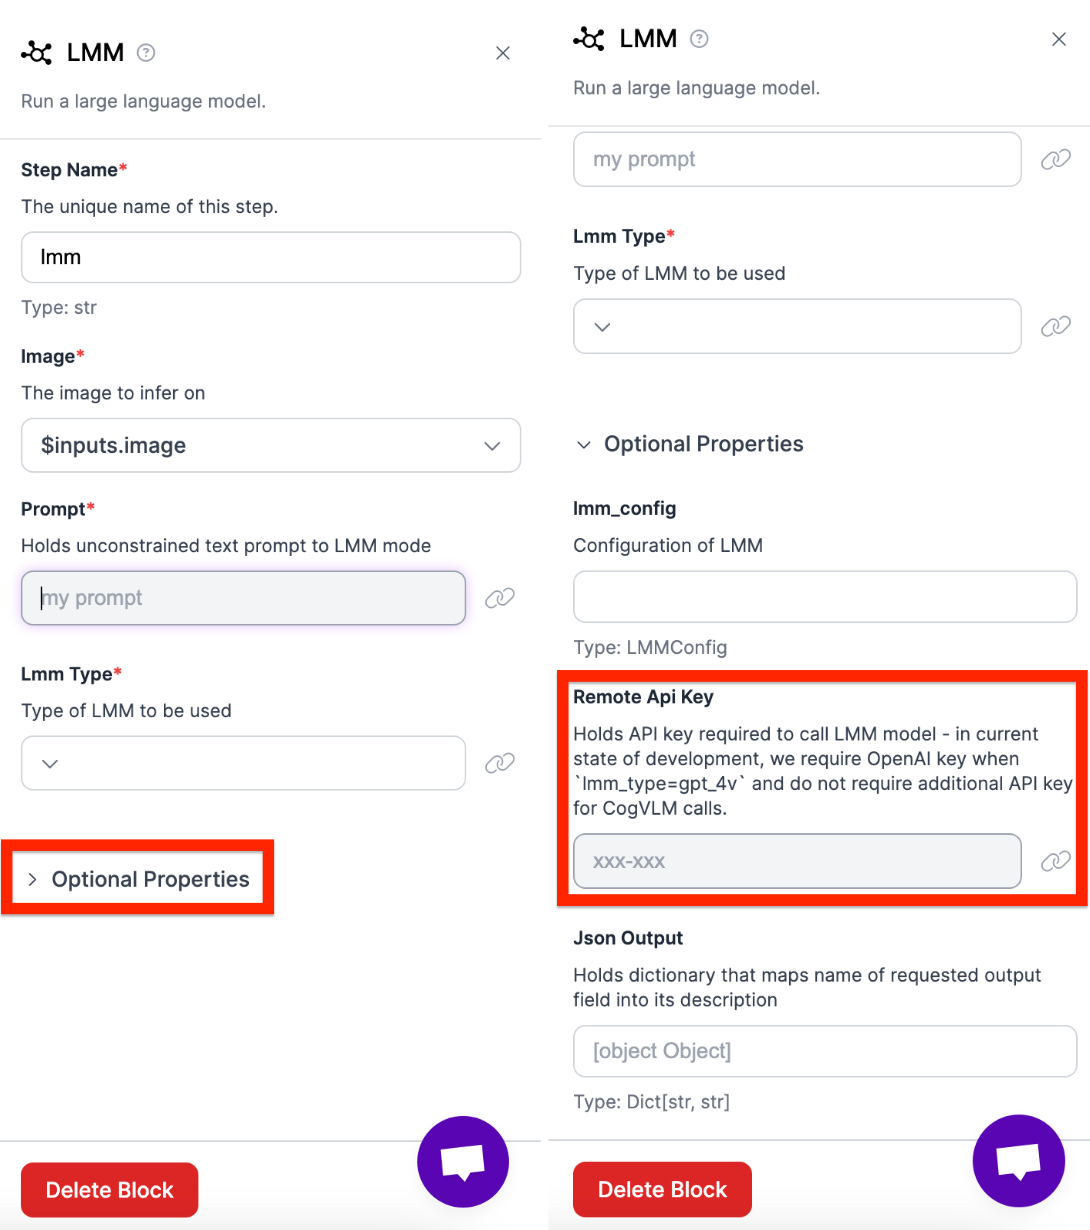
6. Add your prompt. This is the prompt that will be sent to GPT with our image. A prompt we have found to work well is:
“Turn this into text. Make it the same format as it was written in. For example, if there are spaces to divide different sections, add spaces. If some text is bolded, add the bolded text.” This prompt works since we are creating an OCR model.
Then open the optional properties tab and add your OpenAI API-Key:
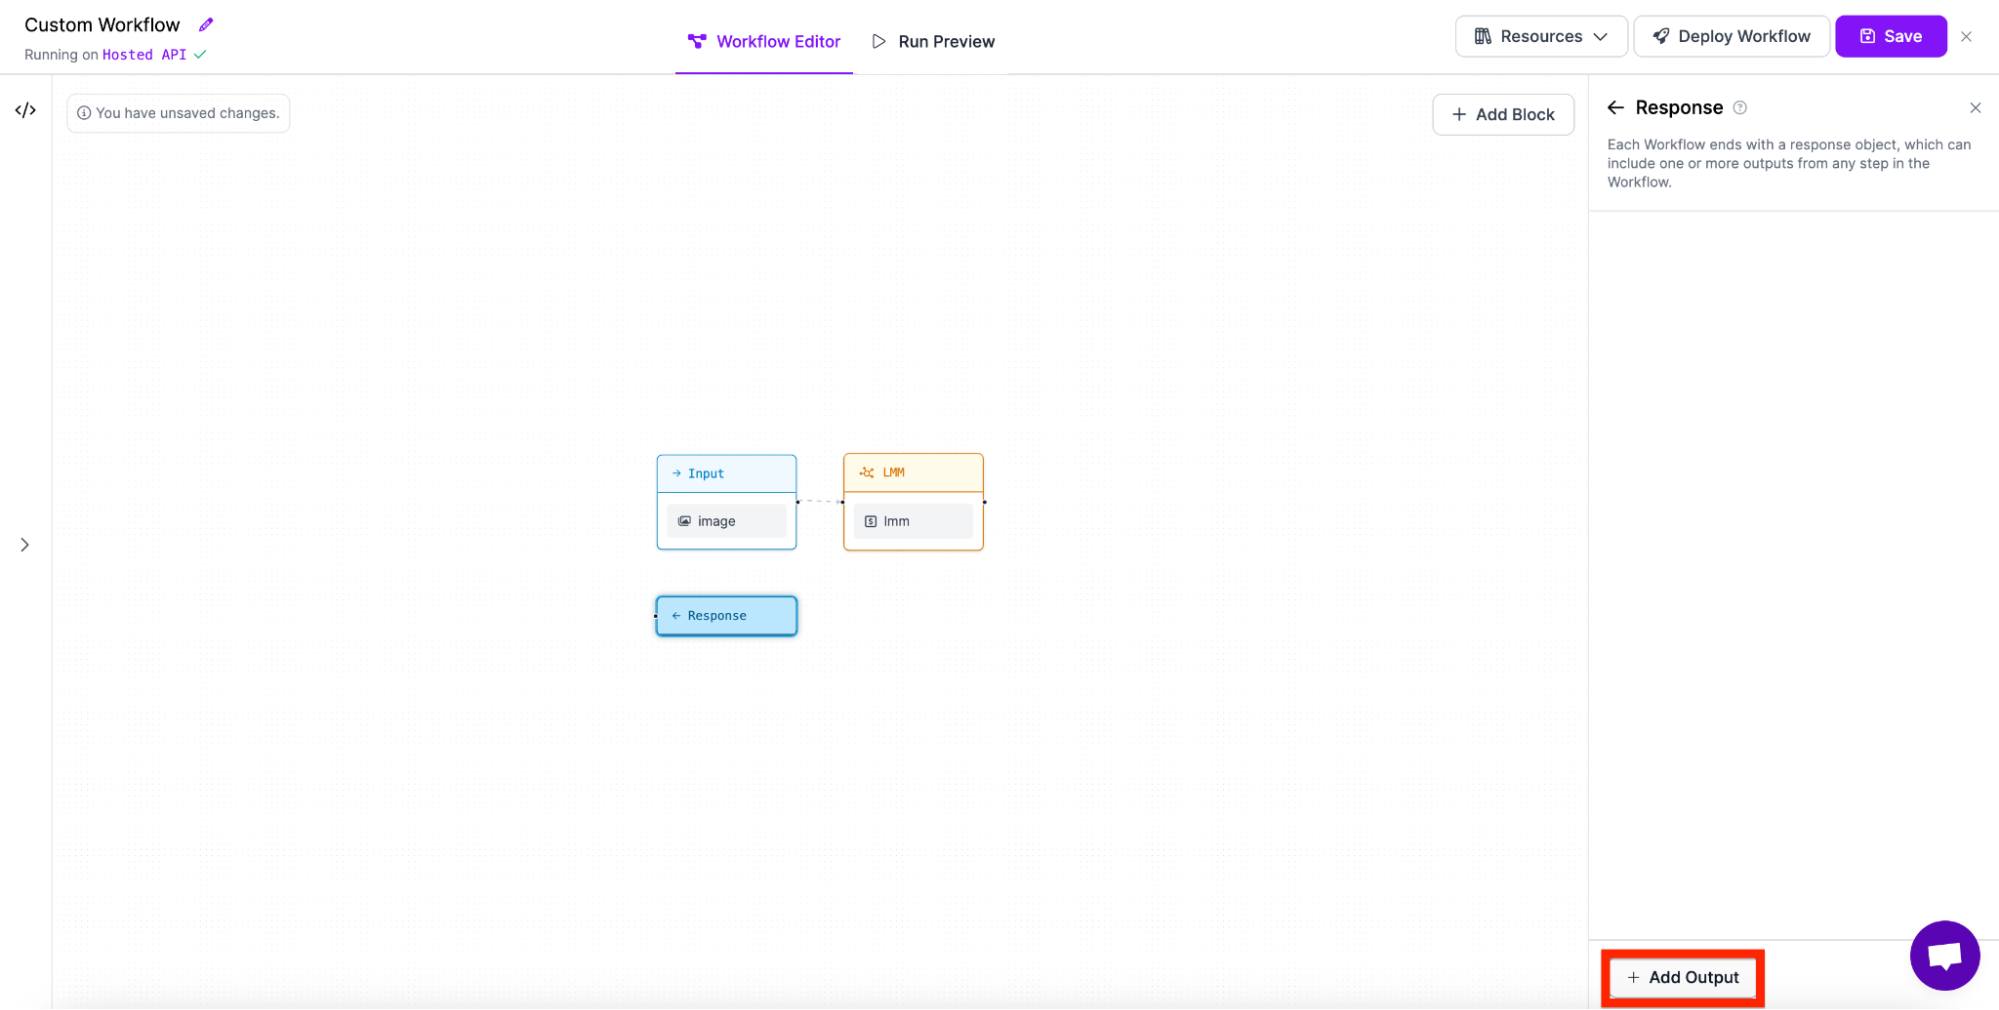
Next, we need to connect the blue Reponse block to the LMM block. Add the output by first clicking the response block and adding output in the lower right corner.
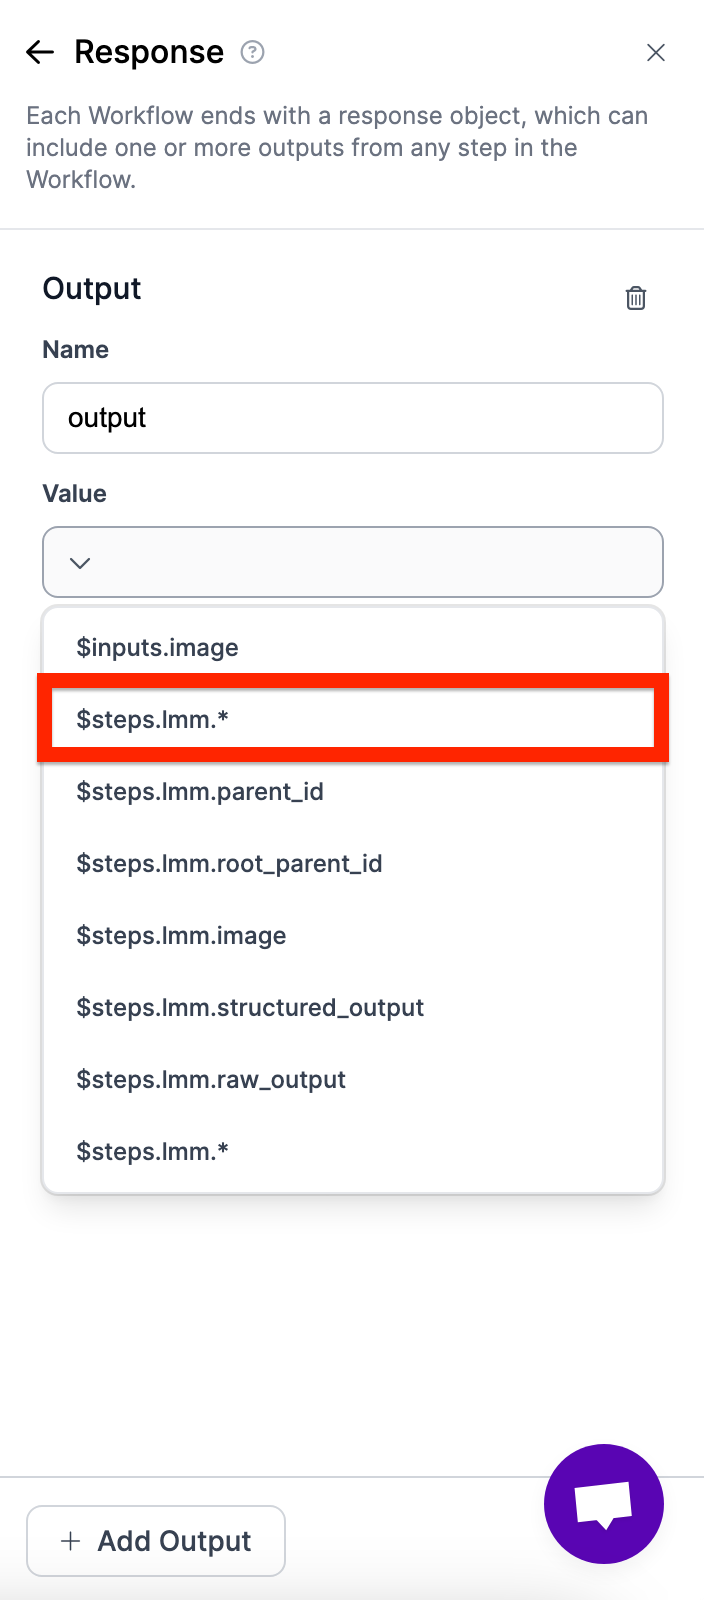
Next, add “$steps.lmm..*” to the path. This will connect the LMM to the response.
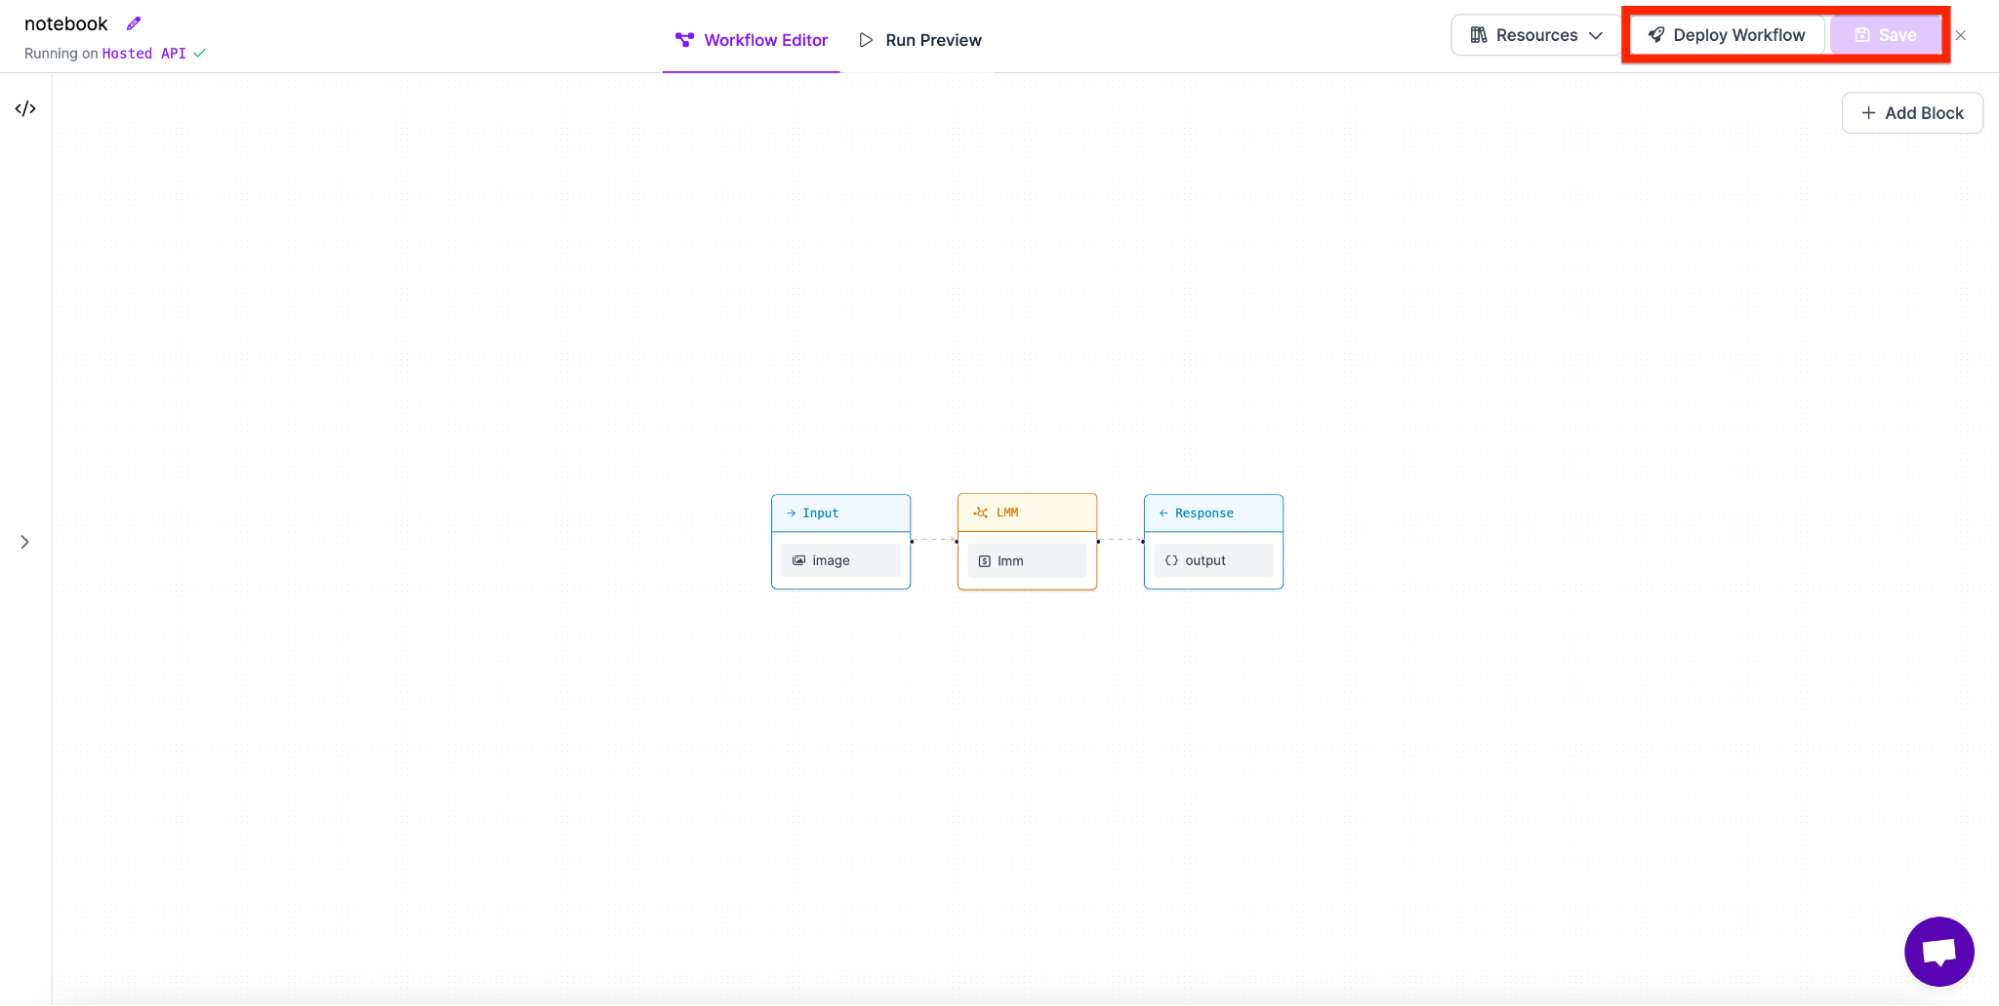
Finally, save the workflow, then click “Deploy Workflow” to retrieve the code needed to deploy the Workflow.
Step 2. Set up Google Docs Access
In order to connect Google Docs with our application, we have to create a project on Google Console. Here is a brief video tutorial demonstrating how to accomplish this.
After setting up our console, create a Google Doc to link to our text. Additionally, get the id of the document. We find this by grabbing the section in between “/d/” and “/edit”.

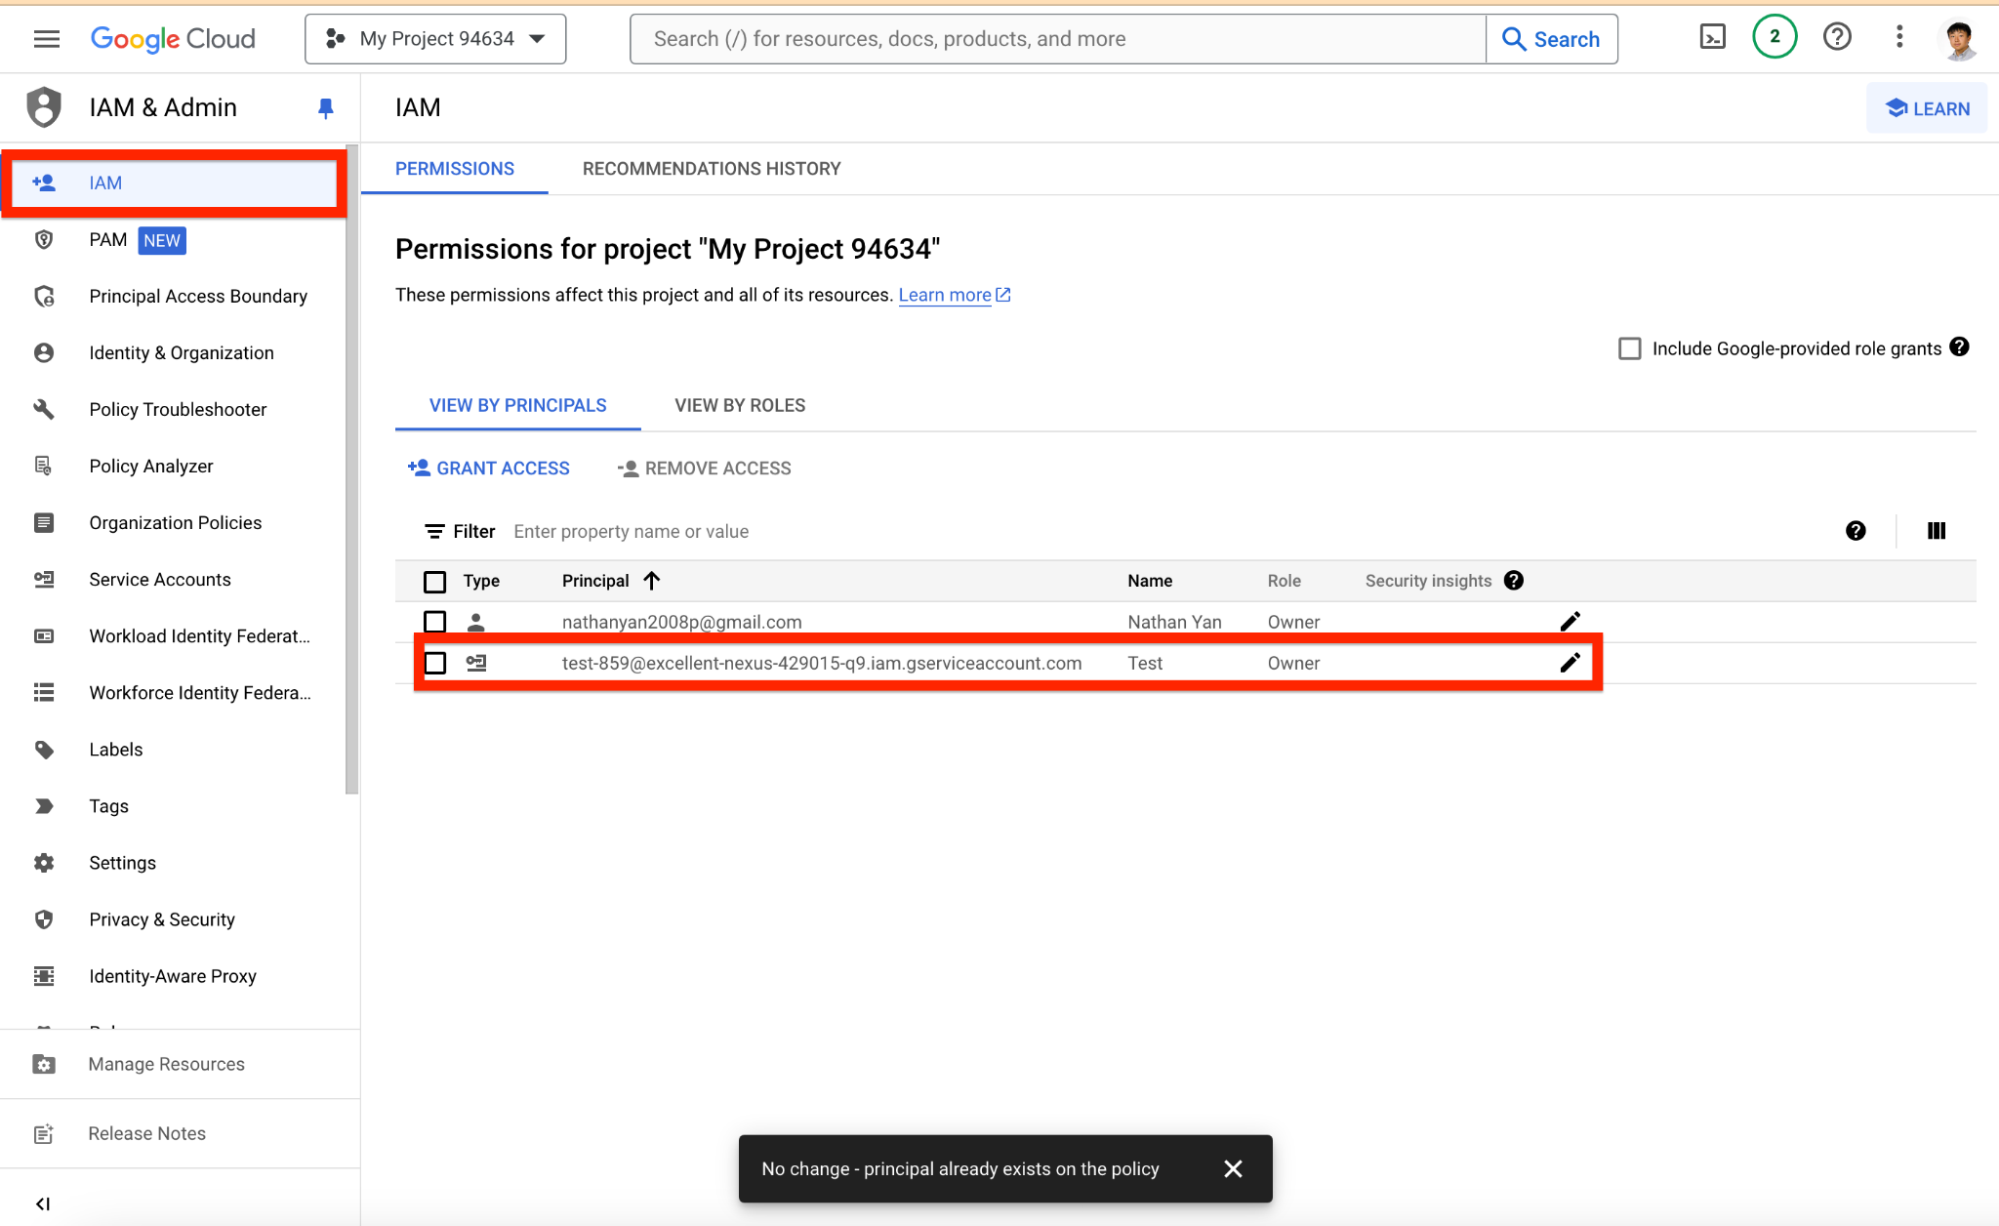
Make sure to share the document with your service account. Find your service account by navigating to IAM. Add them to be an editor on your Google Doc.
Step #3: Set up the Code
1. Set Up Colab Environment
First, set your Colab to use GPU with the following command.
!nvidia-smi
Next, install inference, opencv-python, roboflow, google-auth, and google-auth-oauthlib.
!pip install inference opencv-python roboflow google-auth google-auth-oauthlib
2. Paste the model code
Get the model code from the “Deploy Workflow” tab in the Roboflow Workflows builder, where we set up our workflow.
from inference_sdk import InferenceHTTPClient

client = InferenceHTTPClient(
   api_url="https://detect.roboflow.com",
   api_key="YOUR_API_KEY"
)

result = client.run_workflow(
   workspace_name="nathan-yan",
   workflow_id="notebook",
   images={"image": "/content/IMG_3566.jpg"},
)
3. Retrieve the workflow output
Through the result, we need to get the raw output of the text. We can achieve this by getting the first value of output and getting the raw output value from the dictionary.
output = result[0]
true_result = output["output"]["raw_output"]
4. Load the Google Console credentials
Use the following code to load your Google Console credentials.
import re
from google.oauth2 import service_account
from googleapiclient.discovery import build
import json

def load_credentials(service_account_file):
   try:
       with open(service_account_file, 'r') as file:
           creds_info = json.load(file)
           required_fields = ['type', 'project_id', 'private_key_id', 'private_key', 'client_email', 'client_id', 'auth_uri', 'token_uri', 'auth_provider_x509_cert_url']
           for field in required_fields:
               if field not in creds_info:
                   raise ValueError(f"Missing required field: {field}")
           return service_account.Credentials.from_service_account_file(service_account_file, scopes=SCOPES)
   except Exception as e:
       raise ValueError(f"Error loading credentials: {e}")
5. Create logic for new lines and bolding
We will need to write some processing logic to manipulate the output from our Workflow, which is defined in the code snippet below.
def parse_input(input_string):
   # Split input into sections based on blank lines
   sections = input_string.split('\n\n')
   return sections

def generate_requests(sections):
   requests = []
   index = 1

   for section in sections:
       lines = section.split('\n')
       text = ''
       is_bold = False

       if lines[0].startswith('**') and lines[-1].endswith('**'):
           is_bold = True
           lines[0] = lines[0].replace('**', '', 1)
           lines[-1] = lines[-1].replace('**', '', 1)

       for line in lines:
           text += line + '\n'

       requests.append({"insertText": {"location": {"index": index}, "text": text + "\n"}})

       if is_bold:
           requests.append({
               "updateTextStyle": {
                   "range": {"startIndex": index, "endIndex": index + len(text)},
                   "textStyle": {"bold": True},
                   "fields": "bold"
               }
           })

       index += len(text) + 1  # +1 for the newline character

   return requests
The first function splits the string into sections by looking at how many lines it skips.
The second function:
- Further splits the string into more sections
- Replaces “**” with nothing and sets is_bold to True to identify bolded objects
- Adds line to text
- Adds text to a list called requests by storing it in a dictionary
- Checks the text to see what has bold features and gives those text a different dictionary value
- Returns the list called requests
6. Run the application
Using Google API, we can put all of the data onto the document.
The main function:
- Loads the credentials using load_credentialsParse an input string using parse_input
Generate API requests using generate_requests
Use the Google Docs API to send the requests and update the document
def main():
   # Load the credentials from the JSON file
   SCOPES = ['https://www.googleapis.com/auth/documents']
   SERVICE_ACCOUNT_FILE = 'ACCOUNT_FILE GOTTEN IN STEP 2'

   creds = service_account.Credentials.from_service_account_file(
           SERVICE_ACCOUNT_FILE, scopes=SCOPES)

   service = build('docs', 'v1', credentials=creds)

   # The ID of the Google Doc you want to update
   DOCUMENT_ID = 'GOOGLE_DOCUMENT_ID'

   input_string = true_result
   sections = parse_input(input_string)
   requests = generate_requests(sections)

   result = service.documents().batchUpdate(
       documentId=DOCUMENT_ID,
       body={'requests': requests}
   ).execute()

   print(f'Updated document: {result}')

if __name__ == "__main__":
   main()
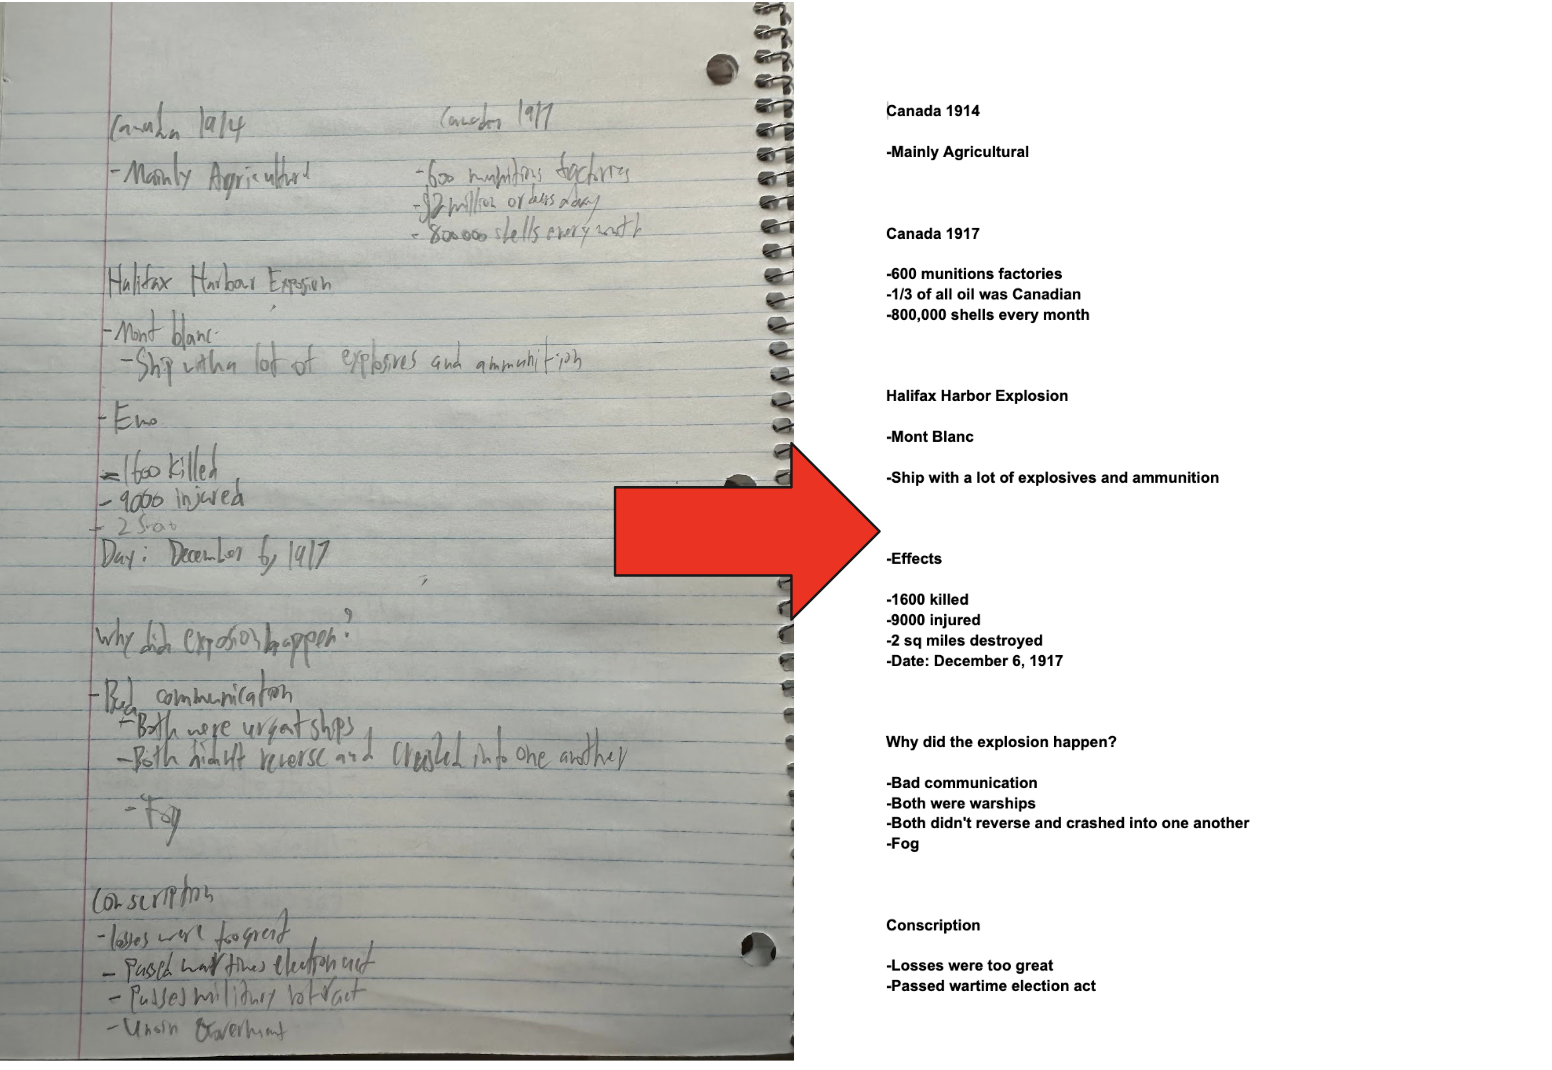
Now that all the code is written it is time to test it out. If we input an image like this through to the our model, the model will be able to decipher the text, resulting in the following image
Conclusion
By following these steps, you can efficiently convert handwritten or printed notes into digital text using advanced AI capabilities from models like GPT-4.
In this guide, you learned how to use GPT-4 and connect it with Google Documents. Feel free to use this guide to understand how to use GPT-4 for optical character recognition tasks or connect Google API to Google Docs. For more computer vision projects, check out our Cookbooks.
Cite this Post
Use the following entry to cite this post in your research:
Nathan Y.. (Jul 22, 2024). How to OCR Hand-Written Notes with GPT-4. Roboflow Blog: https://blog.roboflow.com/how-to-ocr-hand-written-notes-with-gpt-4/