
Object detection technology advances with the release of Scaled-YOLOv4. This blog is written to help you apply Scaled-YOLOv4 to your custom object detection task, to detect any object in the world, given the right training data.
Resources included in this tutorial:
- Scaled YOLOv4 Colab Notebook with Code (we recommend having the blog up in tandem)
- Scaled YOLOv4 Breakdown
- Scaled YOLOv4 Repo
- Public Aerial Maritime Dataset
- YouTube!
Let's crack on.
Preparing a custom Scaled YOLOv4 Dataset
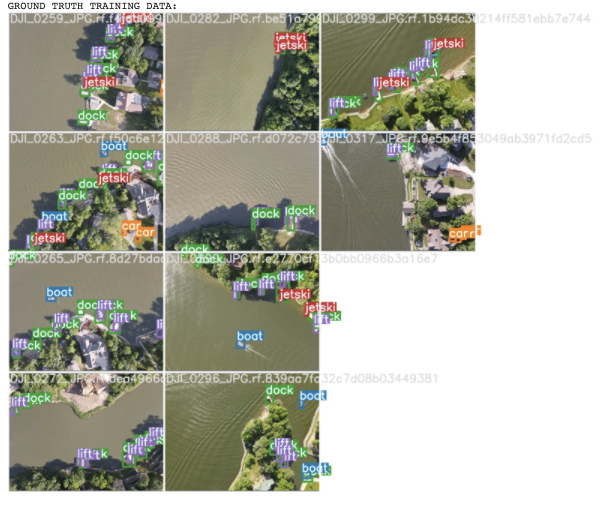
To train your object detector, you will need to bring labeled image data that teaches the model what it needs to detect. If you would just like to learn the new technology and would like to follow along directly with this tutorial, you can fork the public aerial maritime dataset.
Collecting Your Own Images
In collecting your own images, we recommend gathering images that are representative of the conditions that your model will face in deployment. The more diverse the better. You can get started with a small batch of images to begin to gauge feasibility of your problem and scale up later.
***Using Your Own Data***
To export your own data for this tutorial, sign up for Roboflow and make a public workspace, or make a new public workspace in your existing account. If your data is private, you can upgrade to a paid plan for export to use external training routines like this one or experiment with using Roboflow's internal training solution.
Labeling Your Data
As of a recent release, you can now label your data directly in Roboflow.
You will be drawing bounding boxes around objects that you want to detect. See our tips on labeling best practices.
Exporting Data to Colab
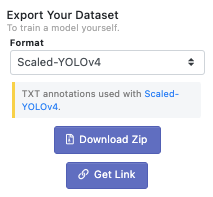
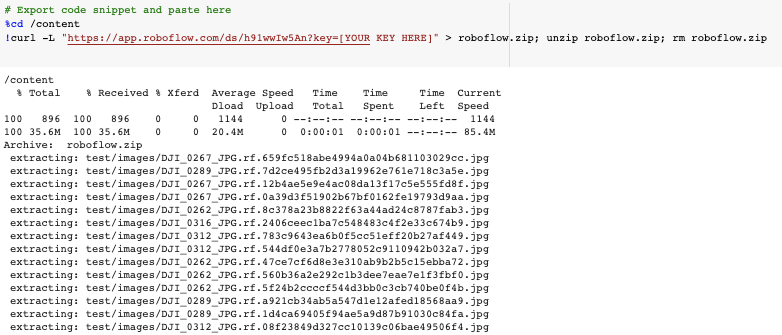
Once you are satisfied with your labeled dataset you can create a dataset version by choosing preprocessing and augmentation options in Roboflow. After choosing a dataset version and hitting Generate, and Download choosing the Scaled-YOLOv4format - you will receive a curl link to bring into the Colab notebook.
Downloading the data link in Colab.
We're off to the races.
Installing Scaled YOLOv4 Dependencies
Once we're in the notebook we need to make a few installs before we are ready for training.
Luckily, Google Colab provides many installs like PyTorch for us. Be sure to File Save Copy in Drive and check that your Runtime is hitting the free GPU.
Installing Dependencies
Then we clone the Scaled-YOLOv4 repo and switch over to the yolov4-large branch. Next we'll install mish-cuda for our GPU so we can run the mish activation functions quickly on our notebook's GPU. After that, we install pyaml needed for reading data.
Downloading Data
Finally, import your curl link from Roboflow to bring in your data in the right format.
Kicking Off Scaled YOLOv4 Training
Now that we have everything set up, we need to only invoke one command to kick off training on our custom data.
!python train.py --img 416 --batch 16 --epochs 50 --data '../data.yaml' --cfg ./models/yolov4-csp.yaml --weights '' --name yolov4-csp-results --cacheThe following options are possible:
- img: define input image size
- batch: determine batch size
- epochs: define the number of training epochs. (Note: often, 3000+ are common here!)
- data: set the path to our yaml file
- cfg: specify our model configuration
- weights: specify a custom path to weights.
- name: result names
- nosave: only save the final checkpoint
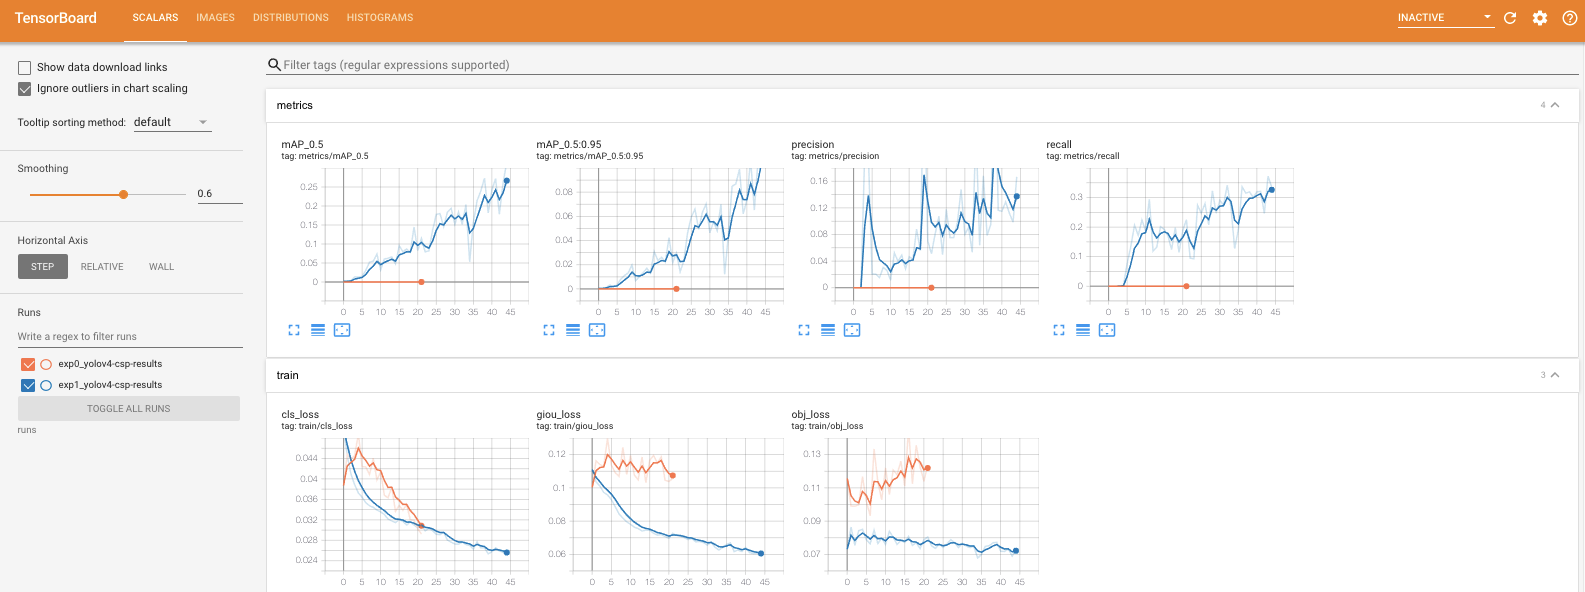
- cache: cache images for faster trainingOnce training has kicked off, you want to watch the mAP (mean average precision) metric rise, if it levels off you can stop the script.
After training, you can take a look at your Tensorboard metrics, again focusing on the mAP:
Scaling up
If you want to use larger version of the network, switch the cfg parameter in training. In the models folder you'll see a variety of options of model configuration including yolov4-p5, yolov4-p6, and the famed yolov4-p7. To train these larger models, Colab's single GPU may not suit you and you may need to spin up a multi-GPU server and train on multi-GPU with a distributed launch:
python -m torch.distributed.launch --nproc_per_node 4 train.py --batch-size 64 --img 896 896 --data coco.yaml --cfg yolov4-p5.yaml --weights '' --sync-bn --device 0,1,2,3 --name yolov4-p5
Using Scaled YOLOv4 Models for Inference
Now that you've trained your Scaled YOLOv4 model, you can leverage your model to make inference on new images. To do so, we point the model at our dataset's test set, and point the detection script to our custom weights (you can also specify video here):
!python detect.py --weights ./runs/exp0_yolov4-csp-results/weights/best.pt --img 416 --conf 0.4 --source ../test/imagesAnd inference occurs quickly (especially on GPU)
/content/ScaledYOLOv4
Namespace(agnostic_nms=False, augment=False, classes=None, conf_thres=0.4, device='', img_size=416, iou_thres=0.5, output='inference/output', save_txt=False, source='../test/images', update=False, view_img=False, weights=['./runs/exp1_yolov4-csp-results/weights/best.pt'])
Using CUDA device0 _CudaDeviceProperties(name='Tesla V100-SXM2-16GB', total_memory=16130MB)

Fusing layers... Model Summary: 235 layers, 5.24921e+07 parameters, 5.04494e+07 gradients
image 1/32 /content/test/images/DJI_0262_JPG.rf.3878c367b5f00b7ce0f5c9bdcb4d8486.jpg: 416x416 Done. (0.020s)
image 2/32 /content/test/images/DJI_0262_JPG.rf.47ce7cf6d8e3e310ab9b2b5c15ebba72.jpg: 416x416 Done. (0.020s)
image 3/32 /content/test/images/DJI_0262_JPG.rf.560b36a2e292c1b3dee7eae7e1f3fbf0.jpg: 416x416 1 docks, Done. (0.021s)
image 4/32 /content/test/images/DJI_0262_JPG.rf.5f24b2ccccf544d3bb0c3cb740be0f4b.jpg: 416x416 1 lifts, Done. (0.021s)
image 5/32 /content/test/images/DJI_0262_JPG.rf.66b031d30a28587d2c06f38af05cb4ec.jpg: 416x416 1 docks, Done. (0.021s)
image 6/32 /content/test/images/DJI_0262_JPG.rf.8c378a23b8822f63a44ad24c8787fab3.jpg: 416x416 1 lifts, Done. (0.025s)
Inference speed of YOLOv4-CSP on Colab V100, single batch, 50FPS
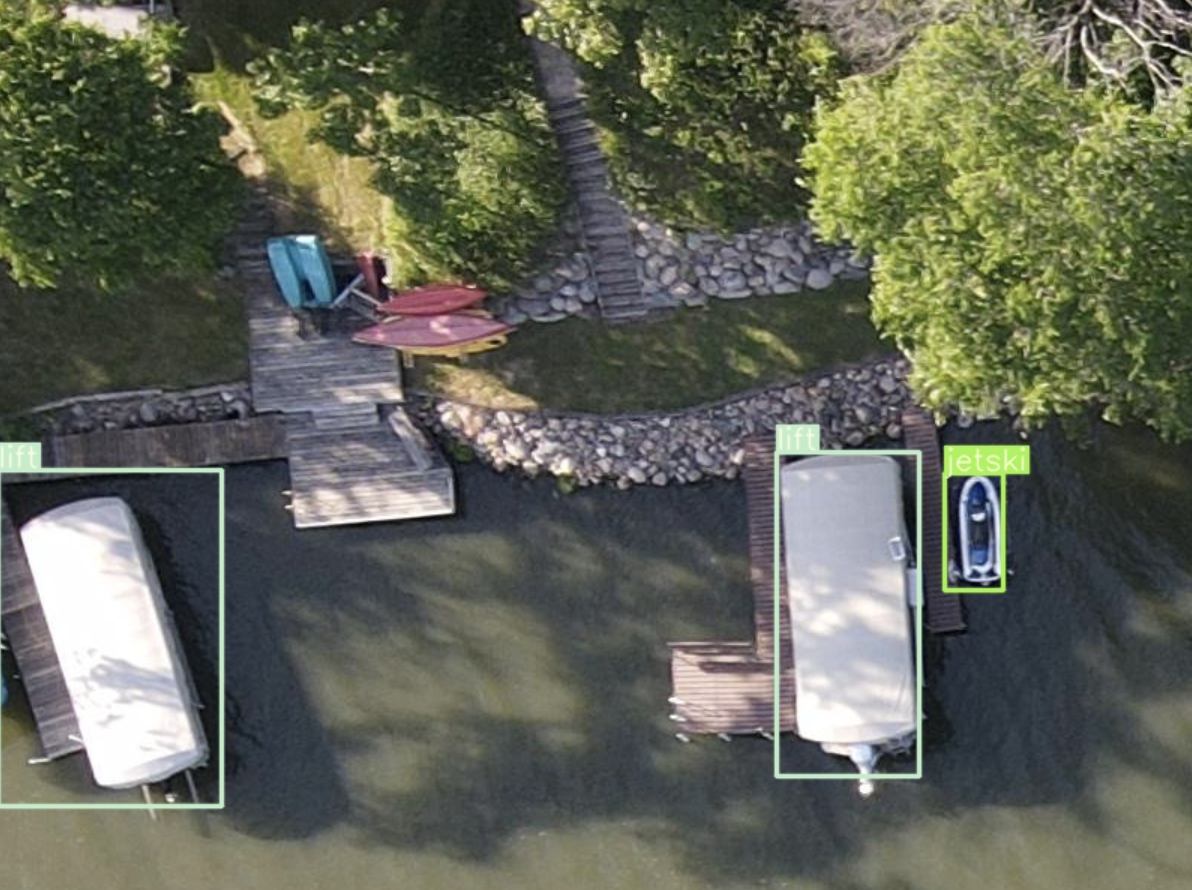
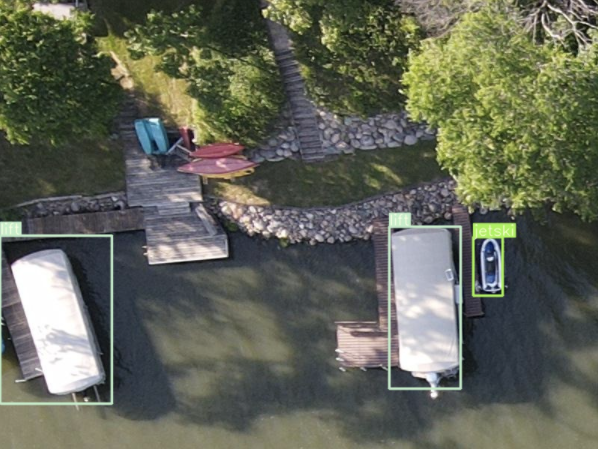
Then, we can visualize our networks test inference.
Exporting Weights and Deployment
Finally, at the end of the notebook we download our custom model weights. These are currently in PyTorch framework and you can invoke them with the same software we used for training. You can also convert these weights to other frameworks such as Tensor RT, ONNX, TorchScript, TensorFlow Saved Graph, TFLite.
The implementation of these other formats will be new software with new dependencies. The journey has begun!
Conclusion
Congratulations! You've learned how to train the state of the art on your custom objects with Scaled-YOLOv4.
At Roboflow, we are always excited for what you might build next.
Happy training!
Cite this Post
Use the following entry to cite this post in your research:
Jacob Solawetz. (Dec 15, 2020). How to Train Scaled-YOLOv4 to Detect Custom Objects. Roboflow Blog: https://blog.roboflow.com/how-to-train-scaled-yolov4/