
Roboflow Quickstart is a local development environment that installs in two lines of code and opens a set of Jupyter Notebooks where you can run inference on object detection, classification, and segmentation models within minutes. The setup script handles Node.js, Python, a virtual environment, and a local Roboflow inference server, and it works across Debian, Ubuntu, macOS, and other Unix-based systems. The notebooks progress from basic webcam inference through diagnosing model issues to computing CLIP embeddings, giving engineers hands-on experience with the full development loop before building their own models.
Every day at Roboflow, we are pondering the question “How can we reduce the barrier associated with getting started with computer vision?”
We have a range of web utilities to speed up the process of going from having an idea for a model to having a production-ready system. To accompany this, we are launching Quickstart, our new developer-first experience that walks you through using computer vision models with your webcam, fixing a computer vision model, and integrating a model into an application.
With Quickstart, you will have a Notebook set up in two minutes through which you can run inference on models. You do not need any prior computer vision experience to get started.
In this guide, we’re going to talk through how to install and get started with Quickstart, as well as some of the new features we have made available for this new getting started environment. Without any further ado, let’s get started!
By the end of this guide, we’ll have a Notebook like this running in the browser:
0:00/1×
Install Quickstart
To install Quickstart, you need to run two lines of code:
git clone https://github.com/roboflow/quickstart
cd quickstart && ./setup.sh
First, we clone the Roboflow Quickstart repository on GitHub. This repository contains five Jupyter Notebooks that we can run locally. Then, we move into the Quickstart directory and run the installation script.
This script is designed to work for Debian, Ubuntu, macOS, Linux mINT, OpenSUSE, and various other Unix-based operating systems. To use Quickstart with Windows, use the Windows System for Linux environment on your machine.
The Quickstart install script will:
- Install Node.js and Python 3;
- Create a virtual environment in which the pip dependencies for the project are installed;
- Start a Roboflow inference server on your local machine through which you will interact with the Roboflow API and;
- Open the quickstart.ipynb Notebook, the first interactive Notebook in the series.
Getting Started with Quickstart
After the installation process is complete, a Jupyter Notebook should open up in your browser. If the Notebook doesn’t open up, navigate to http://0.0.0.0:8888/ in your browser then open the quickstart.ipynb Notebook file.
You will see a page like this:
To use the Notebooks, you will need a free Roboflow account. You can create an account on the Roboflow dashboard if you don’t already have one. When you have an account, run the first cell in the Notebook. This will let you authenticate with Roboflow.
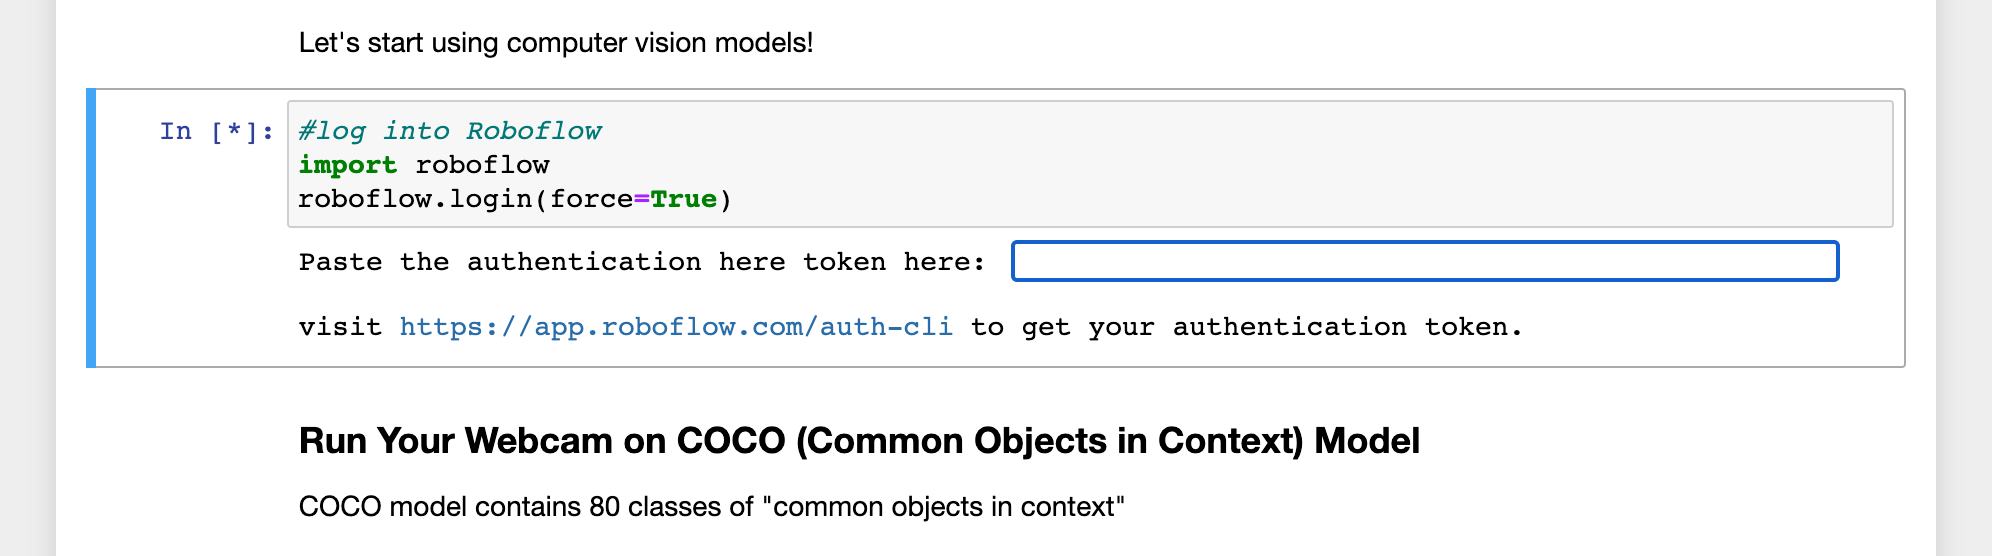
You will be given a link to create an authentication token in the Roboflow dashboard. Click the link. This will open a page to choose the workspace(s) to which the token will give access. We recommend choosing a personal workspace. The Roboflow dashboard will give you a key to paste into the Notebook.
After you paste in the key, hit enter. This will authenticate you so you can run the guides in the tutorial.
Quickstart Features
The Quickstart Notebook series comes with four tutorials:
- Quickstart: Run inference using three different object detection models;
- Create a Model: Walk through an issue with a blood cell detection dataset and work on fixing it;
- Model Types: Try out classification, instance segmentation, and semantic segmentation models in a Notebook;
- Integration: Learn how to start integrating the results of a computer vision model with your own custom logic.
We encourage you to read through the notebooks in full. You’ll build knowledge of both the fundamental model types in computer vision, diagnosing a common issue with a model, and working with the Roboflow API.
Let’s talk through some of the features you will encounter throughout the notebook series.
Interactive Examples with Webcam Inference
In the first Notebook, you will run inference using your webcam from three models: a model trained on the Microsoft COCO dataset, an American Sign Language interpreter, and a safety vest detection model.
To run inference on these models, all you need to do is run each code cell. Here’s an example of Jacob from the Roboflow team running the American Sign Language model:
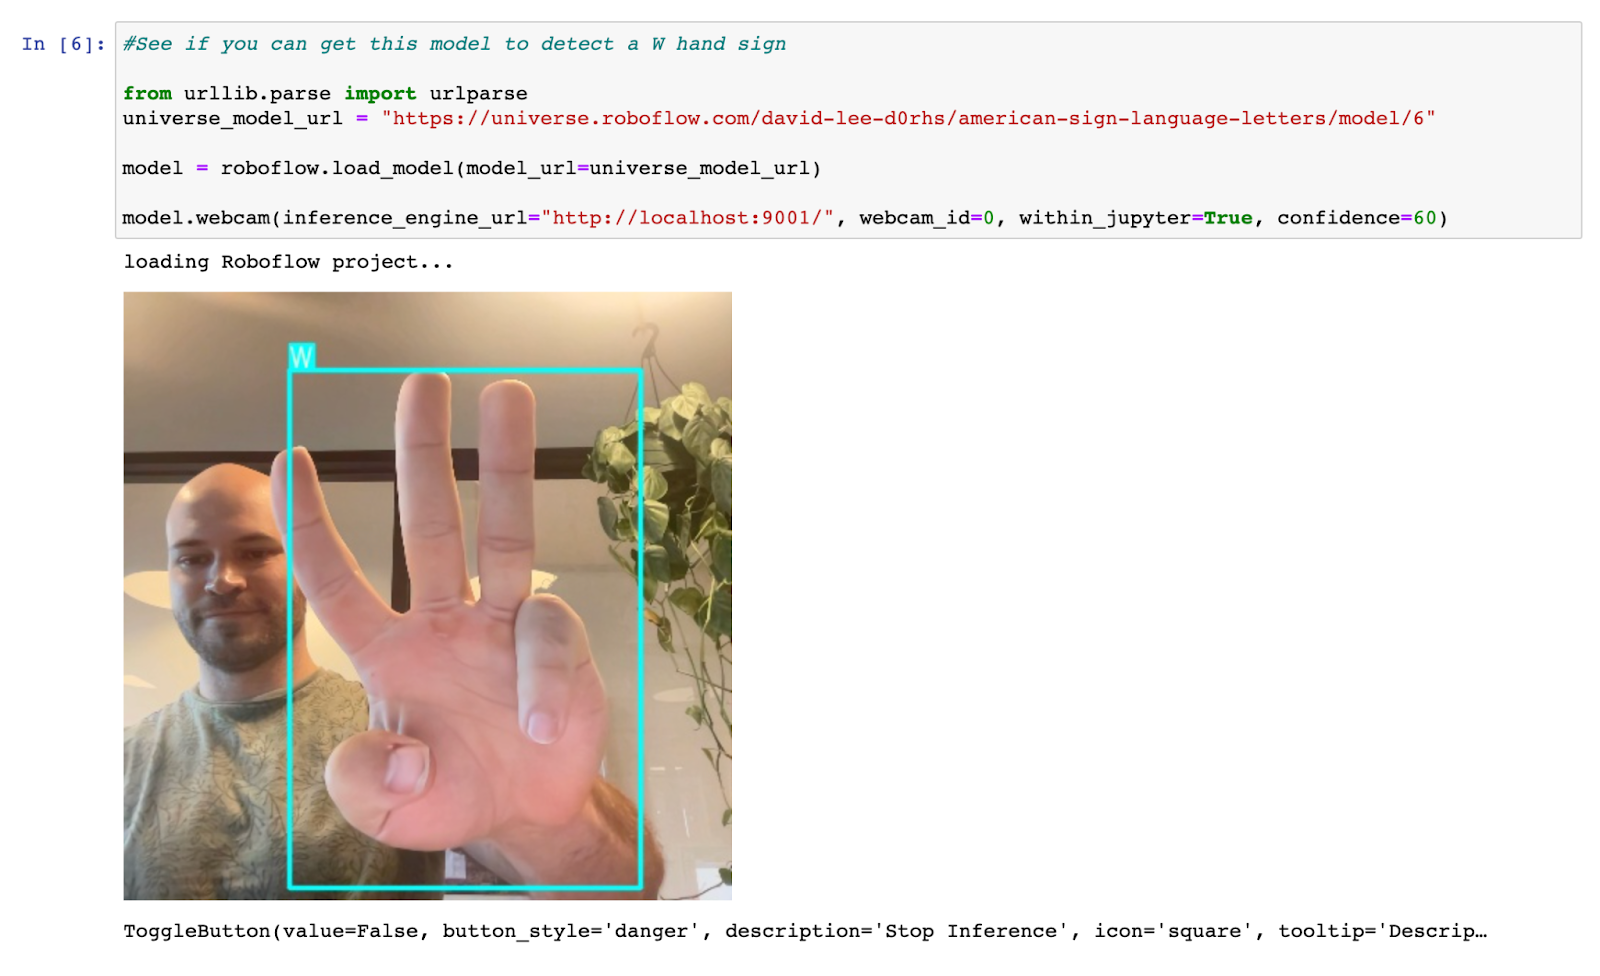
The models in the first Notebook come from Roboflow Universe, a repository with more than 50,000 pre-trained models you can test as well as over 200,000 datasets for use in building computer vision projects.
Training Graphs in Notebooks
In the second Notebook, you will diagnose an issue with a blood cell detection model. The model is unable to generalize to images taken from a different microscope camera.
The Notebook walks through how to solve the issue and train a new model to improve upon the old one. When you have worked through uploading your new images, you can train a new model. After initiating training, you will see an interactive graph that shows the progress of your training job. The graph will become a static image once training is complete.
Here is an example of a complete training graph:
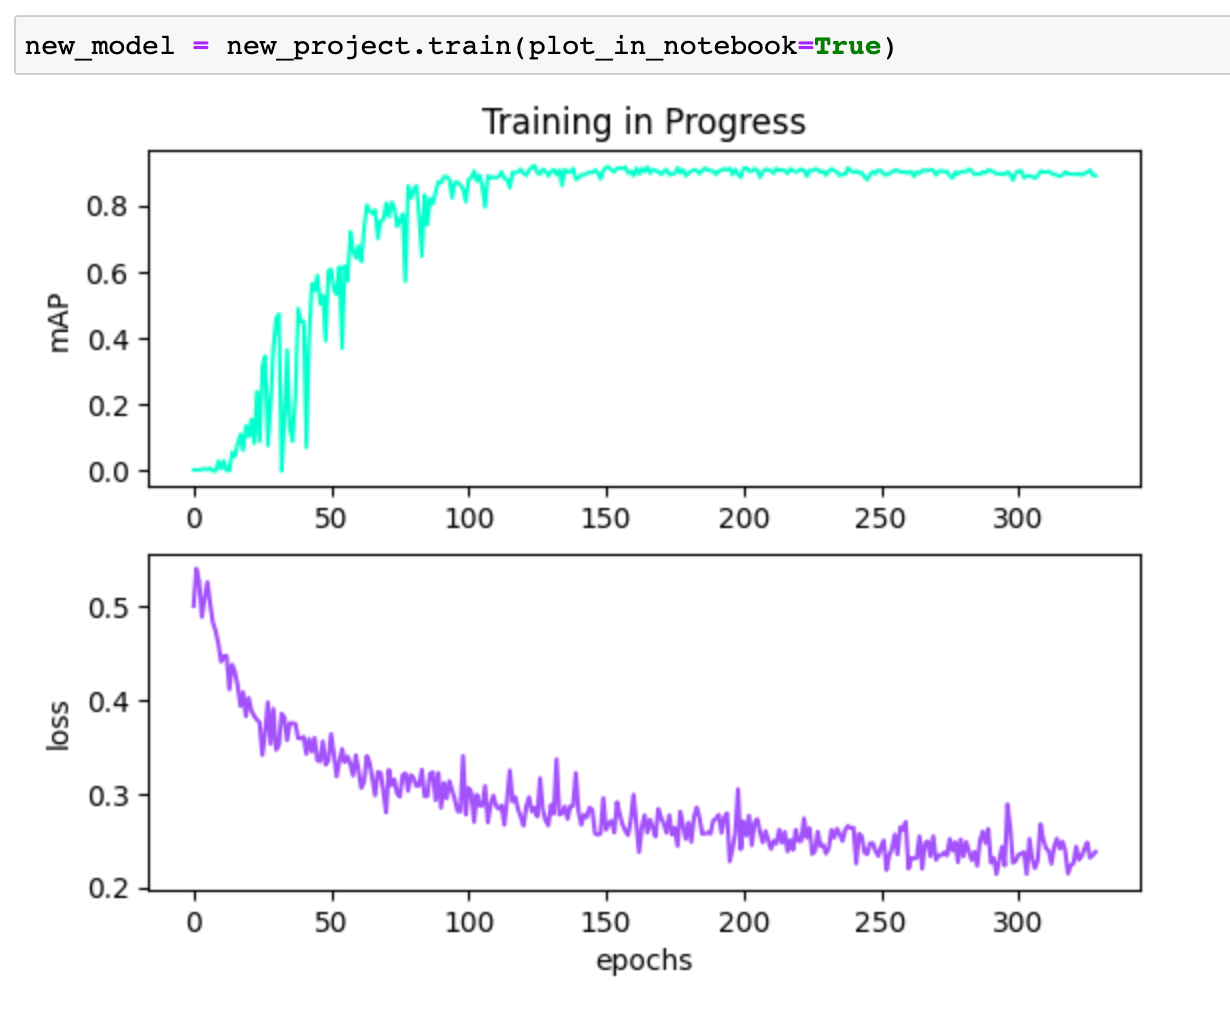
Using this graph, you can see the mean average precision associated with your model. The higher this number is, the more accurate your model will be. You can learn more about mean average precision in our mAP guide.
Roboflow Inference Server
Behind the scenes, a Roboflow Inference Server is running in the background. When you run inference using your webcam, information is sent through the inference server. The server provides a standard, local API through which you can interact with Roboflow.
This server runs at the following URL:
http://localhost:9001
The inference server provides a range of endpoints that may be helpful when you start building your own models, from running inference on models to computing and comparing CLIP text and image embeddings. If you are curious to play around with the inference server API, you can do so both directly through the pre-written examples in the notebooks and by writing your own code that interacts with the server. You can learn more about the API schema in the documentation.
Our inference server can be deployed on a range of devices, from the NVIDIA Jetson to a Raspberry Pi. Thus, any code that you write to query the inference server will work both in the Quickstart notebook and anywhere else that is running the server.
Conclusion
Roboflow Quickstart lets you set up a local development environment wherein you can run inference on computer vision models in minutes. Using Quickstart, you can play around with object detection, classification, and segmentation models. You will get your feet wet with diagnosing an issue with a model and resolving that issue.
The series ends with a collection of resources you can use to advance your learning. By the end of the Notebooks, you will have foundational knowledge you can apply to creating your own computer vision models.
Cite this Post
Use the following entry to cite this post in your research:
James Gallagher. (Mar 30, 2023). Introducing Quickstart: Models in 2 Minutes on Your Machine. Roboflow Blog: https://blog.roboflow.com/quickstart/