
In computer vision, few model families have made as big an impact as YOLO. Originally designed for fast and accurate object detection, the YOLO architecture has evolved rapidly, now supporting both complex detection and segmentation tasks with remarkable efficiency and accuracy. With the release of YOLO11 instance segmentation, it's now easier than ever to train models that not only detect objects but also provide precise pixel-level masks for each instance.
Let's get started!
Environment Setup
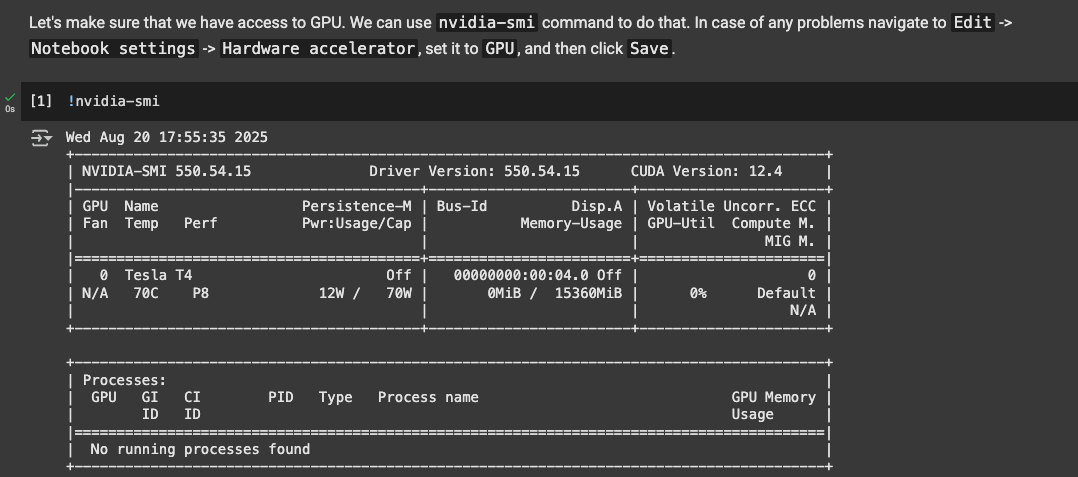
In the notebook, we'll need to use the hardware accelerator and use a T4 GPU, which is what will provide the processing power to train YOLOv11 on a custom dataset.
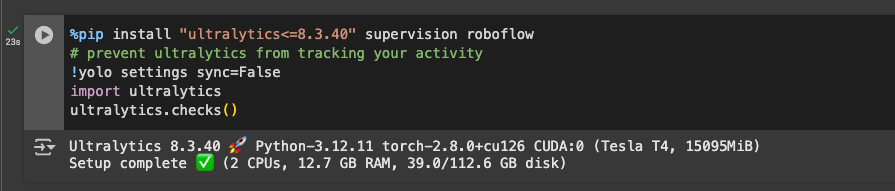
Next, create a HOME constant for managing our datasets/images with the next snippet. After that, we need to install Ultralytics. Ultralytics provides helpful YOLO CLI that we'll use to run the model directly from the terminal, as well as an SDK for easy integration into python projects:
Now we're ready to run YOLOv11 (and fine-tune it)!
Test YOLOV11 CLI and SDK in Colab
The next 2 snippets uses the YOLO CLI from Ultralytics to run inference on a sample image from Roboflow and display it using IPyImage to display:
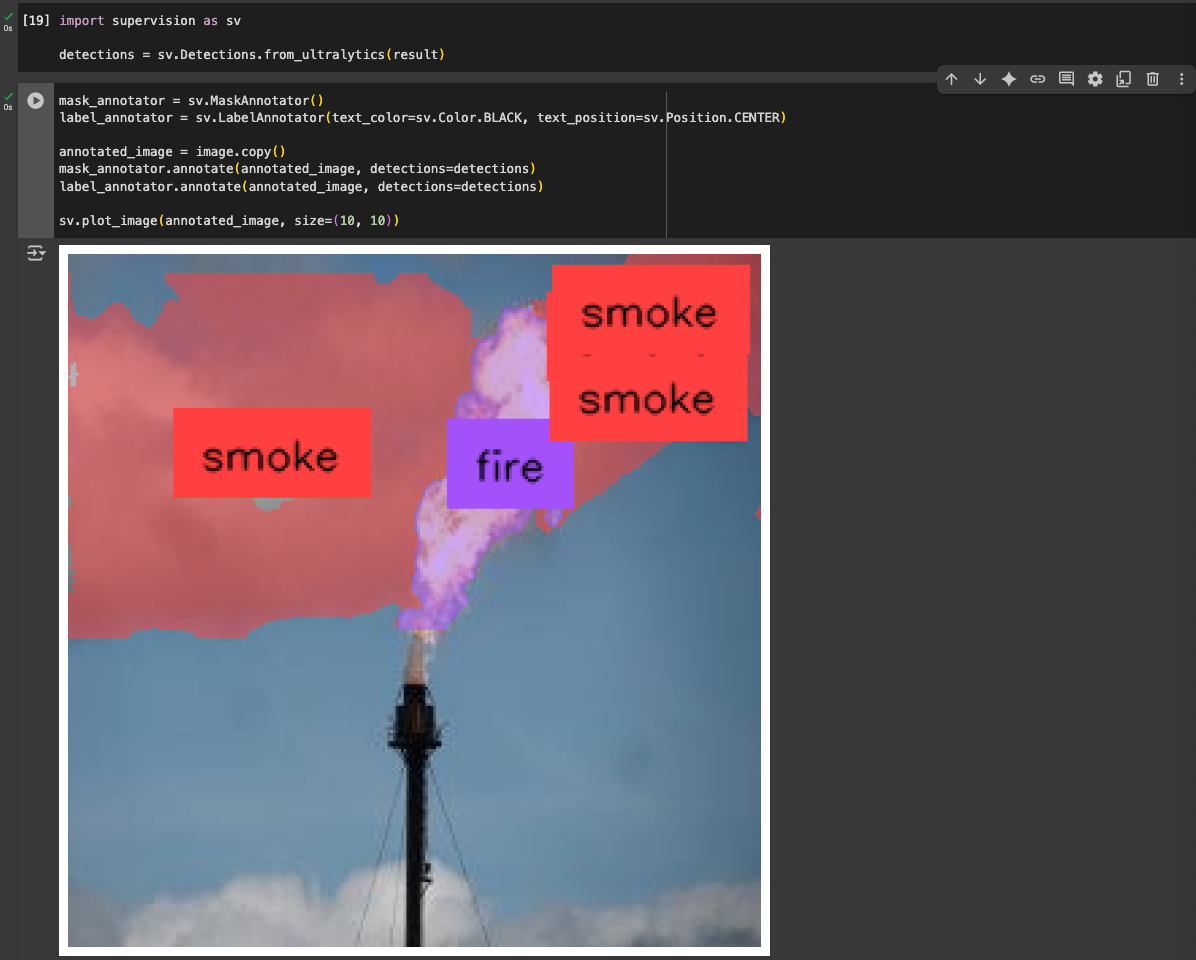
Additionally, we can use the python SDK (the next snippets) as well! This is beneficial for using Supervision, Roboflow's all in one library for computer vision tools. Here, we're using Supervision to display segmentation masks (from running YOLO with the SDK):
Additionally, you can test these two on your own data by uploading your own data to the colab notebook and changing the source of the images. However, as we are yet to fine tune the model, YOLOv11 can only detect a set of base classes which include:
{
  "class": {
    "0": "person",
    "1": "bicycle",
    "2": "car",
    "3": "motorcycle",
    "4": "airplane",
    "5": "bus",
    "6": "train",
    "7": "truck",
    "8": "boat",
    "9": "traffic light",
    "10": "fire hydrant",
    "11": "stop sign",
    "12": "parking meter",
    "13": "bench",
    "14": "bird",
    "15": "cat",
    "16": "dog",
    "17": "horse",
    "18": "sheep",
    "19": "cow",
    "20": "elephant",
    "21": "bear",
    "22": "zebra",
    "23": "giraffe",
    "24": "backpack",
    "25": "umbrella",
    "26": "handbag",
    "27": "tie",
    "28": "suitcase",
    "29": "frisbee",
    "30": "skis",
    "31": "snowboard",
    "32": "sports ball",
    "33": "kite",
    "34": "baseball bat",
    "35": "baseball glove",
    "36": "skateboard",
    "37": "surfboard",
    "38": "tennis racket",
    "39": "bottle",
    "40": "wine glass",
    "41": "cup",
    "42": "fork",
    "43": "knife",
    "44": "spoon",
    "45": "bowl",
    "46": "banana",
    "47": "apple",
    "48": "sandwich",
    "49": "orange",
    "50": "brocolli",
    "51": "carrot",
    "52": "hot dog",
    "53": "pizza",
    "54": "donut",
    "55": "cake",
    "56": "chair",
    "57": "couch",
    "58": "potted plant",
    "59": "bed",
    "60": "dining table",
    "61": "toilet",
    "62": "tv",
    "63": "laptop",
    "64": "mouse",
    "65": "remote",
    "66": "keyboard",
    "67": "cell phone",
    "68": "microwave",
    "69": "oven",
    "70": "toaster",
    "71": "sink",
    "72": "refrigerator",
    "73": "book",
    "74": "clock",
    "75": "vase",
    "76": "scissors",
    "77": "teddy bear",
    "78": "hair drier",
    "79": "toothbrush"
  }
}
If you want to detect classes outside of these, we need to fine-tune the model next!
Fine-tuning YOLOv11 on a Custom Dataset
To train, we'll need a Roboflow API Key, and add it to the enviornment variables in the notebooks to run it easily. To add it, go to the left pane in colab and click on Secrets (🔑). Store Roboflow API Key under the name ROBOFLOW_API_KEY. Now we're ready to use in our application.
For this guide, I'll be training YOLOv11 on a dataset from Roboflow Universe, a platform with plenty of user models and datasets ready to use. This particular dataset contains segmentations of fire and smoke.
To be able to use a dataset, you'll need to have it in your Roboflow workspace and change the contents of rf.workspace() with your workspace id containing the dataset. Same thing goes for the workspace project.
The following cell in the notebook downloads the dataset in YOLOV11 format:
!mkdir {HOME}/datasets
%cd {HOME}/datasets

from google.colab import userdata
from roboflow import Roboflow

ROBOFLOW_API_KEY = userdata.get('ROBOFLOW_API_KEY')
rf = Roboflow(api_key=ROBOFLOW_API_KEY)

workspace = rf.workspace("dev-m9yee") # Your workspace ID
project = workspace.project("fire-and-smoke-segmentation-bhngk") # Your project ID
version = project.version(1)
dataset = version.download("yolov11")
Next, we'll train the model with following snippet:
%cd {HOME}

!yolo task=detect mode=train model=yolo11s-seg.pt data={dataset.location}/data.yaml epochs=10 imgsz=640 plots=True
This snippet will fine-tune YOLOv11 on our custom dataset so it can make predictions on our images.
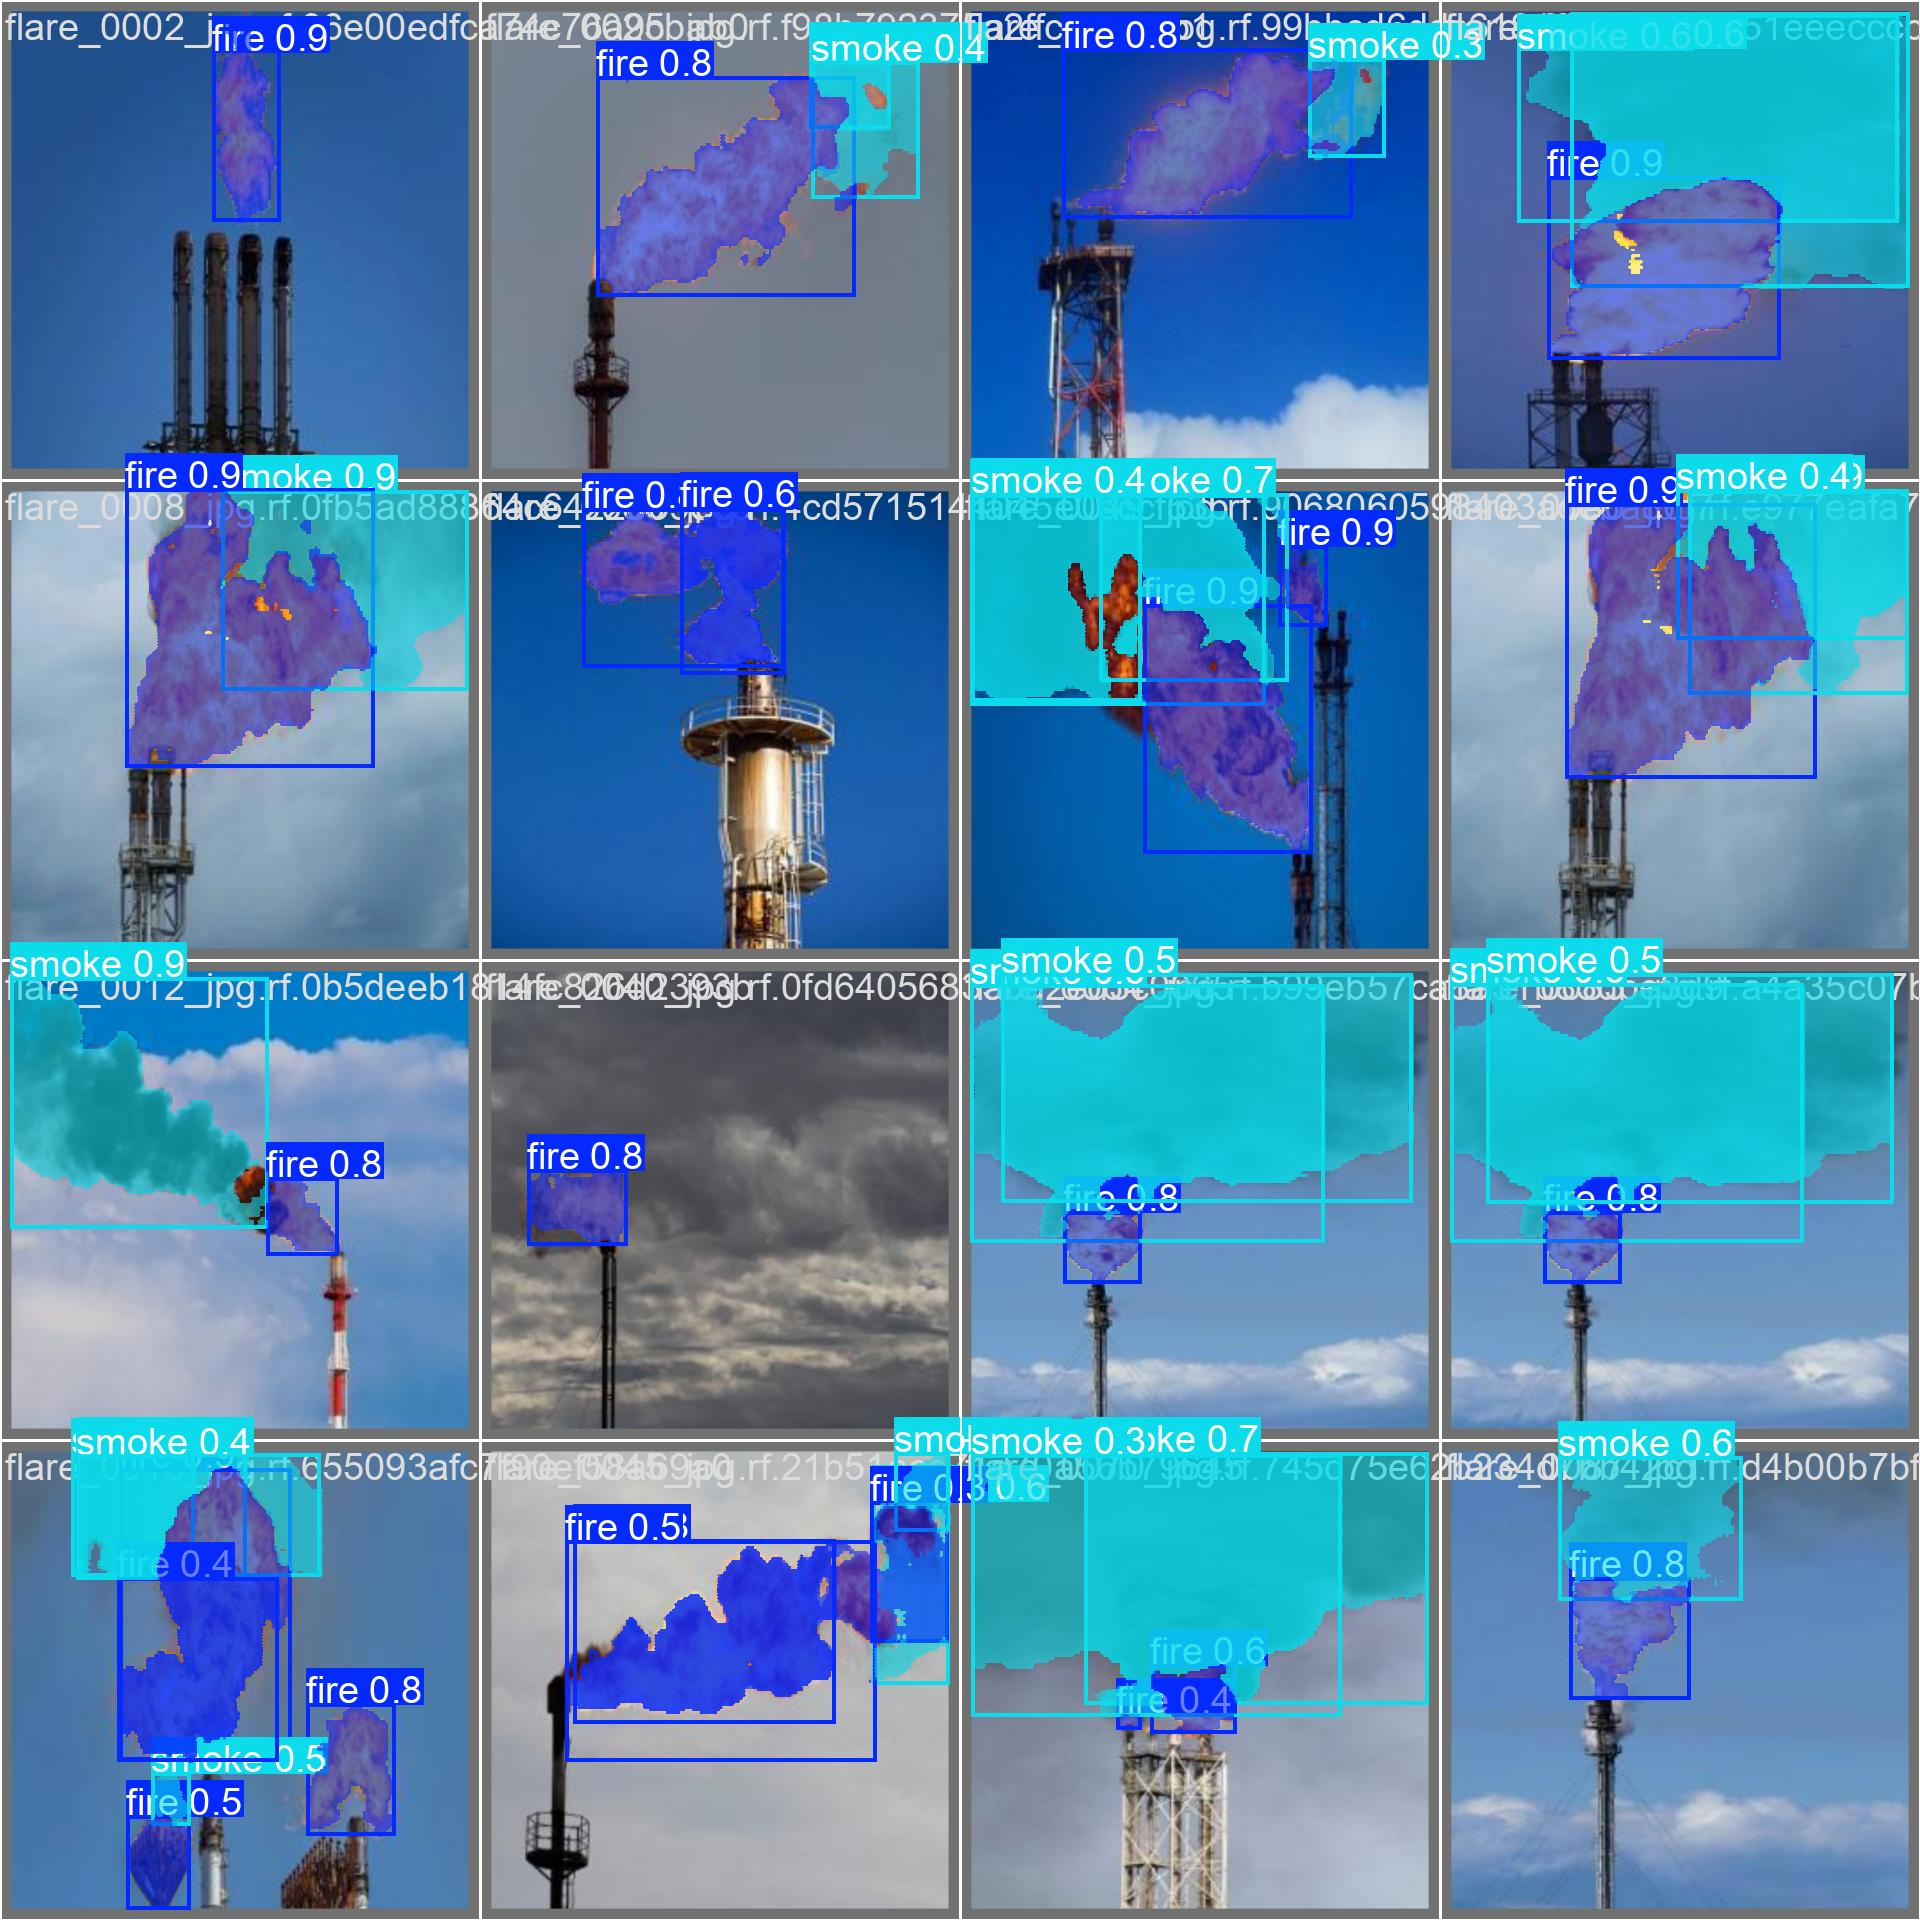
Once the model is done training, the next snippet shows the results of the model training:
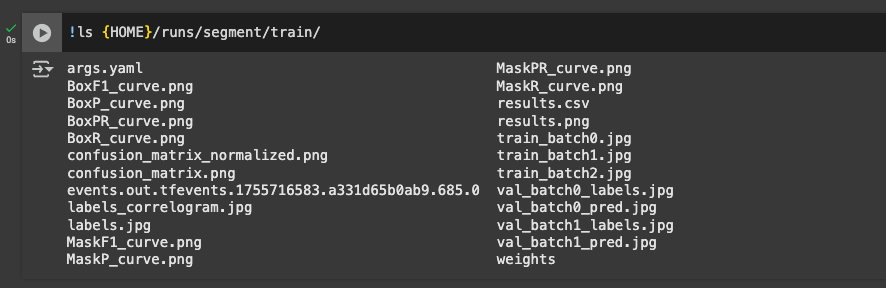
These include helpful metrics such as the confusion matrix, training losses, validation losses, as well as precision, recall, and mAP. The next snippets use IPyImage again to display them.
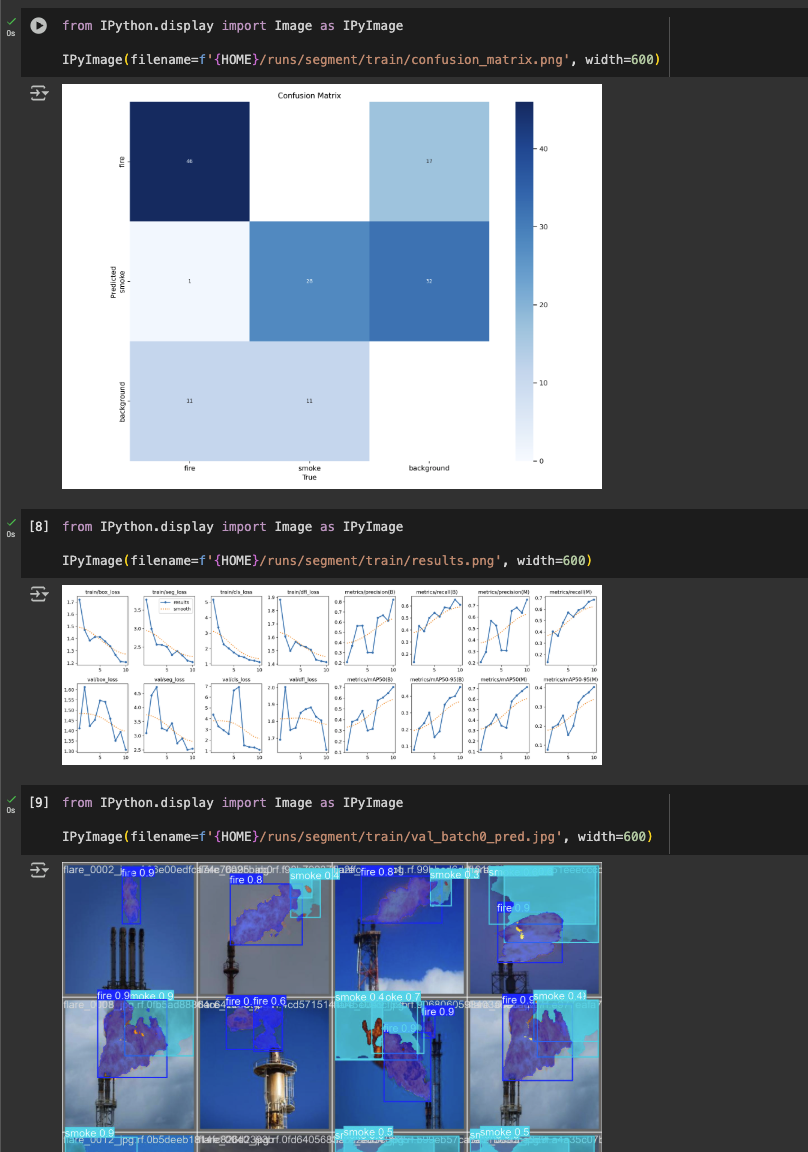
The next snippets allow you to validate and perform inference with the model, again using IPyImage to display the masks and bounding boxes. Additionally, the model proves to generate masks that are quite accurate:
Deploy the Model to Roboflow
The results of training also contained weights that can be used elsewhere. The weights would be in the directory: /runs/segment/train/weights/best.pt
Then, with the deploy function in the Roboflow pip package, you can upload the weights:
project.version(dataset.version).deploy(model_type="yolov11-seg", model_path=f"{HOME}/runs/segment/train/")Then, it becomes easy to use Inference to run your model (next snippet):
import os, random, cv2
import supervision as sv
import IPython
import inference

model_id = project.id.split("/")[1] + "/" + dataset.version
model = inference.get_model(model_id, userdata.get('ROBOFLOW_API_KEY'))

# Location of test set images
test_set_loc = dataset.location + "/test/images/"
test_images = os.listdir(test_set_loc)

# Run inference on 4 random test images, or fewer if fewer images are available
for img_name in random.sample(test_images, min(4, len(test_images))):
    print("Running inference on " + img_name)

    # Load image
    image = cv2.imread(os.path.join(test_set_loc, img_name))

    # Perform inference
    results = model.infer(image)[0]
    detections = sv.Detections.from_inference(results)

    # Annotate boxes and labels
    mask_annotator = sv.MaskAnnotator()
    label_annotator = sv.LabelAnnotator()
    annotated_image = mask_annotator.annotate(scene=image, detections=detections)
    annotated_image = label_annotator.annotate(scene=annotated_image, detections=detections)

    # Display annotated image
    _, ret = cv2.imencode('.jpg', annotated_image)
    i = IPython.display.Image(data=ret)
    IPython.display.display(i)
And with that, we've successfully fine-tuned YOLOv11 segmentation!
Cite this Post
Use the following entry to cite this post in your research:
Aryan Vasudevan. (Aug 21, 2025). How to Train YOLO11 Instance Segmentation on a Custom Dataset. Roboflow Blog: https://blog.roboflow.com/train-yolo11-segmentation/