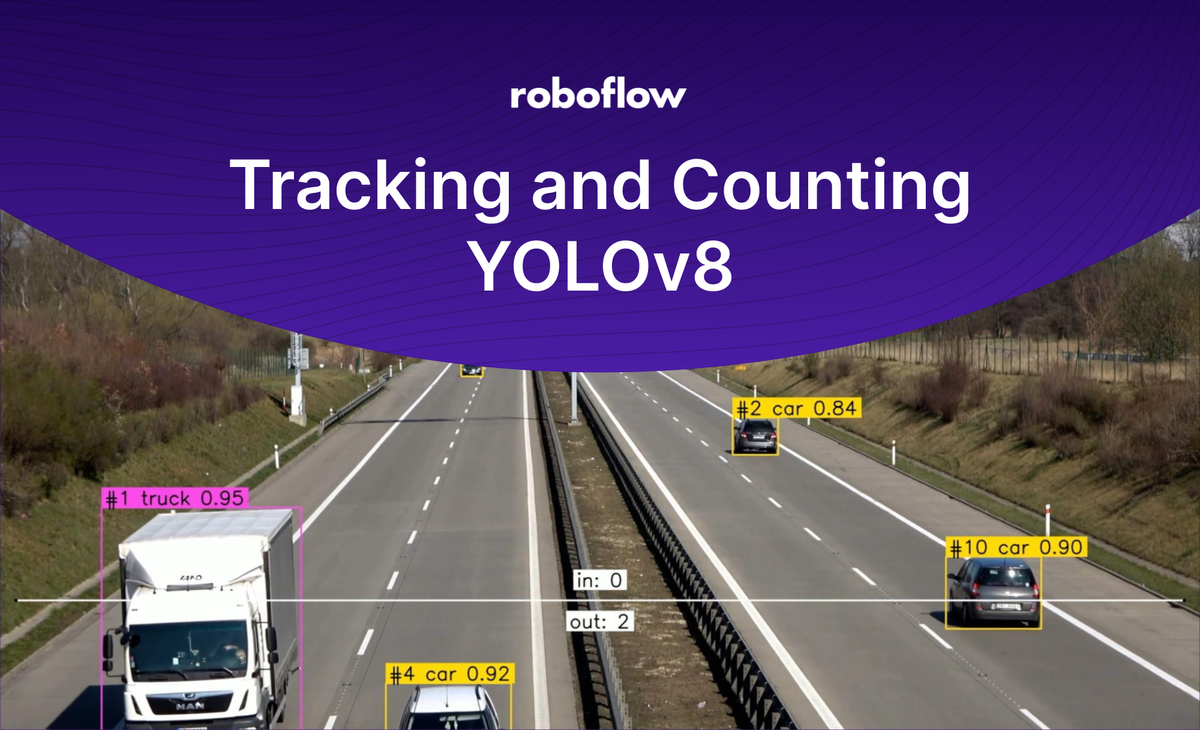
Counting moving objects is one of the most popular use cases in computer vision (CV). It is used, among other things, in traffic analysis and as part of the automation of manufacturing processes. That is why understanding how to do it well is crucial for any CV engineer.
With this tutorial, you will be able to build a reusable script that you can successfully apply to your project. We will also test it on two seemingly different examples to see how it would perform in the wild.
Follow along using the open-source notebook we have prepared, where you will find a working example.
Blueprint
Before we start, let’s create the blueprint for our application. We have a few key steps to make — detection tracking, counting, and annotation. For each of those steps, we’ll use state-of-the-art tools — YOLOv8, ByteTrack, and Supervision.
vehicle detection, tracking, and counting with YOLOv8, ByteTrack, and Supervision
Object Detection with YOLOv8
As mentioned, our work starts with detection. There are dozens of libraries for object detection or image segmentation; in principle, we could use any of them. However, for this project, we will use YOLOv8. Its native pip package support will make our lives much easier.
pip install "ultralytics<=8.3.40"Installing YOLOv8
YOLOv8 provides an SDK that allows training or prediction in just a few lines of Python code. We recently published an article that describes the new API in detail if you are curious to dive deeper. This post will only focus on a selected part we need for this project.
from ultralytics import YOLO

# load model
model = YOLO(MODEL_PATH)
model.fuse()

# predict
detections = model(frame)
loading the YOLOv8 model and inferring over a single frame
We will use two basic features — model loading and inference on a single image. In the example above, MODEL_PATH is the path leading to the model. For pre-trained models, you can simply define the version of the model you want to use, for example, yolov8x.pt. And a frame is an numpy array representing a loaded photo or frame from a video.
vehicle detection with YOLOv8
Object Tracking with ByteTrack
In order to count how many individual objects have crossed a line, we need a tracker. As with detectors, we have many options available — SORT, DeepSort, FairMOT, etc. Those who remember our Football Players Tracking project will know that ByteTrack is a favorite, and it’s the one we will use this time as well.
This time, however, we will not use the official repository. Instead, we will use an unofficial package developed by the community. This change will allow us to shorten the installation process to just one line.
pip install bytetrackerInstalling ByteTrack
The process of integrating the detector with the tracker is quite convoluted. Refer to the notebook, where we have explained all the steps in detail.
tracking with ByteTrack
Counting Objects with Supervision
Just ask yourself how many times you’ve scrolled Twitter or LinkedIn and seen a demo showing how to count cars moving down the road. However, despite this, there are no reusable open-source tools you can use to streamline that process.
At Roboflow, we want to make it easier to build applications using computer vision, and sharing open-source tools is an important part of that mission. This is one of the reasons that motivated us to create Supervision —a Python library to solve common problems you encounter in any computer vision project.
To get started, install the package using pip. Supervision is still in beta, so to avoid problems, we recommend freezing the version.
pip install supervision==0.1.0installing Supervision
Supervision is more than just counting detections that have crossed a line. If you want to learn more about the Supervision API take a look at Github or the documentation.
Now, let’s quickly go through the elements we have simplified with our new library. First things first — reading frames from the source video and writing the processed ones to the output file.
from supervision.video.dataclasses import VideoInfo
from supervision.video.sink import VideoSink
from supervision.video.source import get_video_frames_generator


video_info = VideoInfo.from_video_path(SOURCE_VIDEO_PATH)

generator = get_video_frames_generator(SOURCE_VIDEO_PATH)

with VideoSink(TARGET_VIDEO_PATH, video_info) as sink:
   for frame in tqdm(generator, total=video_info.total_frames):
       frame = ...
       sink.write_frame(frame)
reading frames from the source video and writing the processed frames to the output video
We can’t forget our main key component— LineCounter, which counts how many individual detections have crossed a virtual line.
from supervision.tools.line_counter import LineCounter
from supervision.geometry.dataclasses import Point


LINE_START = Point(50, 1500)
LINE_END = Point(3790, 1500)

line_counter = LineCounter(start=LINE_START, end=LINE_END)

for frame in frames:
    detections = ...
    line_counter.update(detections=detections)
counting detections that crossed the line
Example: Counting Candy
As promised, we tested our application on a completely different use case: counting candy moving along a conveyor belt. Below you can see the results with almost no changes to the code. The only thing adjusted was the path to the model and the location of the lines.
candy detection, tracking, and counting with YOLOv8, ByteTrack, and Supervision
Conclusion
You now know how to use Supervision to bootstrap your project and unleash your creativity by tracking and counting objects of interest. As a next step, deploy your trained model locally or on-device using the open source Roboflow Inference Server.
Stay up to date with the projects we are working on at Roboflow and on my GitHub! Most importantly, let us know what you’ve been able to build.
Cite this Post
Use the following entry to cite this post in your research:
Piotr Skalski. (Feb 1, 2023). Track and Count Objects Using YOLOv8. Roboflow Blog: https://blog.roboflow.com/yolov8-tracking-and-counting/
