
Labeling a computer vision dataset in AWS Rekognition Custom Labels starts with uploading images to an S3 bucket (bypassing the direct-upload image limit), then connecting that bucket to a new Rekognition project and annotating images with bounding boxes. This tutorial uses a solar panel detection dataset as the working example and covers the labeling interface controls including brightness, contrast, zoom, and multi-image navigation shortcuts. Once labeled, the dataset is ready to feed directly into a Custom Labels training job.
AWS Rekognition is Amazon’s flagship computer vision product, offering tools to label data for, train, and deploy vision models. Rekognition has a range of solutions, both out of the box models for specific purposes and an option to train custom models. Training models with custom datasets is offered through the AWS Rekognition Custom Labels product.
In this guide, we are going to walk through how to label a computer vision dataset using AWS Rekognition Custom Labels. We will create an S3 bucket in which to store data, import our data into AWS Rekognition, then label data. We will label an object detection dataset for use in a solar panel detection model.
To follow this guide, you will need an AWS account.
Without further ado, let’s get started!
Interested in training a model on AWS Rekognition Custom Labels? Check out our AWS Rekognition Custom Labels training guide. Our custom training guide also walks through how to optionally label data in Roboflow and import into Custom Labels.
Step #1: Create an S3 Bucket and Upload Data
You can directly upload images into Custom Labels, but there is a limit on how many images you can upload at one time. Instead of uploading images directly, we will upload our image dataset into an S3 bucket which we can then connect to Custom Labels.
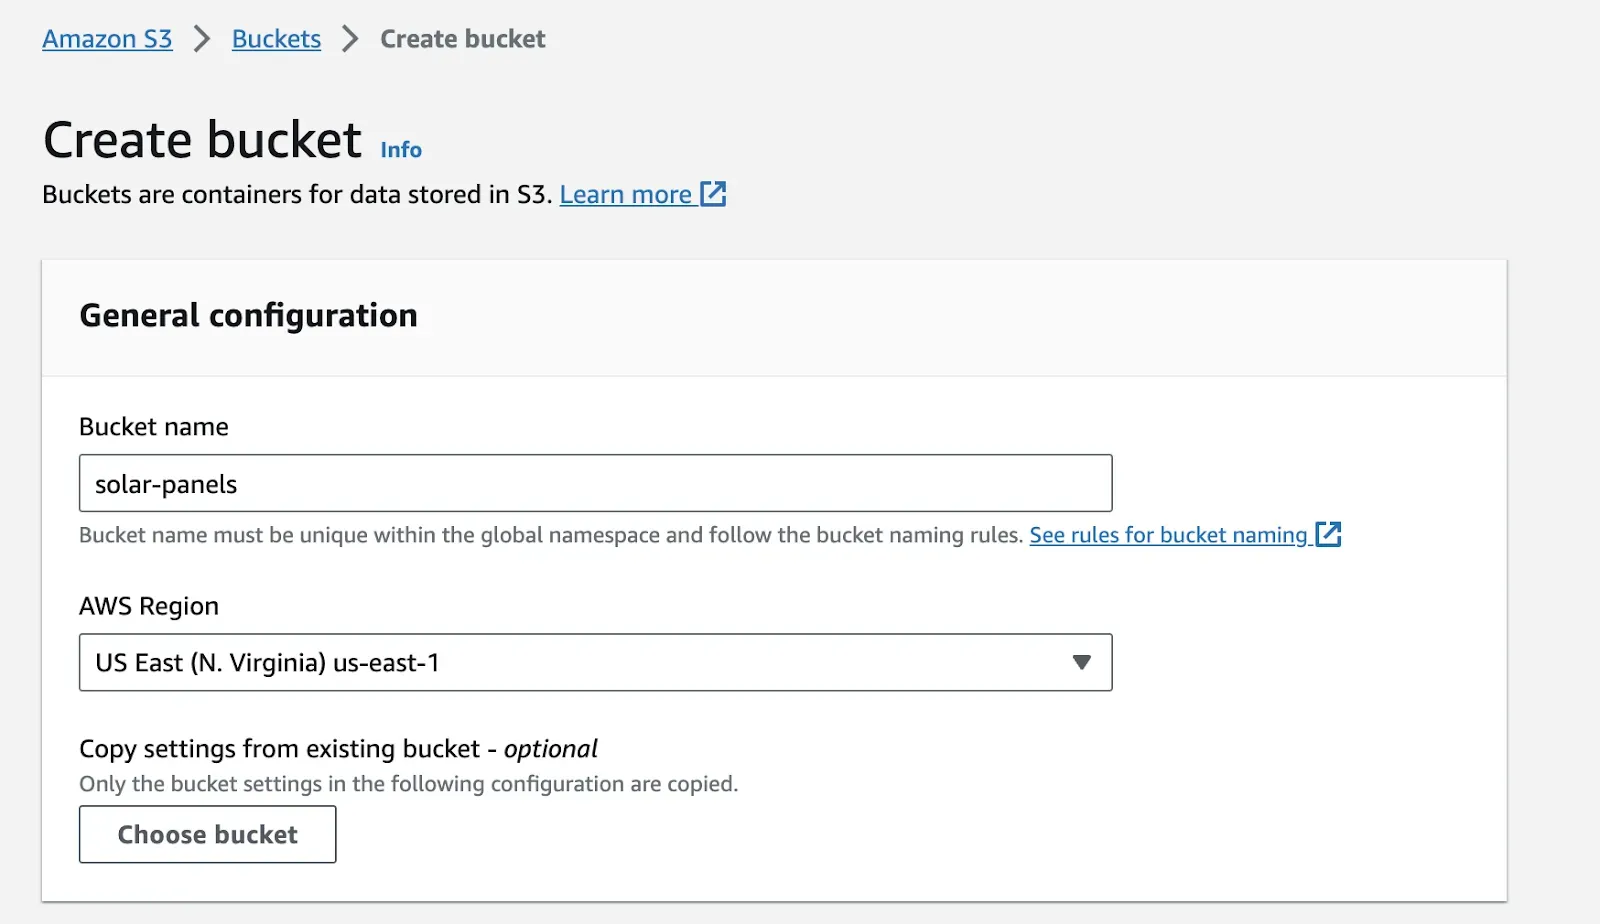
To get started, search for “S3” in the AWS search bar and create a bucket. Choose a name and region in which your bucket should be deployed.
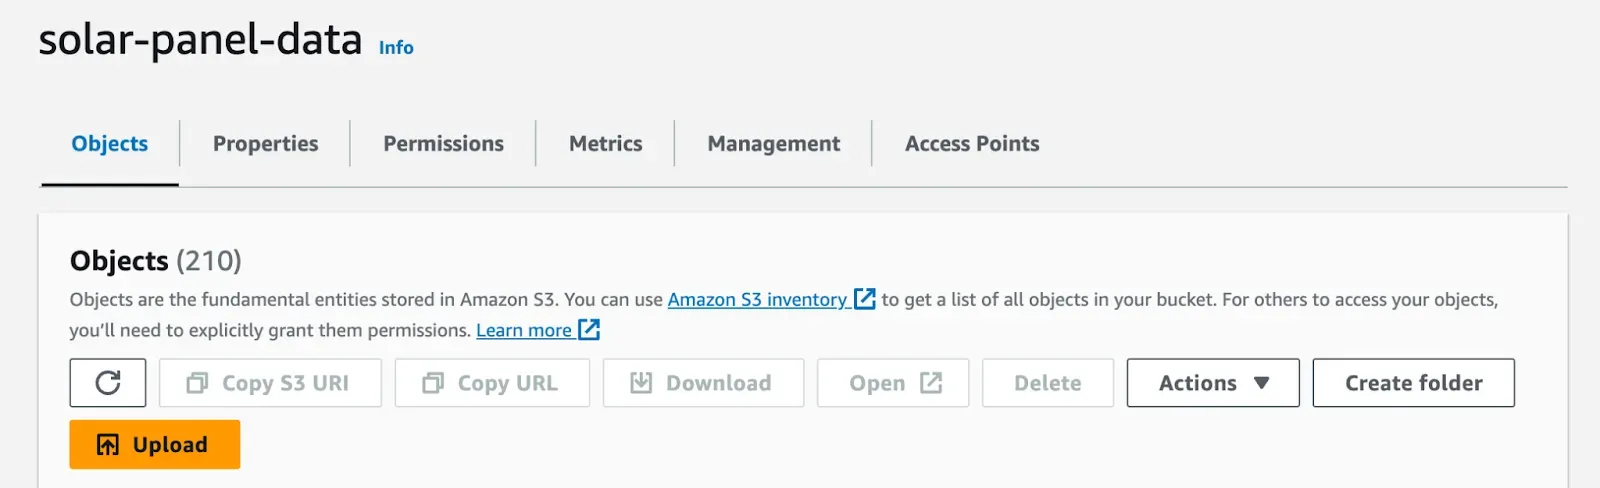
Once you have created your bucket, click the “Upload” button to upload your data:
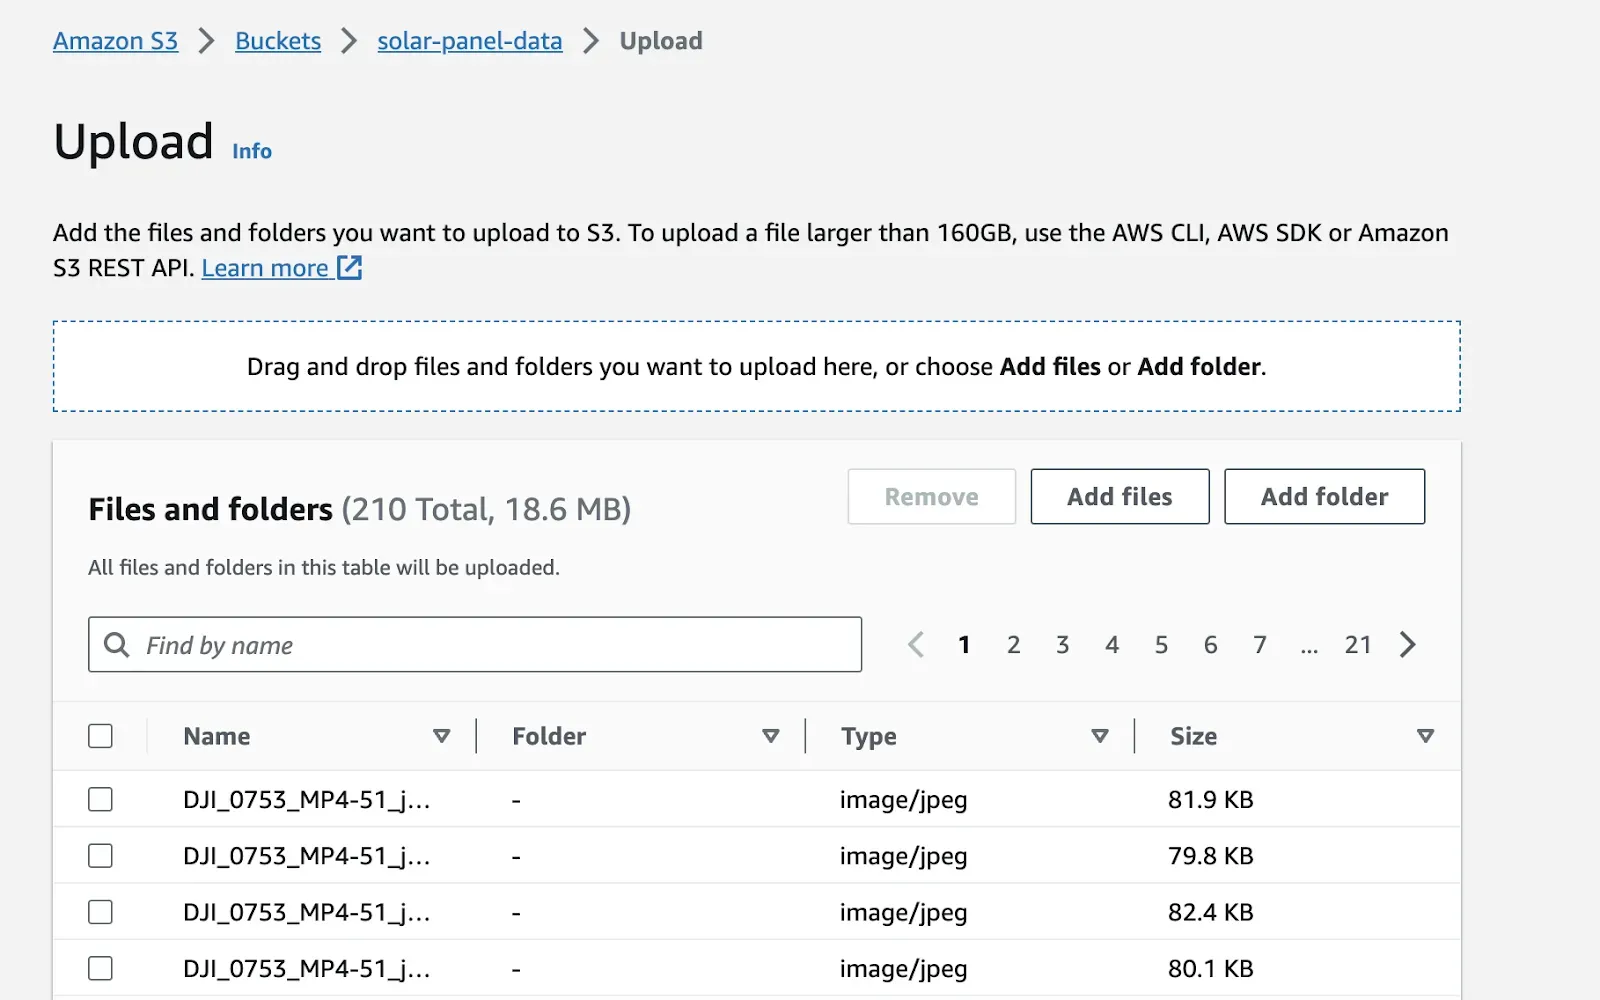
Drag and drop the files or folders you want to upload into S3. A list of files pending upload will appear in the “Files and folder” section.
When you are ready to upload your data, click the “Upload” button. A progress bar will appear showing the status of your upload job. Do not close the page while data is uploading.

Once your images have uploaded, continue onto the next step.
Step #2: Create an AWS Rekognition Project
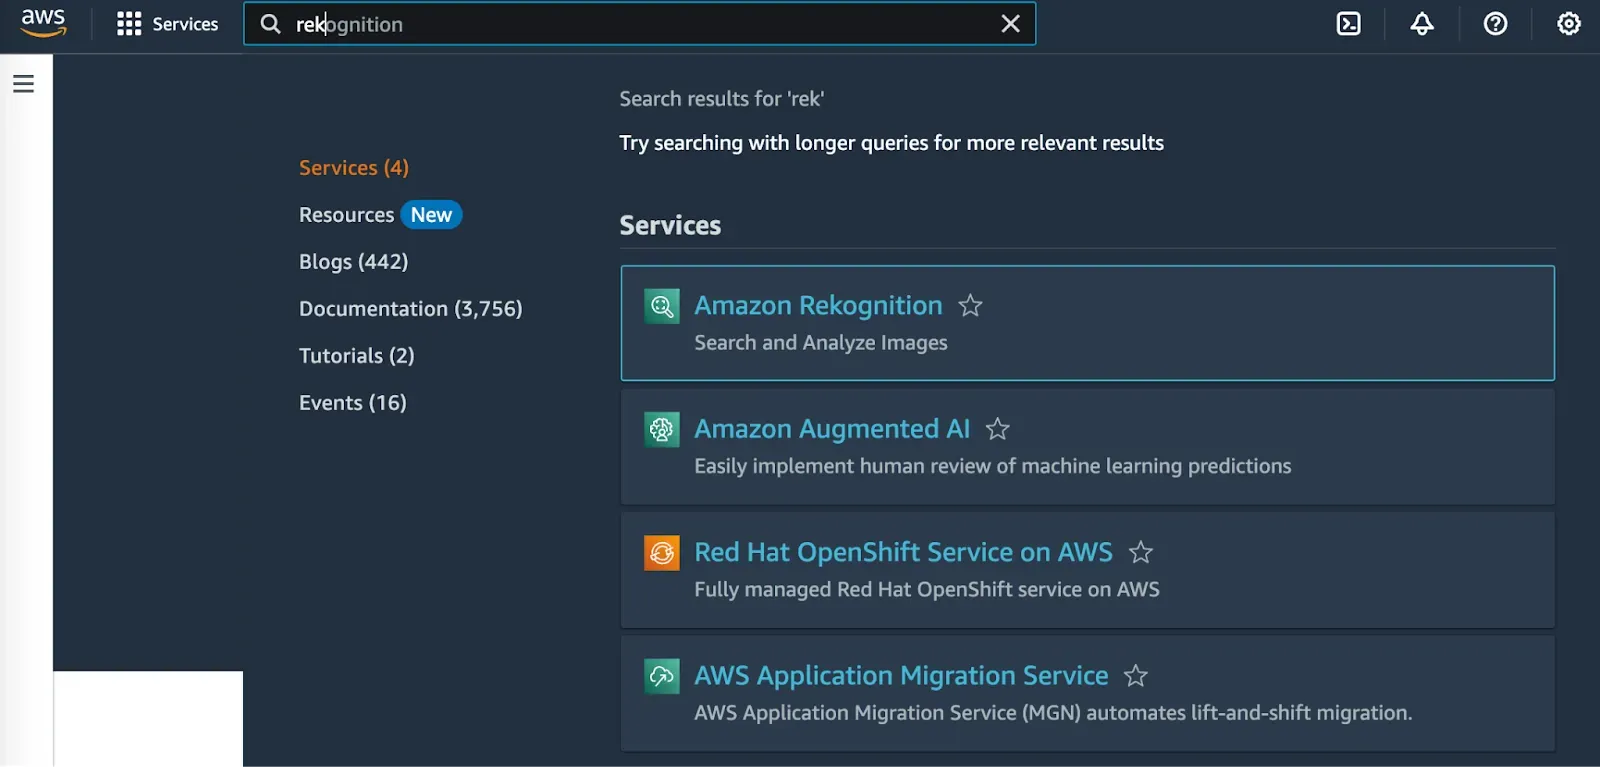
Open up the AWS Console and search for “Rekognition”. Open Amazon Rekognition.
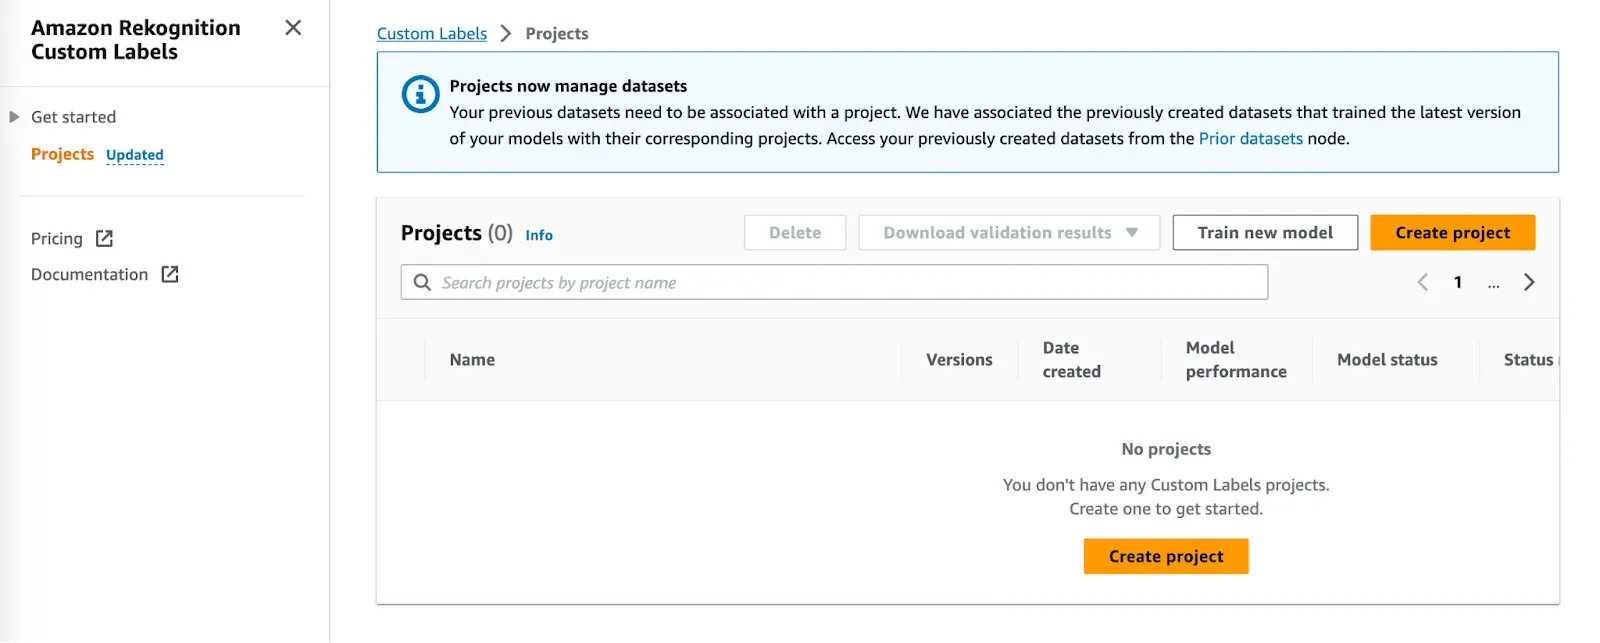
Next, navigate to “Use custom labels” in the Rekognition sidebar and click “Projects”. Here, you can create a project. Click “Create project” to create a project.
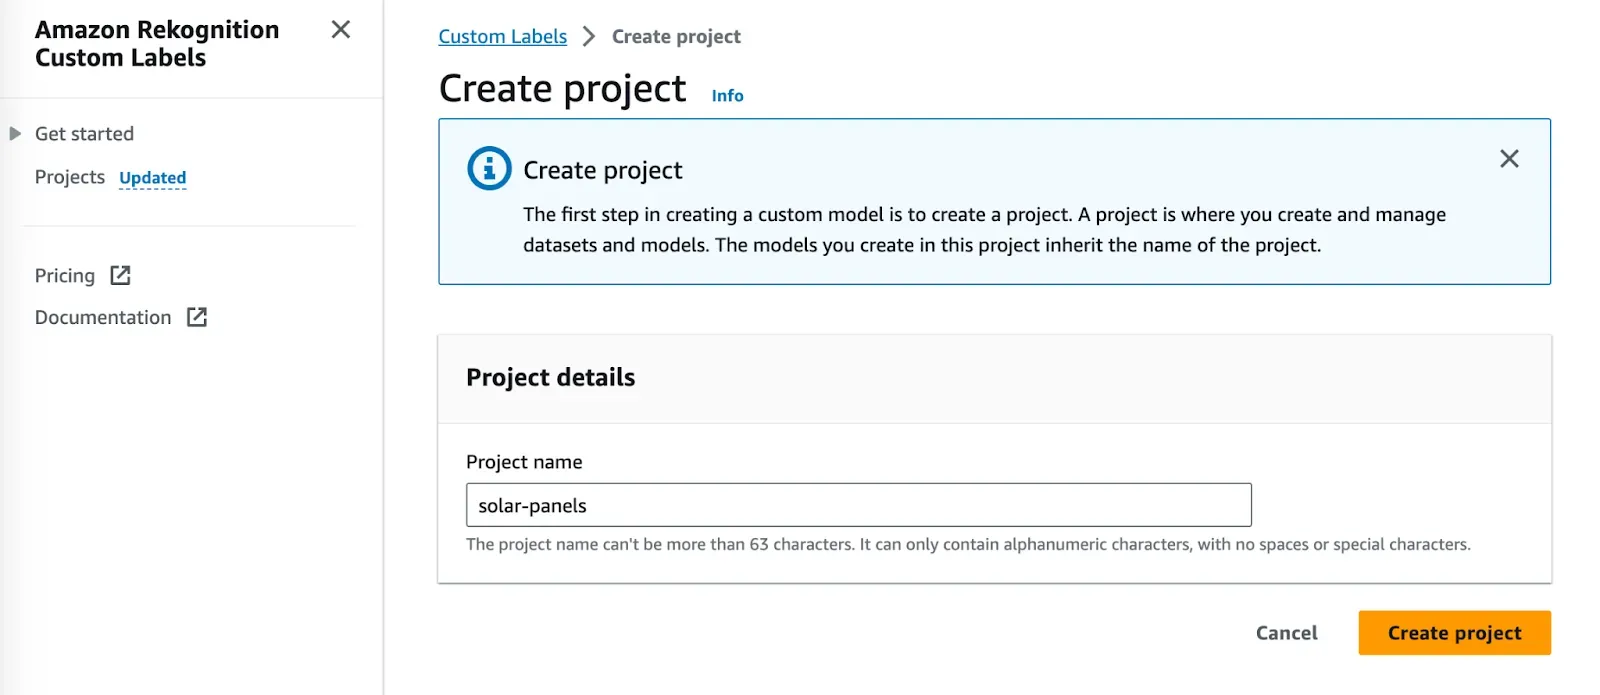
Next, choose a name for your project then click “Create project”:
Your project will be available in the Projects list in Custom Labels and in the sidebar in the Custom Labels dashboard.
Step #3: Connect Data to Rekognition Project
Open your project in AWS Rekognition Custom Labels. A panel will appear showing the four steps you need to complete to train and evaluate a model:
- Create a dataset
- Label images
- Train a model
- Check performance metrics
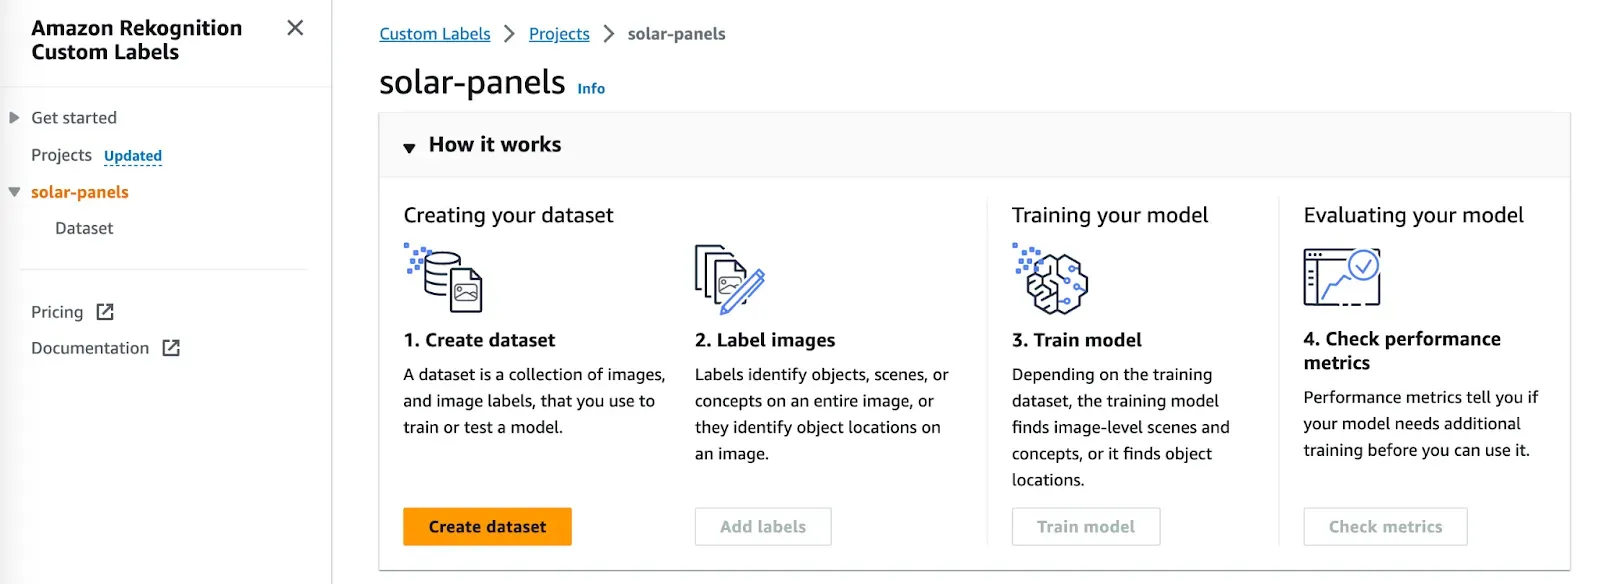
For this guide, we will focus on creating a dataset and labeling images.
To create a dataset, click the “Create dataset” button. On the dataset reaction page, select “Start with a single dataset” option:

Select the “Import images from S3 bucket” option:
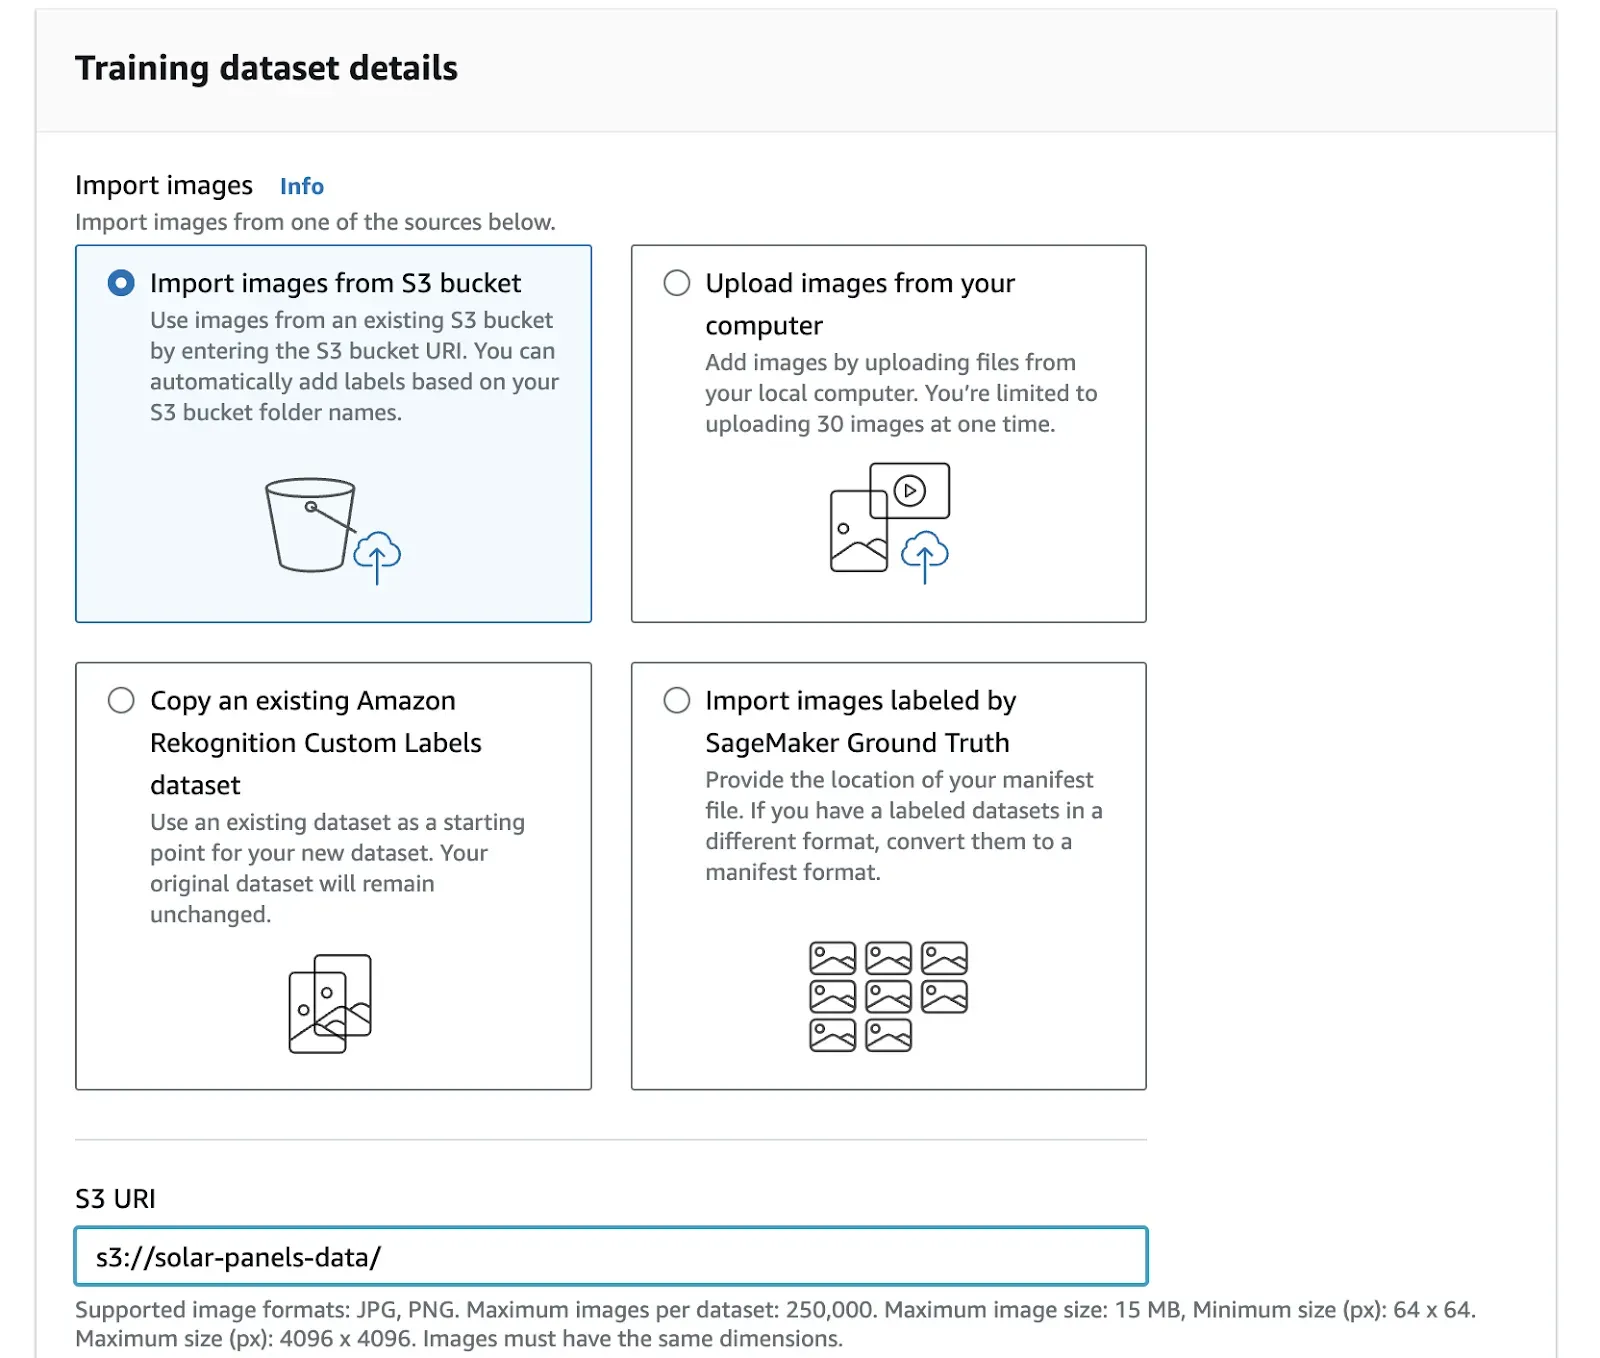
In the S3 URI option, paste in the URI of the folder in which you saved the images in your S3 bucket. In this example, the URI is s3://solar-panels-data/.
Once you have pasted in your S3 URI, click the button to upload your data. Your data will be made available for use in AWS Rekognition Custom Labels.
A notification bar will appear when your images start to import:

When your images are ready, you will be taken to your Custom Labels project homepage where you can start labeling images.
Step #4: Label Images
Once your images have been uploaded, they will be available in the Custom Labels dashboard:
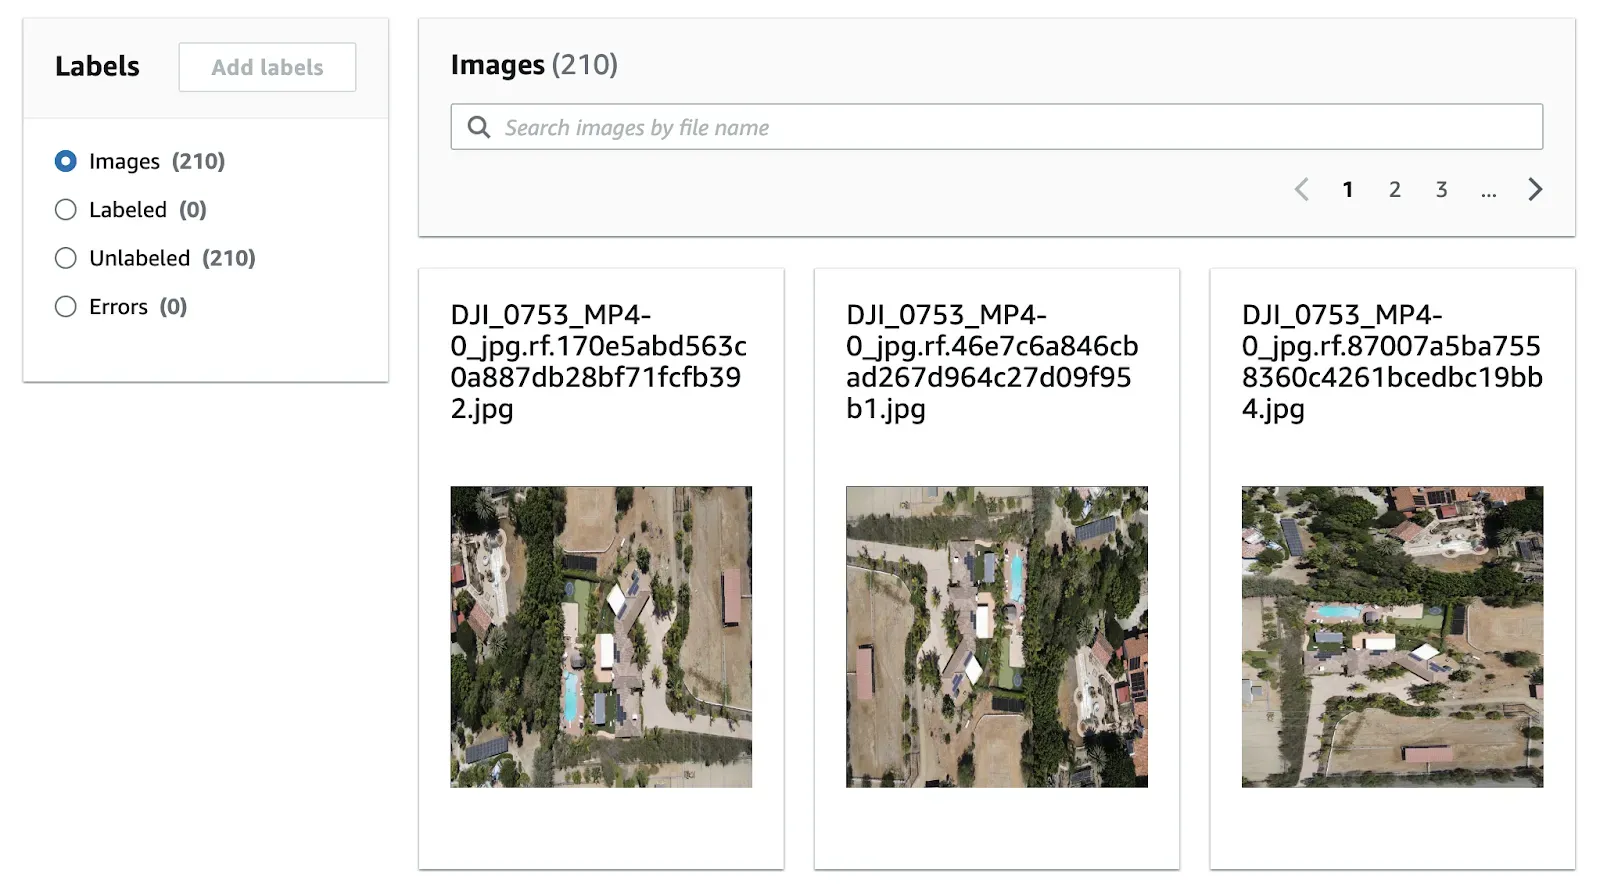
To start labeling, click the “Start labeling” button at the top of the page:

Next, click the “Add labels” button to create labels for use in annotating. For this project, we will create one label: “solar-panel”. Create the labels you need for your project.
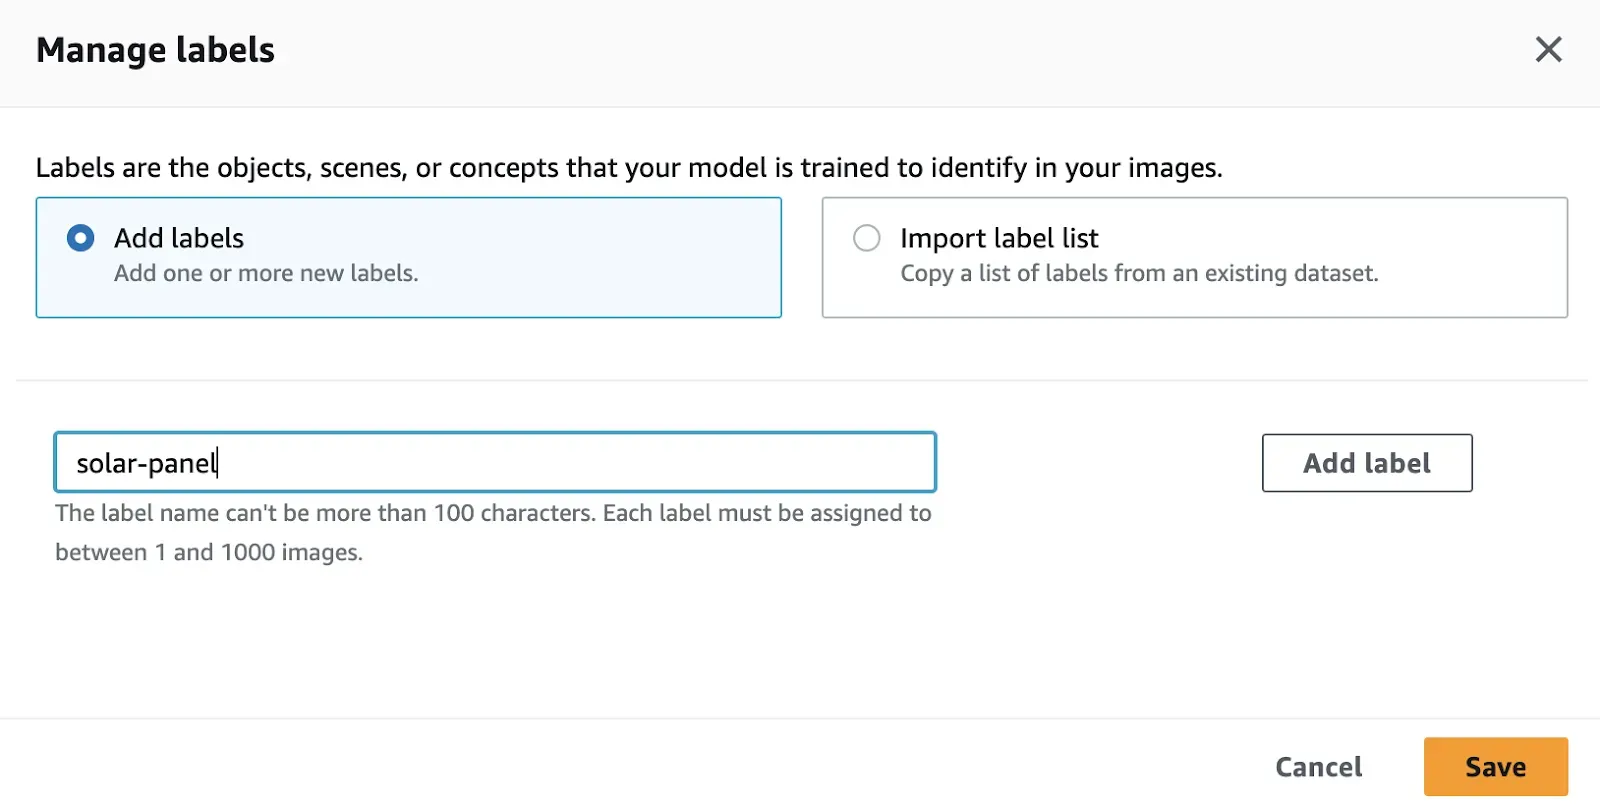
When you have added your labels, click “Save”.
To start labeling data for object detection, click on the images you want to label and click the “Draw bounding boxes” button:
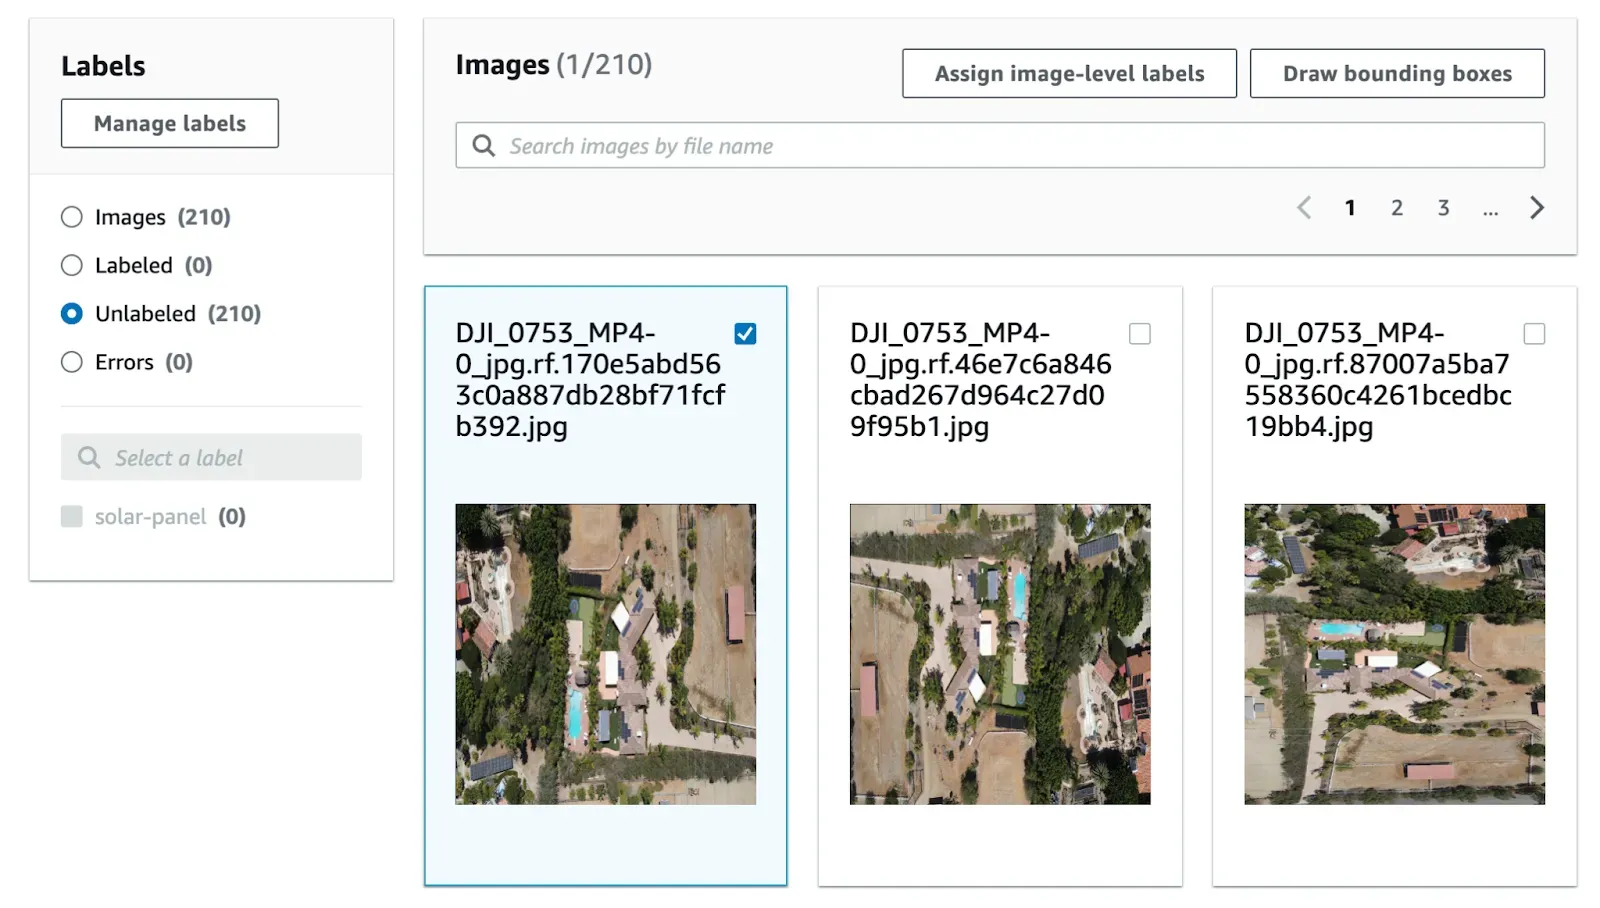
To label an image, press “b” on your keyboard. Click where you want your box to start on the page and drag to draw a box. After you have drawn a box, you will be asked to select a class for the label.
AWS Custom Labels provides a few utilities for labeling images, including:
- Brightness adjustment
- Contrast adjustment
- Zoom in and out
- Undoing and redoing a label
If you selected multiple images to label, you can press shift and either the forward or backward arrow key to annotate the next and previous images, respectively. To exit the annotation session, click the “Done” button in the top left corner, or press shift and the “d” key.

Next Steps
In this guide, we have walked through how to label a computer vision dataset with AWS Rekognition Custom Labels.
Once you have labeled your data, you can train your model from the dataset homepage:

To learn how to train a model in AWS Rekognition Custom Labels, follow our guide on training models in AWS Rekognition.
Roboflow maintains an open source package called supervision with utilities for working with computer vision models. You can use supervision to filter predictions by a range of options (class, bounding box area, confidence, etc.), draw bounding boxes on images, and more.
To learn more about supervision, check out the supervision documentation.
Cite this Post
Use the following entry to cite this post in your research:
James Gallagher. (Oct 6, 2023). Label a Computer Vision Dataset with AWS Rekognition Custom Labels. Roboflow Blog: https://blog.roboflow.com/aws-rekognition-how-to-label/