
ResNet-34 is a lightweight image classification architecture well suited for tasks where inference speed matters. This tutorial covers the full training workflow in Roboflow using a juice box quality assurance dataset: forking the dataset from Roboflow Universe, annotating defect classes (loose straw, broken wrapper, and others), generating a dataset version, training the model, and deploying it via Roboflow Workflows and Inference to classify new images at runtime.
Introduced in 2015, ResNet-34 is an image classification model in the ResNet family of models. You can train a ResNet-34 model to assign categories to the contents of an image.
ResNet models run fast, making them ideal for scenarios where you need an efficient image classifier.
In this guide, we are going to walk through how to train a ResNet-34 model using Roboflow. We will train a model that can classify whether a juice box contains defects or not. We’ll check for defects like a loose straw and broken wrapper.
Without further ado, let’s get started!
Step #1: Prepare Dataset
For this guide, we are going to use the pre-labeled Juice Box Quality Assurance dataset on Roboflow Universe. With that said, you can use any dataset. If you want to use your own dataset, go to your Roboflow dashboard and click “Create Project”, then upload your custom data.
Forking a Dataset from Universe
To use the juice box dataset, navigate to the dataset in Universe, then click “Fork to Roboflow”.
The data will be added to a new project which will open in your Roboflow dashboard.
If you forked a dataset from Roboflow, you can skip to Step #2. Otherwise, follow the instructions below to learn how to create a project from scratch and upload your own data.
Uploading Data from Scratch
If you are uploading your own data, you will need to create a Roboflow project, then upload your data, and click “Save and Continue” to complete the upload process.
Step #2: Annotate Data
If your data is unannotated, you can annotate it in Roboflow.
To start annotating, click on the Annotate tab in the sidebar, choose the batch of images you uploaded, and select an image.
When you get started, you will need to create the class labels for use in training your model. For this guide, we will have five labels. Four of the labels indicate defects, and the other says that the juice box in frame is acceptable. Our labels are:
- acceptable
- incorrect-straw-orientation
- loose-straw
- no-straw
- pierced-straw
You can use any labels you want for your project.
Step #3: Generate Version
Once you have labeled your dataset, you are ready to generate a dataset version. A version is a snapshot of your dataset frozen in time. You can use dataset versions to train models
Click “Generate” in the left sidebar of your project. You will be taken to the dataset generation page.
On this page, you can set augmentations and preprocessing steps for your dataset. We recommend leaving the preprocessing and augmentation steps as the defaults for your first model. As you train future versions, you can experiment with different augmentations and preprocessing steps.
Click “Create” at the bottom of the page to generate your dataset version.
When your dataset is ready, you will be taken to a page from which you can train a model.
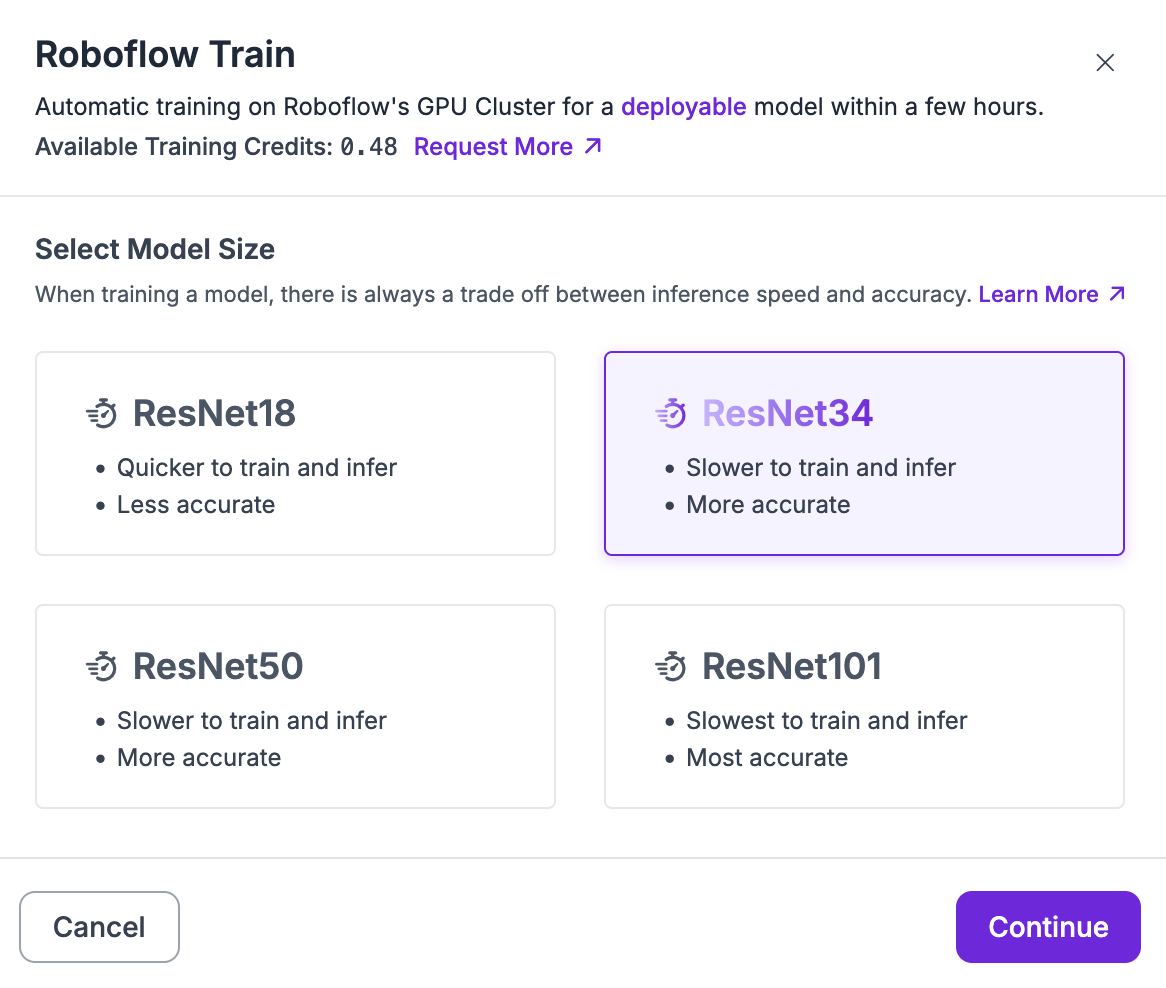
Step #4: Train ResNet-34 Model
With a generated version ready, we can start training a ResNet-34 model.
Click the “Custom Train” button on the page. A window will appear from which you can choose the model architecture you want to use. Select the ResNet-34 training option.
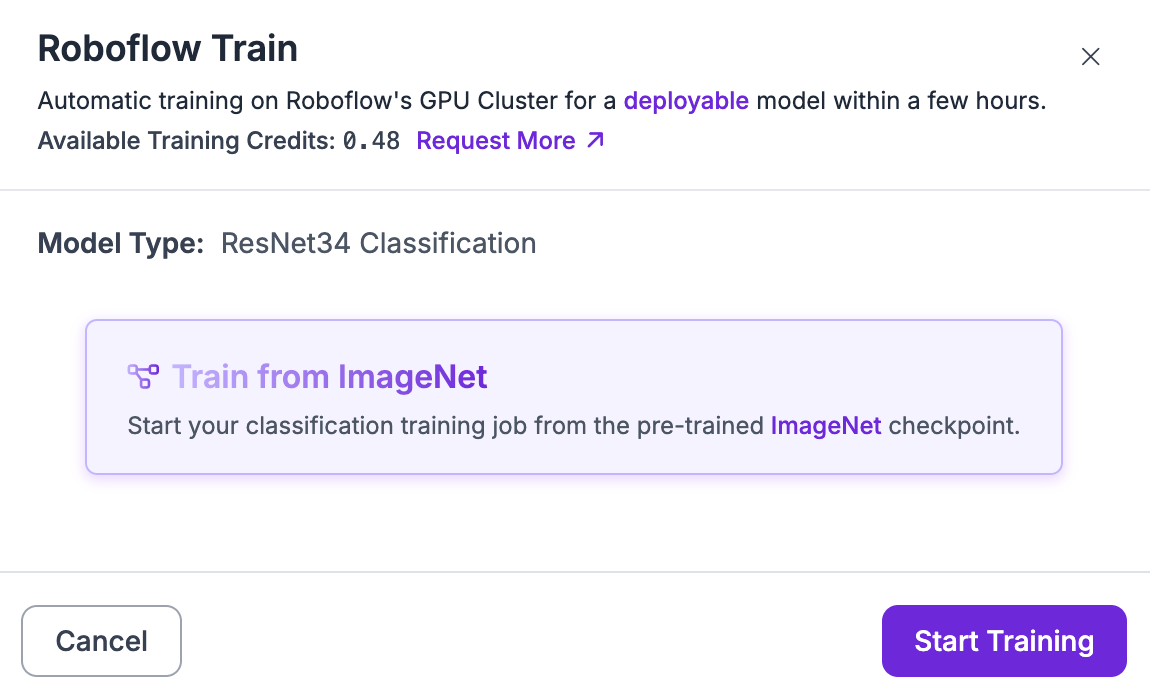
Click “Continue” to select your model size and further configure your training job. Choose the ResNet-34 training option. After completing the configuration form, you will receive confirmation that your model has started to train.
Choose the option to train from ImageNet:
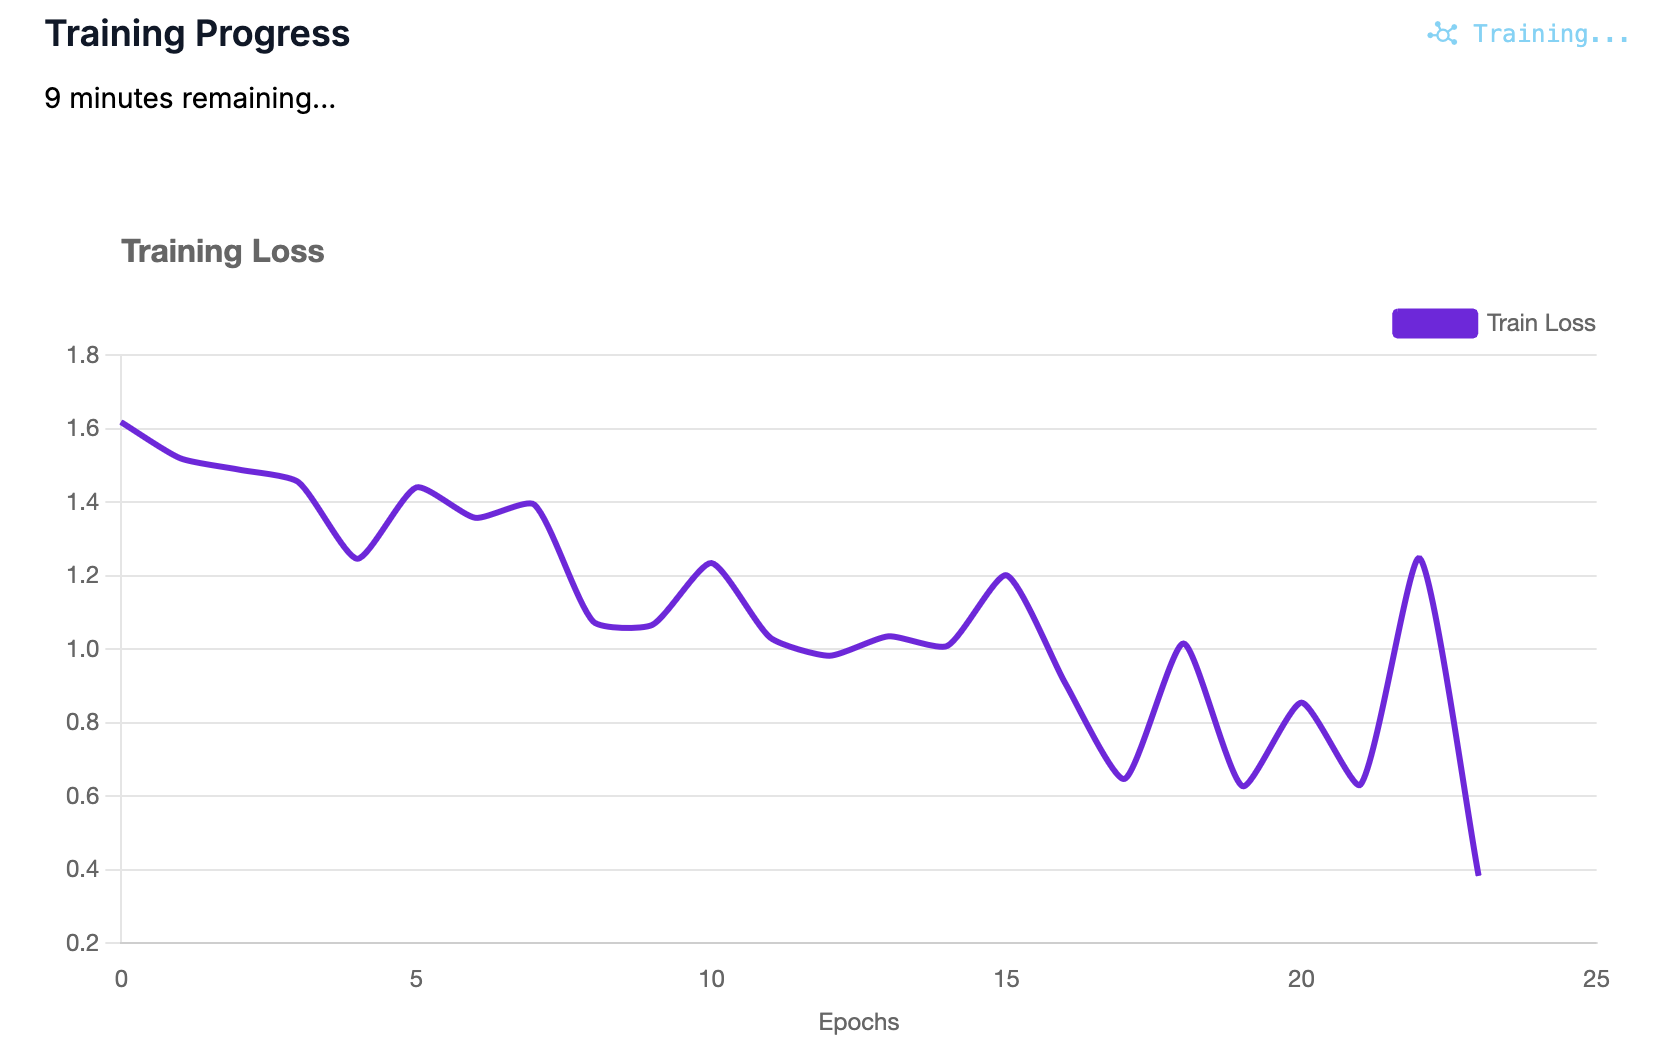
Your dashboard will be updated to reflect that your model is training, with an estimate showing how long we expect the training process to take:

For our dataset of ~30 images, the training process will take around 14 minutes.
The amount of time the training process will take will depend on the number of images in your dataset and the augmentations you apply to your data.
You will see live training graphs showing how your training job is going as your model trains. Training graphs report on both training loss and validation accuracy.
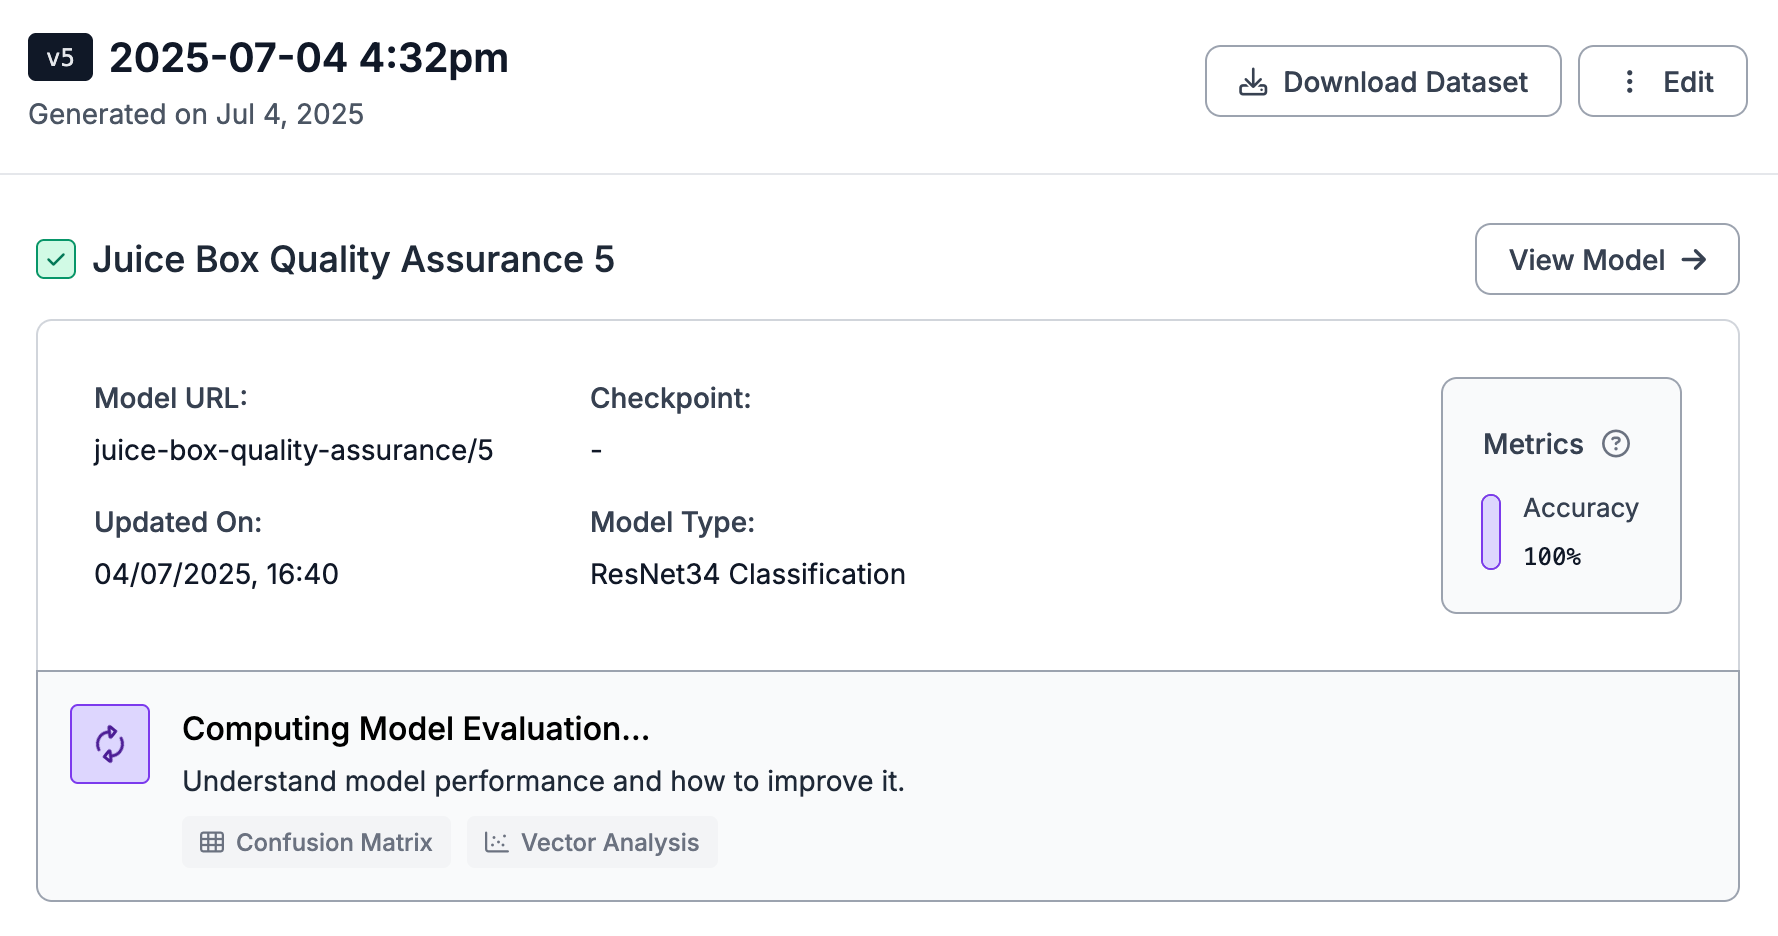
When your model is ready, click "View Model":
This will show a page with an interactive preview widget you can use to test your model. You can upload an image to test it in the preview widget, or select from randomly-chosen images in your model test set:
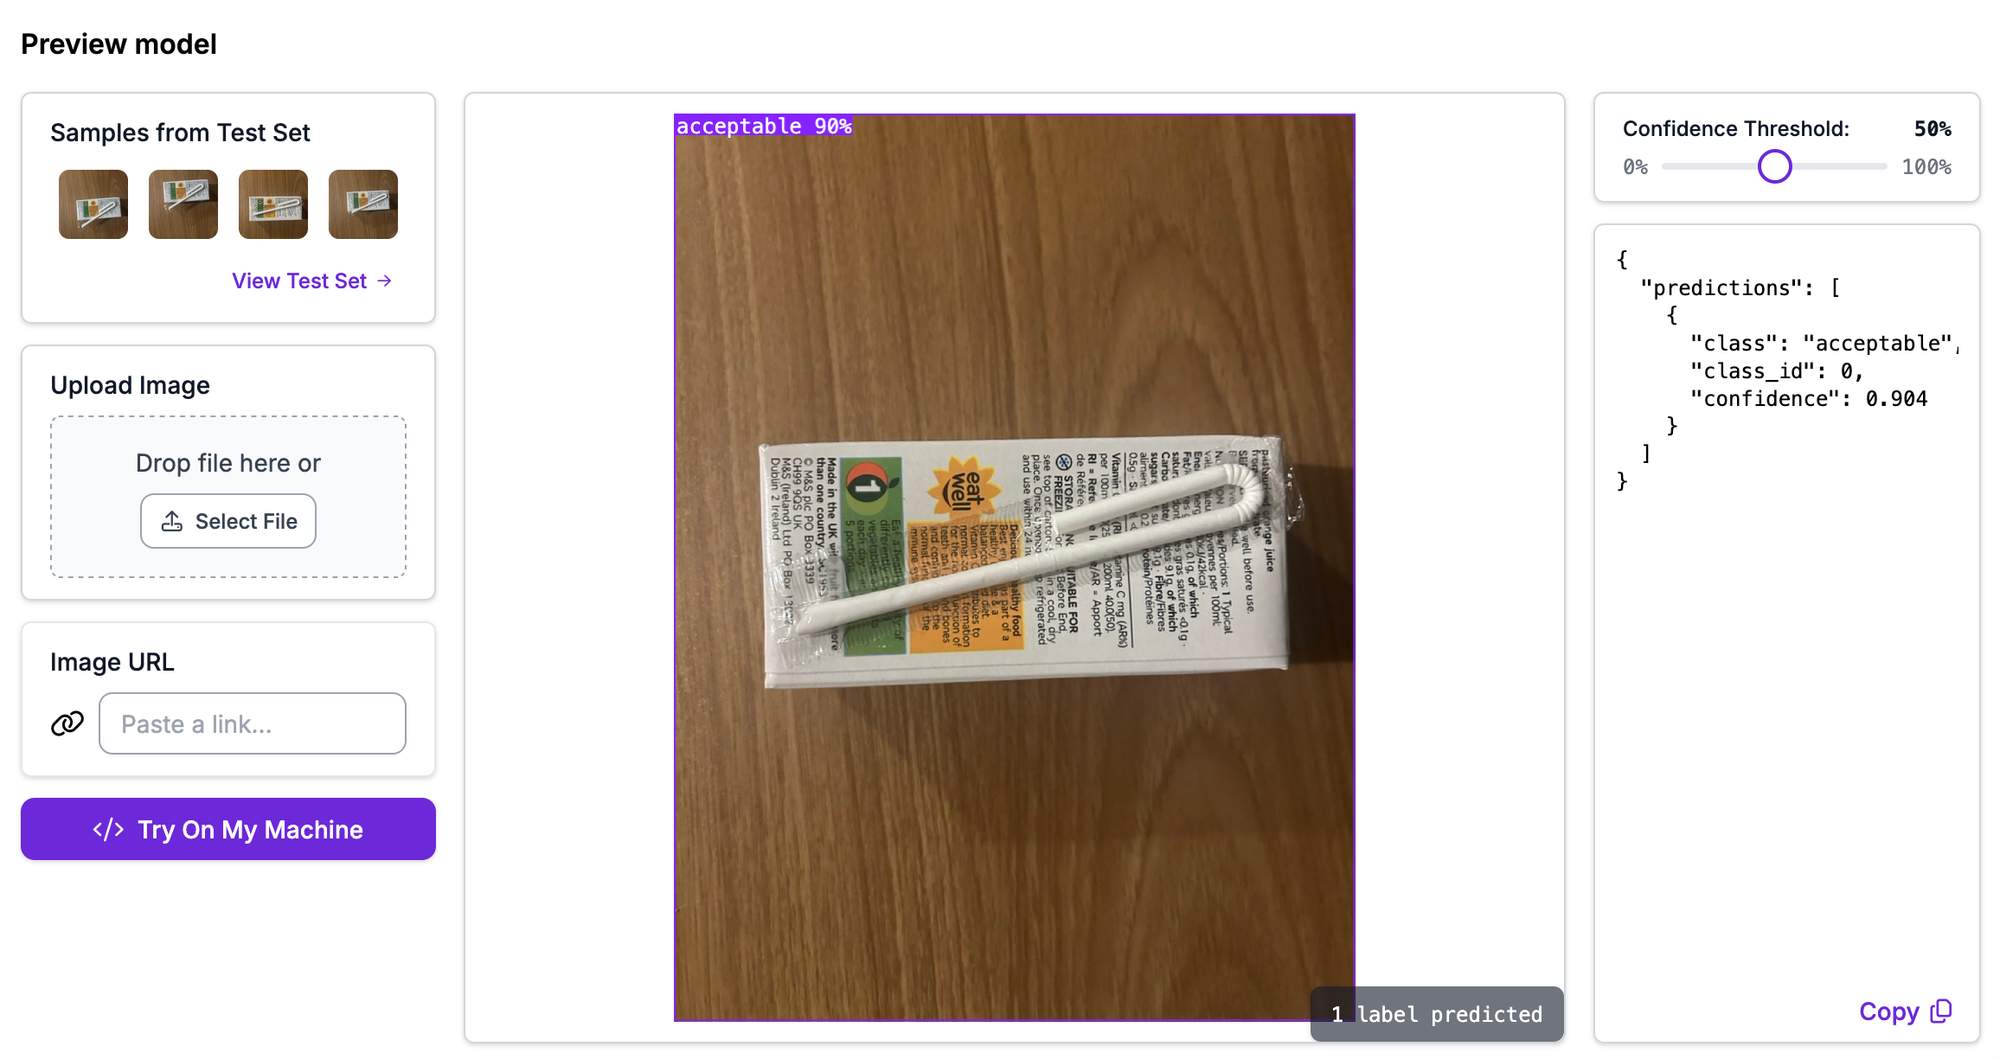
In the above example, we can see our model successfully identified that a juice box without defects was acceptable.
Step #5: Deploy a ResNet-34 Model
With a trained model ready, the next step is to try it out on some images and prepare for deployment. For deployment, we are going to use Roboflow Inference, an open source computer vision inference server.
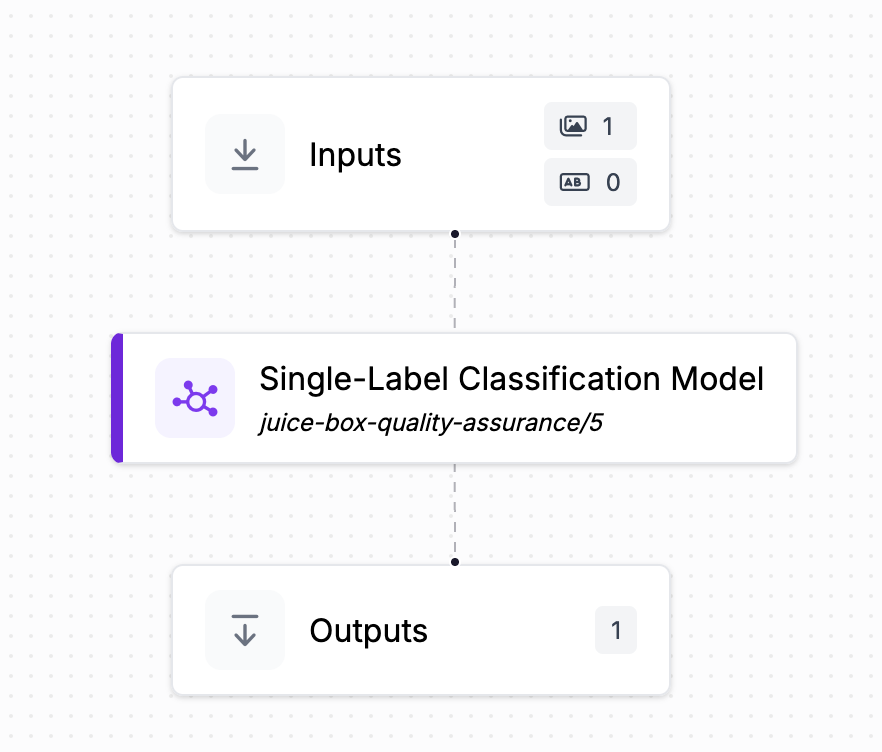
We are going to create a Workflow that runs our model and can be run with Inference on our own hardware.
Click “Deployments” on the left sidebar of your project, then click the Workflows deployment option.
You will be asked what template you want to use. Select “Build My Own”. You will then be taken into the Workflows editor. From the Workflows editor, you can build custom logic that uses your model using several blocks, from the label annotator (which draws labels) to the Expression block (which you can use to return, for example PASS/FAIL depending on conditions).
For this guide, we’ll deploy the default Workflow to show our model is working:
Our model is already set up, so all we need to do is get the deployment code. Click “Deploy” in the top right corner, then copy-paste the “Run on an Image (Local)” code. The code will look like this:
from inference_sdk import InferenceHTTPClient

client = InferenceHTTPClient(
	api_url="http://localhost:9001", # use local inference server
	api_key="API_KEY"
)

result = client.run_workflow(
	workspace_name="your-workspace-name",
	workflow_id="your-workflow-id",
	images={
    	"image": "YOUR_IMAGE.jpg"
	}
)
Before you run the code, you will need to install Inference on your machine and install Docker. If you don’t already have Docker installed, follow the official Docker installation instructions.
You can then start a local Inference server
pip install inference-cli && inference server startLet’s run our code. Our code returns:
[{'predictions': {'inference_id': 'e7be2ba3-807e-4e8b-a740-c5b9d4b20156', 'time': 0.11739895100072317, 'image': {'width': 640, 'height': 640}, 'predictions': [{'class': 'loose-straw', 'class_id': 2, 'confidence': 0.505}, {'class': 'pierced-straw', 'class_id': 4, 'confidence': 0.1855}, {'class': 'acceptable', 'class_id': 1, 'confidence': 0.1158}, {'class': 'no-straw', 'class_id': 0, 'confidence': 0.0989}, {'class': 'incorrect-straw-orientation', 'class_id': 3, 'confidence': 0.0948}], 'top': 'loose-straw', 'confidence': 0.505, 'prediction_type': 'classification', 'parent_id': 'image', 'root_parent_id': 'image'}}]The JSON payload returns all classes and a confidence associated with each class. The class with the highest confidence is loose-straw, which is in the top key of the payload. The confidence for this class is 0.505. This tells us that our model thinks the image features a loose straw. This is correct – our model successfully identified the defect!
Conclusion
ResNet-34 is a computer vision model architecture used for classification. You can train ResNet-50 models with Roboflow, then deploy the model on your own hardware using Roboflow Workflows and Inference.
In this guide, we trained a ResNet-34 model to classify juice boxes. We uploaded data to Roboflow, annotated the dataset, generated a dataset version, trained a model, then created a Workflow to run our model.
If you are interested in learning more about deploying with Roboflow, refer to the Inference documentation. We encourage you to explore Workflows, too - experiment with different blocks in the web editor and see what you can build!
Cite this Post
Use the following entry to cite this post in your research:
James Gallagher. (Jul 4, 2025). How to Train a ResNet-34 Model on a Custom Dataset. Roboflow Blog: https://blog.roboflow.com/train-resnet-34/