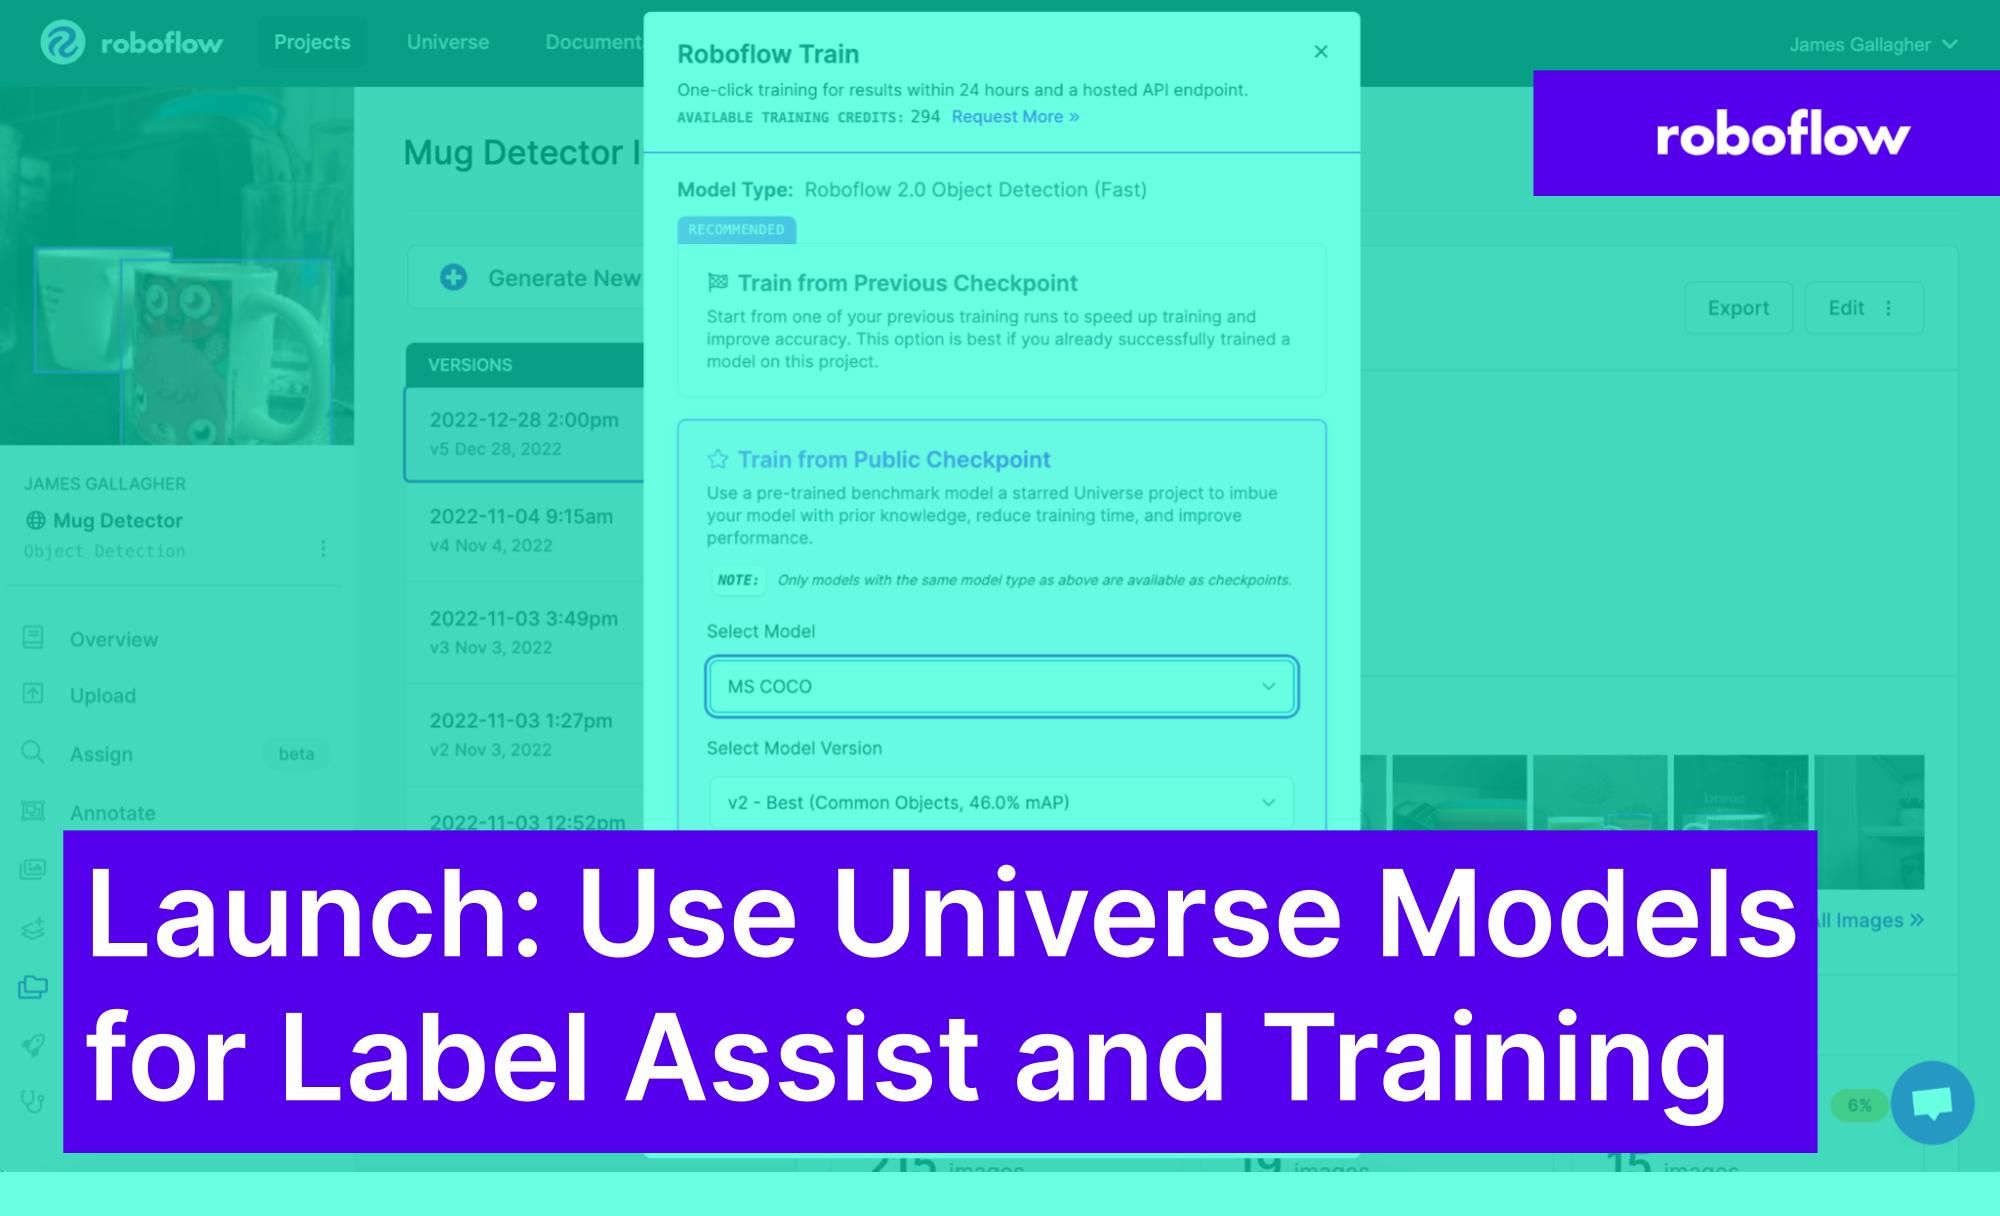
At Roboflow, we are always working on new ways to reduce the amount of time it takes to get a computer vision model into production.
Today, we are announcing a new feature that lets you use over 10,000 pre-trained models from Roboflow Universe to:
- Launch the first version of a model into production without any data and;
- Train from a checkpoint, enabling you to reduce training time and improve the accuracy of your model.
In this post, we’re going to talk through how you can leverage Roboflow Universe to reduce annotation time and get a model into production faster than ever in the Roboflow platform. Without further ado, let’s begin!
Starring Projects in Universe
To use Roboflow Universe models with Label Assist and model training, you will need to "star" the model on Universe. This lets you keep track of models that you want to use with Label Assist and as pre-trained checkpoints (and also to show your vote of gratitude to the community member who shared it).
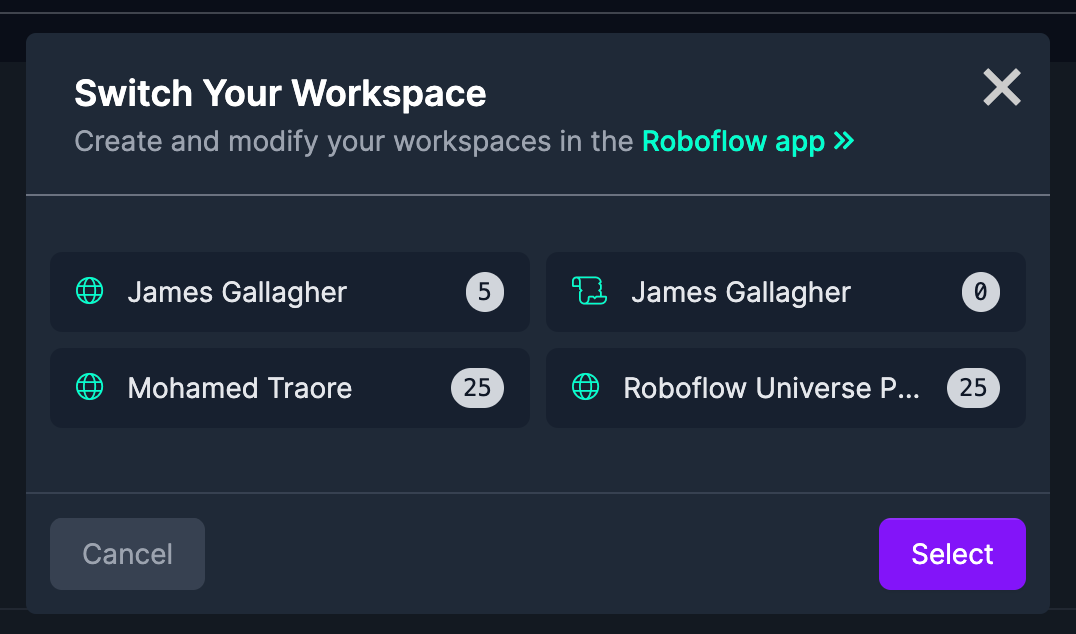
Note: If you work with multiple teams in Roboflow, make sure you are operating in the same workspace on Universe where you will want to use the model. You can do this by clicking on your profile name in the top-right corner of the Universe header and clicking "Switch Your Workplace". Then select the workspace in which you will use the model.
Now we are ready to start starring projects!
To get started, go to Roboflow Universe and search for a model that you want to use with Label Assist (pro-tip: if you add the model keyword to your search query, only projects with a fine-tuned model will be returned). Then, click the “star” icon that appears next to the project name. Here’s how the star appears on a project card in a search page:
You can also click the “star” icon that appears next to a project's name like this:
If the project you starred has a trained model available, you will be able to use the model in Label Assist and as a transfer learning checkpoint in Roboflow Train.
Use Universe Models for Label Assist
We want to reduce the amount of time it takes you to annotate images. Last year, we announced Label Assist, a tool that lets you use models you have trained and checkpoints from the COCO to automate annotation work. The tool automatically annotates images when the model chosen to assist you identifies an object.
You can now use any of the over 10,000 pre-trained models on Roboflow Universe, our public repository of datasets and models, with Label Assist. For example, if you are annotating safety equipment on a construction site, you could use the public Construction Site Safety model on Roboflow Universe as your automated labeling assistant.
Once you have starred a model using the stages described earlier, you can use the model with Label Assist. To do so, first go to the image annotation tool on a project that you are working on. Then, click the magic wand icon to enable Label Assist. Click “Public Models”. In the “Project” dropdown, you will see the projects you have starred:
Click on the model you want to use to assist you while labeling. Then, click “Continue”. After a few moments, you will be asked to remap labels if needed to ensure that the pre-trained model uses the right labels to match the class names in your project.
Remapping Labels for Label Assist
It is likely that the Universe model that you choose to use with Label Assist contains classes that do not exactly match your existing classes (for example, if you're labeling vehicles and the public model identifies cars, busses, and trucks or if you speak English but the model was trained with Spanish labels).
Once you choose a Universe model to use with Label Assist, you'll need to map the Universe class names with the class names you want to use in your project. Consider the scenario where a construction dataset uses the class hard hat and you want to label all of these objects with the label helmet.
To make sure Label Assist uses the right values, you would need to map hard hat from the Universe model to helmet.
After you click "Continue" on the previous pop up to select a model, you will be given the chance to remap labels. All of the labels in the Universe dataset you are using with Label Assist will appear on a list. You can remap any label by clicking on it and changing the text.
In the below example, we change a label called Hardhat to say helmet and turned off the other classes from the model:

When you press enter, you'll see the old class name crossed out alongside the new class name:

In the image above, we have mapped Hardhat to helmet. This means Label Assist will assign the label helmet to any Hardhat predictions that our Universe label assist model makes and ignore the classes we don't care about labeling like Gloves, and Mask.
Use Universe Models for Training
You can also use all models you have starred using the steps described above as checkpoints for your next model training. This means you can start training a model on top of an existing one that solves a similar problem to the model you are building.
With this approach, your model will be able to benefit from all of the knowledge of an existing model, while being fine-tuned to your use case using the data you have annotated. This approach is referred to as transfer learning. For a technical deep-dive on this concept, check out our transfer learning guide.
Rather than starting to train from the MS COCO dataset, the default checkpoint trained on common objects, or starting from scratch, you could build your model on top of one of the many models on Universe.
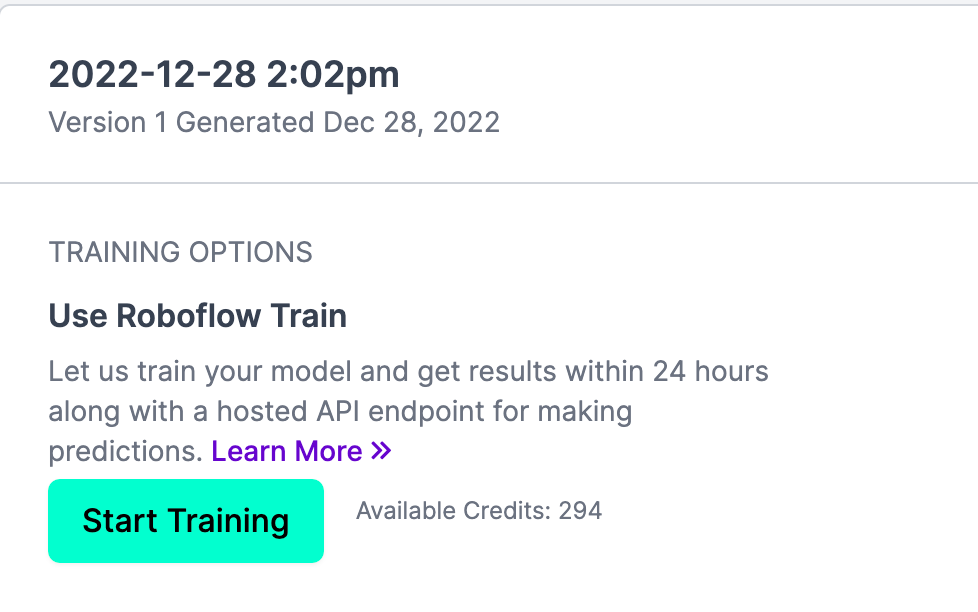
To use a Universe model in training, first generate a version of your dataset. Then, click the “Start Training” button in the Roboflow dashboard:
This button will open up a modal that lets you choose how your model should be trained. Choose either “Fast” or “Accurate”, depending on your requirements. We typically recommend “Fast” for testing. Then, click “Continue”. You will then see three options for how your model should be trained, like this:
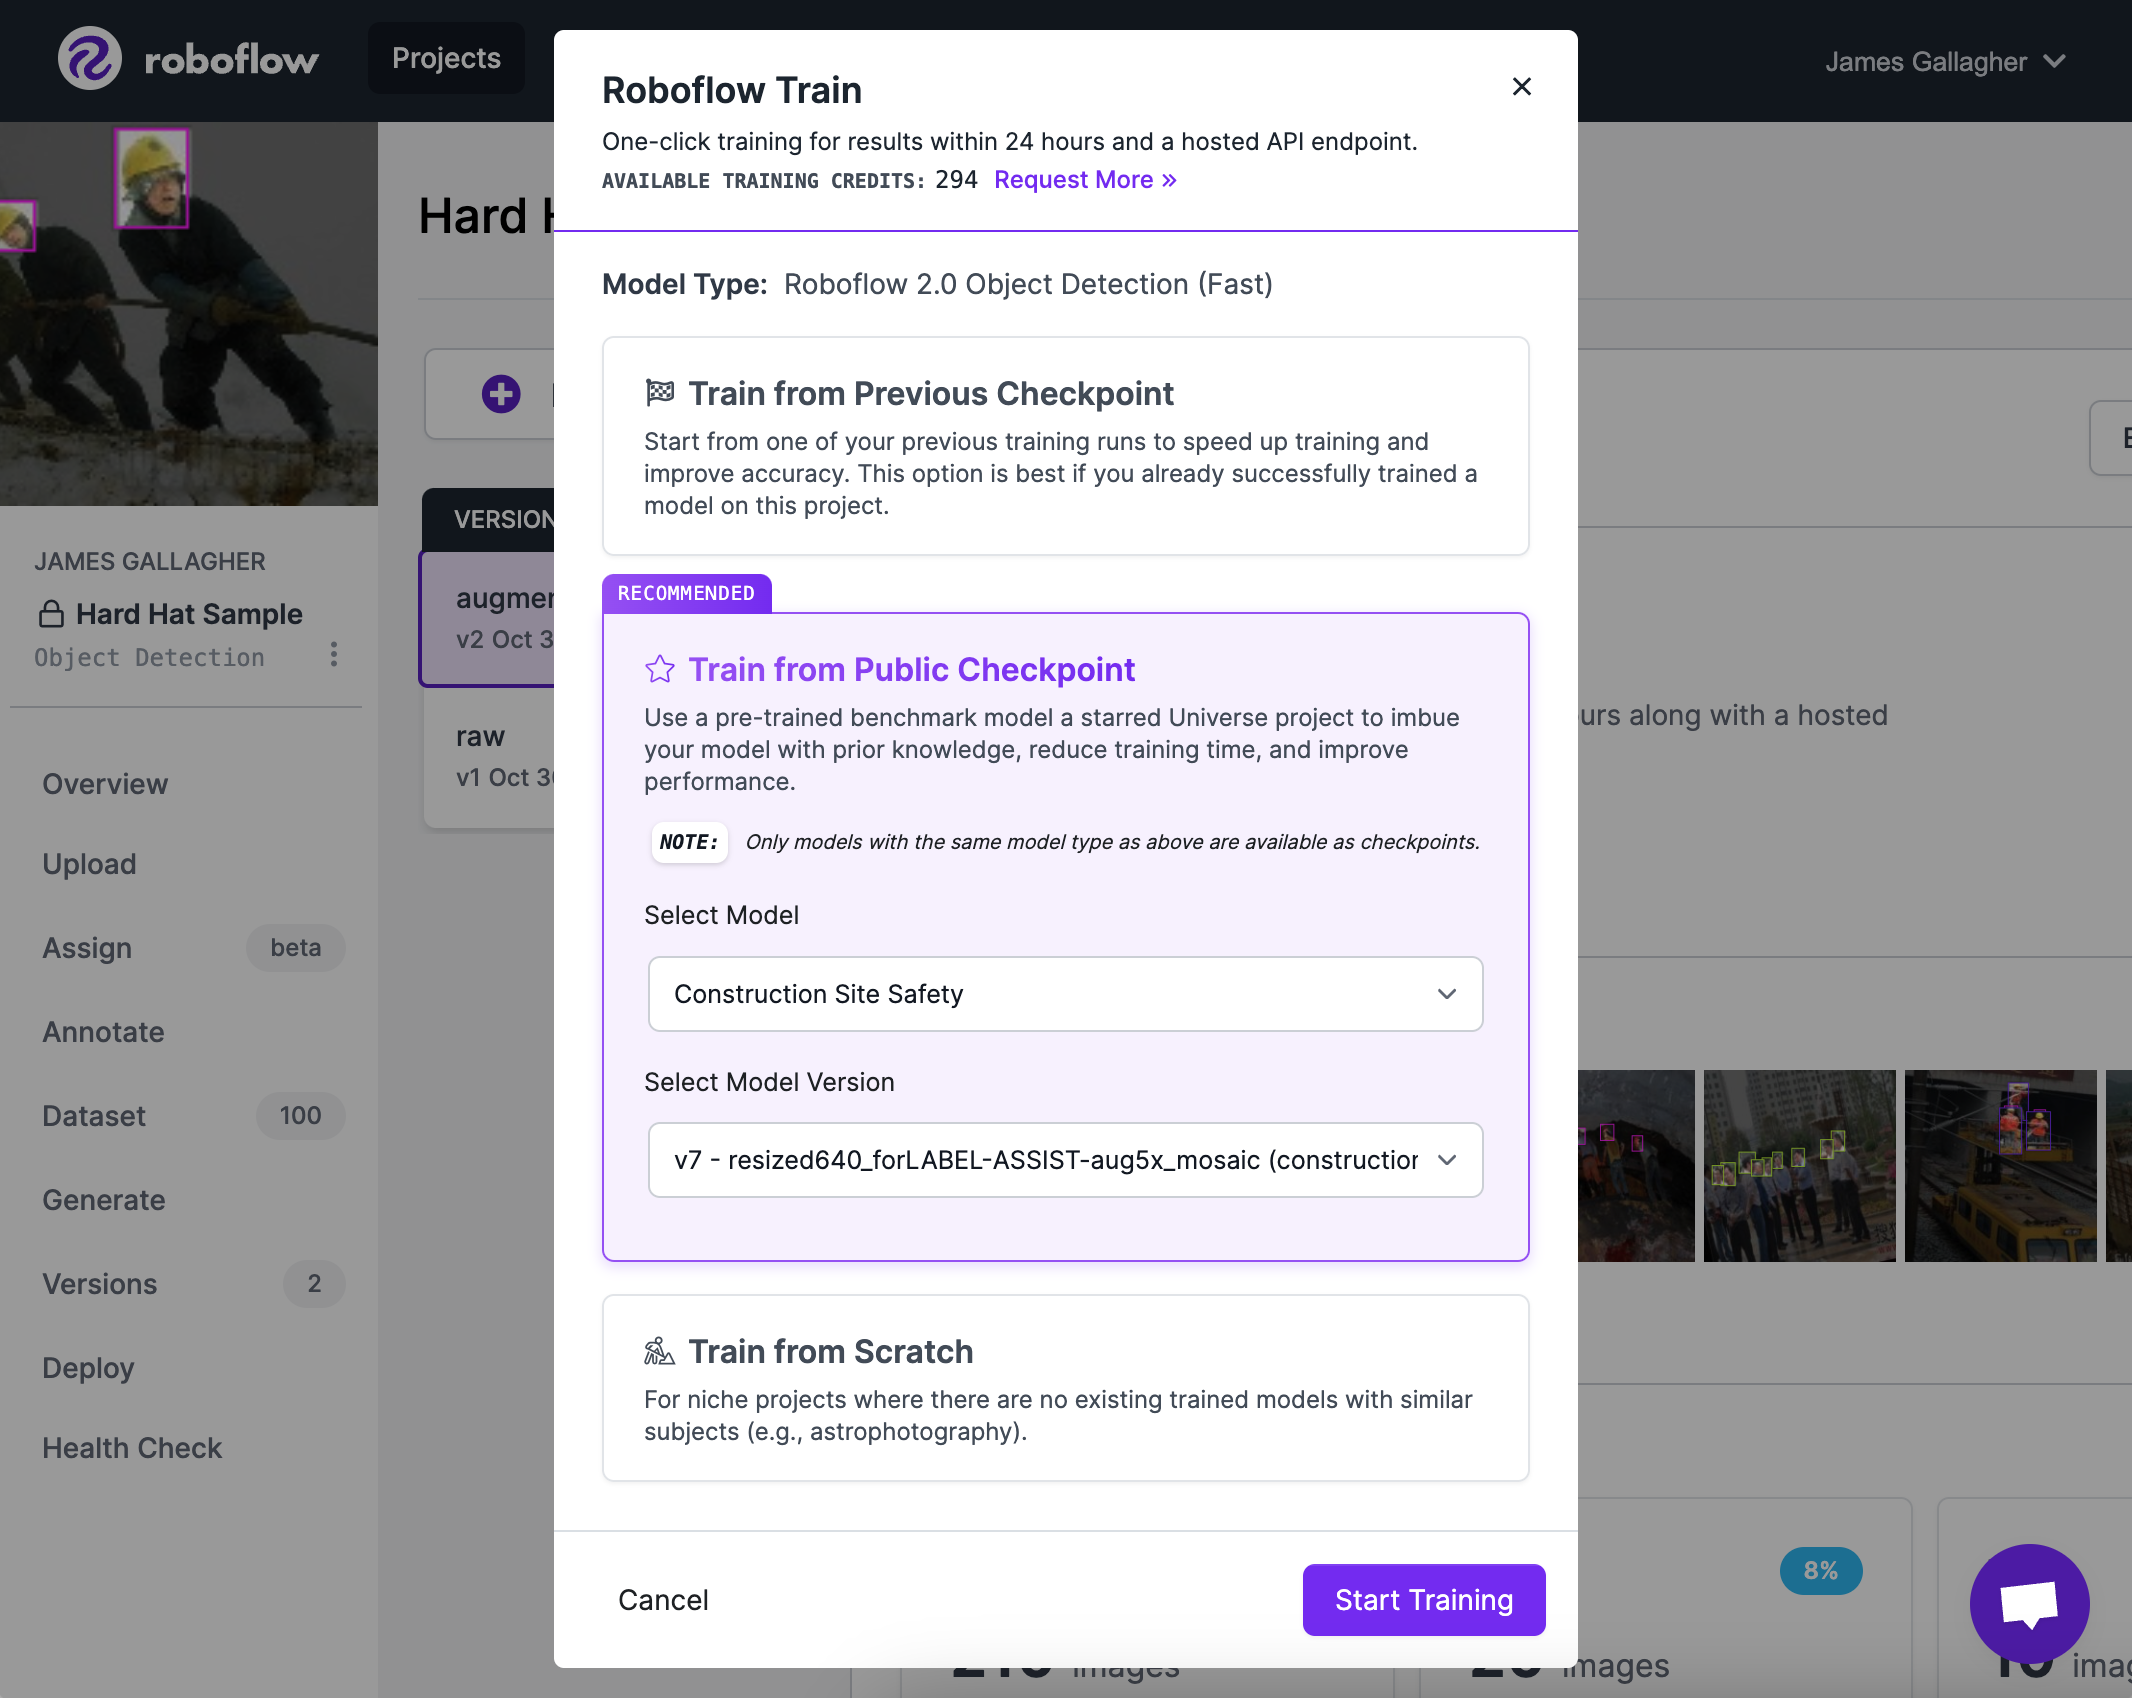
Select “Train from Public Checkpoint”. Then, select the model you have starred from the “Select Model” dropdown. You can select the version of the model that you want to use as a checkpoint using the “Select Model Version” dropdown.
Note: You can only start training from a checkpoint of the same model type, so if you're training an Accurate model but the Universe project you starred only has a Fast checkpoint, you won't be able to use it.
When you’re ready to start the training process, click the “Start Training” button. In only a few clicks, you have used a pre-existing model that is similar to your use case as a starter for your model. You will receive an email from Roboflow once your model has finished training.
Build a Model Without Annotating Images
We are always striving to improve our annotation and training workflows to make it as easy for you to train a computer vision model as possible. We want you to focus on what matters most: solving problems with computer vision, fast.
With help from models on Roboflow Universe, you can get the first version of a model into production faster than ever. Here's a quick recap of the steps you can follow to get from an idea to a trained model without annotating any images:
- Explore Roboflow Universe for projects related to the problem you want to solve.
- Star a project that you want to use in Label Assist and training.
- Use Label Assist to automatically label your data.
- Start training your new model using the checkpoint from the Universe model you have selected.
Within an afternoon, you can have a computer vision model deployed into production.