Roboflow supports segmentation to train models that predict complex shapes, and now you can use polygon annotations with Object Detection, Instance Segmentation, and Semantic Segmentation projects.
What is polygon annotation?
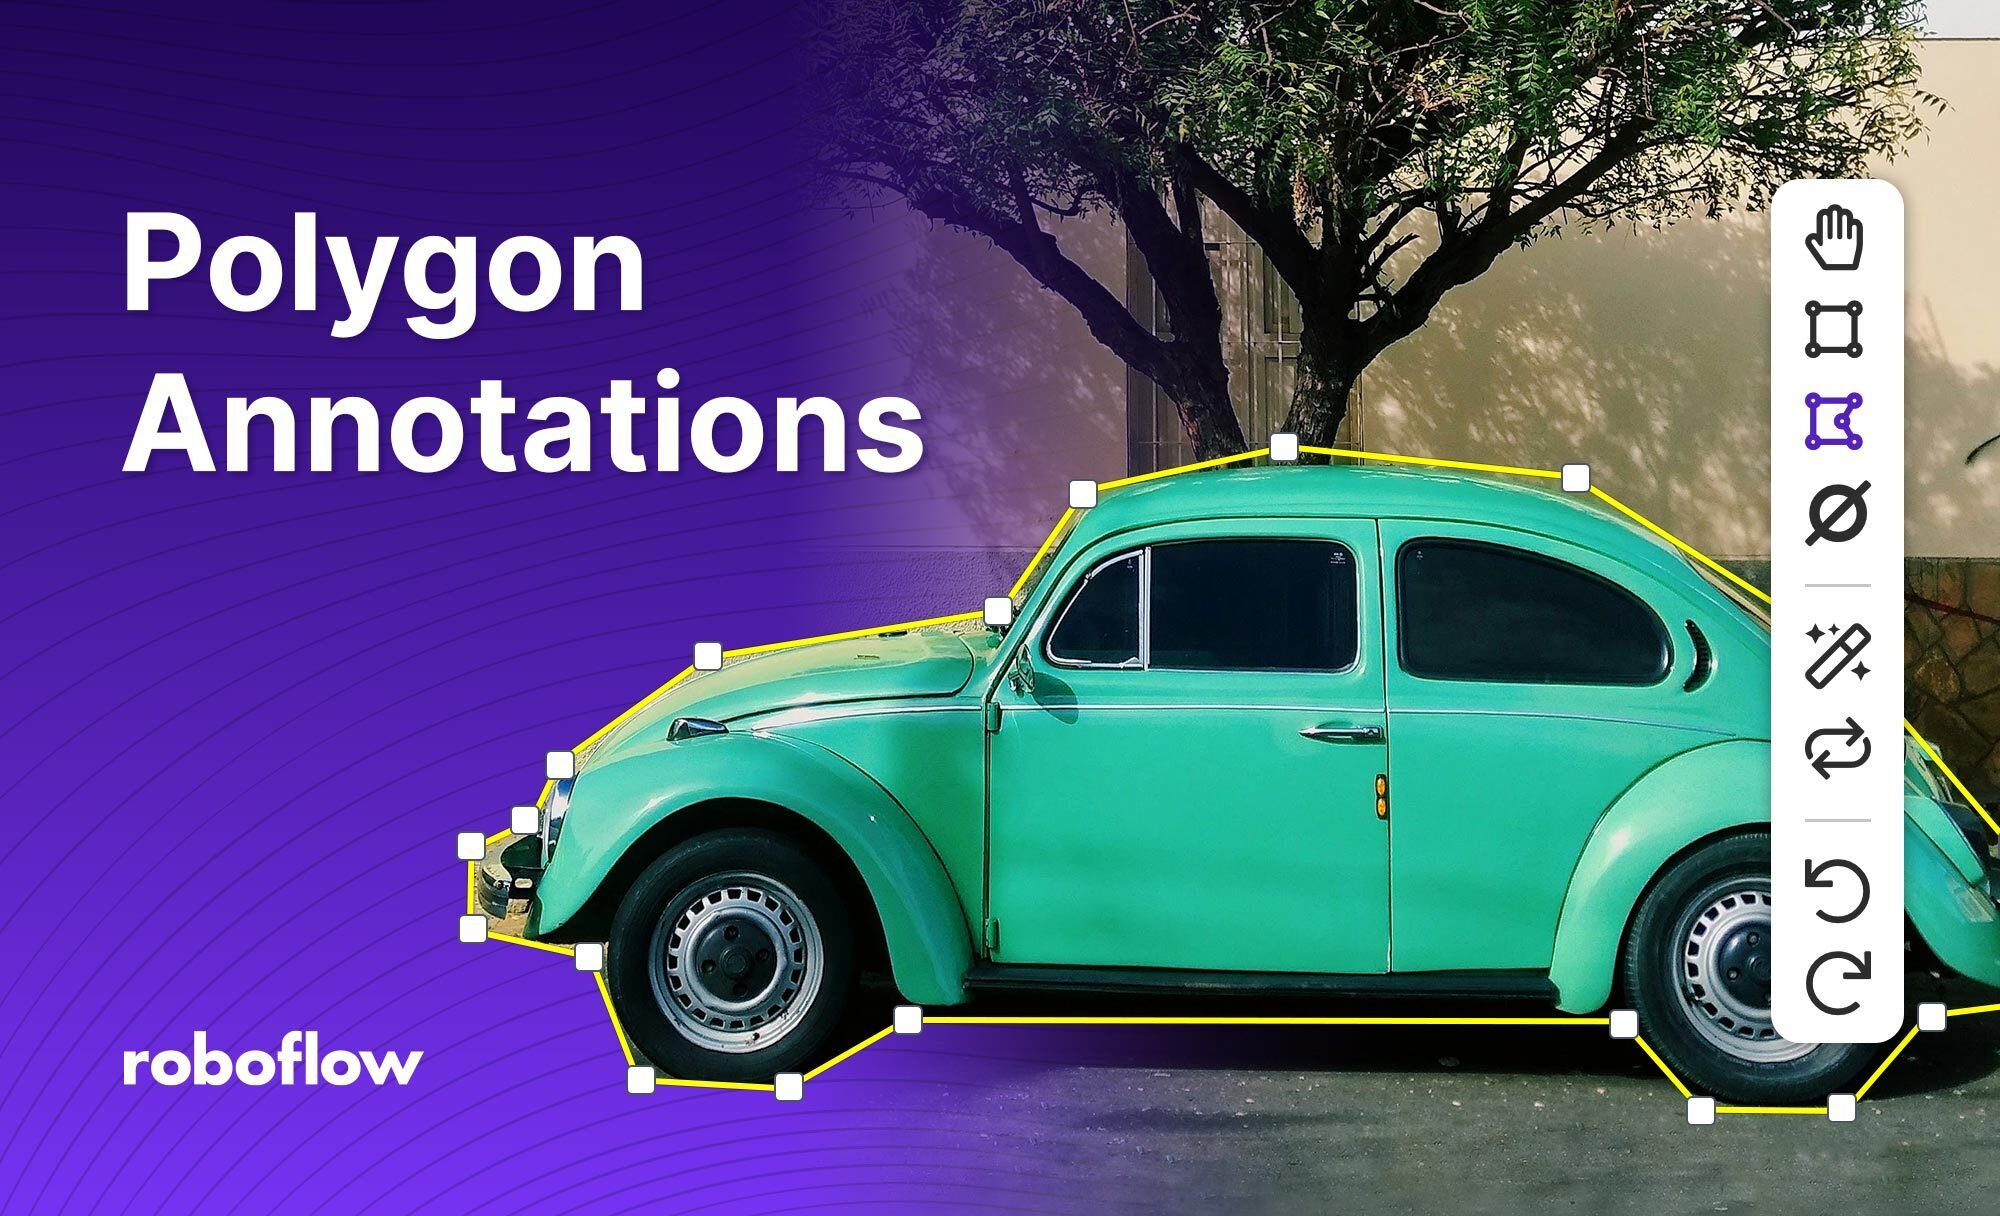
Polygon annotation is a precise method of annotating where a collection of coordinates are drawn around an image. These coordinates are meant to surround a specific object in an image closely. Polygon annotations can avoid capturing unnecessary background information that is not relevant to an annotation.
For example, you could annotate only the specific area in which a hard hat appears in an image, instead of having to draw a box around the hat which captures background information.
Why should you use polygon annotations?
Polygons give the training pipeline more specific information about the data you're using train a model which can provide a big lift in performance without having to change the underlying architecture and without having to pay the speed penalty that typically comes along with segmentation models.
Polygon annotations allow for tighter definitions of the object itself when you're labeling, which can lead to increased training performance and results, and also improve data augmentation.
It is best to avoid using polygons when you want to optimize for labeling costs and speed. Annotating with polygons takes more time and bounding boxes are usually sufficient to build an initial prototype or model for assisted labeling.
Once you have an initial model working, you can go back and improve performance later with polygons, by relabeling your images, if necessary.
How to annotate images using polygons with Roboflow
The Roboflow platform supports annotating images with polygons. In the following video, we elaborate on how you can get started with polygon annotation. In our example, we talk through using polygon annotation to label specific instances of cash.
Use the Polygon Tool to add polygon annotations (shortcut key: p) by clicking to add an initial starting point, then continue clicking to add more stationary points around the object, and double clicking or clicking the original vertex to close the polygon.
There are differing approaches to labeling with polygons. One method is to trace the object by moving your cursor around the edges while clicking often. This can be a time consuming but accurate approach.
We recommend clicking around the object to ensure it's within your polygon annotation, then click the annotation line to add another vertex which you can move to fit the outline of the object. You can repeat this wherever needed, as many times as you need.
We have a guide in our Documentation, and in our Knowledge Base, to assist with locating all of the available options for our labeling interface.
Don't forget to post in our Community Forum or in-app chat if you have questions, want to show off your projects in the Show & Tell section of the Forum, or receive a feature in our blog and newsletter!
Frequently Asked Questions
Is polygon annotation necessary?
You can annotate an image using the traditional method of drawing a bounding box, without using a polygon. This method takes less time for annotators, but results in missing some added performance. Thus, if you have the resources and you have decided polygon annotation is helpful, it is worth going the extra mile.
In what use cases is polygon annotation most appropriate?
Polygon annotation is most useful when your use case requires specific annotations of an object. For instance, you could use polygon annotation in plant disease annotations to show specific areas of disease, or in a medical imaging dataset to annotate specific pieces of information.