
This post was contributed by Leonard Persson Norblad
This automatic stop sign violation detector utilizes an object detection model fine-tuned in Roboflow, combined with Roboflow’s PolygonZone to identify vehicles that violate stop signs. Video recordings of vehicles that fail to stop are flagged for reporting. For complete code and installation instructions, visit the GitHub repository.
Automatic Stop Sign Violation Detection Application
Vehicle that stopped correctly:
Vehicle that failed to stop:
Background
Accurately detecting whether a vehicle stops at a stop sign requires meeting several criteria:
- The vehicle must be the first in line if there is a queue.
- The vehicle must stop close to the white line on the street.
- The vehicle must stop before the front wheel crosses the white line.
Data
The video game GTA V is used to simulate traffic scenarios. The game's realistic graphics and customizable camera angles made it an ideal choice for creating accurate simulations for this project.
How it works
Vehicle Detection
YOLOv8 is used to detect vehicles within each frame. The model processes the input and provides positional detections. Only the detections corresponding to motor-driven road vehicles: car, motorcycle, bus, truck are retained.
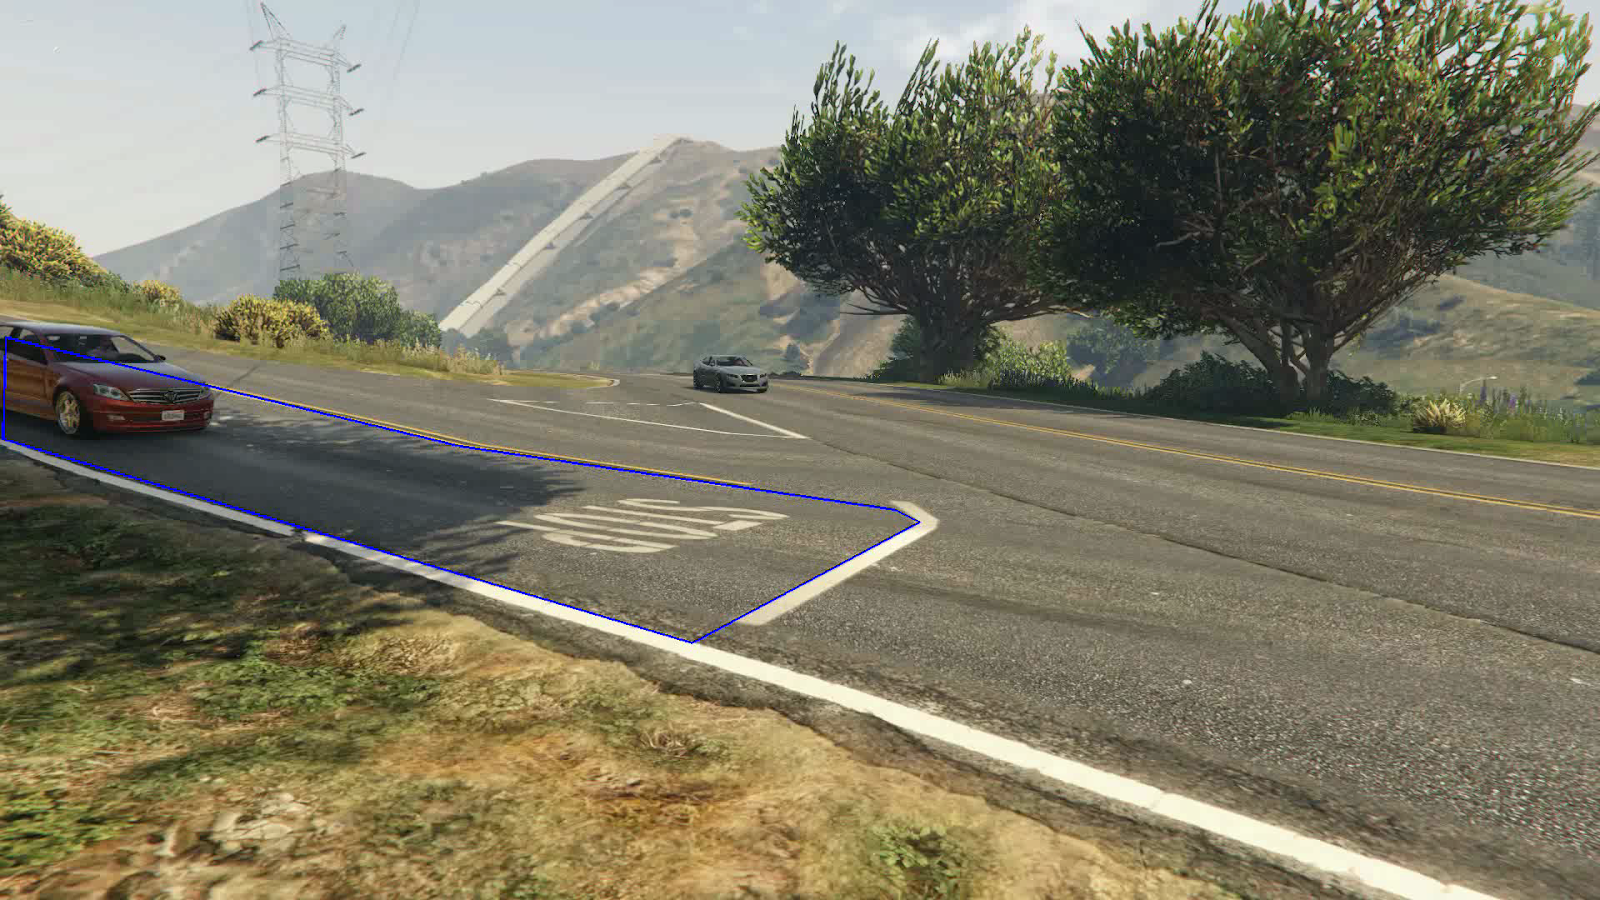
Roadzone Filtering
Only vehicles that are detected within the designated roadzone, where the stop sign is located, are considered. This is achieved by applying a filter that requires the center bottom point of the vehicle to be within the boundary of the roadzone.
Closest-to-line Filtering
To identify which vehicle is closest to the white line, a reference point is used. Only the vehicle with the shortest distance to this point is considered. The reference point is strategically placed near the center of the white line, ensuring accurate measurement of proximity.

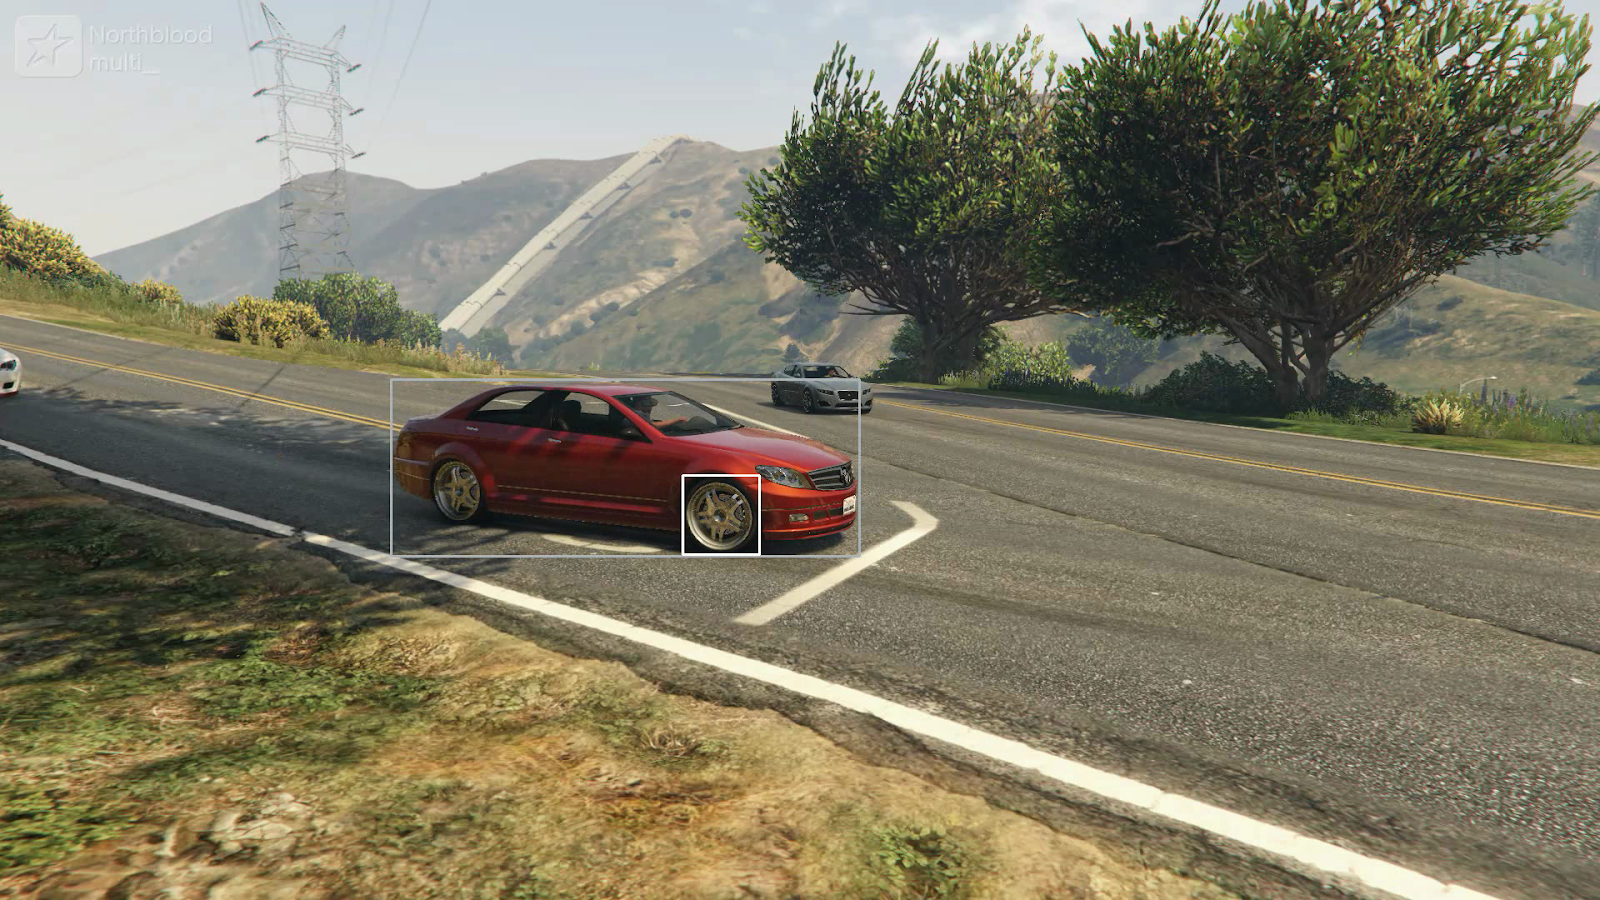
Front Wheel Detection
For each detected vehicle, the location of the front wheels is identified to determine if the vehicle has crossed the white line. This is achieved by slicing the vehicle from the frame and feeding the sliced segment into a fine-tuned detection model specifically designed to locate wheels. The detection coordinates are then transformed relative to the original frame.
This two-stage detection approach involves running inference on two models in series, which increases inference time. However, it simplifies the process by clearly associating each wheel detection with its corresponding vehicle.
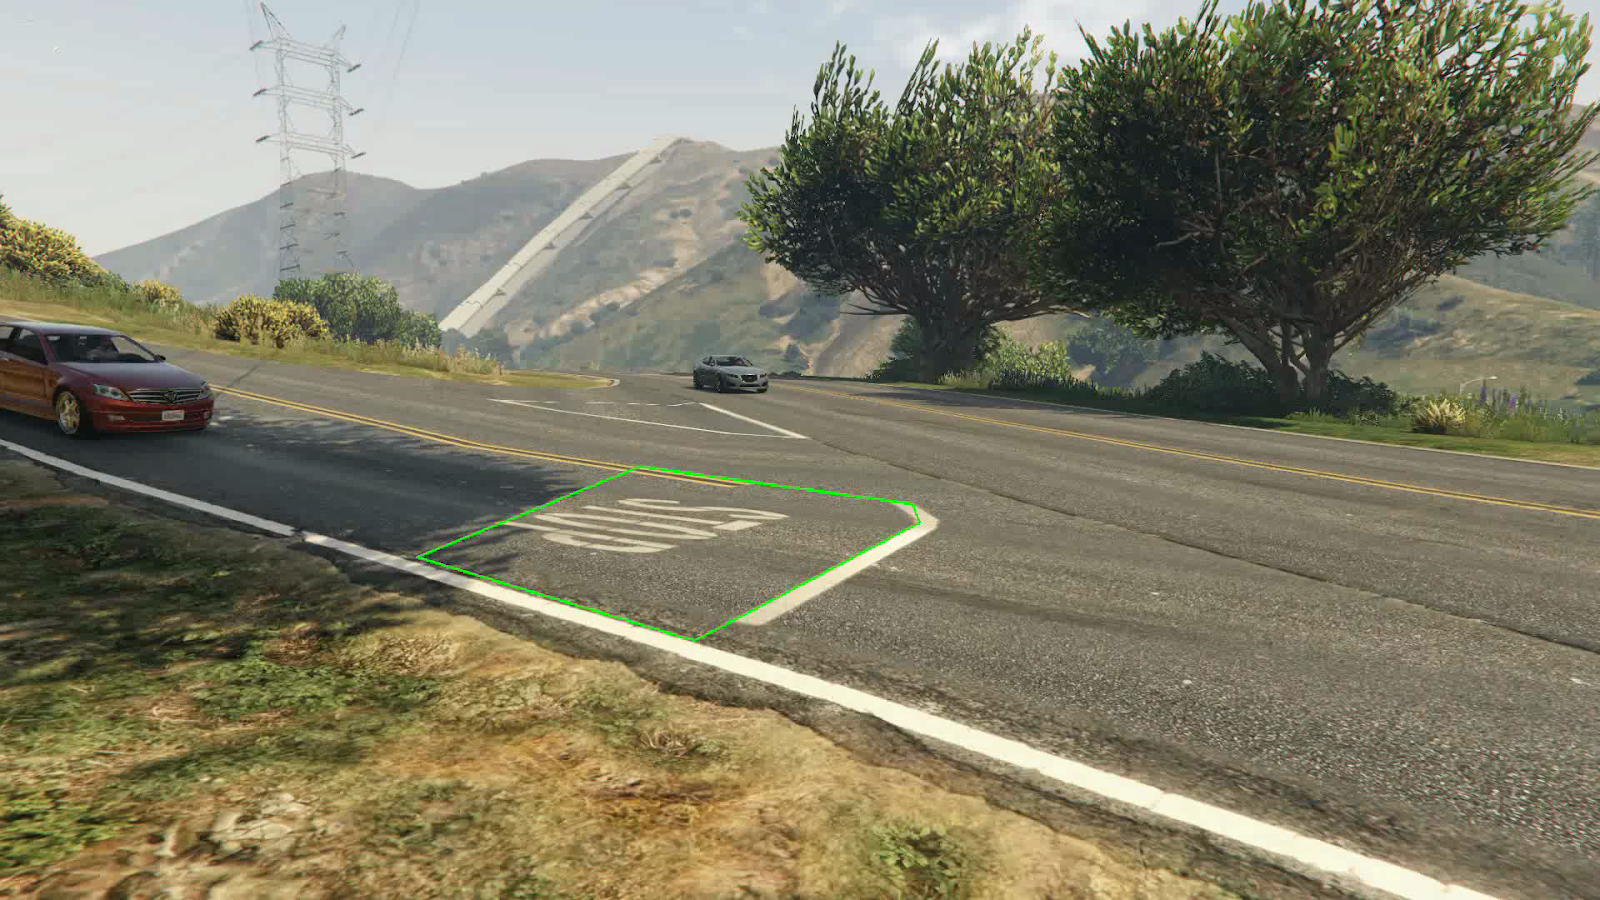
Stopzone Detection
To ensure that a vehicle stops just before the white line, a stopzone is utilized. The vehicle's wheels must be within this zone for the stop to be considered valid. The location of the wheels' bottom center is used to determine if they are inside the zone. If the predicted wheel position is correct, this should be where the wheels contact the ground.
Outzone Detection
To detect when a vehicle has failed to stop properly, an outzone is used. Similar to the stopzone, it monitors the vehicle's wheels to determine if they have left the area.

Detecting and Calculating Vehicle Movement
The vehicle moment is monitored as the difference in pixels of the vehicle center between consecutive frames. Due to the inherent noise in detection, the center location may vary slightly. This is mitigated by setting a threshold for stopping: a movement of less than 15 pixels per second. This approach is simpler than calculating actual speed (like this). The speeds of vehicles with a front wheel in the stopzone can be plotted:

How to Build the Application
Creating Zones
To annotate the zones in the image, we extract the first frame from the video. This is the first function in stop_checker.py.
def get_first_frame(video_name):
    video_path = f"videos/{video_name}.mp4"
    frames_generator = sv.get_video_frames_generator(source_path=video_path)
    iterator = iter(frames_generator)
    first_frame = next(iterator)
    os.makedirs(f"first_frames/", exist_ok=True)
    cv2.imwrite(f"first_frames/{video_name}.png", first_frame)
get_first_frame(“example”) # Run the function
Then we can annotate the zones using roboflows PolygonZone. The tool is super simple to use, just upload the first frame of the video and click where you want to mark the zones.
For this project you need to define 3 zones:
- Road: The road of the stop sign. Only vehicles on this road is considered.
- Stopzone: A zone close to the white line. The vehicle must stop in this zone.
- Outzone: A zone right after the white line. The vehicle must stop before the front wheel enters this zone.
Using the same tool, you can also define:
- Closest vehicle point: A point on the center of the stopline. The vehicle closest to this point is the first vehicle in the queue.
Train Object Detection Model
As the vanilla YOLOv8 COCO weights can detect various types of vehicles, we do not need to train our own. To detect wheels on the cars, we will finetune a model on Rroboflow. This can easily be done on the Rroboflow website. If you want to see a tutorial on how to do that, see step 2 in this post. You can also use my fine-tuned model available here. I trained mine using this dataset of wheels.
Run the application with your own video
- Visit the project repository and follow the installation instructions.
- Put your video to the /videos folder.
- Visit the demo notebook and paste the name of your video.
- Run the get_first_frame() function to get the first frame (saved in /first_frames folder).
- Annotate frame on PolygonZone and paste the result in config.py.
- Now you can perform inference using the demo notebook!
Code it yourself!
Have a look at the StopVideo class in stop_checker.py. It has 4 main functionalities:
- Initialization - setup.
- Inference - Run detection model(s) on the video.
- Analysis - Classify vehicles from detections.
- Render video - Draw detections on video.
The demo notebook showcases how these methods work.
Cite this Post
Use the following entry to cite this post in your research:
Contributing Writer. (Aug 8, 2024). Automatic Stop Sign Violation Detection. Roboflow Blog: https://blog.roboflow.com/stop-sign-violation-detection/