
Deploying a computer vision model to the browser has many advantages. First, by deploying to the browser, you can deploy a version of your model that works across different devices without having to write code for each deployment device. Second, your models are easily accessible through mobile devices, which means that you can use them on the go.
In this guide, we're going to talk about how to deploy a YOLOv8 model using Roboflow and Repl.it. Repl.it is an interactive playground where you can write, test, and deploy code. The results of your code on Repl.it can be accessed through the web browser, meaning that you can deploy your model live without having to worry about server configurations. This is a particularly useful deployment setup for testing models and collaborating on new ideas.
Without further ado, let's start building and deploying a model!
Step 1: Collect Data for the Model
In this guide, we're going to build an application that counts money on a webcam (feel free to test out it!). One use case for our application is to help the visually impaired identify money that they are holding.
This would make transactions easier to conduct – from donating to charity tins to buying goods from stores – when combined with text-to-speech technology. The app could read out what money is being held. For this guide, we'll focus on the money counting part of this problem.
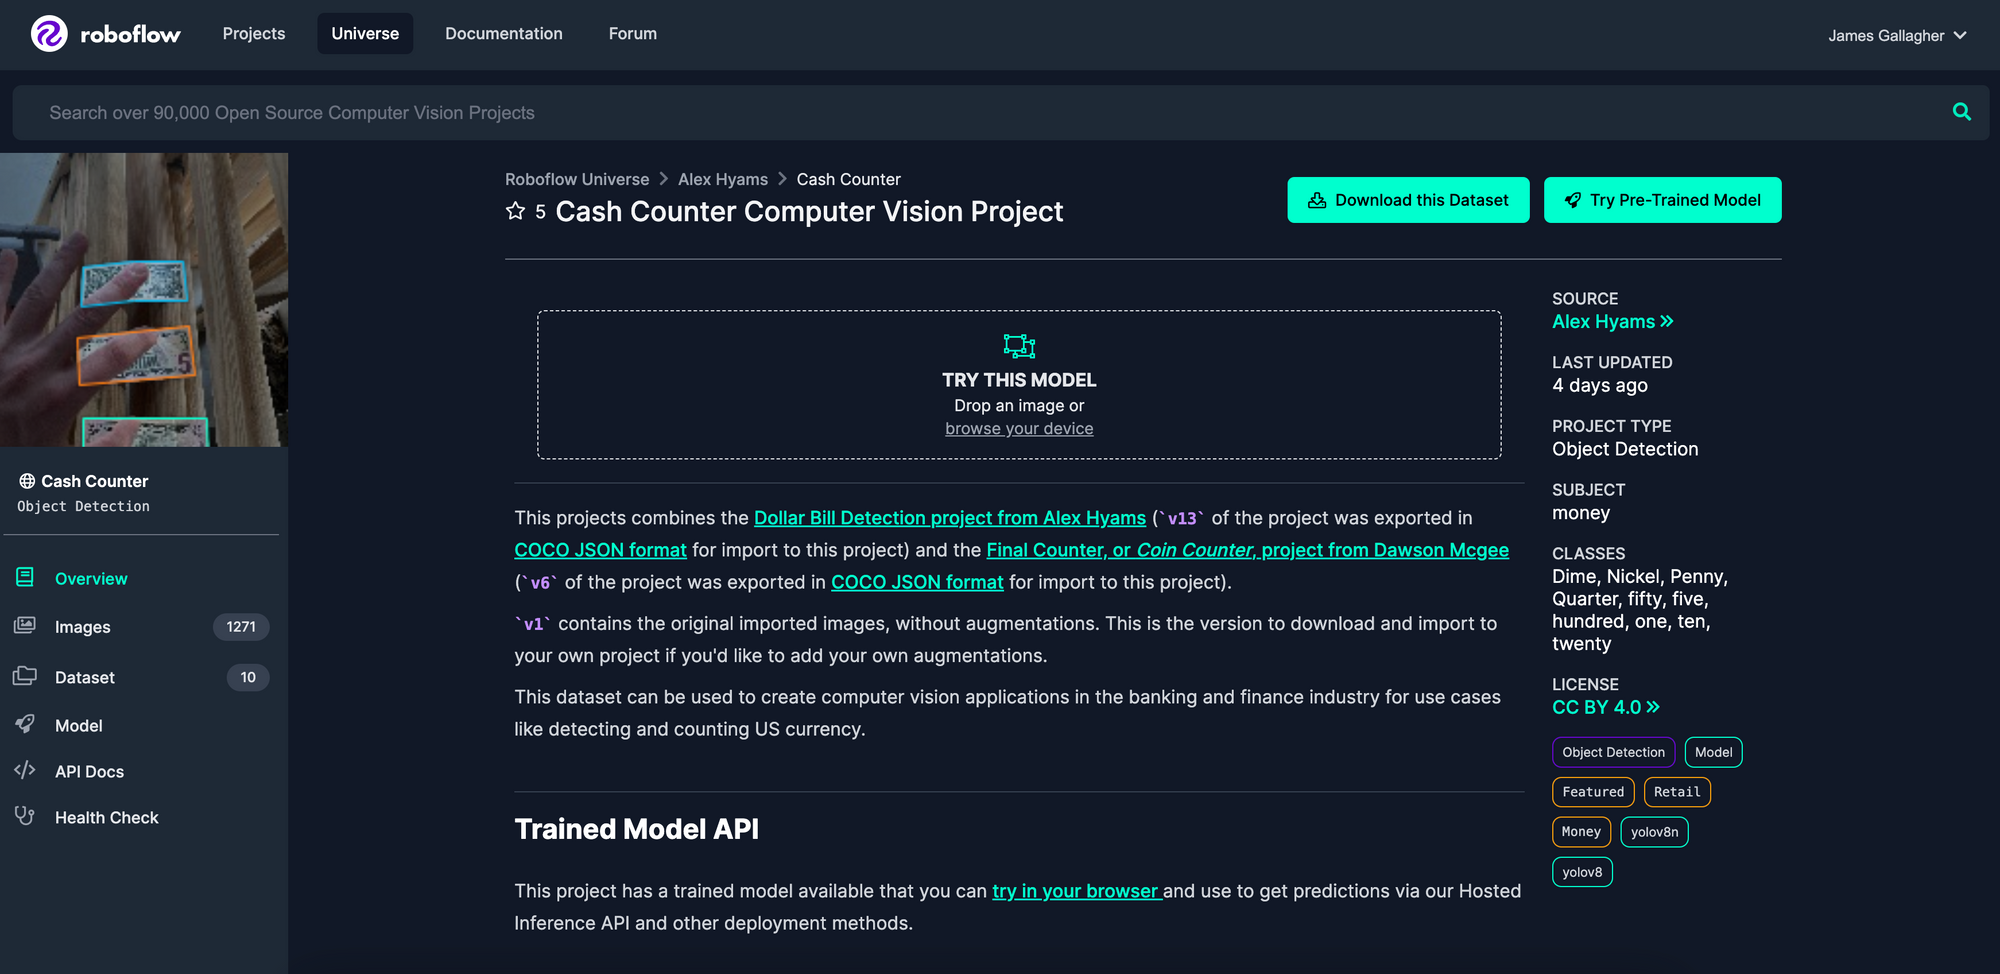
Alex Hyams, a member of the Roboflow team, has already created a dataset for use in counting US currency with computer vision. This dataset is hosted on Roboflow Universe, an open repository of over 110,000 image datasets. With that said, you can use whatever dataset you want. If you already have data, you can skip to the next section!
If you don't already have a Roboflow account, create one for free. We'll need it to download data, prepare our model for training, and to host weights for use in our project.
To download the US currency dataset, go to the Cash Counter page on Roboflow Universe and click the "Download this Dataset" button.
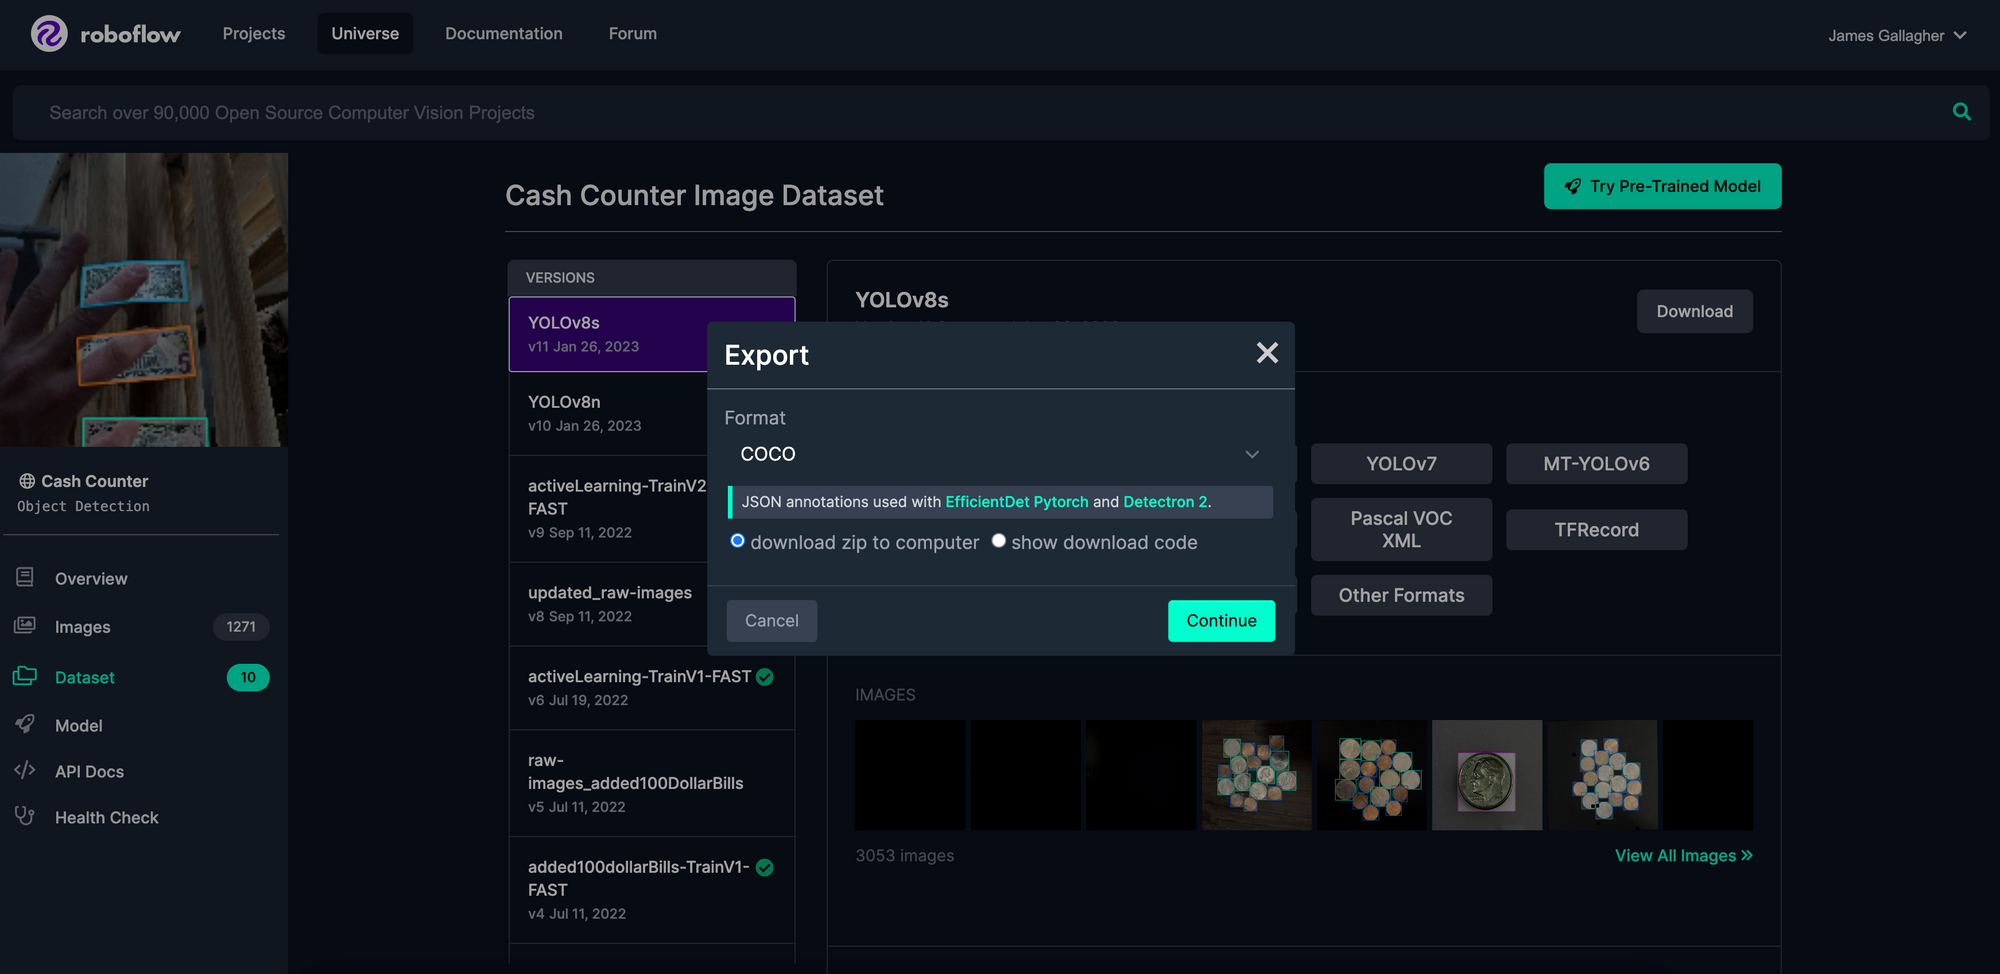
A pop up will appear asking you how you want to download the dataset. In this pop up, select the "COCO" format and check the "Download zip to computer" box. Then, click "Continue". You will be given a link to which you can go to download a zipped version of the dataset. After downloading the dataset, unzip its contents.
With a dataset ready on our local machine, we can begin preparing it for training!
Step 2: Upload Data to Roboflow
Go to the Roboflow dashboard and click the button to create a new project. Let's call this project "Cash Counter". Our project will identify currency, which we'll note in the form field that asks what we want to detect.

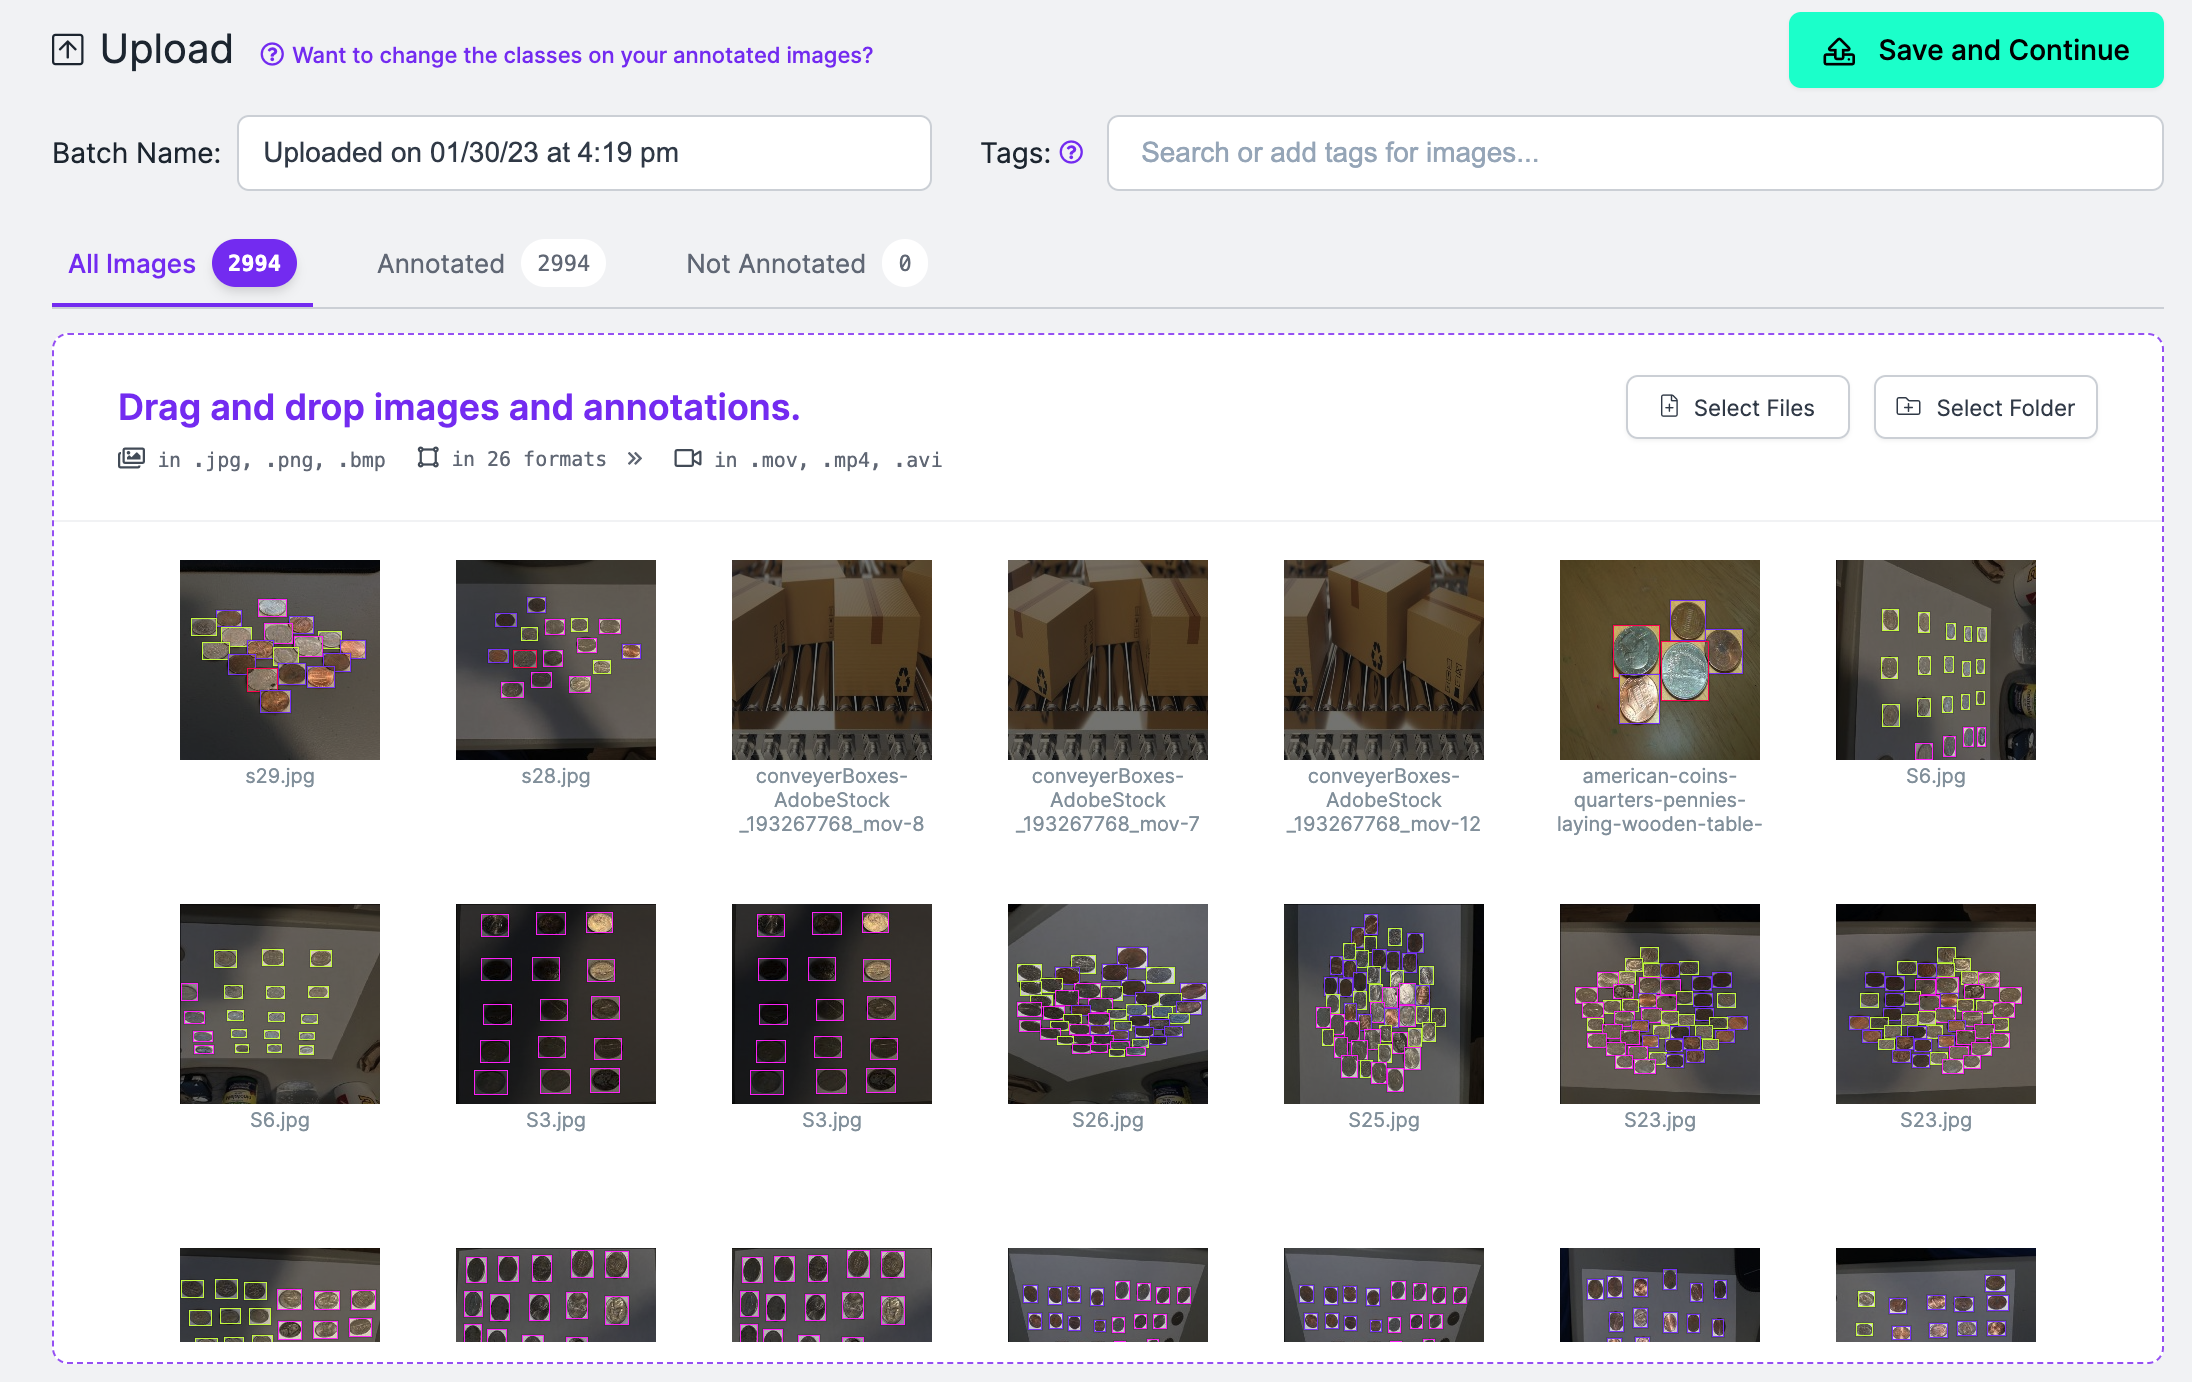
After creating the project, we will be taken to a page where we can upload the data that we'll use in our model.
Drag the unzipped folder from Roboflow Universe into the upload field on the page. If you have your own data, drag it here. You can import annotated data (over 40 annotation formats are supported), or you can upload raw images to annotate in the Roboflow platform.
Once you have uploaded your data, you can click "Save and Continue" and approve your annotations if your data is annotated. If you don't have annotated data, check out our guide on how to effectively annotate data in Roboflow.
After adding the images to your dataset, you will be asked to select a train, test, validation split. This split has already been set for the cash counter dataset that we are using for this project. If you are building a project using your own data, you should allocate 80% of your data for training, 10% for validation, and 10% for testing.
Step 3: Create a Dataset Version
Now that our data is in Roboflow, we can create a dataset version. This is a snapshot of our dataset upon which we will train a model. To create a dataset version, click "Generate" in the sidebar of the Roboflow dashboard. You will be presented with a few options for preprocessing your data.
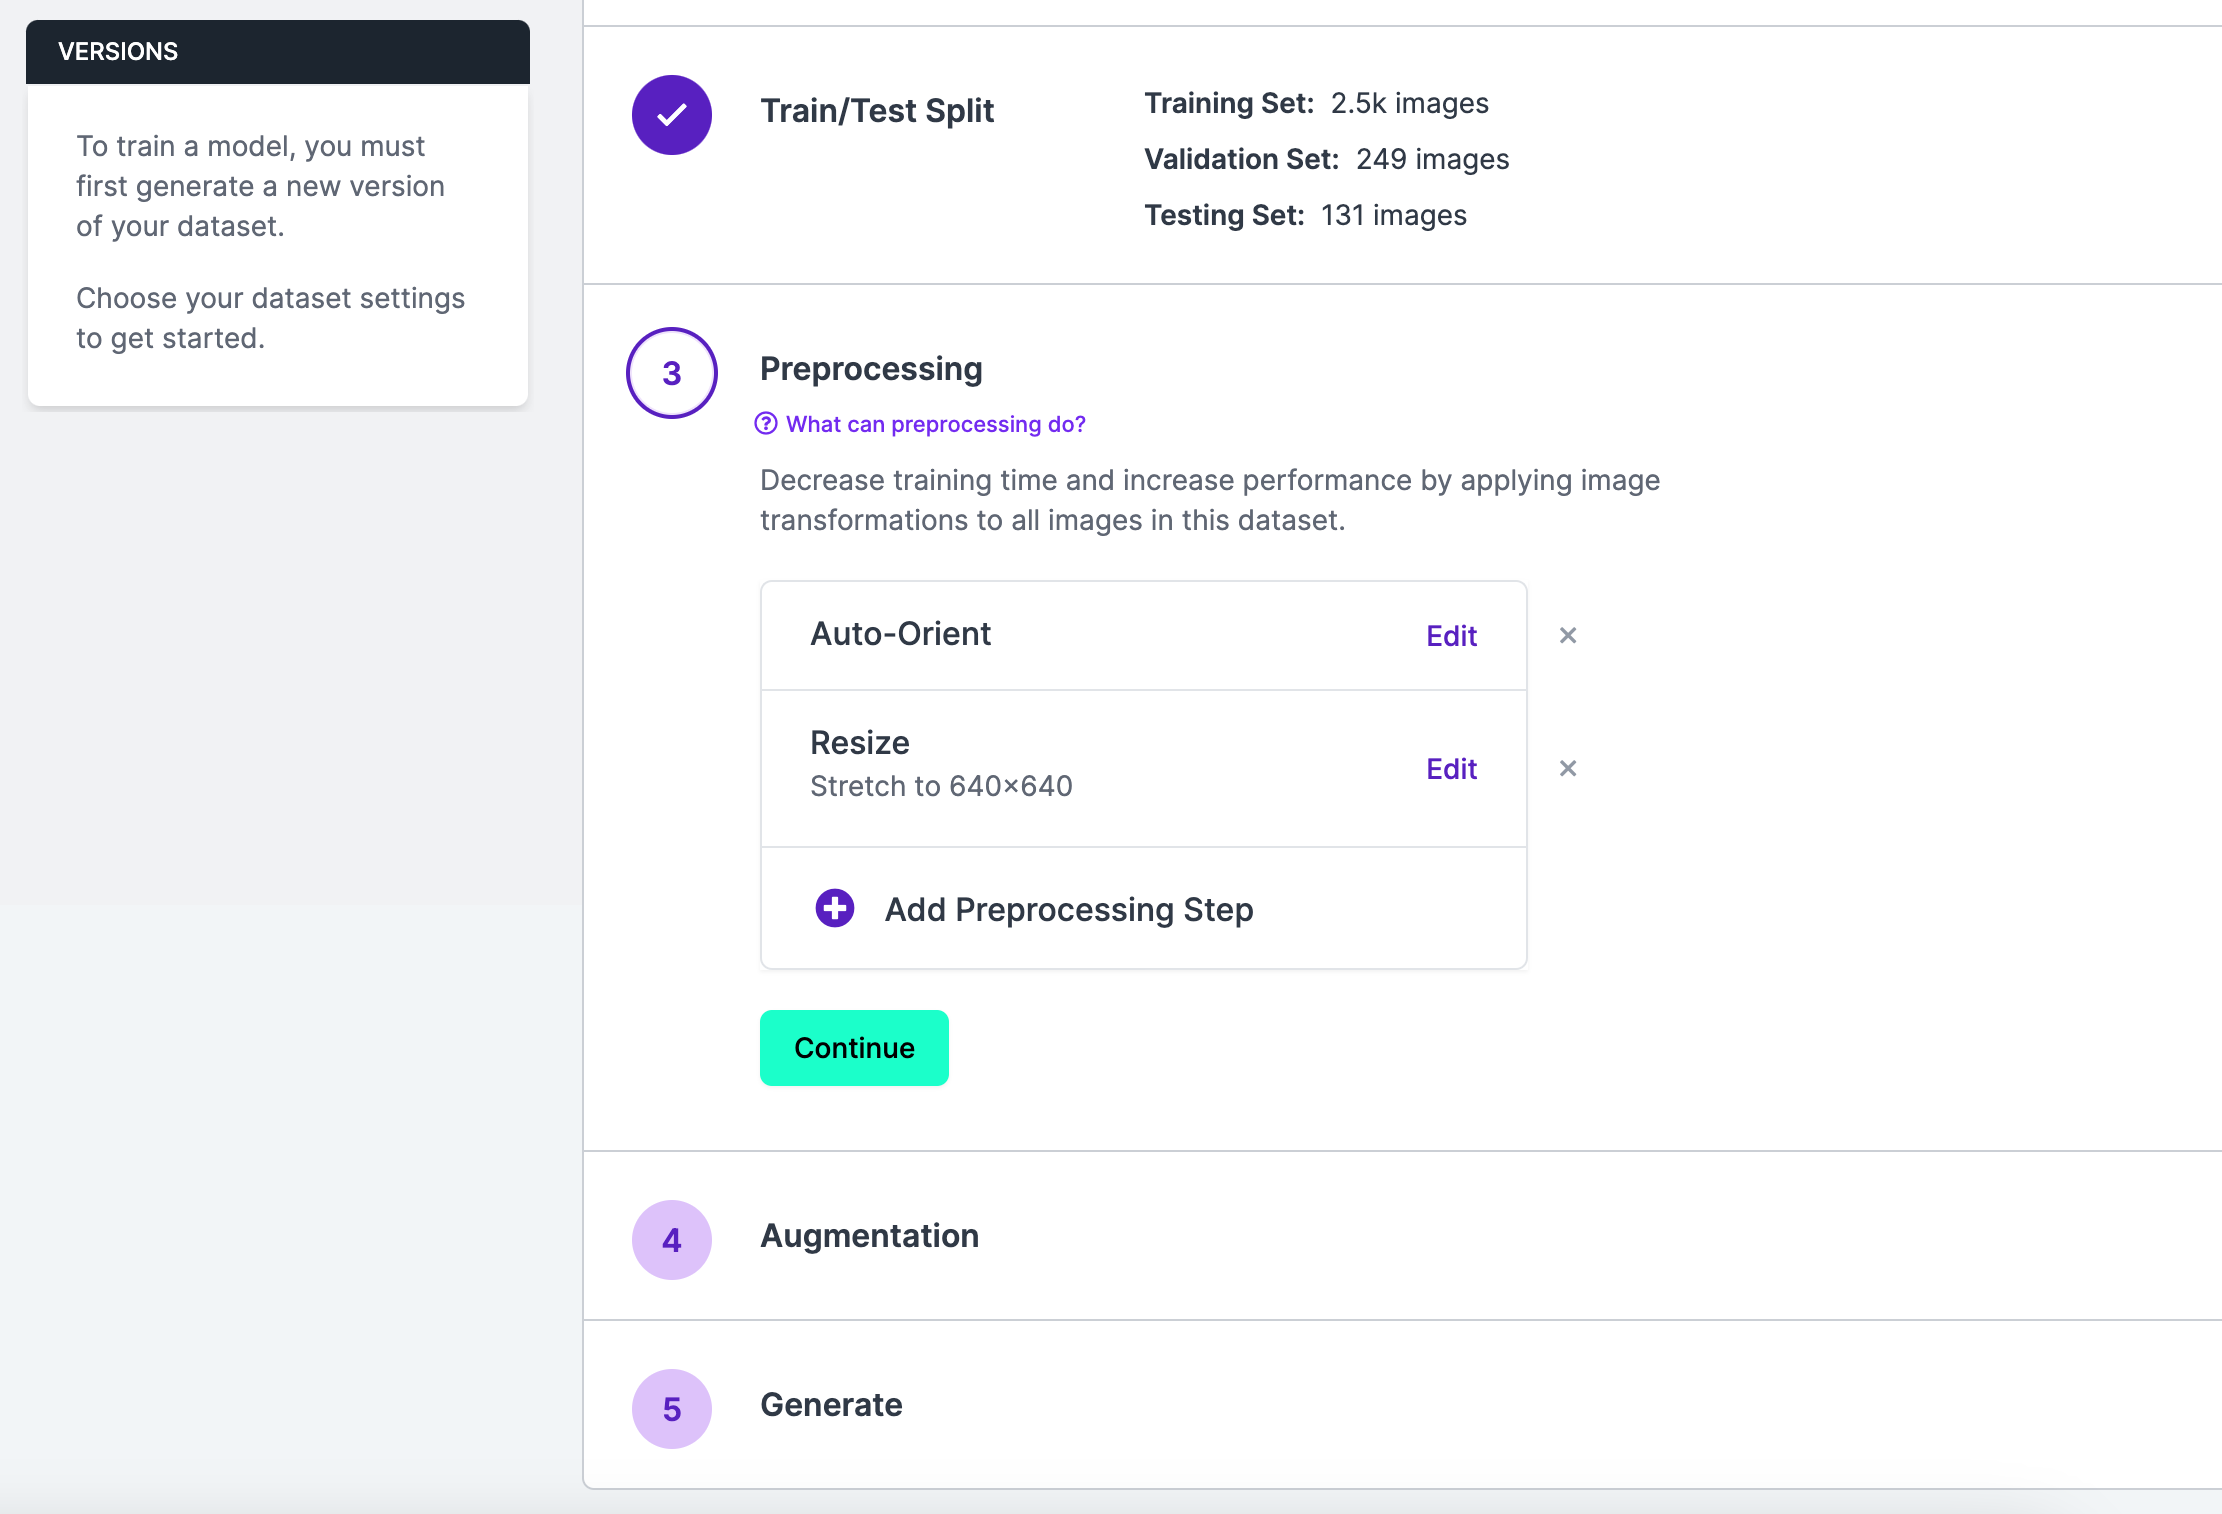
If you are using the cash counter dataset, you can skip to the end and click "Generate", as the dataset already contains augmentations and the default preprocessing steps are enough for our application. But, if you are using your own data, you may want to experiment with different augmentations and preprocessing steps. Depending on the problem you are solving, these steps can help your model achieve higher rates of accuracy.
You can learn more about augmentations and preprocessing in our guide to the subject.
Apply any augmentations and processing steps that you want and then click "Generate" at the bottom of the page. Roboflow will package your data, ready for use in your application. When you have a dataset version ready, you can start training a model!
Step 4: Train a YOLOv8 Model
The Roboflow team has prepared an interactive Google Colab notebook that you can use to train an YOLOv8 model. This notebook will download the dataset version that you created in the last step and use YOLOv8 to train a model. This will yield model weights that we can upload back to Roboflow for use in our Repl.it project.
Open up our Google Colab notebook and follow the steps in our YOLOv8 model training guide. You'll need to replace the section in the notebook that asks for your API key and project name with the information for your unique project.
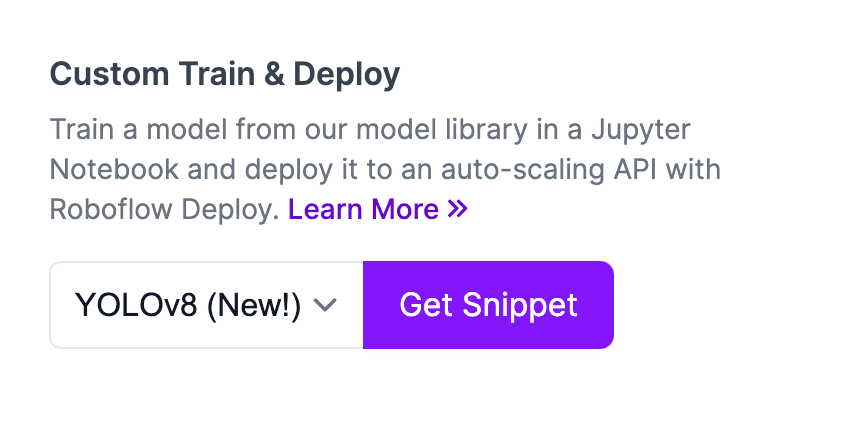
To find your project name and API key, go to the "Versions" page that shows all of your trained model versions. Then, click the "Get Snippet" button under the "Custom Train & Deploy" section:
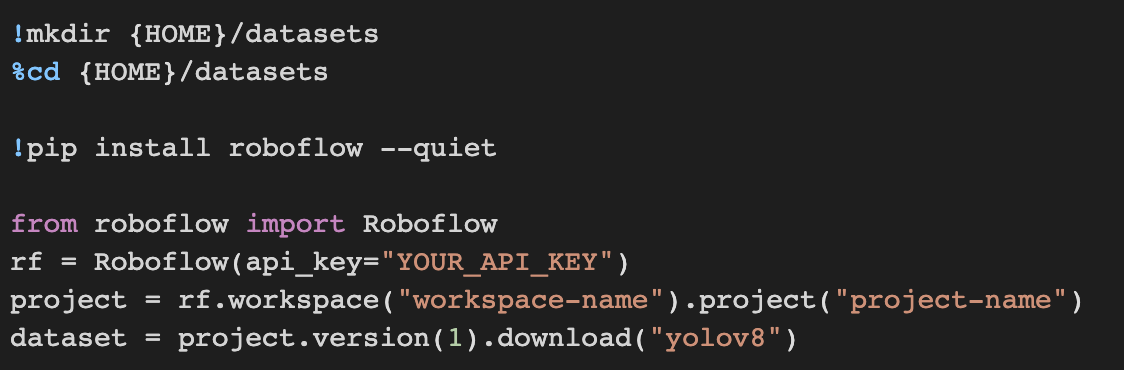
Paste the code provided into your Colab notebook where your API key and project is required. The section will look something like this:
Then, continue working through the Colab until you have trained your model.
In the final step of the Colab, you'll upload your weights to Roboflow. This happens using the following line of code:
project.version(DATASET_VERSION).deploy(model_type="yolov8", model_path=f"{HOME}/runs/detect/train/")When you run this line of code, your weights will be uploaded and processed by Roboflow. After some time, the Version page where you got the snippet for use in your Colab will be updated to show that a trained model is now available using the weights you uploaded. You can try your model in the browser using a webcam, an image, or a video all from the Roboflow dashboard.
Step 5: Clone the Repl.it Starter Project
Now that we have a working YOLOv8 model hosted on Roboflow, we can begin to use the model in a web application. We have created a boilerplate project called "Roboflow Web Quickstart" on Replit that you can use to kickstart deploying your model in the browser.
Our project contains code that:
- Creates a simple web page.
- Streams a webcam to a canvas on the page.
- Uses a provided model to make predictions.
- Draws boxes on the webcam canvas to show the location of predictions.
This code is powered by inference.js, an extension of the tensorflow.js package that lets you run models deployed on the Roboflow platform.
To get started, first create a free account on Replit. Then, navigate to our demo project. Our demo project is configured to use a model trained on the Microsoft COCO dataset. This model identifies various common objects that are annotated in the COCO dataset. Later, we will configure this app to use a new model.
Click the "play" icon on the page to see the project in action:
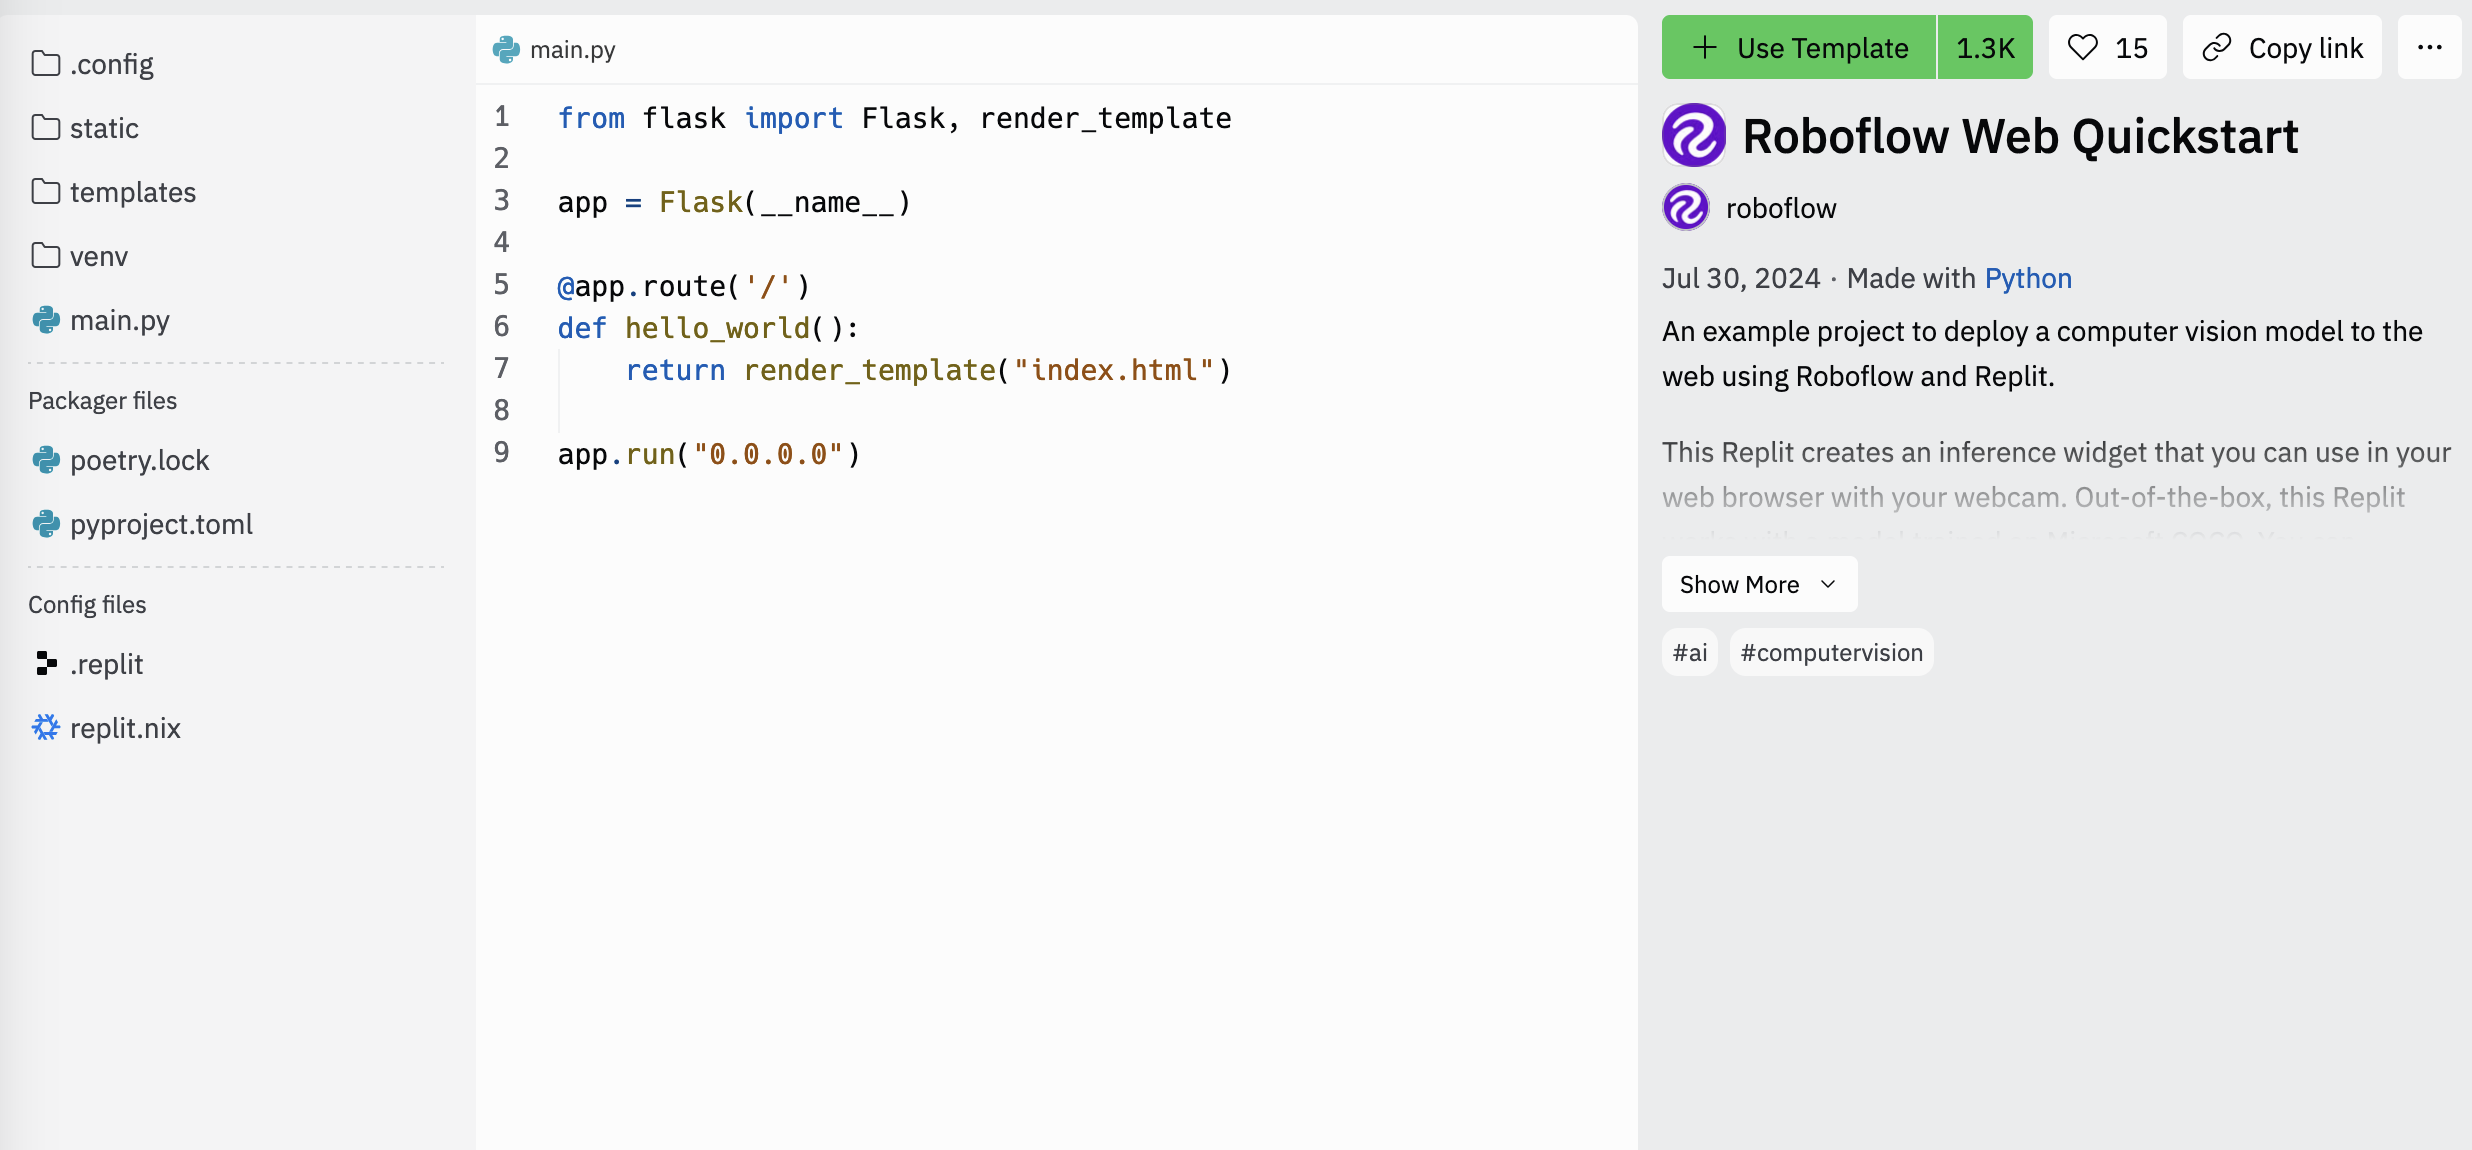
We can use this application as a template for our cash counter by clicking "Use Template". This will let you create a copy of the application under your own account that you can edit:
By default, this application runs a COCO model. But, with a change to two lines of code, you'll be able to run your own model.
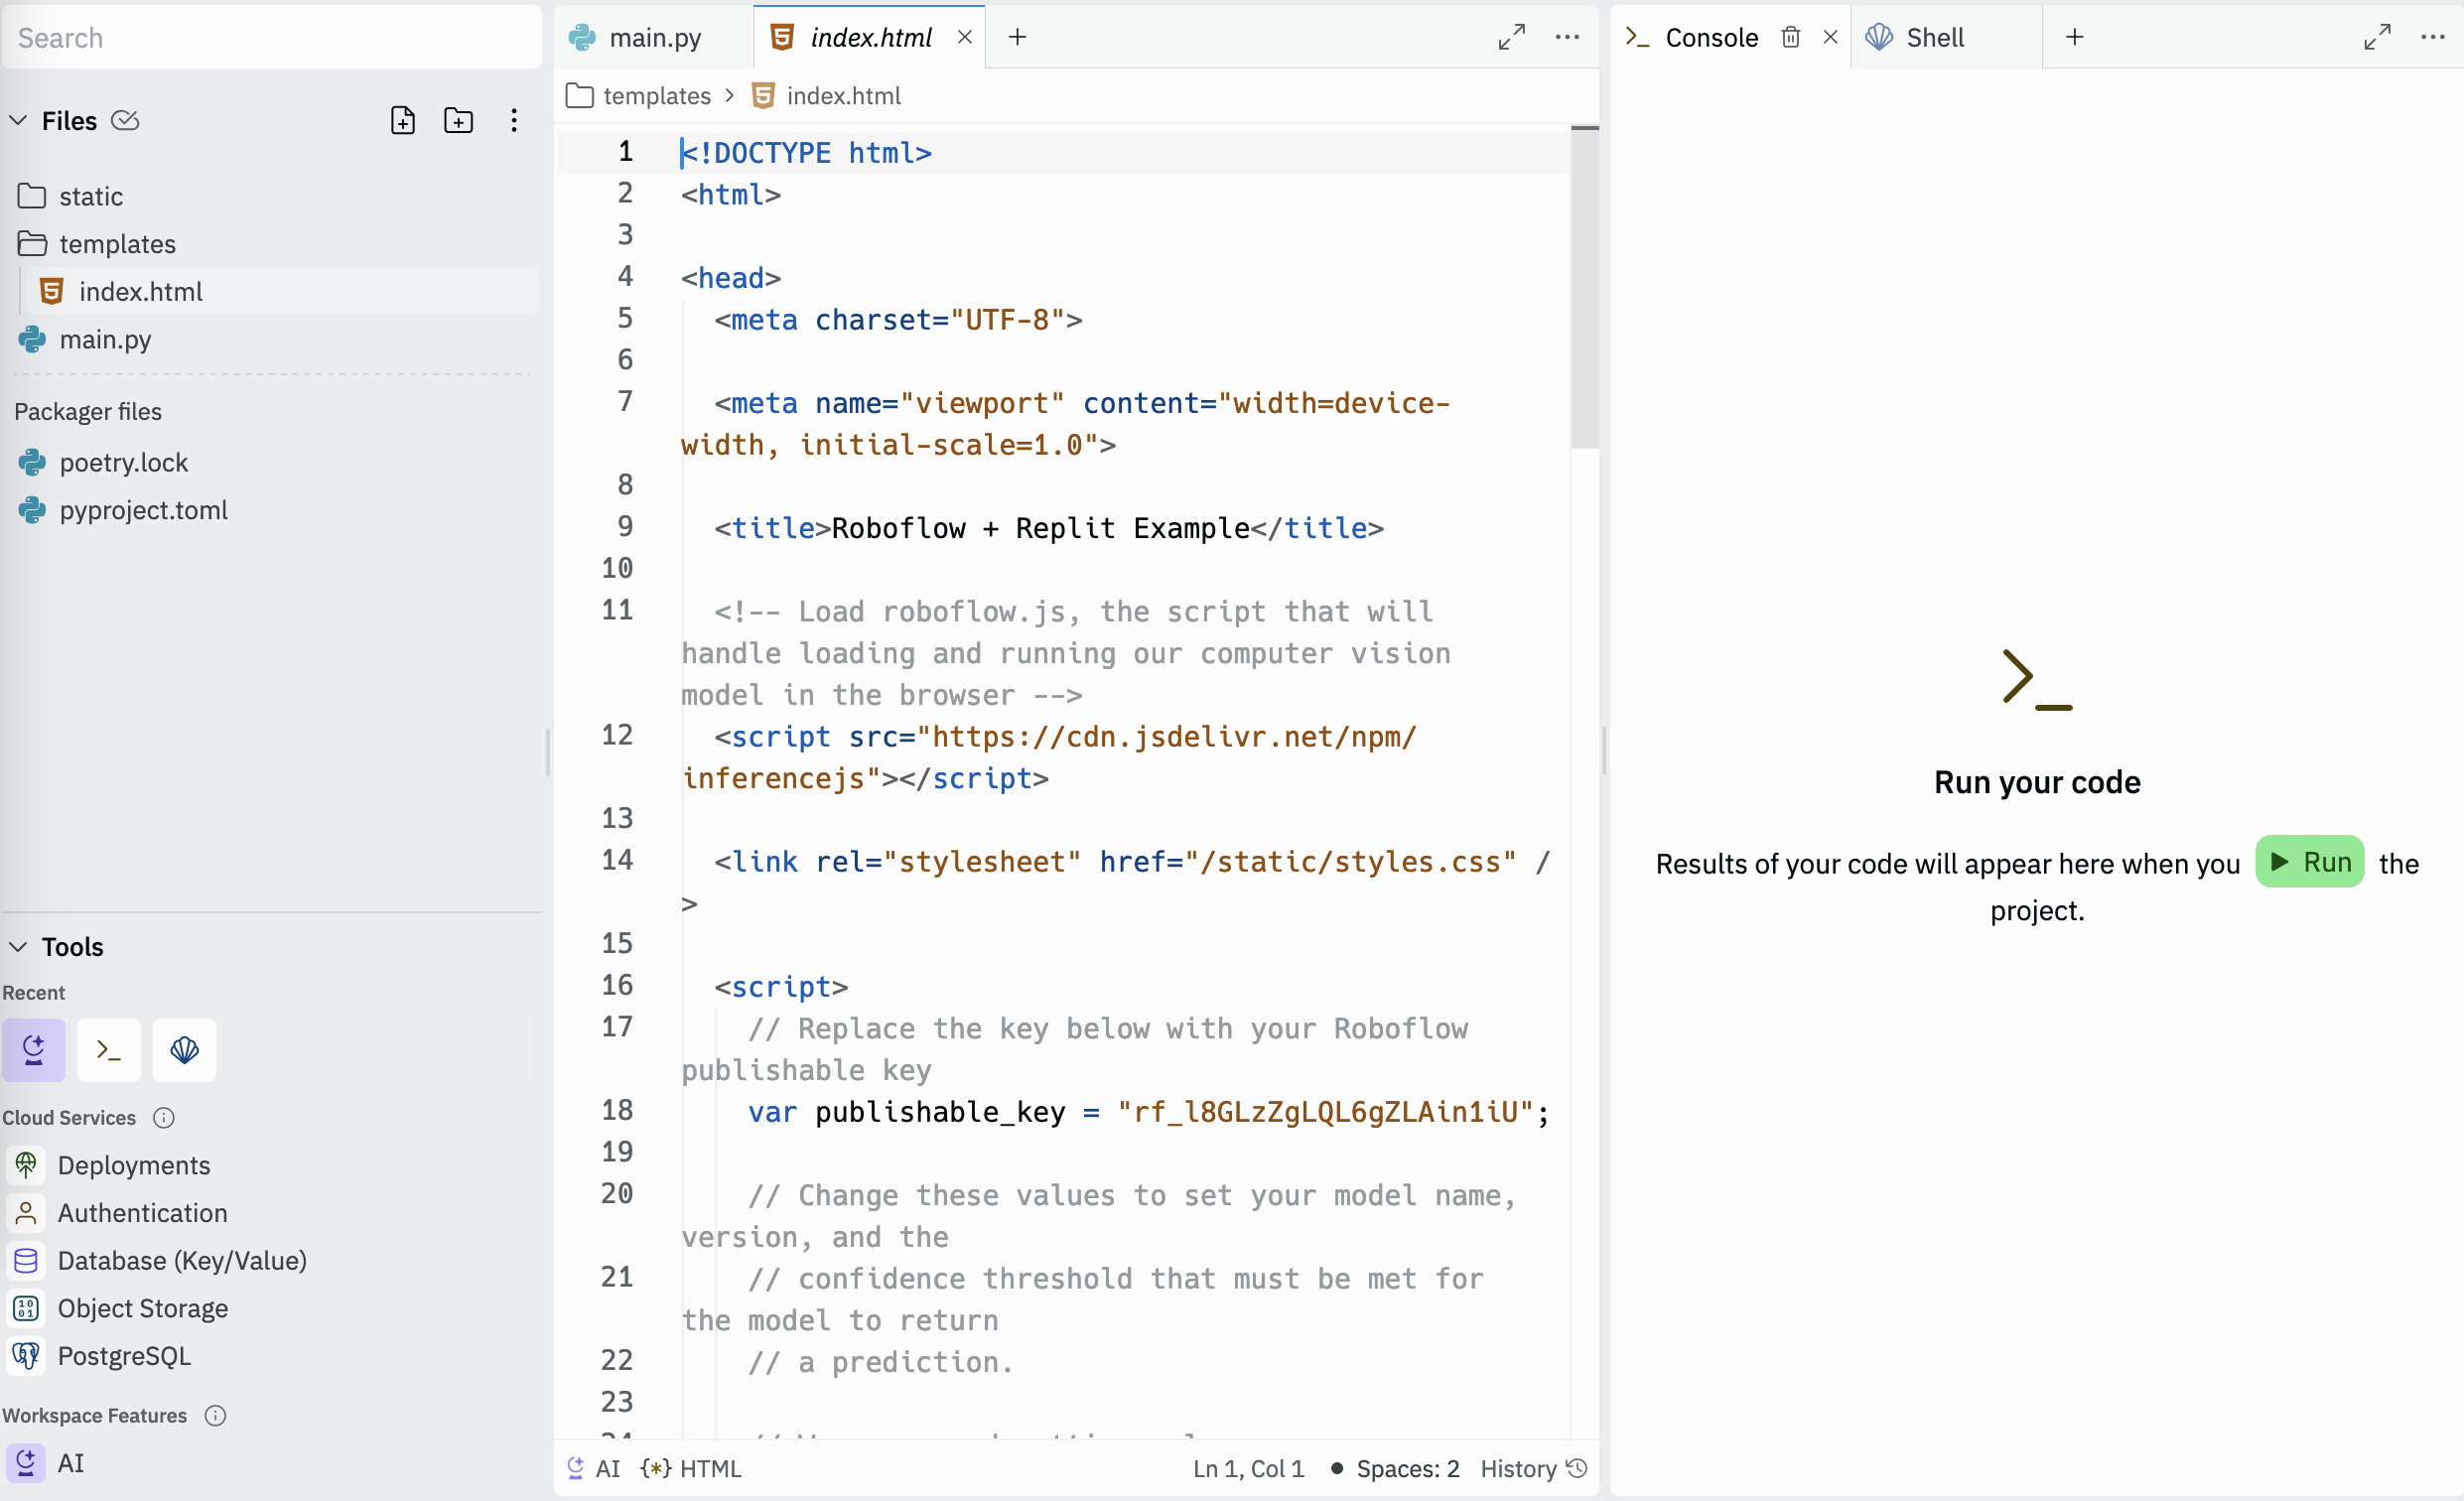
First, open the "index.html" file in Repl.it. Scroll down to the section that says "publishable_key". Replace the key with your Roboflow public API key. You can learn how to retrieve this key by following our documentation on Roboflow API keys.
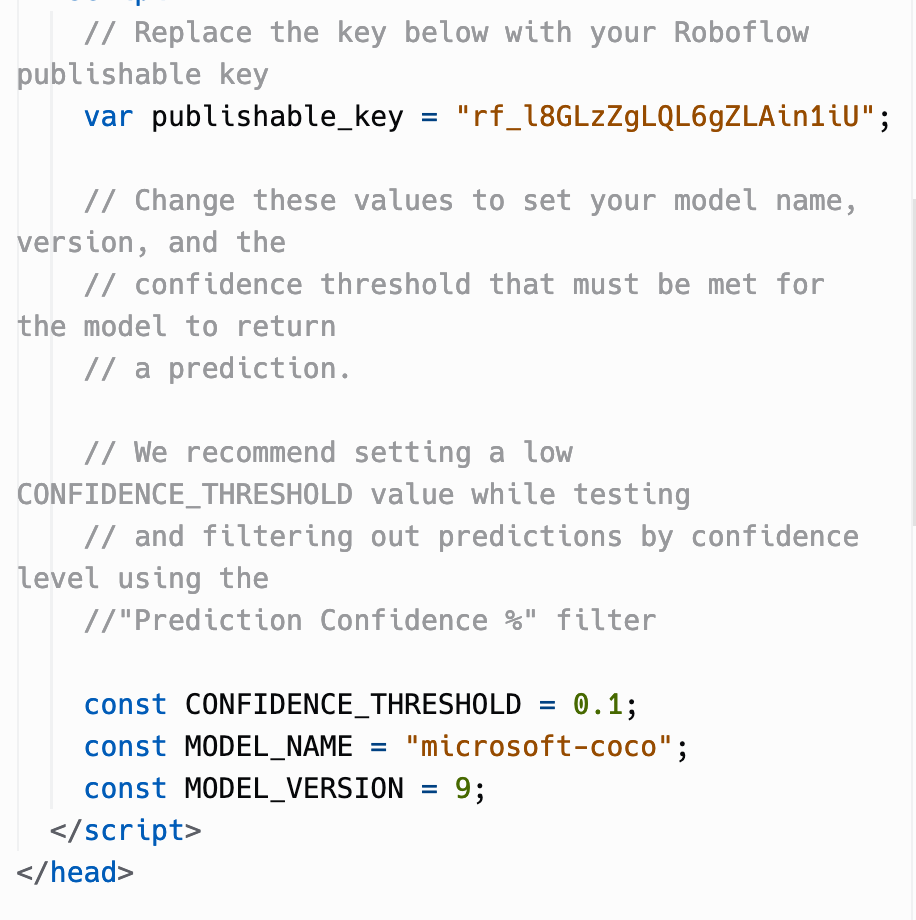
Next, replace the "model" value with the name of your model and the "version" value with the model version number. You can find these values on the "Versions" tab in the Roboflow dashboard.
Once you have changed these values, go to the "index.html" file. Replace the title and description on the page with whatever you want. In this case, we'll replace the title to say "Cash Counter" and the description to say "Identify US dollars using your webcam."
Let's make those changes. We are now ready to test our model!
Click the "Run" button at the top of the page. The example web page will appear with which you can experiment. When the page first loads, you will be asked to give permission for the web page to access your camera.
The YOLOv8 weights that you created earlier are downloaded from Roboflow when you accept webcam permissions. This can take a few seconds. Once you accept this request, a feed from your webcam will show up on the web page. The weights from the computer vision model that you built earlier will then load in your browser.
Now let's try out our model! Let's hold up a five dollar bill and see what happens:
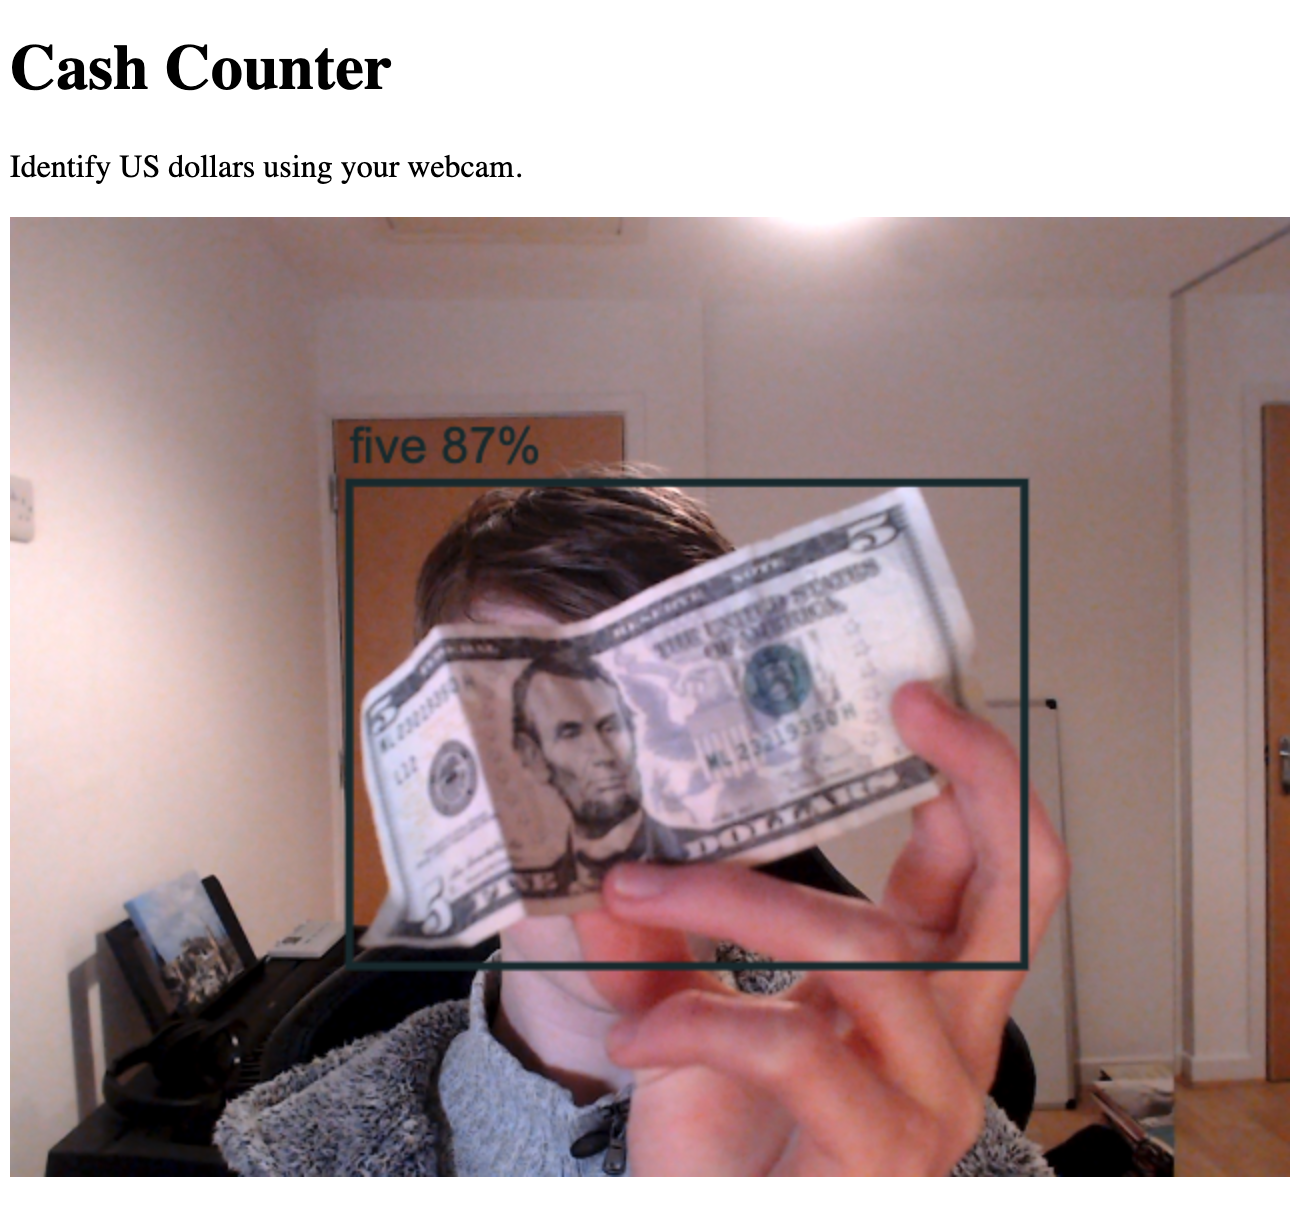
The model has correctly identified the dollar bill.
Let's hold up a ten dollar bill:
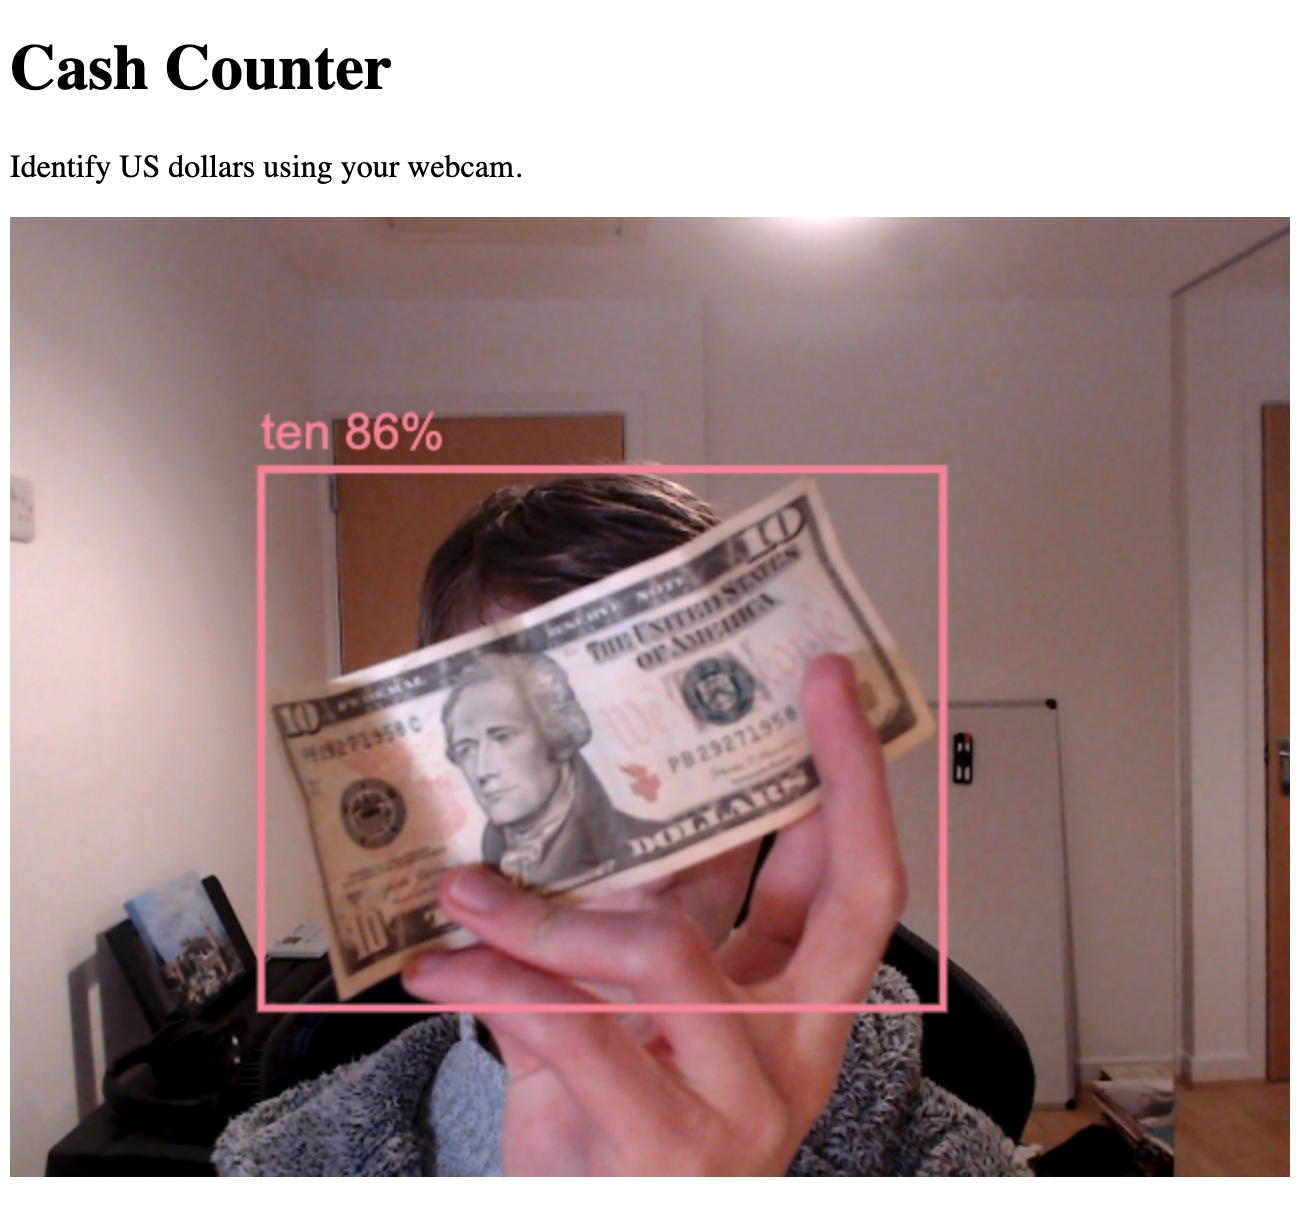
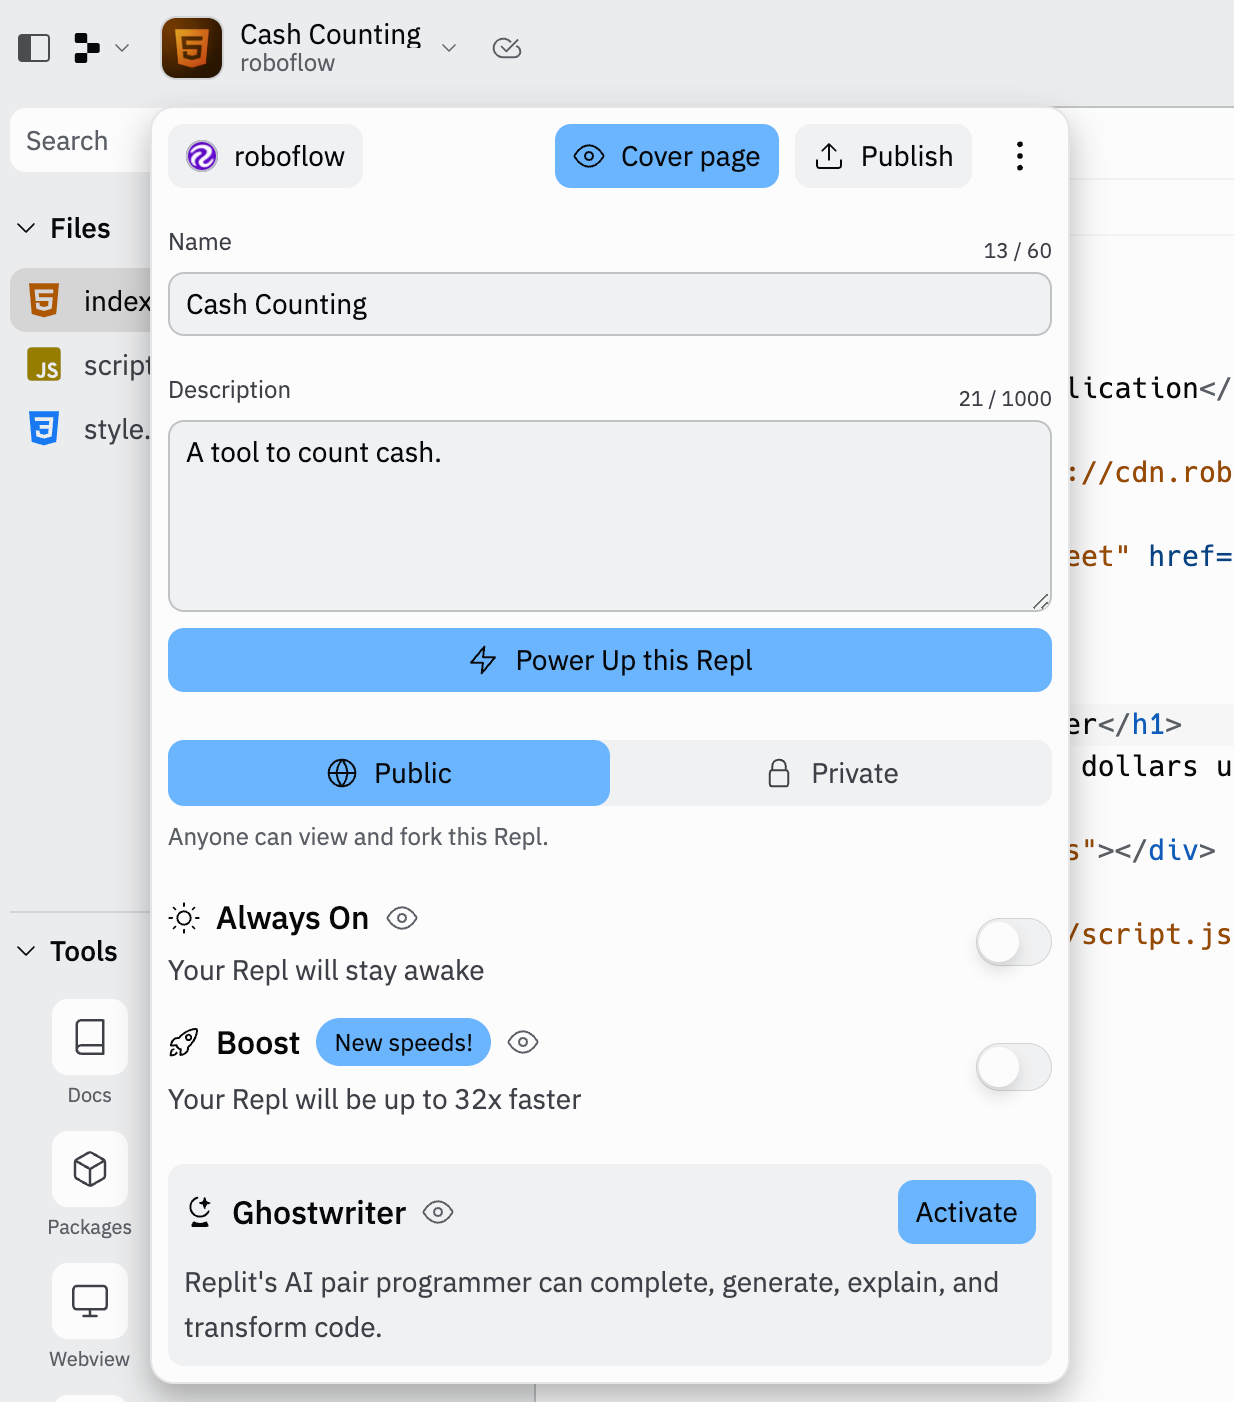
Again, our model has identified the currency. Great! Our model is working! To share your model, click on the name of the model in the top-right corner of Replit, choose a name and description for your project, and click "Publish". This will let you share your model with the Replit community.
You can copy a link to your model from the editing page, above the interactive web browser that shows your project in action:

This link can be shared with anyone so they can use your project! Try the computer vision cash counting app here.
Conclusion
In this tutorial, we have discussed how to deploy a YOLOv8 model using Roboflow and Repl.it. We used a public dataset on Roboflow Universe to create a dataset version for use in our model. Then, we used Colab to train a model using our data. We uploaded our model weights to Roboflow and used inference.js to access the model in a browser using Replit.
Now you have the resources you need to build, train, and deploy a computer vision model accessible through the browser. Enjoy your building!
Cite this Post
Use the following entry to cite this post in your research:
James Gallagher. (Jan 30, 2023). How to Deploy a YOLOv8 Model Using Roboflow and Repl.it. Roboflow Blog: https://blog.roboflow.com/deploy-yolov8-models-to-replit/