
This tutorial walks through building a computer vision model to detect Minecraft tree trunks using screenshots collected across multiple in-game biomes, annotated and trained via Roboflow. The resulting model is deployed through a Python inference script that reads frames from an OBS Studio virtual webcam, enabling real-time object detection on any desktop application or game. The same pattern, collecting screenshots, labeling objects, training, and piping output to automation tools like AutoHotkey or Hammerspoon, extends to any game or desktop workflow.
As a child, I grew up playing Minecraft, a 3D block game where the only limit is your creativity. Players navigate their 3D block world, collect resources, 'craft' tools and resources, and build to their heart's content.
Computer vision transcends industries, bringing intelligence to various fields. I wanted to test whether I could bring it to Minecraft using Roboflow, an end-to-end computer vision platform. And more importantly, I wanted to demonstrate that I could apply computer vision to other desktop applications or games.
What Do You Want to Detect?
Roboflow is a platform to annotate data and develop powerful computer vision models. To follow along with this guide, sign up for a free account. You'll be prompted to create a workspace – this is where we'll be storing and labelling our images.
Next, decide what you want your model to detect. This guide will use tree trunks, a crucial block in Minecraft. Keep in mind that your model with detect what you label, so in this case, we'll be labeling just the wood trunks of Minecraft trees, not the whole tree. Roboflow has gaming datasets available for you to use or you can build your own.
Building a Gaming Dataset for Computer Vision
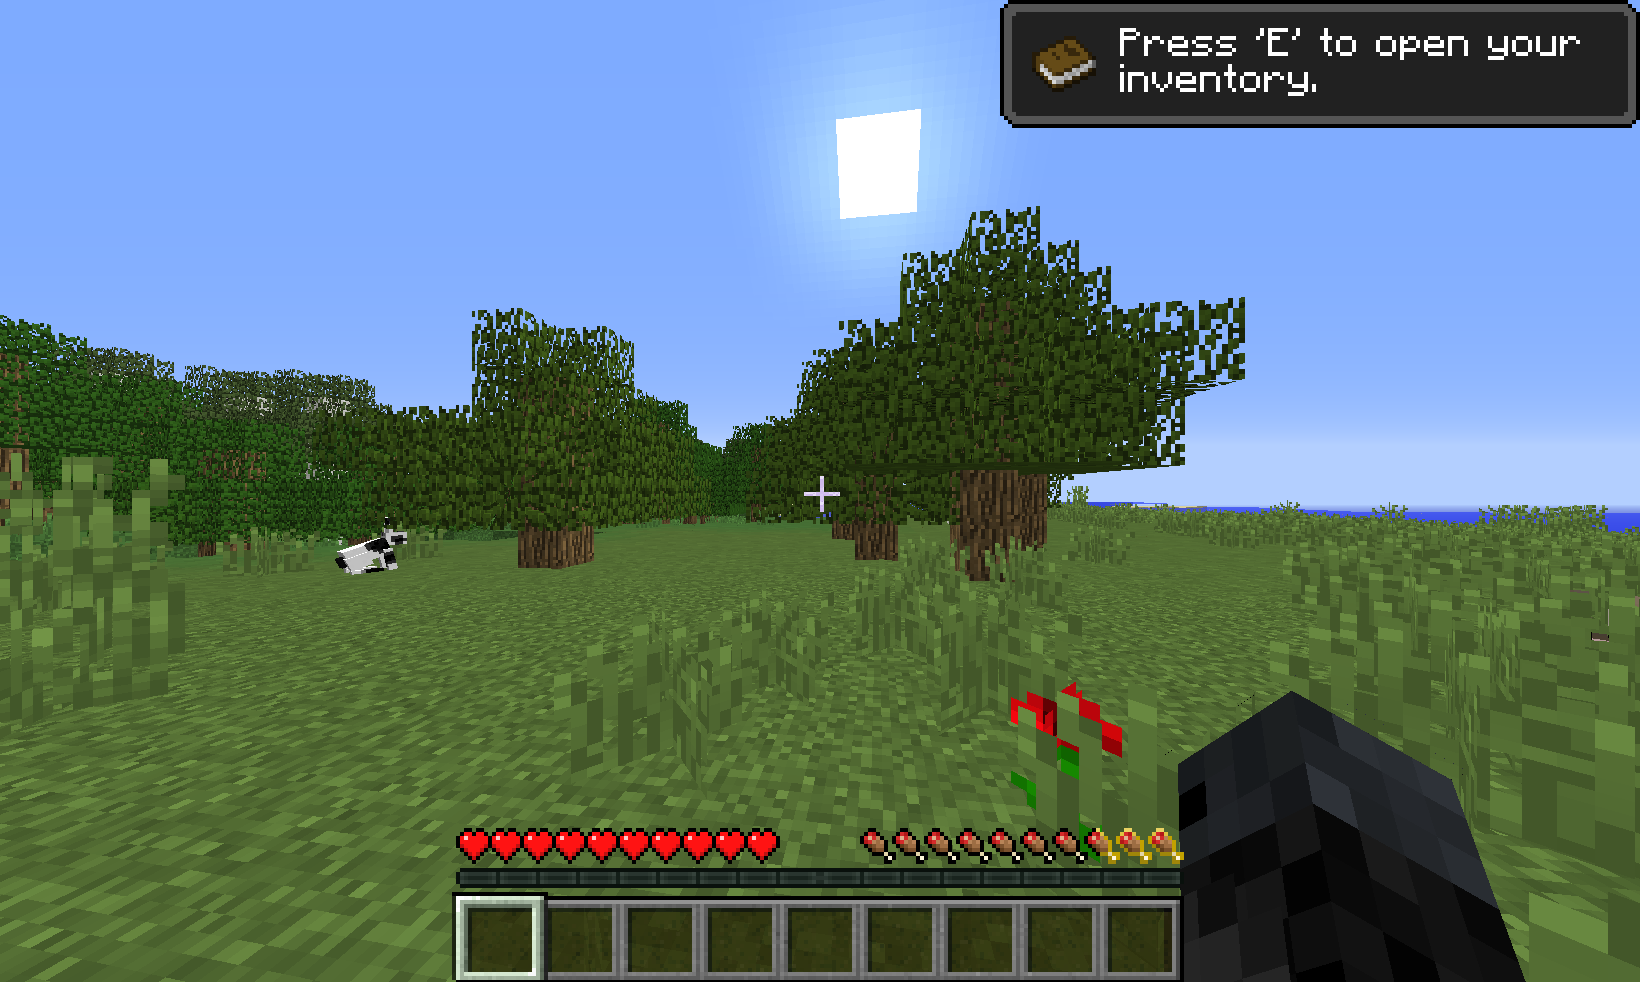
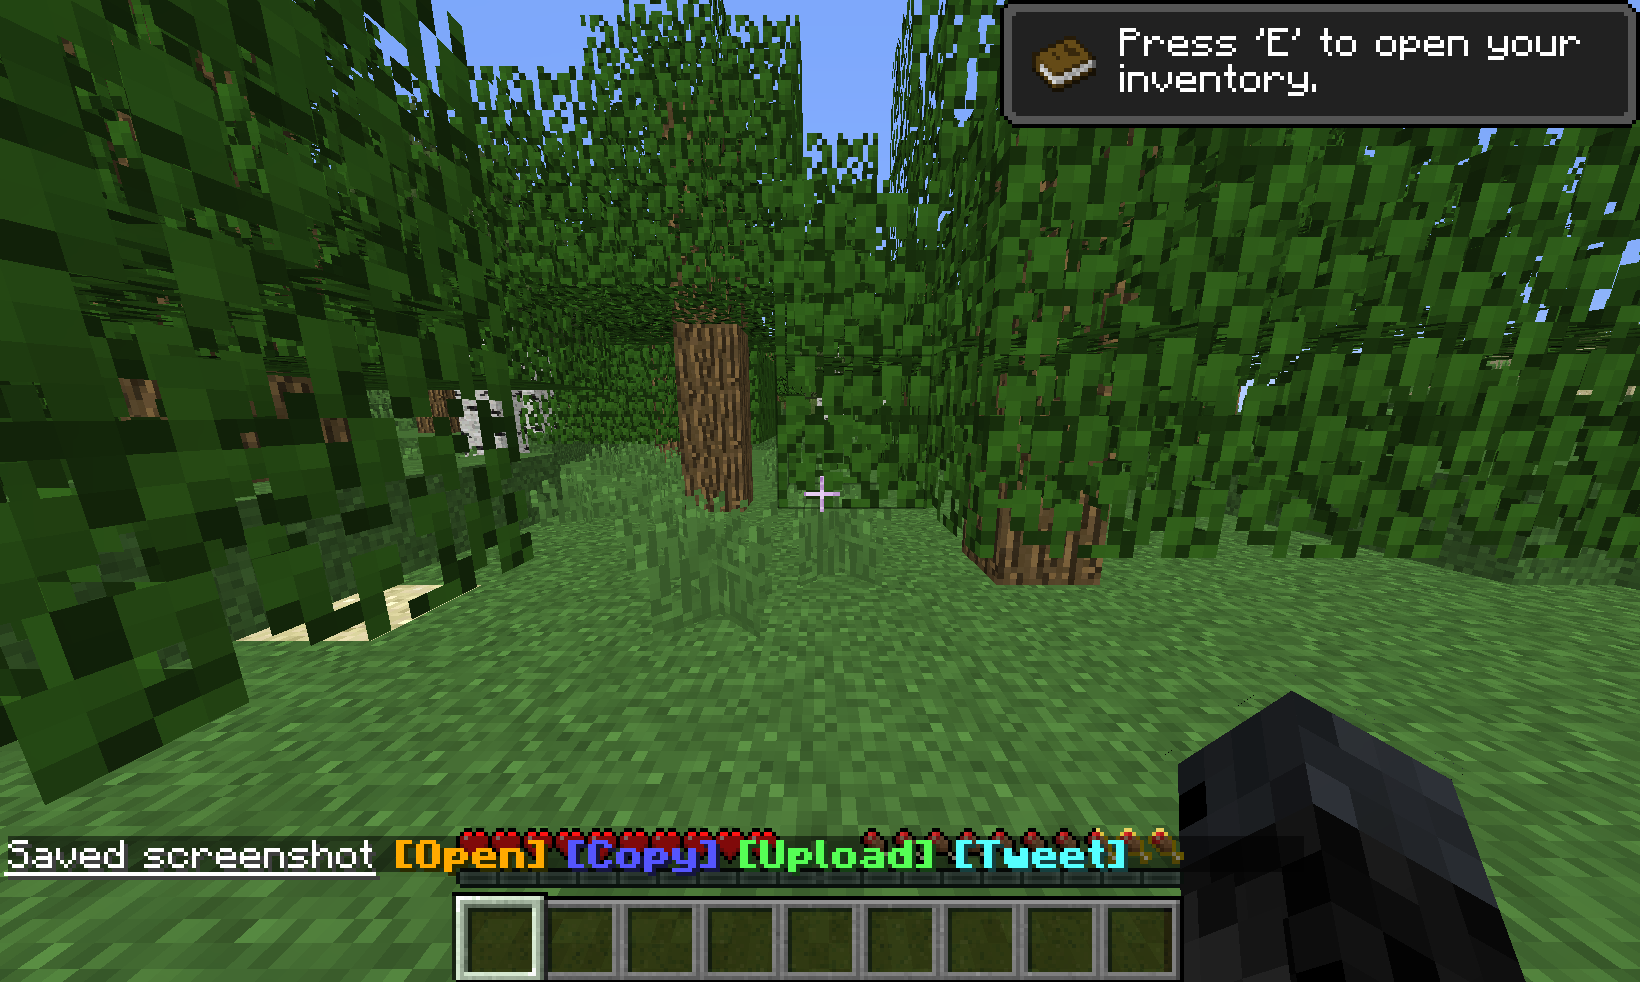
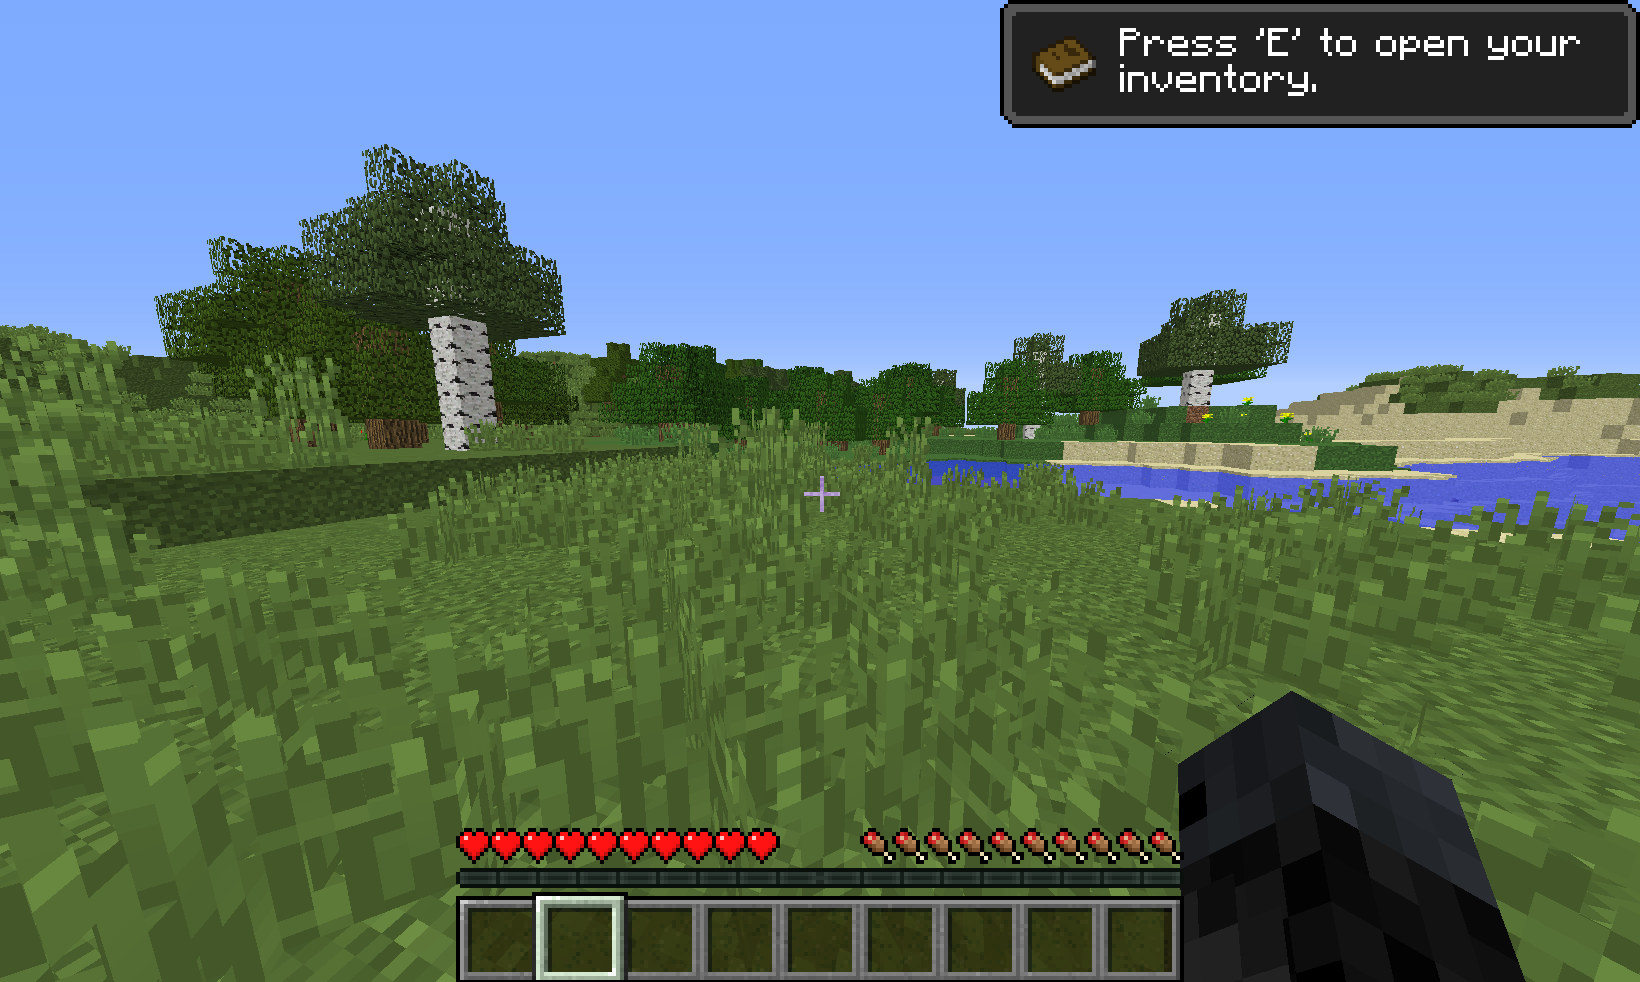
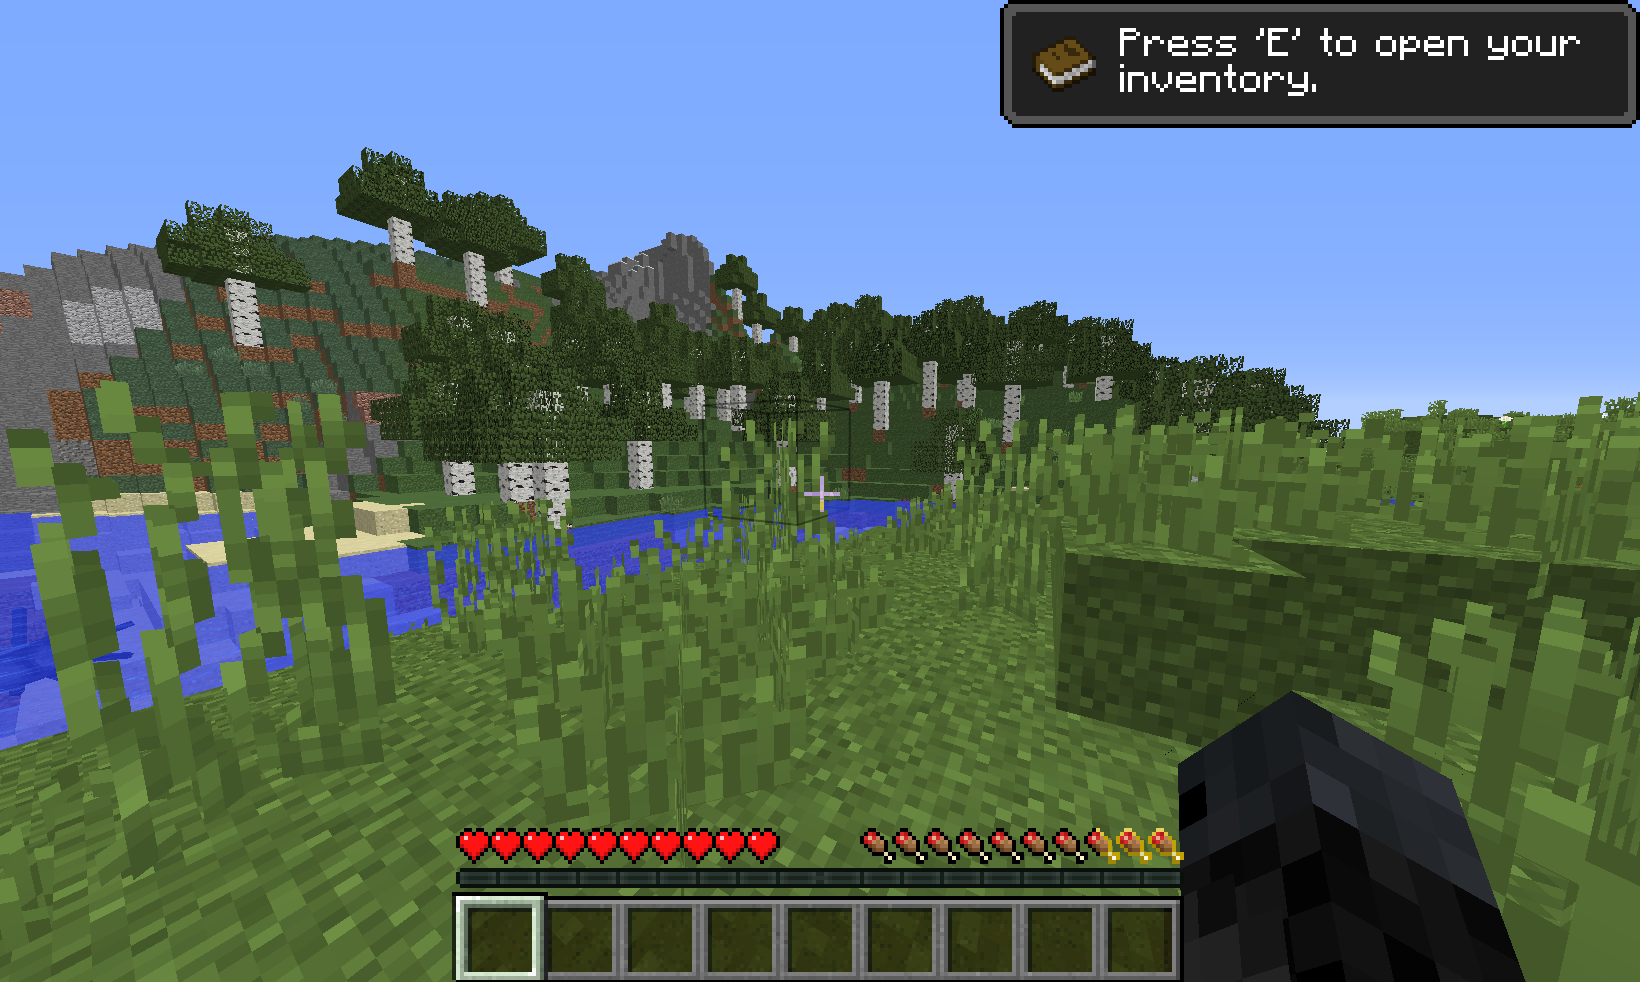
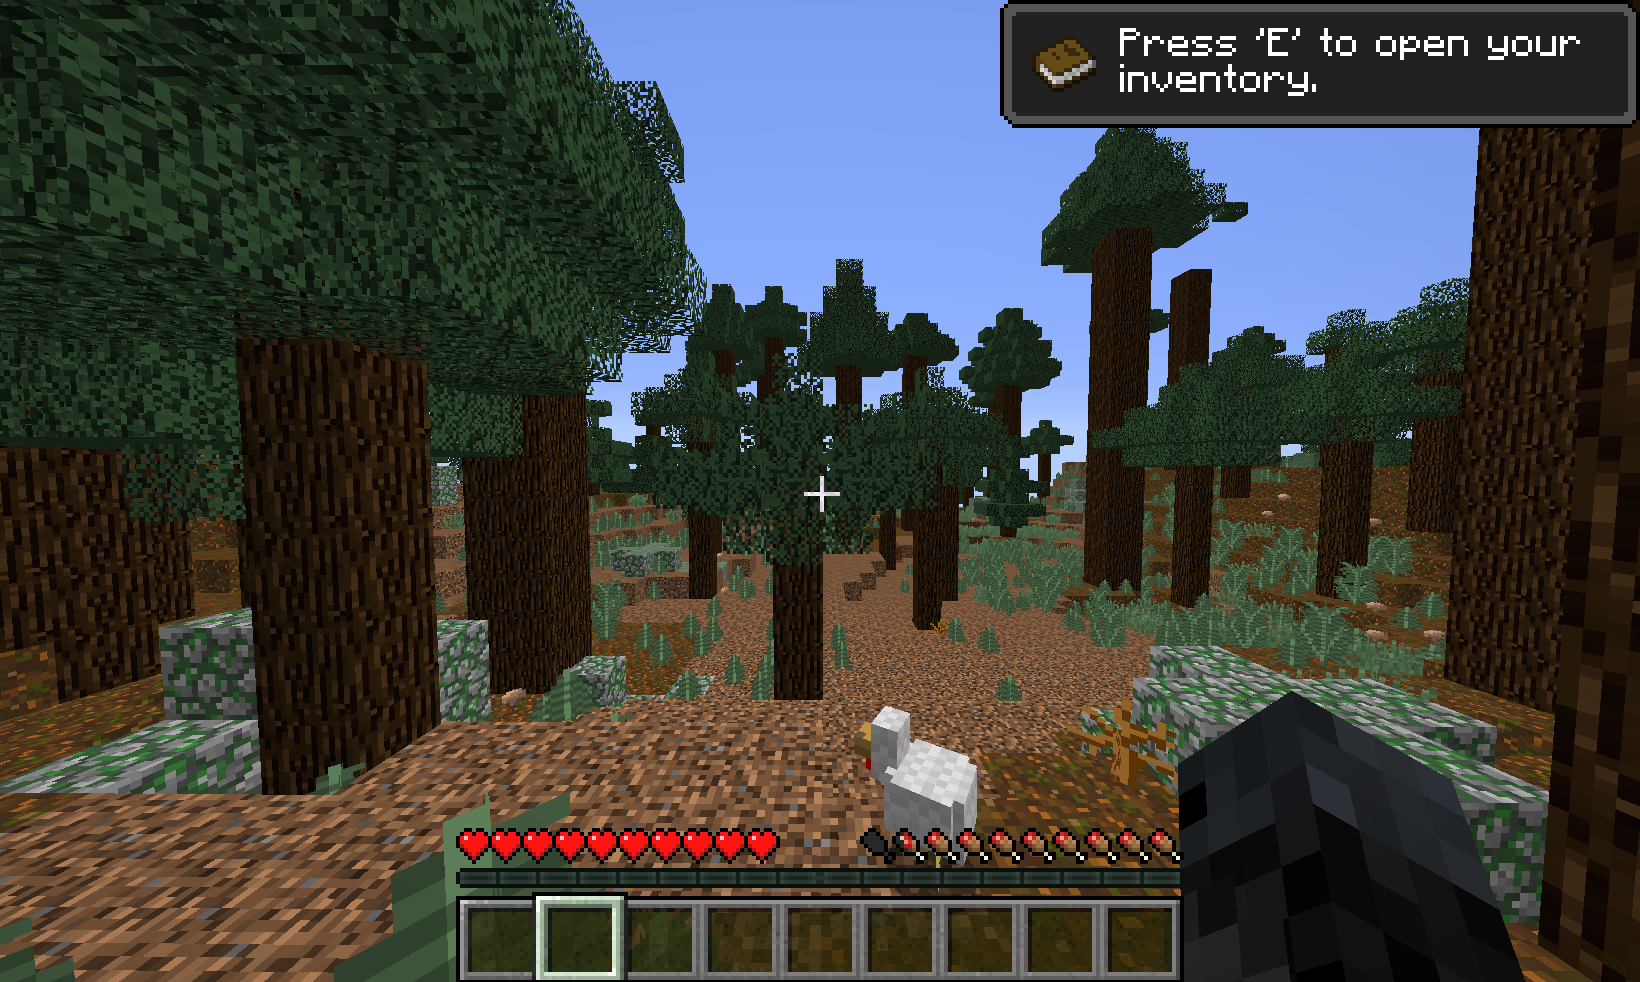
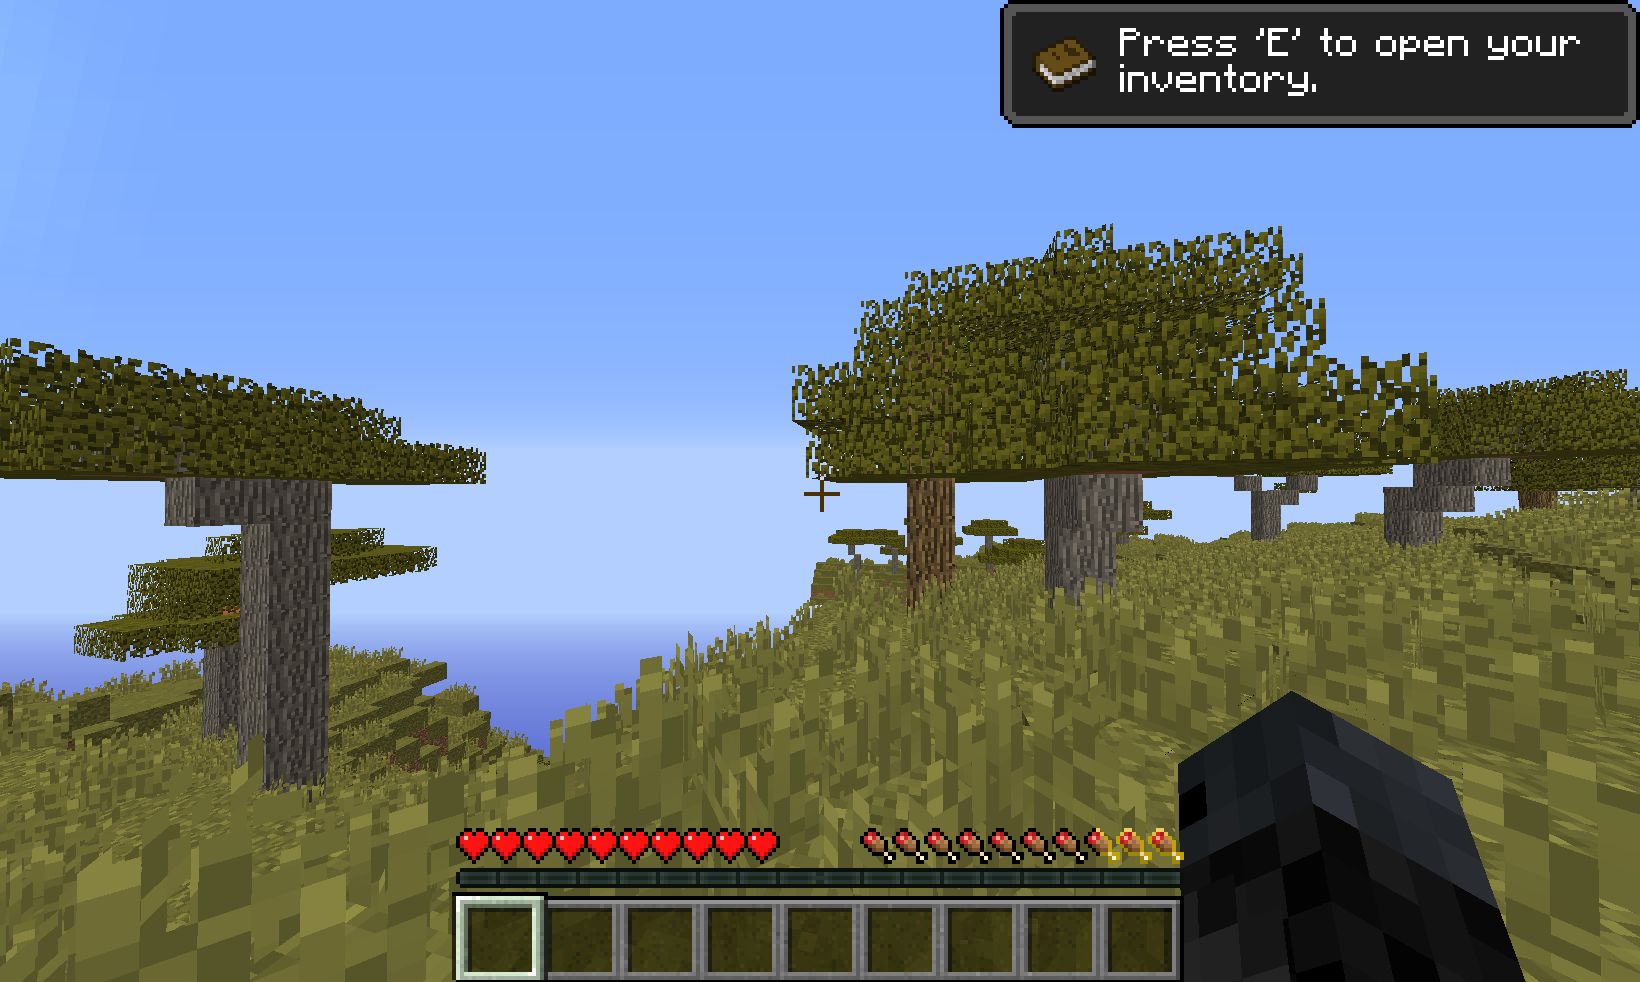
Fire up Minecraft, or any game for that matter, and start taking screenshots. In your data, you want to capture a variety of scenarios so that your model can learn to be robust and won't get confused to changes.
Below you can see many different worlds used to collect images from various biomes, since each biome in Minecraft has a different type of wood.
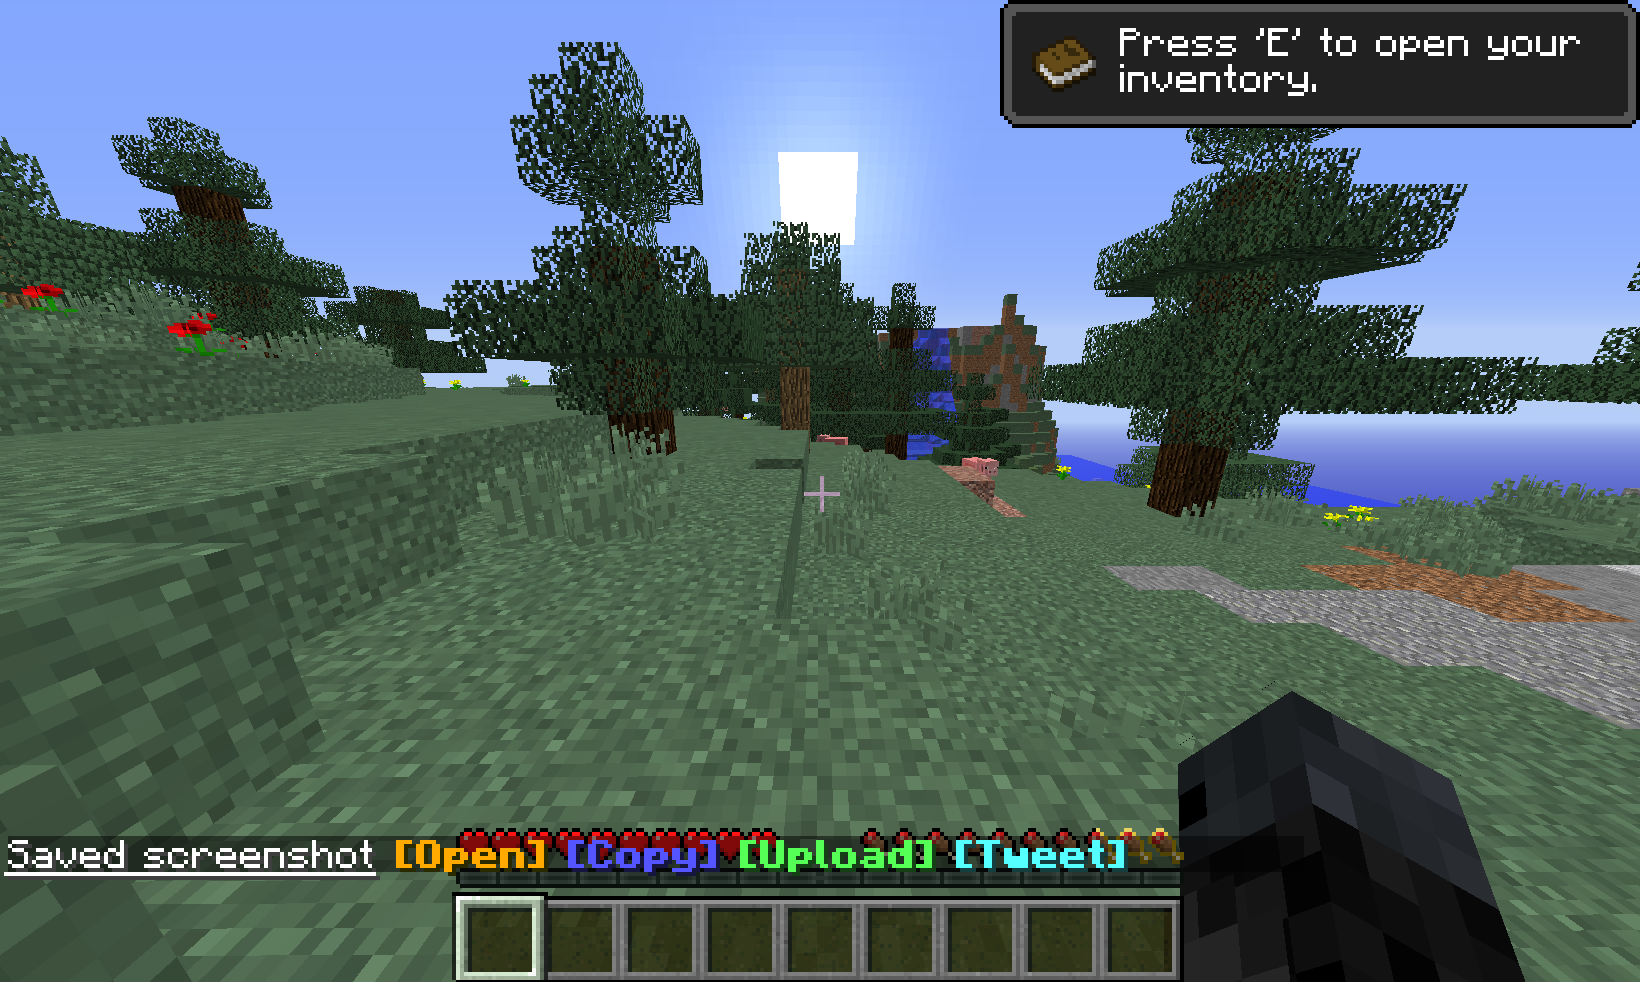
Here are some of the images that collected:

Next, import your images into Roboflow using the Upload tab. Assign these images to yourself if prompted, and click on the Annotate tab.
To get started with Roboflow Annotate, draw bounding boxes to identify the objects of interest. In this example, we drew around each tree trunk with visible wood blocks. For you, this could be an in-game item, an icon, or a button on an application.
The initial dataset for this project contained labelled images of all the visible tree trunks in about 30 or so screenshots. You can find the dataset on Roboflow Universe, a hub of public datasets and trained models by other Roboflow users.
Augmentation and Preprocessing to Expand Gaming Datasets
One of the convenient features of Roboflow is the built-in data augmentation tool. Data augmentation allows you to apply transformations to labeled models and generate other images that can make your model more robust.
Click on the Generate tab to get started with making a dataset with augmentations.
- Source Images: Ensure that you select the images you'd like to include in your dataset.
- Train/Test Split: You can choose how many images you want to use for training the model, and how many for testing the model. These images are kept separate since the model shouldn't be trained on test images – but don't worry: Roboflow automatically takes care of that.
- Preprocessing: In this example, we chose to resize all of my images to 820x491, since smaller images are faster to inference.
- Augmentation: For the Minecraft dataset, we randomly flip images horizontally and create mosaics. Mosaics can help models identify smaller objects.
- Finally, generate your model. For this tutorial, we chose to generate at 3x the number of images we labelled.
With Roboflow Generate, we ended up with 3x the images labelled.
Training a Computer Vision Model for Gaming
Once your dataset is generated, you'll see Roboflow Train under 'training options'. Hit 'Start Training' to get started and you'll receive an email when your model is ready.
Once your model has been trained, you can try it out right from the browser. Drop an image that wasn't in your dataset to visualize your model outputs.
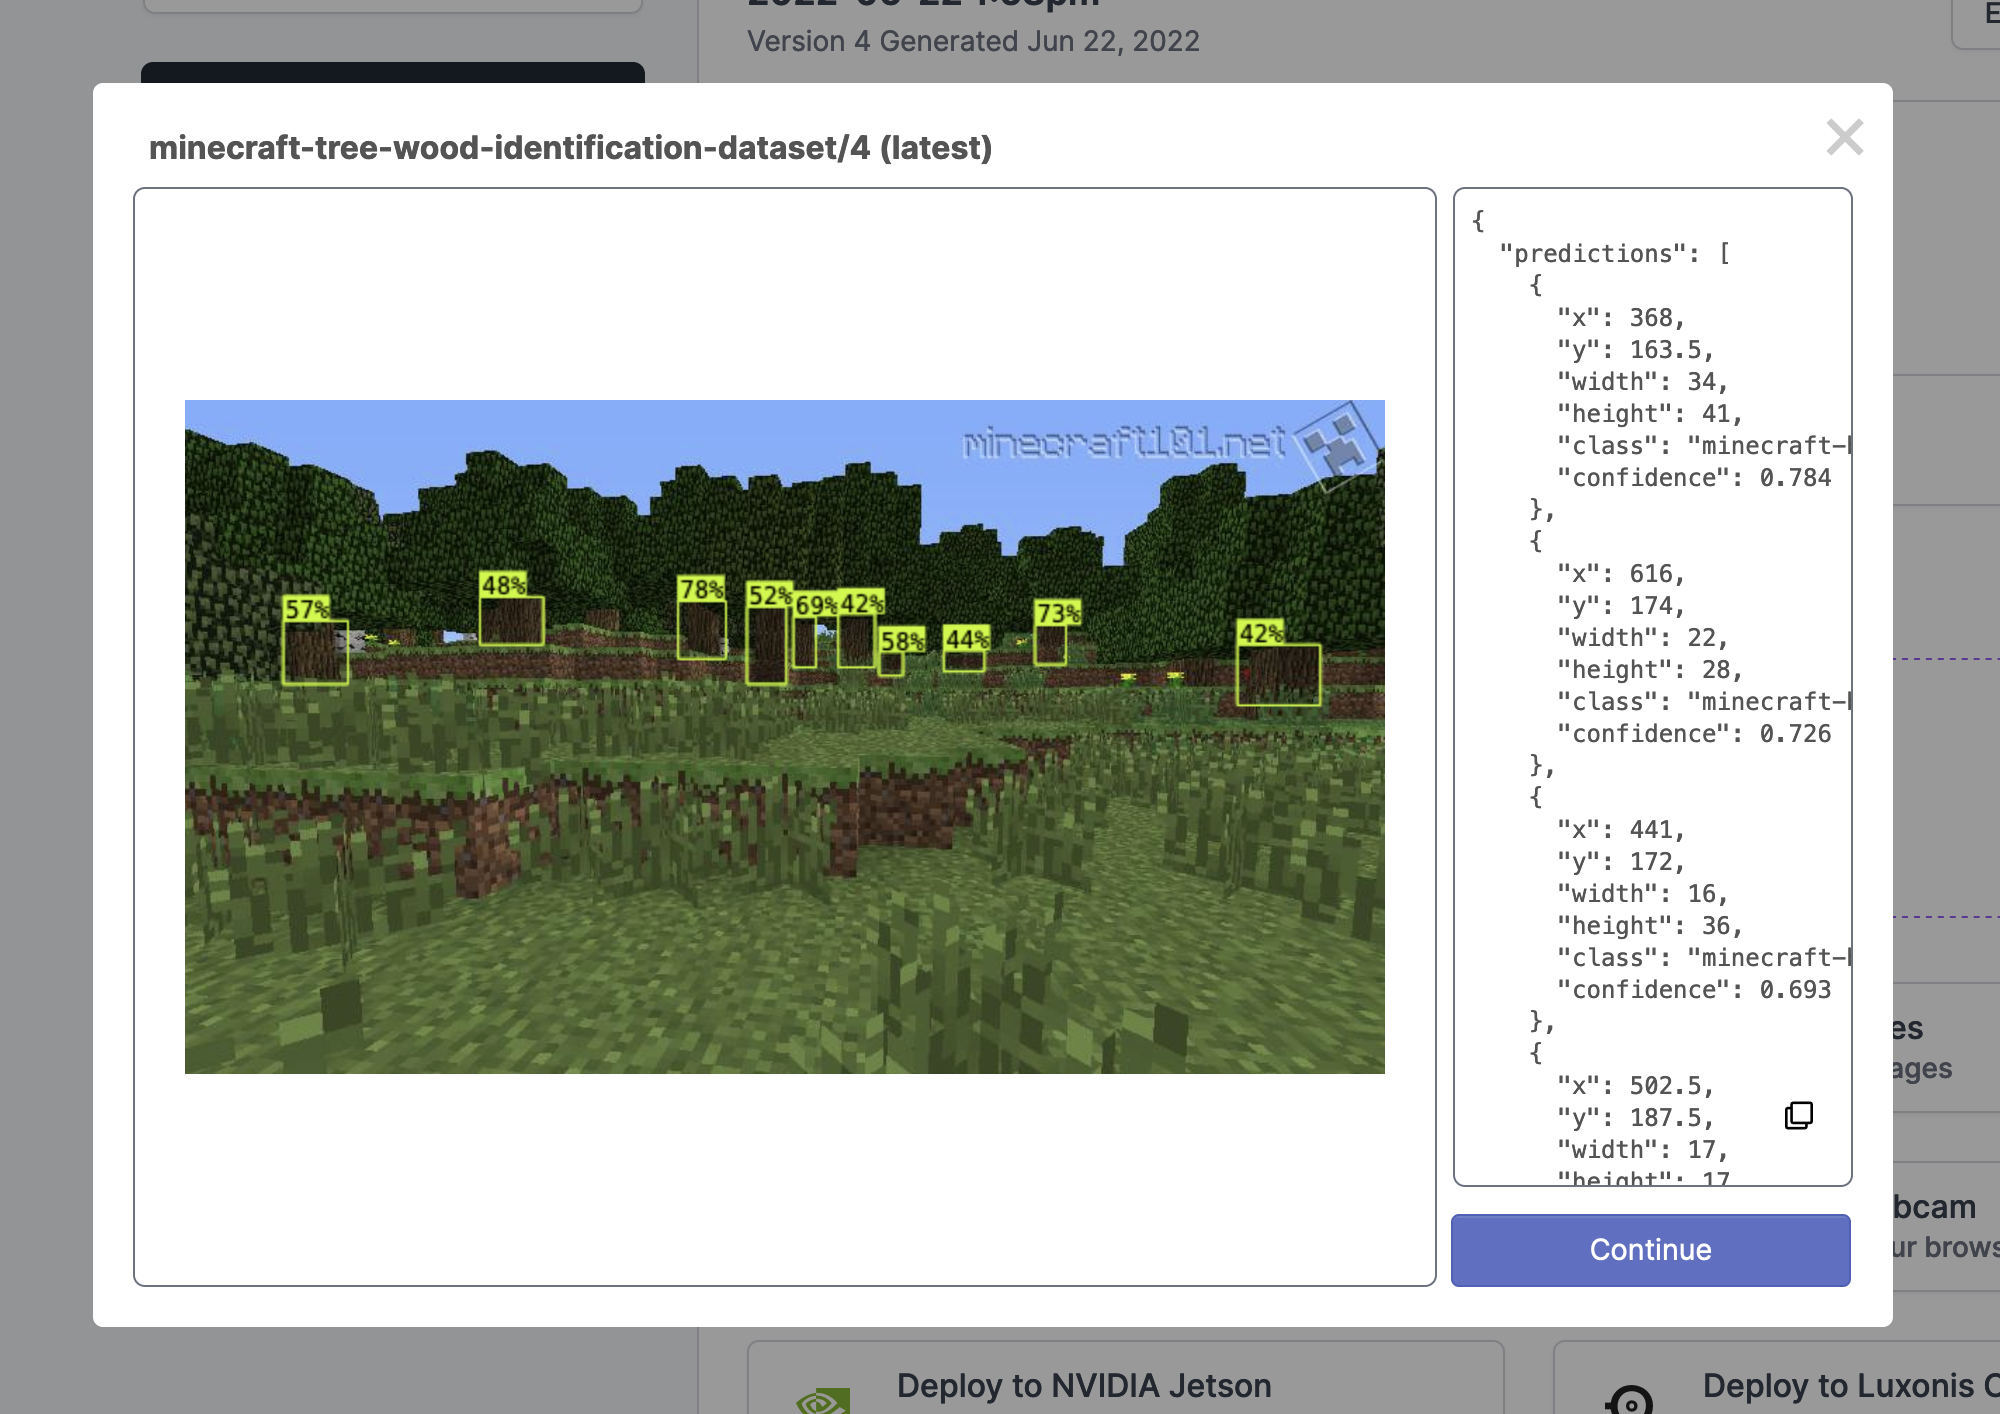
Looks like the model is accurate.
Congratulations! You've trained a computer vision model.
Using Your Detection API in a Gaming Application
Roboflow offers many deploy options to integrate your model with custom code or a variety of hardware to unleash your creativity. We used infer-async.py from the roboflow-api-snippets repository as a starting point.

One slight problem: infer-async.py runs real-time inference from a webcam, but we wanted to run inference on a Minecraft game window.
OBS Studio is a free and open source software for recording and livestreaming. With OBS, we set up a virtual webcam and piped a live screen recording to a virtual webcam. Then, in infer-async.py, specified the script to use the OBS virtual camera instead of the laptop's hardware camera.
0:00/1×Object detection in real-time based on our gaming dataset
And boom!
- Minecraft is running as a separate window (Bottom right).
- OBS Studio is set to capture Minecraft and streams it as a virtual webcam (Top right).
infer-async.pyreads frames from the virtual webcam, runs inference using our trained model, and displays them (Top left).
Extend Computer Vision to Your Gaming Application 🚀
Using OBS Studio, you can stream any desktop application as a virtual webcam. Using custom python code or infer-async.py, you can run inference on that stream. And finally, using automation tools like autohotkey (for Windows) or Hammerspoon (for macOS), you can programmatically control your applications or games.
As we were working on this project, OpenAI published a fascinating paper on the topic of using "general computer-using agents". If you found this post interesting, you'll enjoy OpenAI's work as well.
We're excited to see what you make.
Cite this Post
Use the following entry to cite this post in your research:
Ananth Vivekanand. (Jun 29, 2022). Using Gaming Datasets for Game Automation with Computer Vision. Roboflow Blog: https://blog.roboflow.com/game-automation-computer-vision/