
What is Label Studio?
Label Studio is an open source annotation platform. You can label images, audio, text, time-series data, video, and multi-domain data within Label Studio. You can run Label Studio locally or on a server.
In this guide, we are going to discuss:
- What features Label Studio offers.
- The task types supported by Label Studio for computer vision.
- How to install Label Studio.
- How to annotate images within Label Studio.
Without further ado, let’s get started!
Label Studio Features
Label Studio has two versions: Community Edition and Enterprise. With the Community Edition, you can label images with the open source Label Studio tool. This tool runs on your own hardware. For computer vision use cases, you can label data for object detection, classification, segmentation, and more with Community Edition.
Label Studio is available as a web interface. Within the web interface, you can annotate images, view annotation history, create comments on annotations, and more. You can see who annotated each image, giving you visibility into how different members of your annotation team have contributed to your project.
You can customize the Label Studio interface using the Label Studio Templates feature. This feature gives advanced users more flexibility over the annotation web interface used by labelers.
In addition to running Label Studio locally, you can run the software in the cloud with Human Signal. The Human Signal platform provides a suite of extra features including SSO integrations, role-based access control, and collaborative workflows. A free trial is available for using Label Studio, after which point you need to contact their sales team.
Label Studio Vision Task Types
Label Studio supports labeling data for use in the following vision tasks:
- Semantic segmentation with polygons and masks.
- Object detection with bounding boxes.
- Keypoint detection.
- Image captioning.
- Optical Character Recognition (OCR).
- Single and multi-class classification.
- Visual question answering.
- Video object tracking.
- Video classification.
- Video timeline segmentation.
How to Install Label Studio
Label Studio offers four installation methods: via pip, brew, Git, and Docker. In this guide, we will focus on the pip installation method. To install Label Studio via pip, run the following command:
pip install -U label-studioOnce you have installed Label Studio, you can run the application using the following command:
label-studioThe Label Studio application will open:
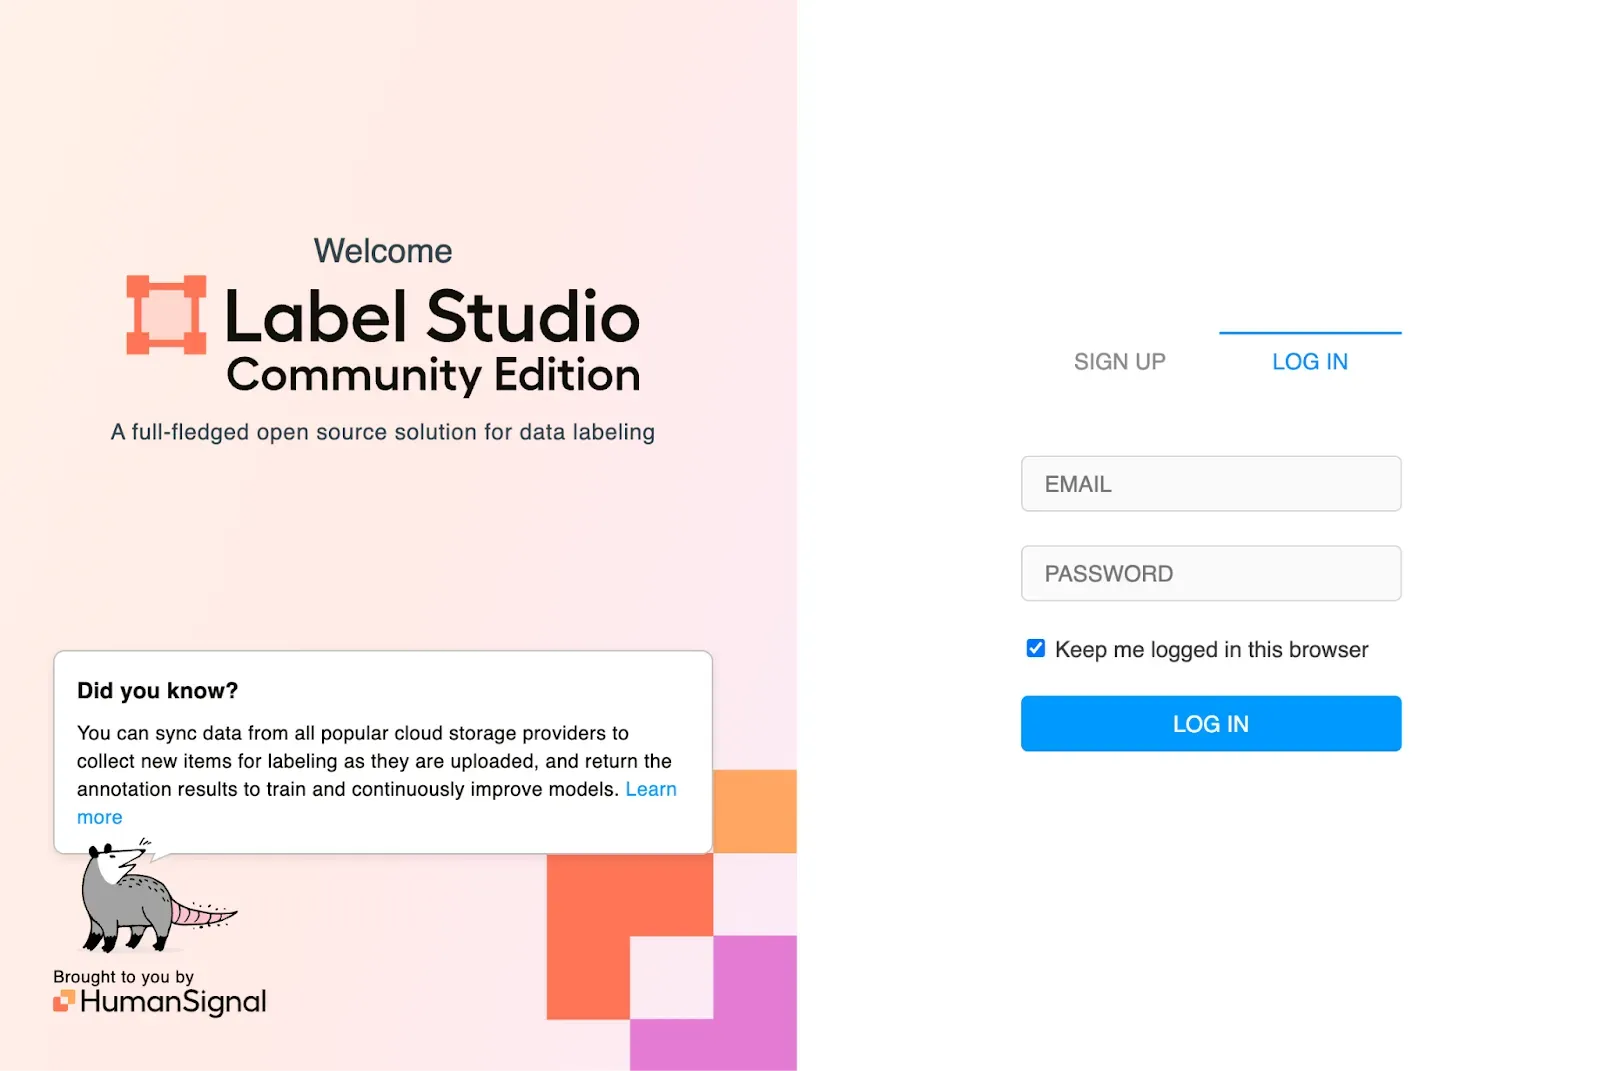
When you first open Label studio, you will be asked to create an account. Click “Sign up” if you do not already have an account.
Upload Images to Label Studio
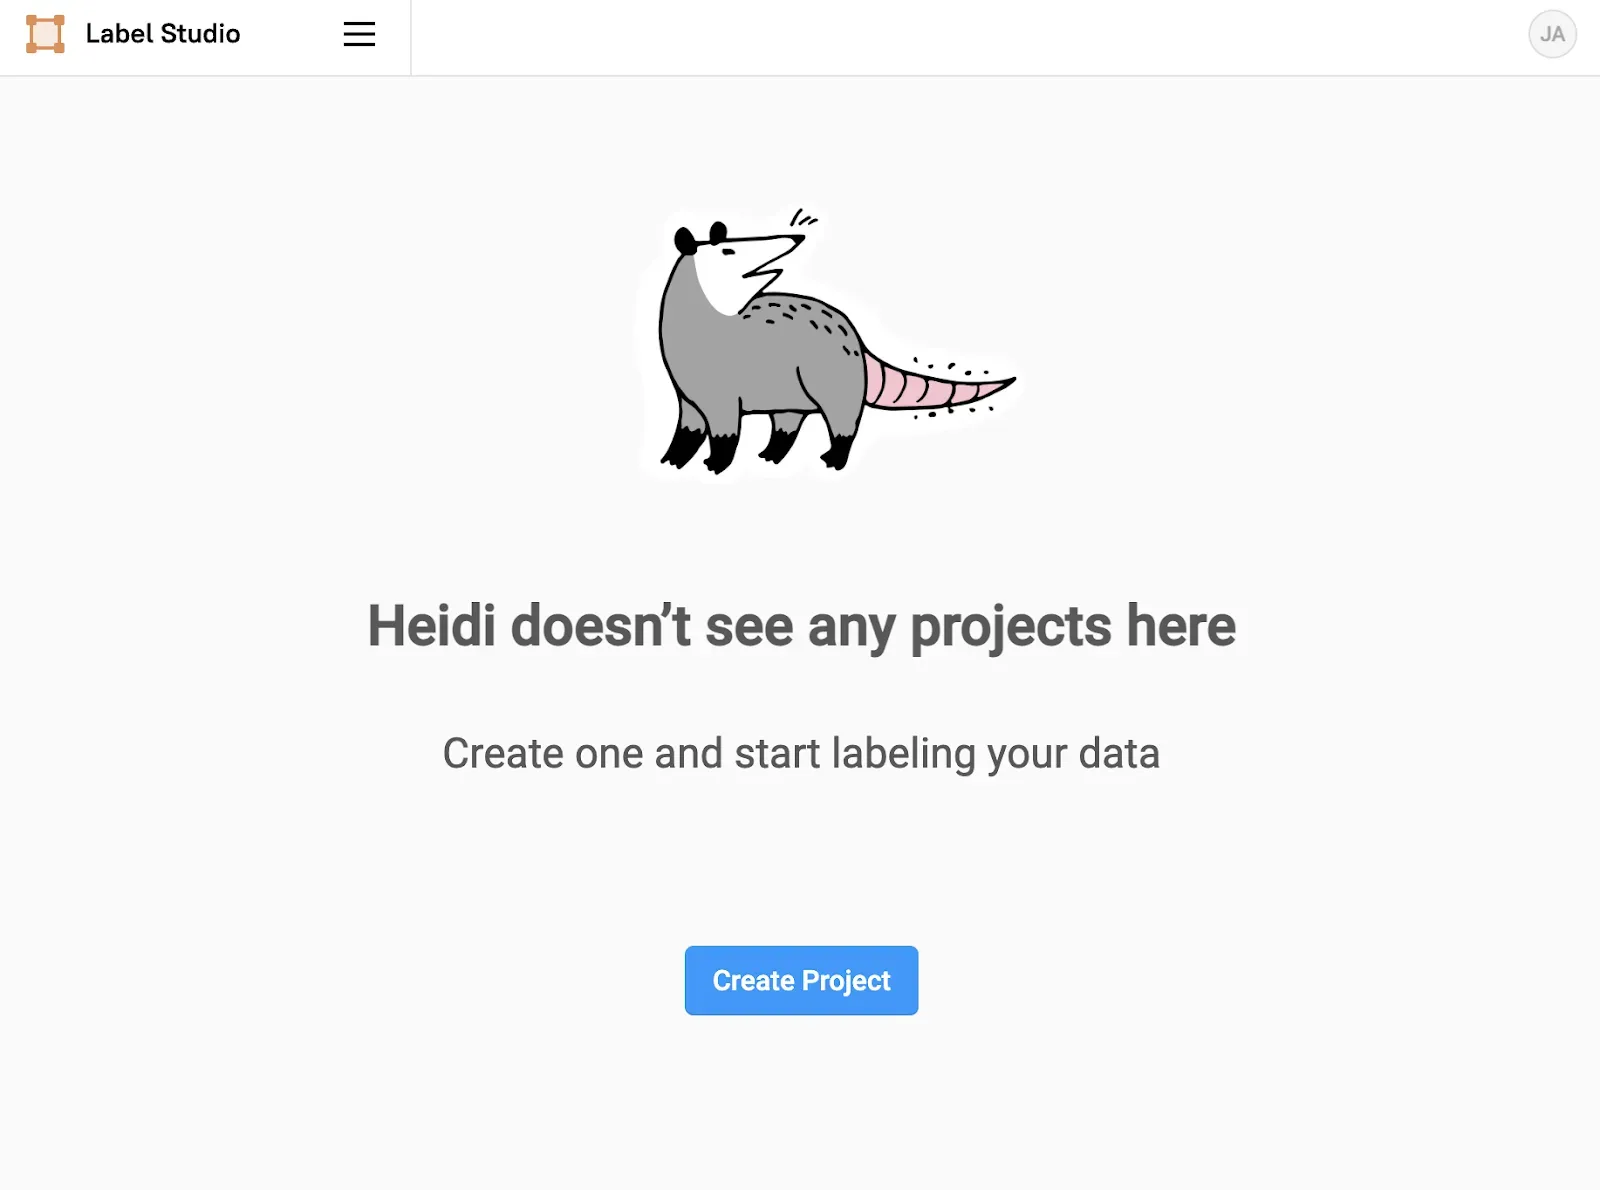
Before we upload images to annotate, we need to create a project with which our images will be stored. Click the “Create project” button on the Label Studio homepage:
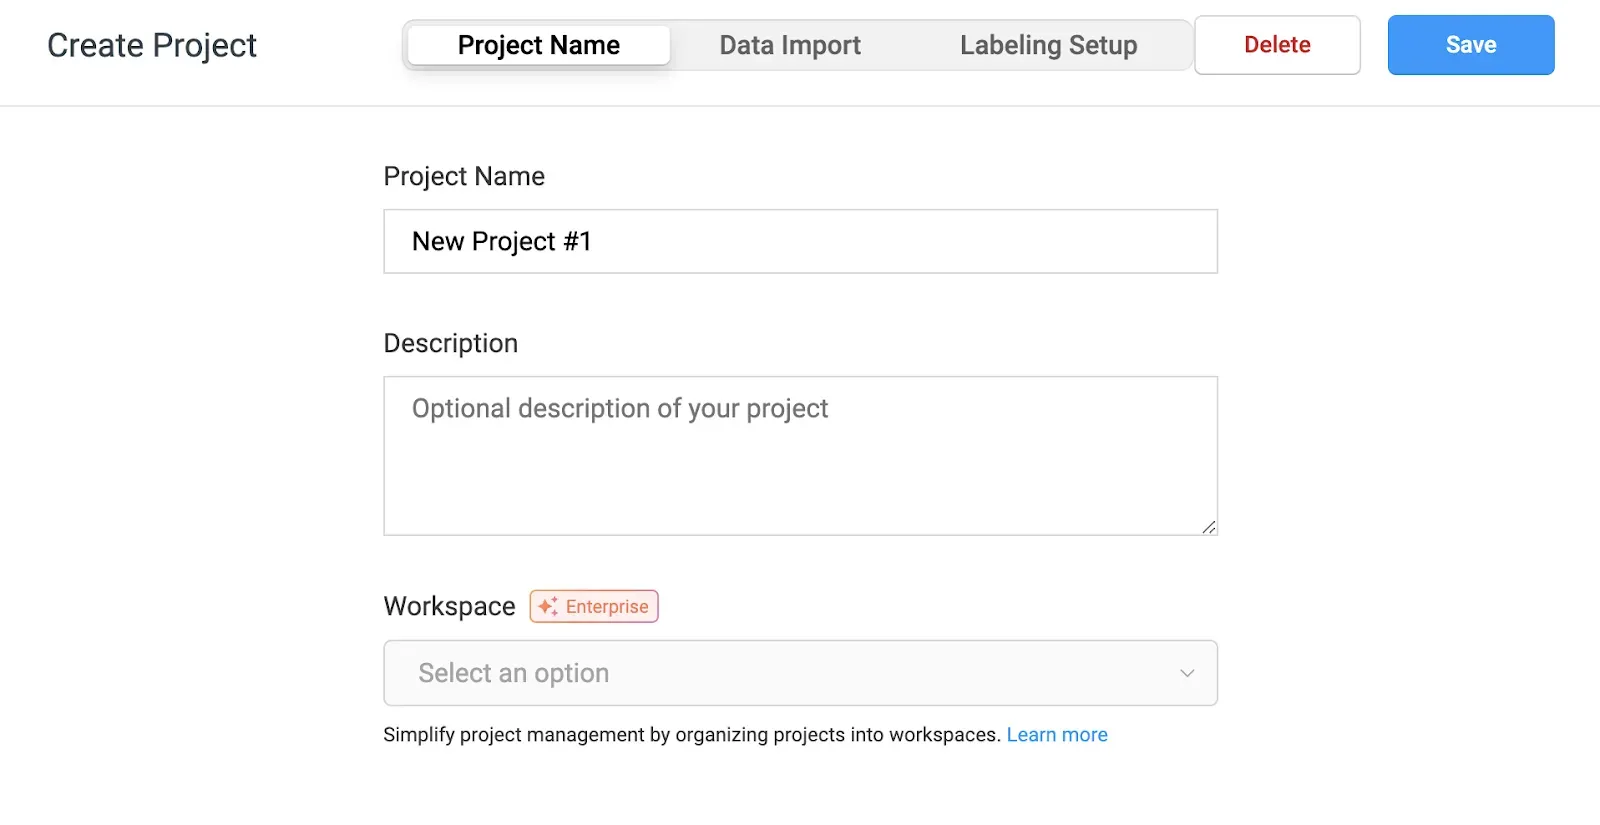
Next, choose a name for your project. Optionally, specify a description for your project.
Next, click “Data Import”. Here, you can upload images and videos in a range of formats for use in labeling. If you need images, browse Roboflow Universe, a community where over 200,000 computer vision datasets are available for use in projects.

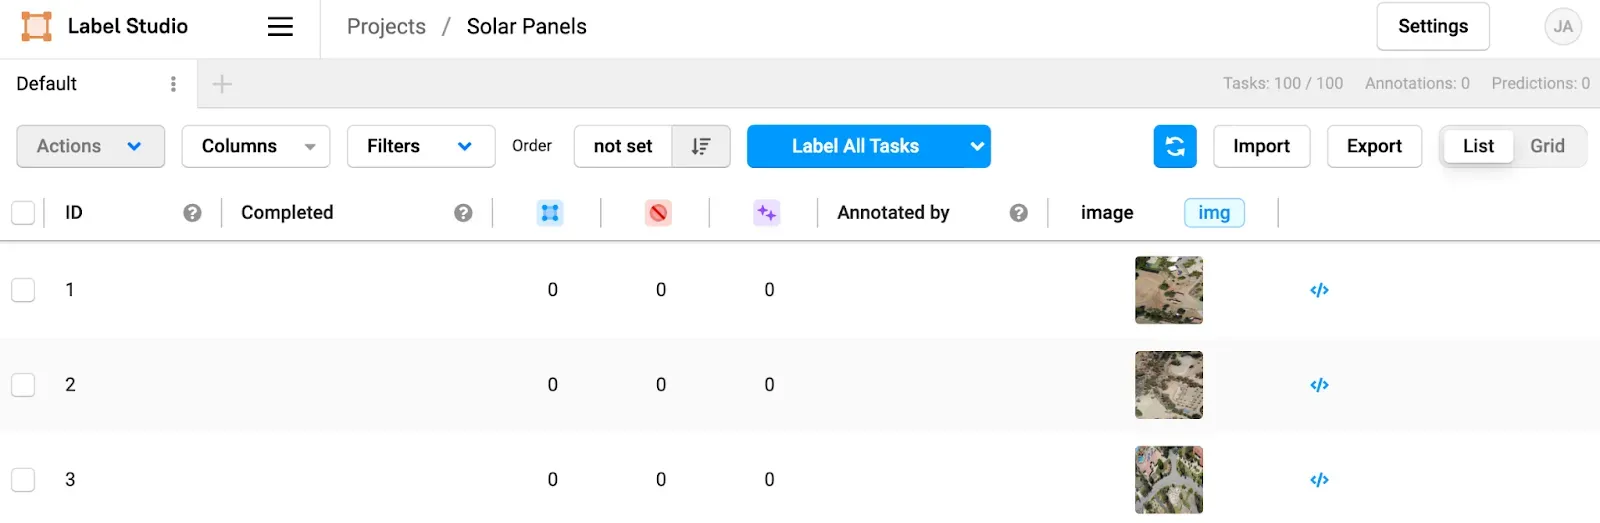
You can upload up to 100 images at a time using the web interface. You can also use the Label Studio API to add more images.
Next, click “Labeling Setup” and choose a task type. For this guide, we will label a dataset for object detection. You can label image data for any of the task types mentioned in the Label Studio Vision Task Types mentioned earlier in this guide.
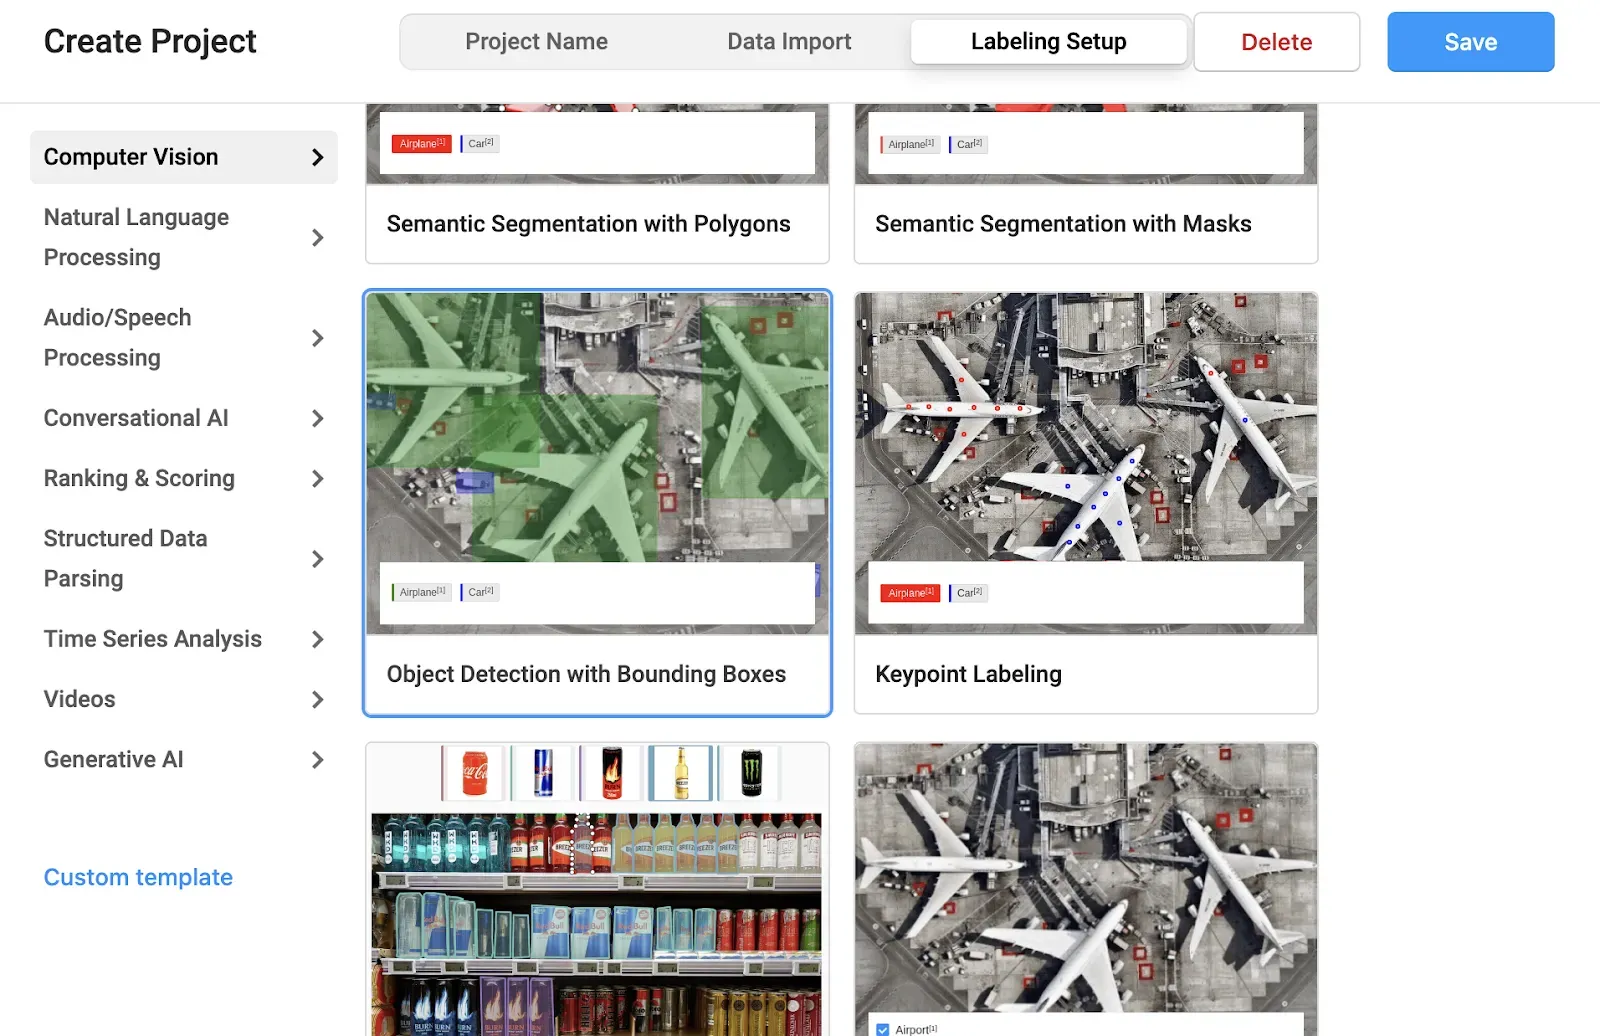
Once you have selected a task type, a UI of the labeling environment for your chosen task type will appear. You can configure the UI on this page. To learn more about configuring UIs, refer to the Label Studio Templates documentation.
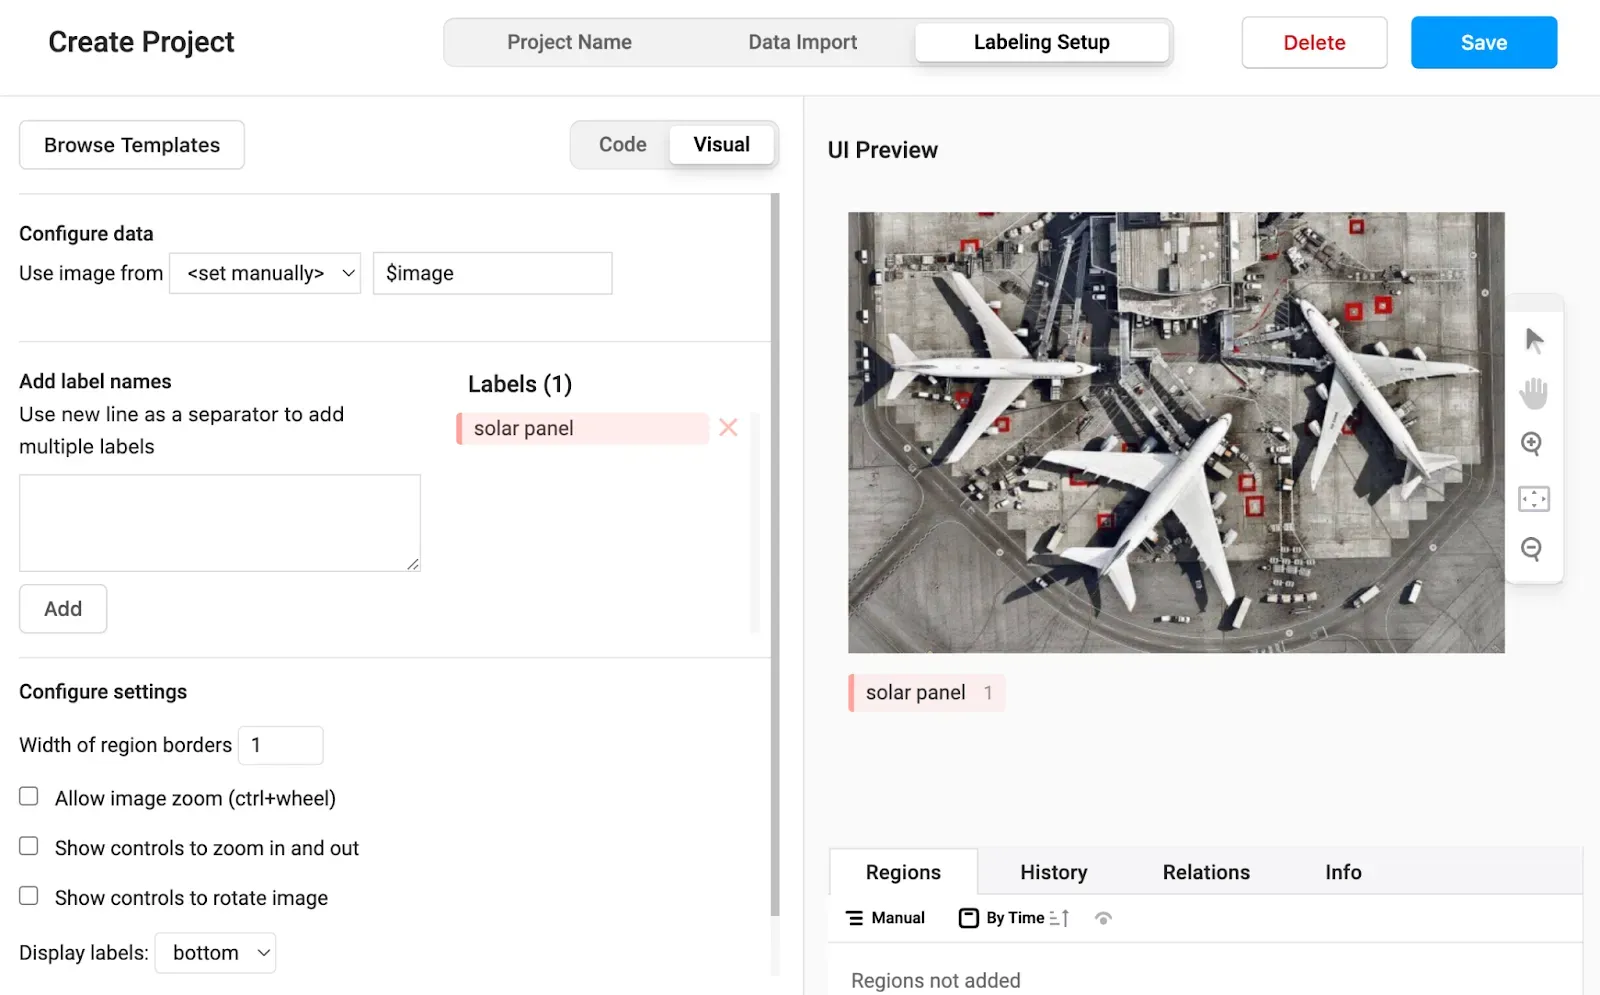
In the sidebar, remove the default labels and add the labels you will add to images in your dataset. For this guide, we will add one label:
solar-panelWhen you are ready, “Save” to save your configuration and enter the labeling tool.
To start labeling, click “Label All Tasks” on your project dashboard. If you want to label a specific image, click on the image you want to label.
How to Create an Annotation in Label Studio
To create an annotation, click the plus icon in the top left corner of the annotation tool:
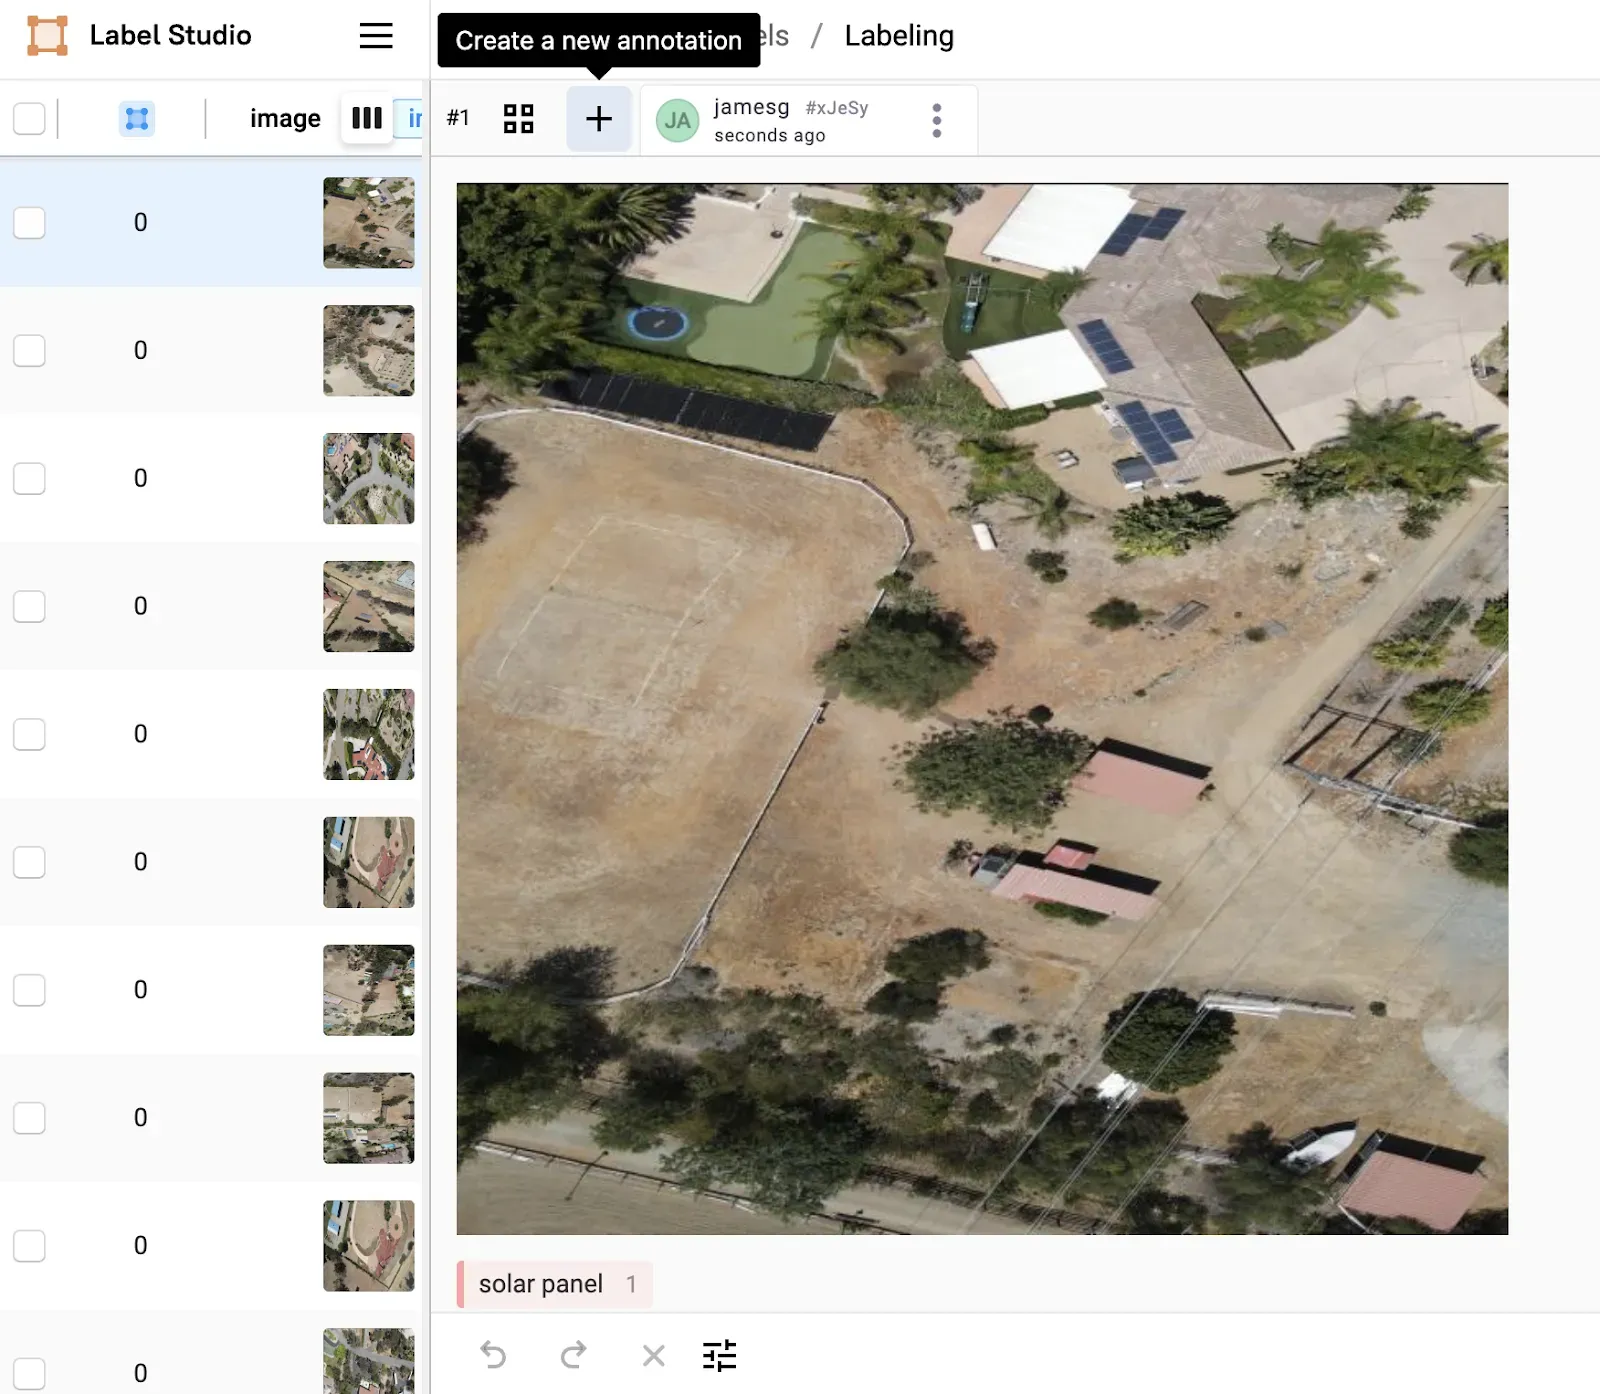
To draw a bounding box, first select a class from the classes you set for your project. You can do this by clicking on the class name below the image or pressing the key with the number that appears next to the box for the class you want to select.
Click where you want to start drawing your box. Drag your cursor over the object of interest.
You can zoom in using the Control and + keys and zoom out using the Control and - keys.
Once you have labeled an image, click “Submit” to save your label.
Click on the next image you want to label in the LabelMe sidebar to proceed to the next image.
How to Export Label Studio Data
To export data from Label Studio, navigate to your project home page and click the “Export” button. A list of export options will appear.
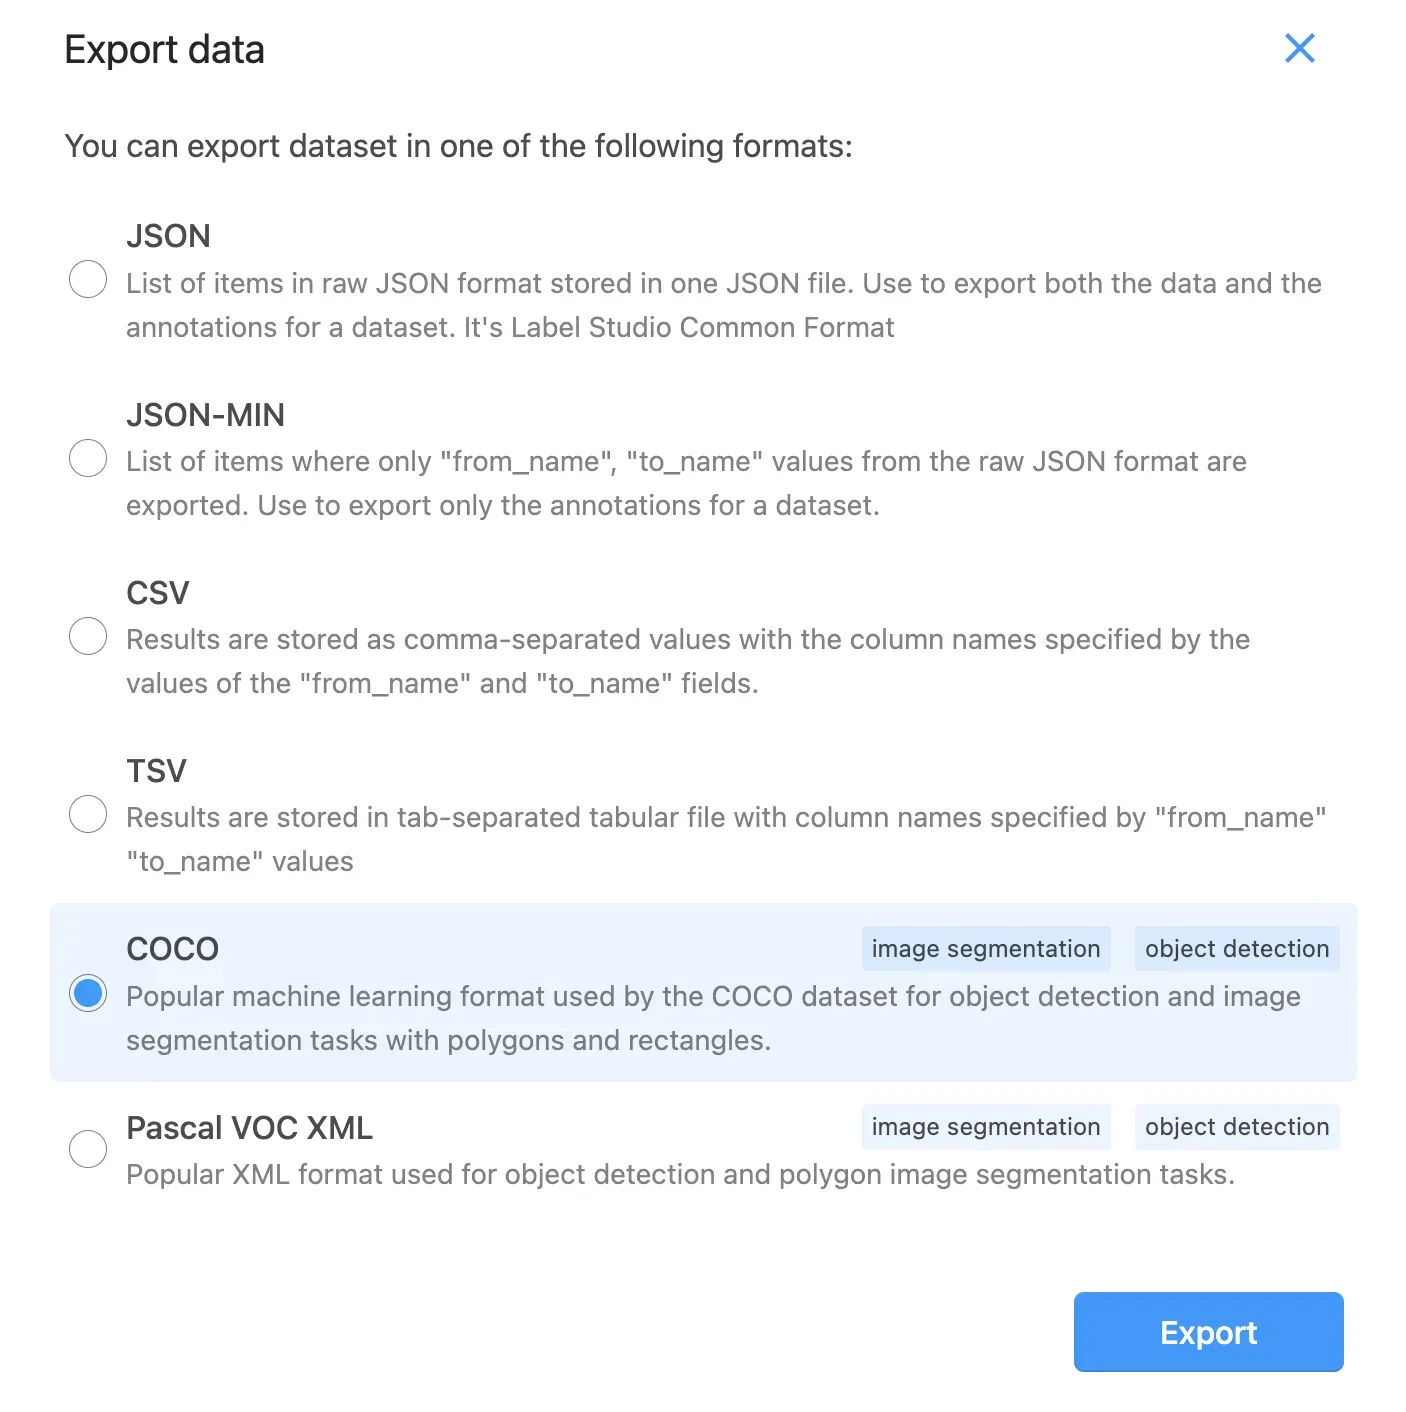
For model training, we recommend exporting data in the COCO JSON, Pascal VOC XML, or YOLO formats, depending on the formats supported by the model you want to train. For example, RF-DETR accepts data in the COCO JSON format supported by Label Studio.
Once you have labeled your data, you are ready to start training a model. Roboflow provides a hosted model training solution you can use to train custom models. Check out our Getting Started guide to learn how to upload your annotations into Roboflow and start a model.
After you have trained a model on Roboflow, you can deploy it using an infinitely scalable cloud API or on edge devices such as the NVIDIA Jetson or Luxonis OAK. Our deployment solutions are optimized to help you achieve the best performance for the devices on which you will run your model. To learn more about deploying models with Roboflow, check out our Deploy product information.
Label Studio Alternatives
Label Studio offers a range of tools for labeling images but there are other annotation tools you can use to label data for computer vision projects. We have written guides to other popular annotation software which you can use to find the tool that most suits your needs.
- How to Label Images in Roboflow Annotate
- How to Label Images in CVAT
- How to Label Images in VoTT
- How to Label Images in LabelImg
- How to Label Images in VGG Image Annotator
- How to Label Images in LabelMe
For example, Roboflow Annotate provides label assistant features you can use to speed up the annotation process. With Label Assist, you can draw bounding boxes polygon annotations by clicking on an object rather than manually drawing boxes or polygons.
Conclusion
With Label Studio, you can annotate data for a range of machine learning task types, from natural language processing to computer vision. Label Studio provides two options: Community Edition, where you self-host the annotation tool, and Enterprise, where Human Signal provides a hosted version of Label Studio with additional features.
In this guide, we walked through how to create a project in Label Studio and label data for an object detection project. We also showed how to export your data for use in model training.
When you are ready to start training a model, check out Roboflow Train for training computer vision models. If you want to train a model locally, check out Roboflow Notebooks, an open source repository with over 30 notebooks showing how to train and use state-of-the-art vision models.
Cite this Post
Use the following entry to cite this post in your research:
James Gallagher. (Oct 6, 2023). How to Use Label Studio to Annotate Images. Roboflow Blog: https://blog.roboflow.com/how-to-use-label-studio/