
Autodistill, an open-source project from Roboflow, lets you train an image classification model without manually labeling a single image by using foundation models to do the annotation work automatically. This tutorial trains a street sign damage classifier using CLIP to label images as either undamaged or damaged, then trains a classification model on those auto-generated labels. The final model can be deployed via Roboflow Inference, and the same pattern applies to a broad range of classification, detection, and segmentation use cases.
Autodistill, an open source project by Roboflow, enables you to train an image classification model without labeling. How? By automatically labeling images using large, foundation vision models such as CLIP, BLIP, DINOv2, and ALBEF. You can use these models to train smaller models that are easier to run on the edge.
In this guide, we are going to train a classification model without labeling any images. This model will classify whether street signs are in good shape or damaged. This model demonstrates the use of classification for inventory management.
For this guide, we will use CLIP as a base model which we will use to label images according to a text prompt. We will then train an Ultralytics YOLOv8 classification model using our labeled images.
Without further ado, let’s begin!
We recommend running the code in this tutorial in a Notebook. We have created an accompanying Google Colab for use with this guide.
Step 1: Install Autodistill
First, we need to install the required dependencies to use Autodistill. Models used with Autodistill are packaged in their own pip packages, so we will need to install Autodistill itself as well as the Autodistill CLIP and YOLOv8 models.
To install the necessary dependencies, run the following command:
pip install autodistill autodistill-clip autodistill-yolov8 supervisionNow we are ready to start using Autodistill to label images and train our model.
Step 2: Annotate Images with CLIP
We are going to use CLIP, a multimodal vision model developed by OpenAI, to automatically label images in our dataset. Given a list of text prompts, CLIP tells you the label most relevant to the image provided. We will then use the labeled images to train a YOLOv8 classification model.
For this project, we will use the Damaged Signs Multi-label dataset on Roboflow Universe. But, for this guide we will build a single-class classification model.
We will label our images with one of two classes:
sign(an undamaged sign)damaged sign
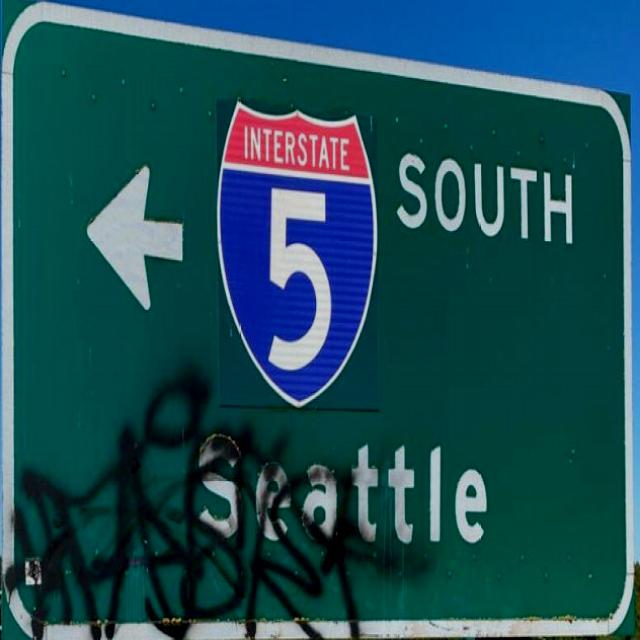
Here is an example of a damaged sign:
To label our images, we first need to import the required dependencies and set an ontology:
from autodistill_clip import CLIP
from autodistill.detection import CaptionOntology
from autodistill_yolov8 import YOLOv8

base_model = CLIP(ontology=CaptionOntology({"damaged sign": "damaged sign", "sign": "sign"}))
The ontology takes in an arbitrary number of pairs. The first text string in the pair is used as a prompt and the second string is the label Autodistill will return for that given prompt.
To run inference on an image, you can use the predict() method made available by Autodistill:
pred = target_model.predict("./dataset/valid/your-image.jpg", confidence=0.5)This method returns an sv.Classifications object that contains the class ID and confidence associated with the prediction made by CLIP. To retrieve the label associated with a prediction, we need to map the class ID to its relevant classes. We can retrieve and the prediction class by printing it to the console:
classes = base_model.classes
print(classes[pred.class_id])
To label our images, we can use the following code:
base_model.label(input_folder="./train", output_folder="./dataset")This process will take some time depending on the number of images in your dataset as well as the hardware on which you are running Autodistill. If you are labeling a hundred images with a GPU, for example, inference will be fast; if you are labeling those same images on a CPU, inference will be slower.
The labeled images will be saved to a folder called “dataset”, with which we can train our classification model.
Step 3: Train a Classification Model
Now that we have labeled images for our project, we can start to train a classification model. We will train a classification model using YOLOv8, a popular model architecture. In this section, we will:
- Import the Autodistill YOLOv8 extension;
- Load YOLOv8 with the classification checkpoint released with YOLOv8, and;
- Start training our model.
Here is the code we will need:
from autodistill_yolov8 import YOLOv8
target_model = YOLOv8("yolov8n-cls.pt")
target_model.train("./dataset/data.yaml", epochs=100)
These three lines of code are all we need to train our model. We will train our model over 100 epochs using the “n” YOLOv8 classification checkpoint (the smallest weights).
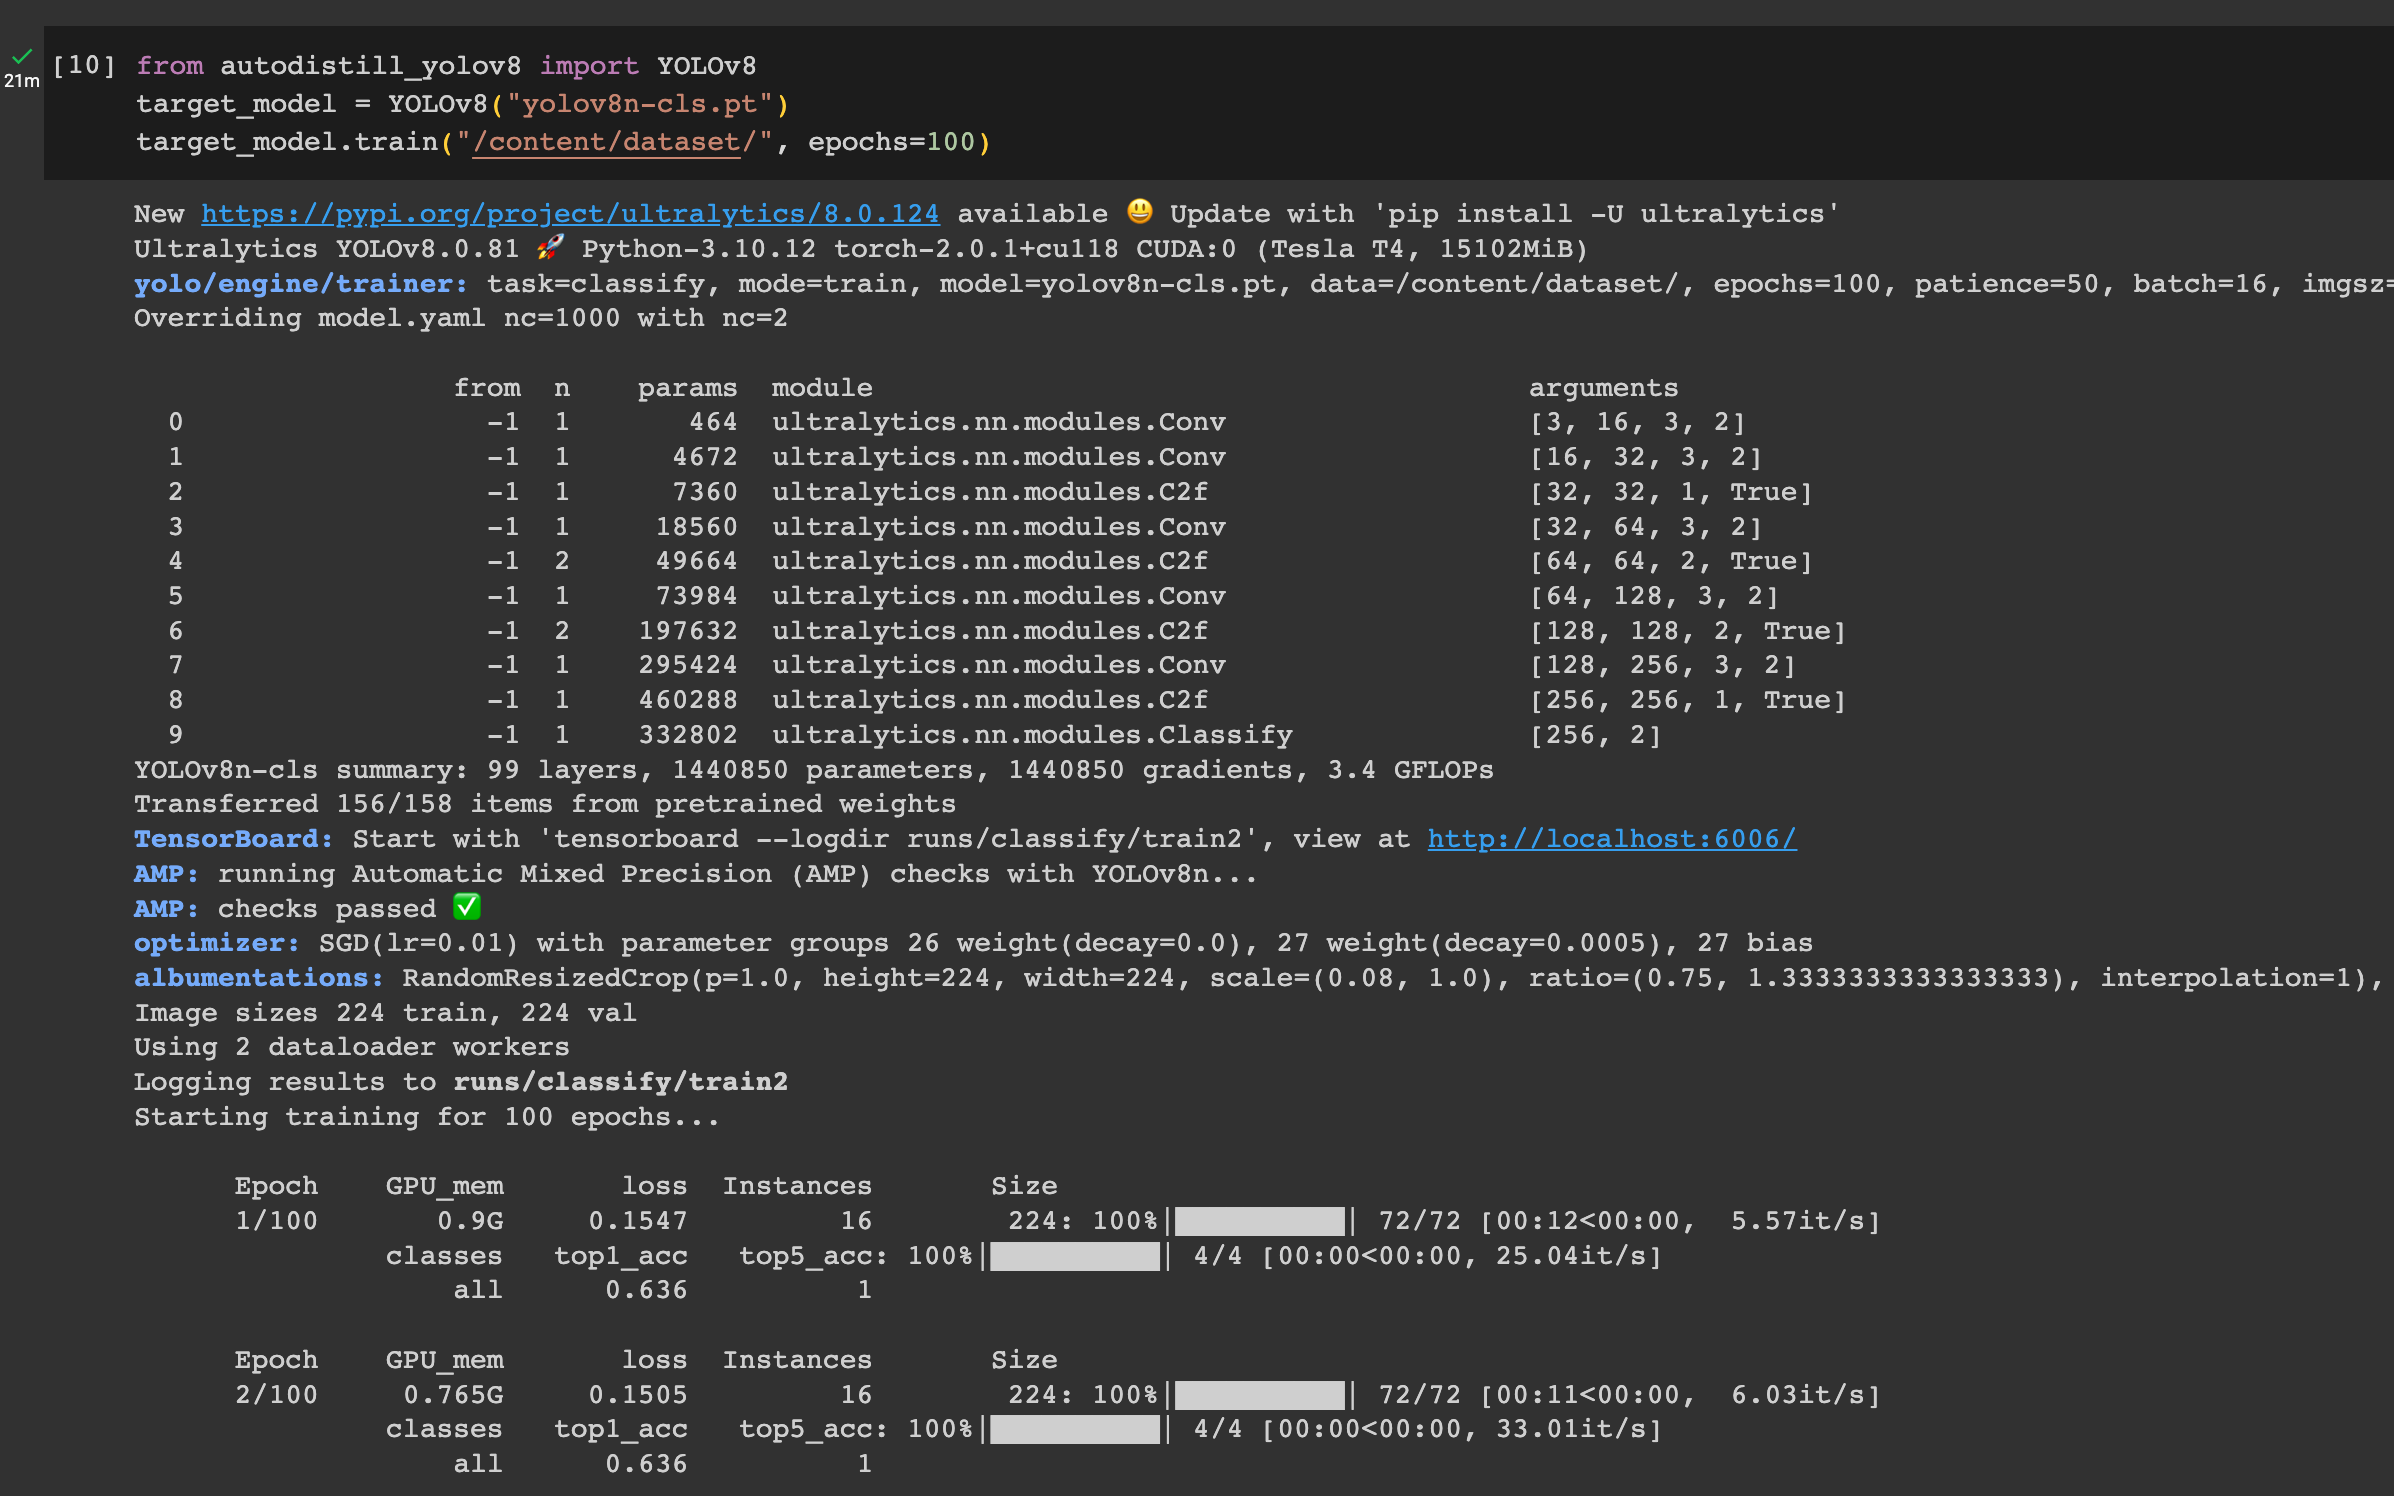
When you run the code above, your model will train and the weights will be saved to your local computer. The time it takes to train your model depends again on the number of images with which you are working as well as the hardware on which you are running Autodistill.
Once the training process has completed, we can test our model!
Step 4: Test the Model
Using the predict() method from earlier, but used instead on our target model, we can test our model to see how it performs:
results = target_model.predict("/content/dataset/valid/damaged sign/image.jpg")
print(results[0].names)
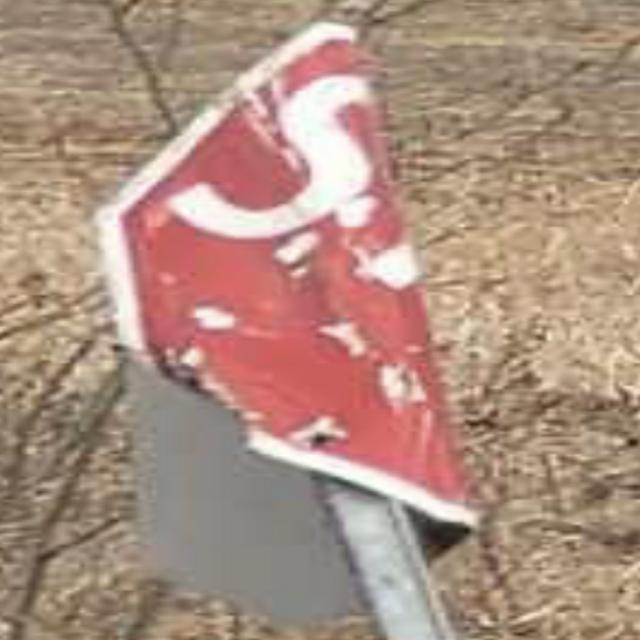
print(results[0].probs)The following image was successfully identified as a “damaged sign”:
Step 5: Deploy the Model
You can upload the weights from your YOLOv8 classification model to Roboflow for deployment. By deploying your weights to Roboflow, you can use our infinitely scalable API and SDKs to integrate your model into projects across devices and environments.
For example, you can deploy your model in a web browser using roboflow.js, or in a Python environment using our Python SDK.
To upload your model to Roboflow, first create a Roboflow account. Then, create a new project and upload the data with which you were working in this project. Next, generate a new dataset version. We will upload our model to be associated with this dataset version.
Here is the code you need to upload your model:
rf = Roboflow(api_key="API_KEY")
project = rf.workspace().project("PROJECT_ID")
project.version(DATASET_VERSION).deploy(model_type="yolov8-cls", model_path=f"./runs/detect/train/")
You will need to replace your API key, project ID, and dataset version as appropriate. We have outlined how to find these values in the Roboflow documentation:
Deploy Your Model to the Edge
In addition to using the Roboflow hosted API for deployment, you can use Roboflow Inference, an open source inference solution that has powered millions of API calls in production environments. Inference works with CPU and GPU, giving you immediate access to a range of devices, from the NVIDIA Jetson to TRT-compatible devices to ARM CPU devices.
With Roboflow Inference, you can self-host and deploy your YOLOv8 classification model on-device.
You can deploy applications using the Inference Docker containers or the pip package. In this guide, we are going to use the Inference Docker deployment solution. First, install Docker on your device. Then, review the Inference documentation to find the Docker container for your device.
For this guide, we'll use the GPU Docker container:
docker pull roboflow/roboflow-inference-server-gpuThis command will download the Docker container and start the inference server. This server is available at http://localhost:9001. To run inference, we can use the following Python code:
import requests

workspace_id = ""
model_id = ""
image_url = ""
confidence = 0.75
api_key = ""

infer_payload = {
    "image": {
        "type": "url",
        "value": image_url,
    },
    "confidence": confidence,
    "iou_threshold": iou_thresh,
    "api_key": api_key,
}
res = requests.post(
    f"http://localhost:9001/{workspace_id}/{model_id}",
    json=infer_object_detection_payload,
)

predictions = res.json()
Above, set your Roboflow workspace ID, model ID, and API key.
Also, set the URL of an image on which you want to run inference. This can be a local file.
To use your YOLOv5 model commercially with Inference, you will need a Roboflow Enterprise license, through which you gain a pass-through license for using YOLOv5. An enterprise license also grants you access to features like advanced device management, multi-model containers, auto-batch inference, and more.
To learn more about deploying commercial applications with Roboflow Inference, contact the Roboflow sales team.
Conclusion
In this guide, we used Autodistill to train a model to classify images without any labeling. We used CLIP to automatically label images for use in training a model, then we trained a YOLOv8 classification model on the labeled images. At the end of the guide, we showed how to deploy your model to Roboflow.
Autodistill enables you to go from having unlabeled images to a fully-trained model faster than ever, covering a wide range of use cases across object detection, classification, and segmentation tasks. To learn more about Autodistill, check out:
Cite this Post
Use the following entry to cite this post in your research:
James Gallagher. (Jun 30, 2023). Train an Image Classification Model with No Labeling. Roboflow Blog: https://blog.roboflow.com/train-classification-model-no-labeling/