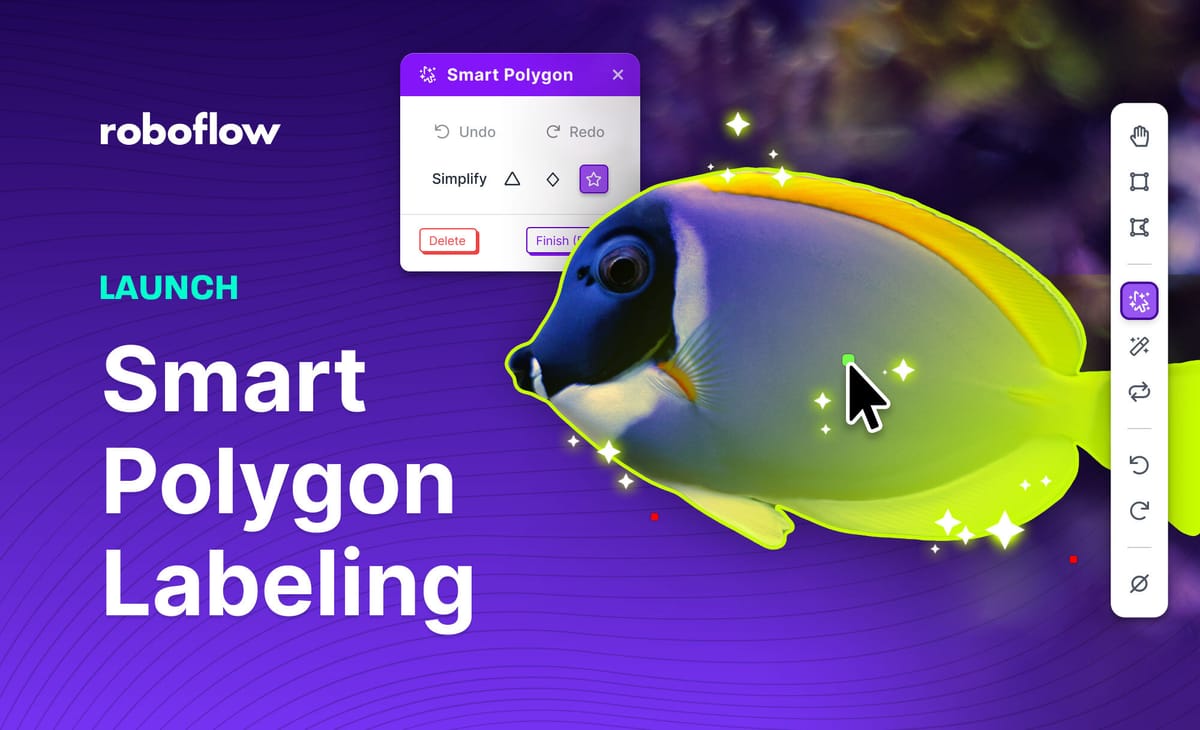
Roboflow Annotate now offers automated polygon labeling for all users. With as few as one click, you can apply a polygon annotation to objects in your datasets.
Polygon annotations are critical to prepare datasets for training instance segmentation or semantic segmentation models and can often improve model accuracy when used instead of bounding boxes for object detection models.
Polygons are more precise than bounding boxes but, without the proper tools, take more time to apply labels because adding a detailed bounding takes multiple interactions to label an object. For Roboflow users, that is no longer the case. Polygon labels are now as fast to apply to objects as bounding boxes in many instances.
If you’re interested in training instance segmentation models using Roboflow Train or using an open source model like YOLOv5 Instance Segmentation or Mask RCNN, then you’ll need to use polygon annotations. Once you’ve labeled with polygons, your model detections can be used to measure the size of objects using pixel conversions to standard measurements.
Let's take a look at how you can quickly apply polygon annotations to label your images.
Annotating Computer Vision Data with Smart Polygons
To use the Smart Polygon feature, click Smart Polygon in the labeling toolbar.
Then click the center of the object you want to label and Smart Polygon will apply an initial label to the object. This will use a machine learning model behind the scenes to suggest a shape for your object.
Oftentimes the label will be predicted accurately with just a single click and you can move on to the next object by pressing enter, then selecting a class for your object.
In cases where the Smart Polygon label doesn’t perfectly capture the object of interest, you can refine the shape by clicking outside of the applied label to expand the selection or inside the shape to remove areas. You may refine your annotation by adding more positive and negative points until you are satisfied with the model's results.
Another way to help guide the Smart Polygon tool is to click-and-drag, creating a box around the object, to give more clarity to where the object is within the image. This is especially helpful if you have occluded objects.
Additionally, you can convert bounding boxes or polygon annotations to Smart Polygons by right clicking the label.
Converting bounding boxes to Smart Polygons is especially helpful when using Label-Assist to automate your labels. This removes the initial labeling step and lets you focus on refining the labels by converting them to Smart Polygons.
If you come across an object that is difficult to apply an automated label, you can also edit the vertices of the label by moving them or adding additional points.
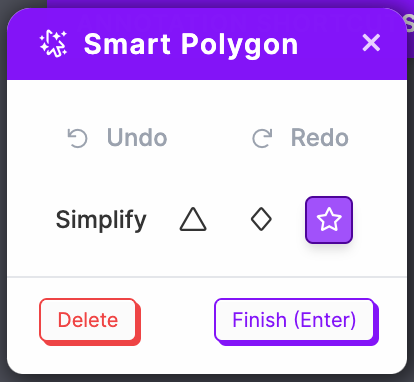
Using the Smart Polygon options on the top-left of the annotation tool, you’re able to choose the number of vertices in your label by toggling between Convex Hull, Smooth, and Complex labels (and can also undo points you've placed if you make a mistake).

We recommend using the least amount of vertices required to accurately label your object. This makes things easier in the future when refining the polygons by hand, and can make your dataset size smaller and data processing and trasformations faster.
Smart Polygon is helpful for labeling semantic segmentation data as well. Just be sure to properly order the objects' z-indexes so the masks are properly stacked according to how you would want to train your model. You can visualize the stacking by using the Layers tab in the sidebar. This will help you understand what your segmentation mask will look like once rasterized.
Start Using Smart Polygon Today
All users, including our free Public tier users, have access to Smart Polygon so login to give it a try and see how polygons might improve your model accuracy or speed up your labeling process.
If you're interested in building a project and in need of data, you can find instance segmentation and semantic segmentation datasets in Roboflow Universe to get your project started.
Cite this Post
Use the following entry to cite this post in your research:
Trevor Lynn. (Sep 28, 2022). Launch: Smart Polygon Labeling. Roboflow Blog: https://blog.roboflow.com/automated-polygon-labeling-computer-vision/
Discuss this Post
If you have any questions about this blog post, start a discussion on the Roboflow Forum.
