We recommend following the Roboflow Inference documentation to set up inference on a Raspberry Pi. The Inference documentation is kept up to date with new features and changes.
See the Quickstart to get started.
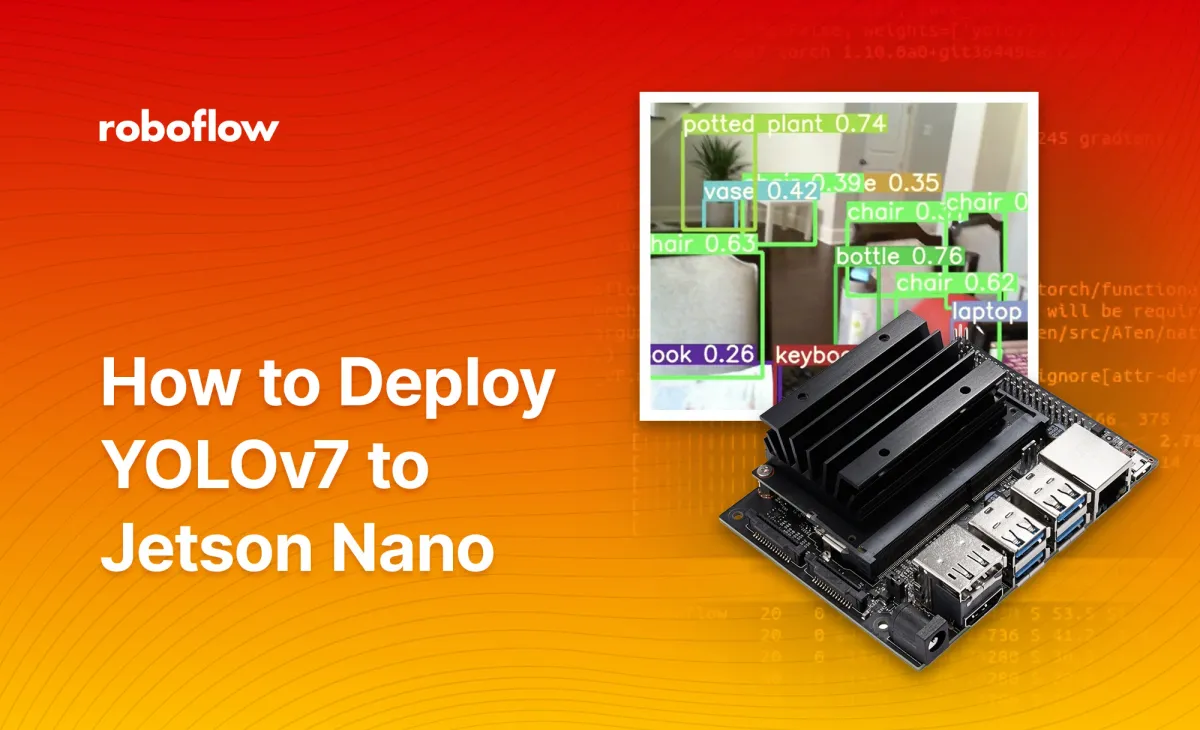
YOLOv7 brings state-of-the-art performance to real-time object detection. We've had fun learning about and exploring with YOLOv7, so we're publishing this guide on how to use YOLOv7 in the real world. In this tutorial, we'll be creating a dataset, training a YOLOv7 model, and deploying it to a Jetson Nano to detect objects.
Building our YOLOv7 Dataset
Roboflow provides a convenient platform to collect, annotate, and manage computer vision datasets. It's free for students and hobbyists working on public projects, and there are thousands of public datasets already available on Roboflow Universe.
Chances are, you can find a public dataset on Roboflow Universe to kick-start your own – here's a list of some of the categories. If you have a totally unique use-case, that's cool too. Start by heading over to roboflow.com and signing up for an account to annotate your own dataset.
Once you've found a dataset to use or collected your own dataset, it's time to annotate. Follow our guide on uploading, annotating, and managing data and head back when you've generated a dataset version.
Label and Annotate Data with Roboflow for free
Use Roboflow to manage datasets, label data, and convert to 26+ formats for using different models. Roboflow is free up to 10,000 images, cloud-based, and easy for teams.
Training YOLOv7 with Google Colab
We've made a convenient Google Colab notebook that retrieves a dataset from Roboflow and trains a YOLOv7 model. Follow along with our YOLOv7 custom training tutorial to get started with training on Google Colab.
Guided video tutorial on training YOLOv7 in Colab
Depending on your dataset, consider using yolov7-tiny, a smaller version of the YOLOv7 architecture. This can run faster on devices on the Jetson Nano. To use yolov7-tiny, run this to download the COCO checkpoint:
# download COCO starting checkpoint
%cd /content/yolov7
!wget "https://github.com/WongKinYiu/yolov7/releases/download/v0.1/yolov7-tiny.pt"
And then change the cell with python train.py to this:
# run this cell to begin training
%cd /content/yolov7
!python train.py --batch 16 --cfg cfg/training/yolov7-tiny.yaml --epochs 100 --data {dataset.location}/data.yaml --weights 'yolov7-tiny.pt' --cache-images --device 0
Everything else is the same. At the end of training, make sure to download your weights from Google Colab as a .pt file. We'll be loading it onto the Jetson Nano later.
Deploying YOLOV7 to a Jetson Nano
First, we'll install dependencies to the Jetson Nano, such as PyTorch.
As of July 2022, the Jetson Nano ships with Python 3.6 and CUDA 10.2, so we need custom versions of PyTorch compiled with CUDA to run our model with GPU acceleration.
sudo apt-get install python3-pip libjpeg-dev libopenblas-dev libopenmpi-dev libomp-dev

python3 -m pip install -U pip
python3 -m pip install gdown

# installing CUDA-enabled torch
gdown "https://drive.google.com/file/d/1TqC6_2cwqiYacjoLhLgrZoap6-sVL2sd/view?usp=sharing" --fuzzy
python3 -m pip install ./torch-1.10.0a0+git36449ea-cp36-cp36m-linux_aarch64.whl

# installing CUDA-enabled torchvision
gdown "https://drive.google.com/file/d/1C7y6VSIBkmL2RQnVy8xF9cAnrrpJiJ-K/view?usp=sharing" --fuzzy
python3 -m pip install ./torchvision-0.11.0a0+fa347eb-cp36-cp36m-linux_aarch64.whl

git clone https://github.com/WongKinYiu/yolov7.git
cd yolov7
python3 -m pip install -r ./requirements.txt
Now, move your model's .pt file into the yolov7 directory. Make sure a webcam is connected to your Jetson Nano, and let's run some inference. Make sure to replace`model.pt` with the name of the weights file!
python3 ./detect.py --source 0 --device 0 --weights model.ptCommon Issues (click to expand)
Boom! We have inference running with CUDA acceleration on our Jetson Nano!
Building on top of YOLOv7
From within detect.py, we can write custom Python code to process detected objects. Furthermore, detect.py automatically saves a video visualization to `./runs/detect/exp*`. Here's the recorded visualization of our test.
YOLOv7 running inference on a Jetson Nano
Do you need to identify the specific location of items in a video? If so, check out our YOLOv7 Instance Segmentation tutorial. In the tutorial, we'll guide you through the process of preparing and training your own instance segmentation model using YOLOv7.
Cite this Post
Use the following entry to cite this post in your research:
Ananth Vivekanand. (Aug 1, 2022). How to Deploy YOLOv7 to a Jetson Nano. Roboflow Blog: https://blog.roboflow.com/how-to-deploy-yolov7-to-jetson-nano/
