
This tutorial walks through training an object detection model on a custom dataset in Roboflow.
This tutorial walks through building a custom object detection model end to end, using chess piece detection as the worked example. Everything happens inside Roboflow: you collect and label images, generate a dataset version, train a model in the cloud, evaluate it, and deploy it.
Today, YOLOv3 is no longer a useful way to learn the mechanics of training an object detector. If you are starting a new project that has to run in production, I recommend training RF-DETR instead.
RF-DETR is Roboflow's real-time detection architecture. It is more accurate than YOLOv3, and ships with commercial-safe licensing.
What is YOLOv3?
YOLOv3 is an object detection algorithm in the YOLO family of models. Using a CNN with 106 layers, YOLO offers both high accuracy and a robust speed that makes the model suitable for real-time object detection. For example, you could use YOLO for traffic monitoring, checking to ensure workers wear the right PPE, and more.
How the YOLOv3 architecture works
YOLOv3 was introduced in 2018 by Joseph Redmon and Ali Farhadi as an incremental improvement over YOLOv2. A few design choices explain why it became so widely used, and understanding them makes the configuration file later in this post far less mysterious.
- Darknet-53 backbone. YOLOv3 extracts features with a 53-layer convolutional network. It is deeper than YOLOv2's Darknet-19 and uses residual connections, which improves accuracy while staying fast enough for real-time use.
- Detection at three scales. YOLOv3 makes predictions at three different resolutions and merges them. This is the main reason it detects small objects far better than earlier YOLO versions, which matters for crowded scenes like a full chess board.
- Anchor boxes. Instead of predicting box coordinates from scratch, YOLOv3 predicts offsets against a set of preset box shapes called anchors. Nine anchors are split across the three scales.
- Independent class scores. YOLOv3 uses logistic classifiers per class rather than a single softmax, so it can handle overlapping labels, for example an object that is both a vehicle and a truck.
Where YOLOv3 fits
YOLOv3 is a great model to learn from because the concepts transfer to every detector that came after it. For new production work, though, the field has moved on.
Transformer-based detectors like RF-DETR now match or beat the real-time speed of convolutional detectors while delivering higher accuracy, and they avoid the restrictive licensing attached to some newer YOLO variants. That is why the tutorial below trains RF-DETR.
How to think about the problem
Chess is a fun game of wit and strategy. Improving your playing ability requires understanding where you have previously made mistakes and what a stronger player might have done instead. A system that recognizes the state of the board and records each move would be valuable. That requires not just knowing what a given chess piece is, but where it sits on the board, a leap from image recognition to object detection.
For this post, we constrain the problem to the object detection portion: can we train a model to identify which chess piece is which, and which player (black or white) it belongs to, and find most of the pieces during inference?
For your own non-chess problem, constrain the problem space and decide the minimum acceptable performance up front. In this example we only ask for correct bounding boxes and set a relatively low bar. To be more rigorous, you would track IoU or mAP, which we cover in the evaluation step below.
What you need
- A free Roboflow account. Sign up takes a minute.
- A set of images of whatever you want to detect. For the chess example, you can use our public dataset and skip collection entirely.
- A web browser. That is all that is required to label, train, and deploy.
- Optional: Python, if you want to call your trained model from your own code at the end.
Step 1: Create a project
Sign in to Roboflow and create a new Project. Choose Object Detection as the project type, give it a name like chess-pieces, and set the annotation group to the thing you are labeling (for example, piece). You now have an empty project ready for images.
Step 2: Upload your images
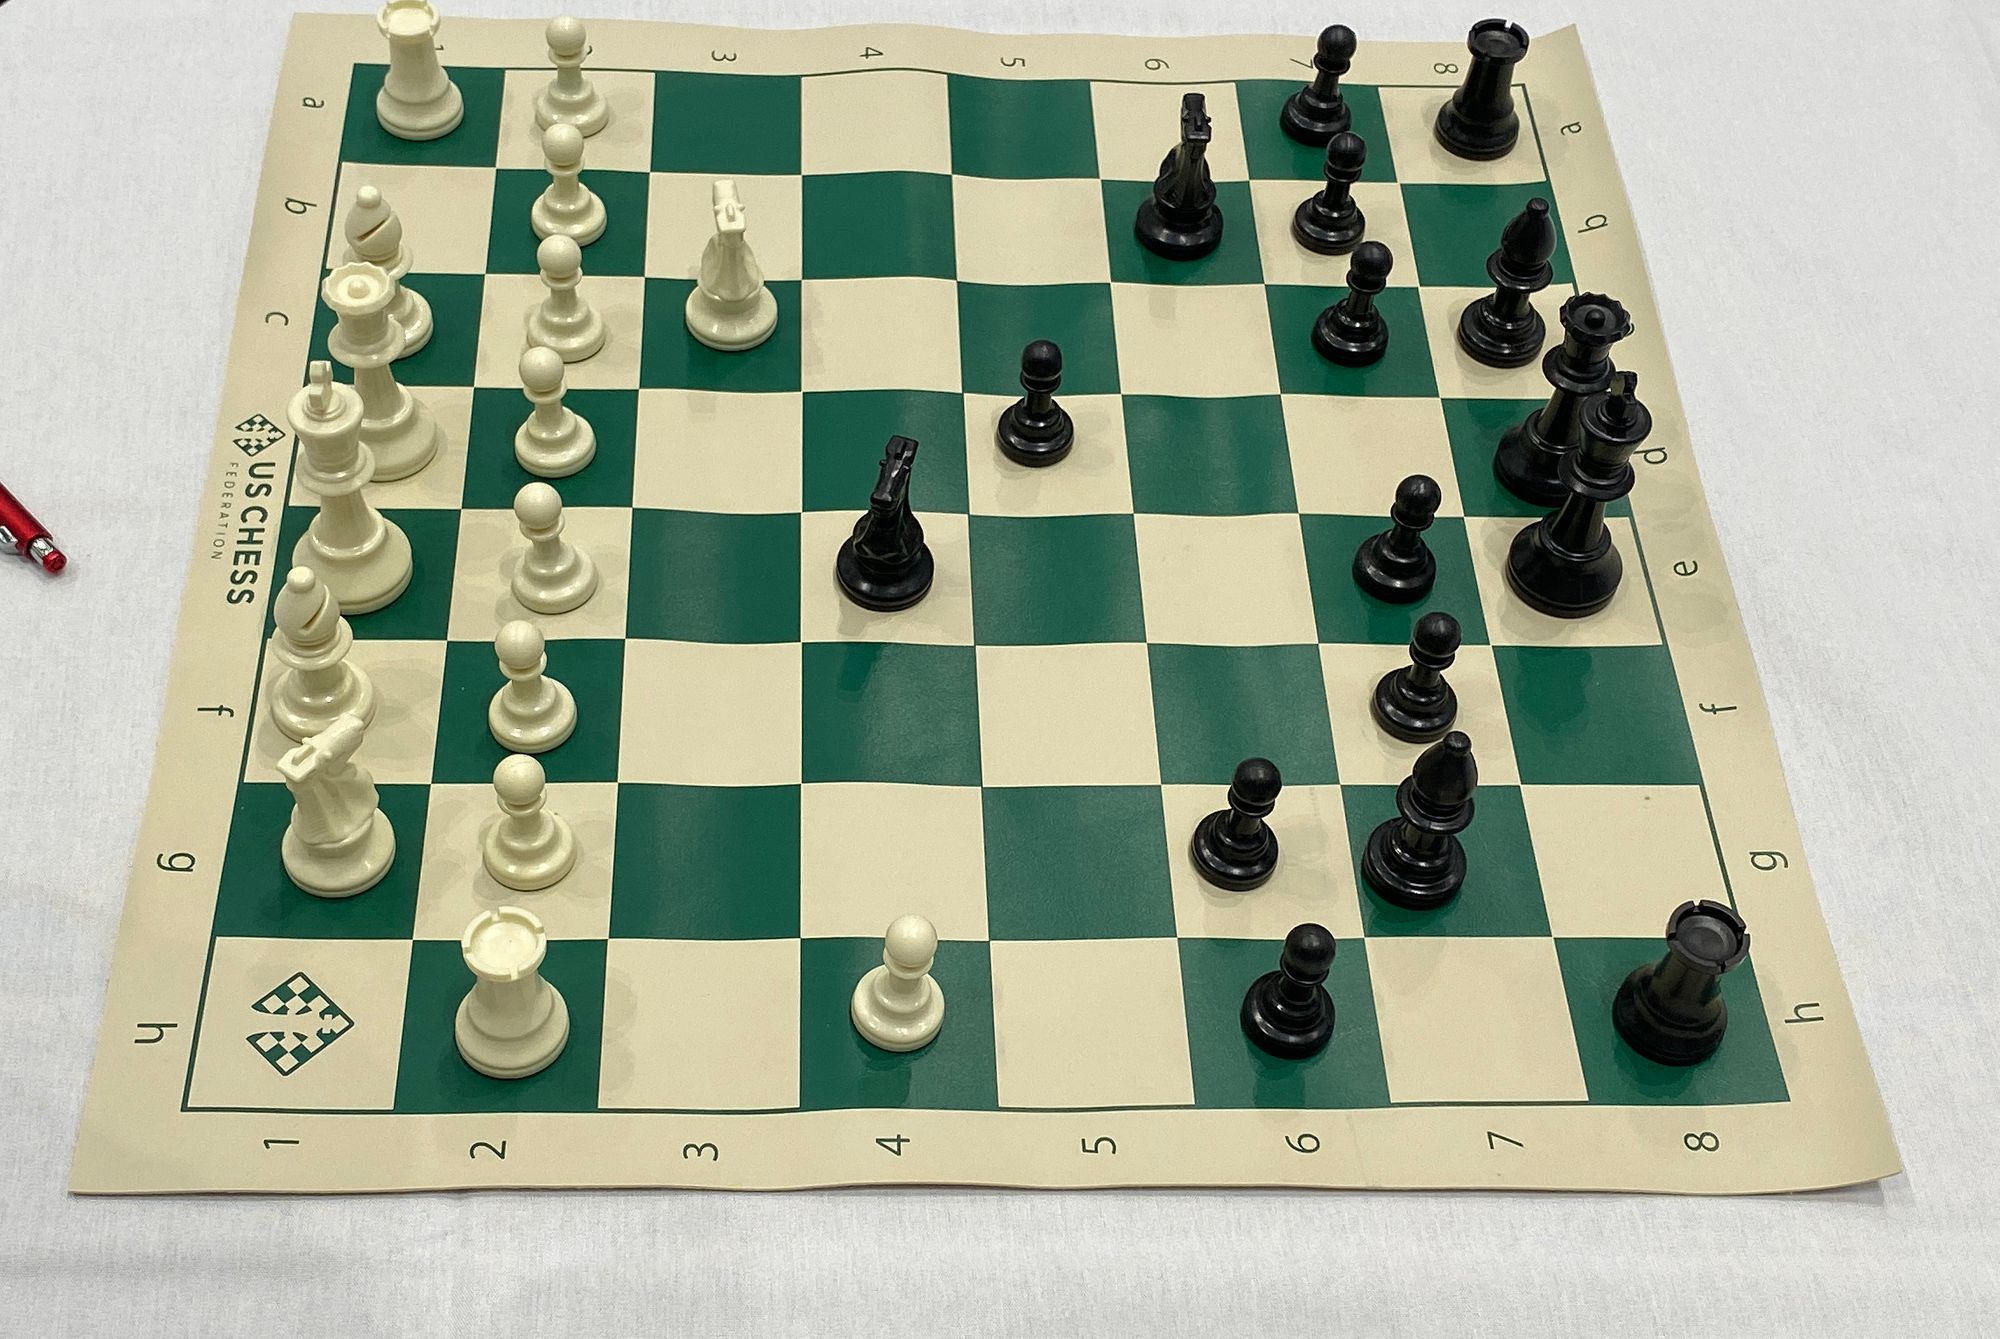
We collected 292 images of a chess board, all captured from the same angle with a tripod, and defined 12 classes: one for each of the six piece types in each color. Drag your images into the Upload tab and Roboflow will ingest them.
If you want to follow along without collecting anything, the chess dataset is publicly available and you can fork it directly into your workspace. If you are working on your own problem and want a head start, Roboflow Universe hosts more than 200,000 open datasets and pre-trained models you can build on.
When you collect your own images, capture them in the context where the model will run: similar angles, lighting, image quality, and objects in frame. The more closely your training images match production conditions, the better the model performs.
Step 3: Annotate your images
Open the Annotate tab and start drawing boxes. Roboflow Annotate includes Auto Label and Label Assist, which use foundation models to draw the first set of boxes for you so your team only reviews and corrects them. For a 12-class problem like chess, that can cut manual labeling time substantially.
A few labeling rules that matter:
- Draw boxes that include the entire object, even if there is a little space between the object and the box. Do not clip the object.
- If one piece occludes another, label as though you can see the whole object.
- Be consistent across the whole dataset. Inconsistent labels hurt accuracy more than almost anything else.
See our guide to labeling best practices for more. When you approve your first batch of annotations, Roboflow automatically trains a Roboflow Instant Model in the background, which you can use right away for auto labeling the rest of your images.
Step 4: Generate a dataset version
Once your images are labeled, go to the Versions tab and generate a dataset version. A version is a frozen snapshot of your data plus the preprocessing and augmentation you choose. This single screen replaces all the manual data prep and config-file editing that older tutorials required.
Preprocessing to apply:
- Auto-Orient. This strips EXIF orientation data so images train in the orientation you see them. Leaving it off is a common cause of silent failures. Keep it on.
- Resize. Resize to a square like 640x640. Smaller images train faster; the model resizes internally anyway. Keep dimensions as multiples of 32 if you plan to compare against convolutional detectors.
Augmentation to consider:
- Augmentation creates new training images by varying your existing ones, which expands a small dataset and reduces overfitting. Useful options include small rotations, brightness and exposure shifts, and saturation changes. Apply only the variations your model will realistically see in production. For chess, mild brightness and rotation make sense; flips usually do not, because a flipped board changes which side a piece belongs to.
Roboflow also splits your data into training, validation, and test sets for you, typically around 70/20/10, and keeps that split consistent across every export format. The training set is what the model learns from, the validation set is used to tune and watch for overfitting during training, and the test set is held out until the end to measure real performance. No image appears in more than one set.
Step 5: Train your model
From the project, open Train and click Custom Training to configure the job.
- Select an architecture. For object detection, choose RF-DETR. It offers the best accuracy of the supported object detection models. RF-DETR comes in several sizes (Nano, Small, Medium, Base, and larger sizes on paid plans). Start with a smaller size for faster training and step up if you need more accuracy. If you would rather not choose, select Neural Architecture Search, which trains and evaluates several configurations and recommends the best one for your accuracy and latency needs (it requires at least 15 validation images).
- Select a checkpoint. For your first model, choose Train from Public Checkpoint, which starts from a model pre-trained on Microsoft COCO. This is transfer learning: instead of starting from scratch, you begin from a model that already understands general visual features, which trains faster and scores higher. Once you have a working model, you can train future versions from your previous checkpoint to improve it.
- Start training. Roboflow shows the estimated duration and credit cost before you commit, then zips your dataset and trains it in the cloud. You will get an email when it finishes, usually in under 24 hours. Training is priced by job length; see the credits page for details, and students and researchers can apply for additional credits.
There is no GPU to provision, no environment to install, and no notebook to keep open.
Step 6: Evaluate your model
When training finishes, Roboflow shows your results: mean average precision (mAP), precision, and recall, computed on the held-out test set. You do not have to write any evaluation code.
How to read the numbers:
- mAP (mean average precision) is the standard object detection metric. It summarizes how well predicted boxes match ground truth across all classes. Higher is better.
- IoU (intersection over union) measures the overlap between a predicted box and the true box. mAP is computed at one or more IoU thresholds, commonly 0.5.
- Precision tells you how many of the model's predictions were correct. Recall tells you how many of the real objects the model found.
Use the per-class breakdown and confusion matrix to find weak spots. If one class scores poorly, the usual fix is more or better labeled examples of that class, not a different model. Add images, re-label, generate a new version, and train again. This loop is the real work of building a good model, and Roboflow is built around it.
Step 7: Run inference
Your trained model is immediately available through the Roboflow Serverless Hosted API, so you can test it without deploying anything. You can try it in the browser on the Deploy tab, or call it from Python.
Install the SDK:
pip install inference-sdk supervisionRun your model on an image and visualize the result:
import os
import cv2
import supervision as sv
from inference_sdk import InferenceHTTPClient

client = InferenceHTTPClient(
    api_url="https://serverless.roboflow.com",
    api_key=os.getenv("ROBOFLOW_API_KEY"),
)

# Replace with your model ID, in the form "project-name/version"
result = client.infer("chess.jpg", model_id="chess-pieces/1")

image = cv2.imread("chess.jpg")
detections = sv.Detections.from_inference(result)

box_annotator = sv.BoxAnnotator()
label_annotator = sv.LabelAnnotator()
annotated = box_annotator.annotate(scene=image.copy(), detections=detections)
annotated = label_annotator.annotate(scene=annotated, detections=detections)

cv2.imwrite("chess-annotated.png", annotated)
Pass your API key through the ROBOFLOW_API_KEY environment variable rather than pasting it into the code, and never share it publicly. The model_id is your project name and version number. The same call works against a COCO-pretrained RF-DETR checkpoint if you pass model_id="rfdetr-base", which is handy for a quick sanity check before your custom model finishes training.
Step 8: Deploy to production
A detector is rarely the whole application, and Roboflow takes you the rest of the way without converting weights by hand.
- Roboflow Workflows is a low-code, visual builder for chaining models and logic into one pipeline. For chess, you might run detection, filter by confidence, track pieces across video frames, and trigger an action, all without stitching libraries together. You build the pipeline once and run it the same way in the cloud or on the edge.
- Roboflow Inference is the open source engine that runs your model and your Workflows in production. It exposes a simple API and runs on cloud GPUs, on-prem servers, or edge devices like NVIDIA Jetson and Raspberry Pi. It is the same runtime behind 55 billion-plus model inferences a year across Roboflow customers, and your data and models stay yours with no lock-in.
- The Roboflow MCP server connects your workspace to AI agents. The Model Context Protocol is an open standard that lets agents call external tools the way developers call APIs. The Roboflow MCP server exposes your workspace as roughly 30 callable tools, so a coding agent like Claude Code, Codex, or Cursor can create a project, upload images, auto-label, train, and run inference from a single chat session. It is hosted at mcp.roboflow.com, authenticates with your API key, and is free and open source under Apache-2.0. In practice, you could rebuild this entire chess detector by describing it to an agent.
Going further: vision AI agents
Beyond running a fixed pipeline, you can build a vision AI agent: a system that perceives visual data, reasons about it with a multimodal model, takes an action, and repeats. Instead of only reporting that a white knight is on a square, an agent could read the full board state, reason about the position, and recommend the next move. Roboflow Workflows is a practical way to assemble these perception-plus-reasoning loops without building the infrastructure from scratch.
Why we trained RF-DETR instead of YOLOv3
If you came here to learn how object detection training works, YOLOv3 is a fine mental model. If your goal is a model you will actually ship, RF-DETR is the better choice, and it is what Roboflow trains for you:
- Higher accuracy at real-time speed. RF-DETR is designed to hold real-time latency while improving accuracy over older convolutional detectors, including the original YOLO family.
- Commercial-safe licensing. RF-DETR ships under a permissive license, so you can use it commercially without the AGPL obligations attached to some newer YOLO variants.
- One path to production. The same Annotate, Versions, Train, Inference, and Workflows tooling you used above works with RF-DETR out of the box.
You followed the exact workflow that production teams use: collect and label data, generate a version, train, evaluate, and deploy. The only thing that changes for a harder problem is the data you bring.
Frequently asked questions about training YOLOv3
Can I train YOLOv3 directly in Roboflow?
Roboflow's hosted training trains its own model families, with RF-DETR recommended for object detection. If you specifically need YOLOv3 weights, you would train them yourself in Darknet or a PyTorch implementation and export your data from Roboflow in the matching format. For almost all use cases, training RF-DETR in Roboflow gives you a more accurate model with far less setup.
How much data do I need?
There is no fixed minimum, but a few hundred well-labeled images per class is a reasonable starting point for a simple detector. Image quality, variety, and accurate labels matter more than raw count, and augmentation can stretch a small dataset further.
What is the difference between YOLOv3 and Darknet?
Darknet is the open source neural network framework, written in C and CUDA, that the original YOLO models were built and trained in. YOLOv3 is the detection model architecture. The Roboflow workflow in this guide uses neither; it trains and serves RF-DETR for you.
How do I know when my model is good enough?
Look at mAP, precision, and recall on the test set, and check the per-class breakdown. When accuracy clears the bar you set for your use case and the weak classes are acceptable, you are ready to deploy. If not, add and re-label data for the weak classes, generate a new version, and retrain.
Do I need a GPU?
No. Training runs in the Roboflow cloud and inference runs through the hosted API. You only need your own hardware if you choose to self-host with Roboflow Inference on the edge.
Get started
To build your own detector, create a free Roboflow account, upload images, label them, generate a version, and train. Roboflow is the end-to-end vision AI platform used by over 1 million engineers and more than half the Fortune 100 to label data, train models, and deploy them to the cloud, the edge, and on-prem.
Cite this Post
Use the following entry to cite this post in your research:
Contributing Writer. (Feb 19, 2026). Training a YOLOv3 Object Detection Model with a Custom Dataset. Roboflow Blog: https://blog.roboflow.com/training-a-yolov3-object-detection-model-with-a-custom-dataset/