
This tutorial walks through building an object detection model in Roboflow, using a playing cards dataset from Roboflow Universe as the example, and exporting it to Snap Lens Studio via the SnapML format for use in Augmented Reality Lenses. The process covers annotation, dataset versioning, training, and the specific Lens Studio configuration steps needed to map model class labels so Snap can correctly interpret detections at runtime. The finished Lens can be previewed on desktop or paired to a device, and the same workflow applies to any custom detection model already trained in Roboflow.
Roboflow is an end-to-end suite of tools for building computer vision models. Using Roboflow, you can annotate data for a model, train computer vision models, evaluate the results of your model, and deploy your model to a variety of destinations, including for use in Snap ML.
Using Roboflow and SnapML, you can make the world programmable and enable novel interactive Augmented Reality (AR) experiences in a Snapchat Lens. Today on Snapchat, more than 250M people use AR every day to play, learn, and express themselves in fun and creative ways. AR Lenses you create in Lens Studio can also be deployed to your own mobile applications or websites using Camera Kit, Snap’s AR SDK.
In this guide, we are going to show how to use Roboflow to train an object detection model for use with SnapML. Our model will identify playing cards. We will then show how to export your trained model into Lens Studio for use in their platform. If you already have a model, head directly to the documentation page to see how to deploy the model to Lens Studio.
Without further ado, let’s get started!
Step #1: Create a Roboflow Project
First, you will need a free Roboflow account. You can create one from the Roboflow website. If you have just created an account, follow the steps in the app to create your workspace. Your workspace is where all of your projects will be stored.
0:00/1×
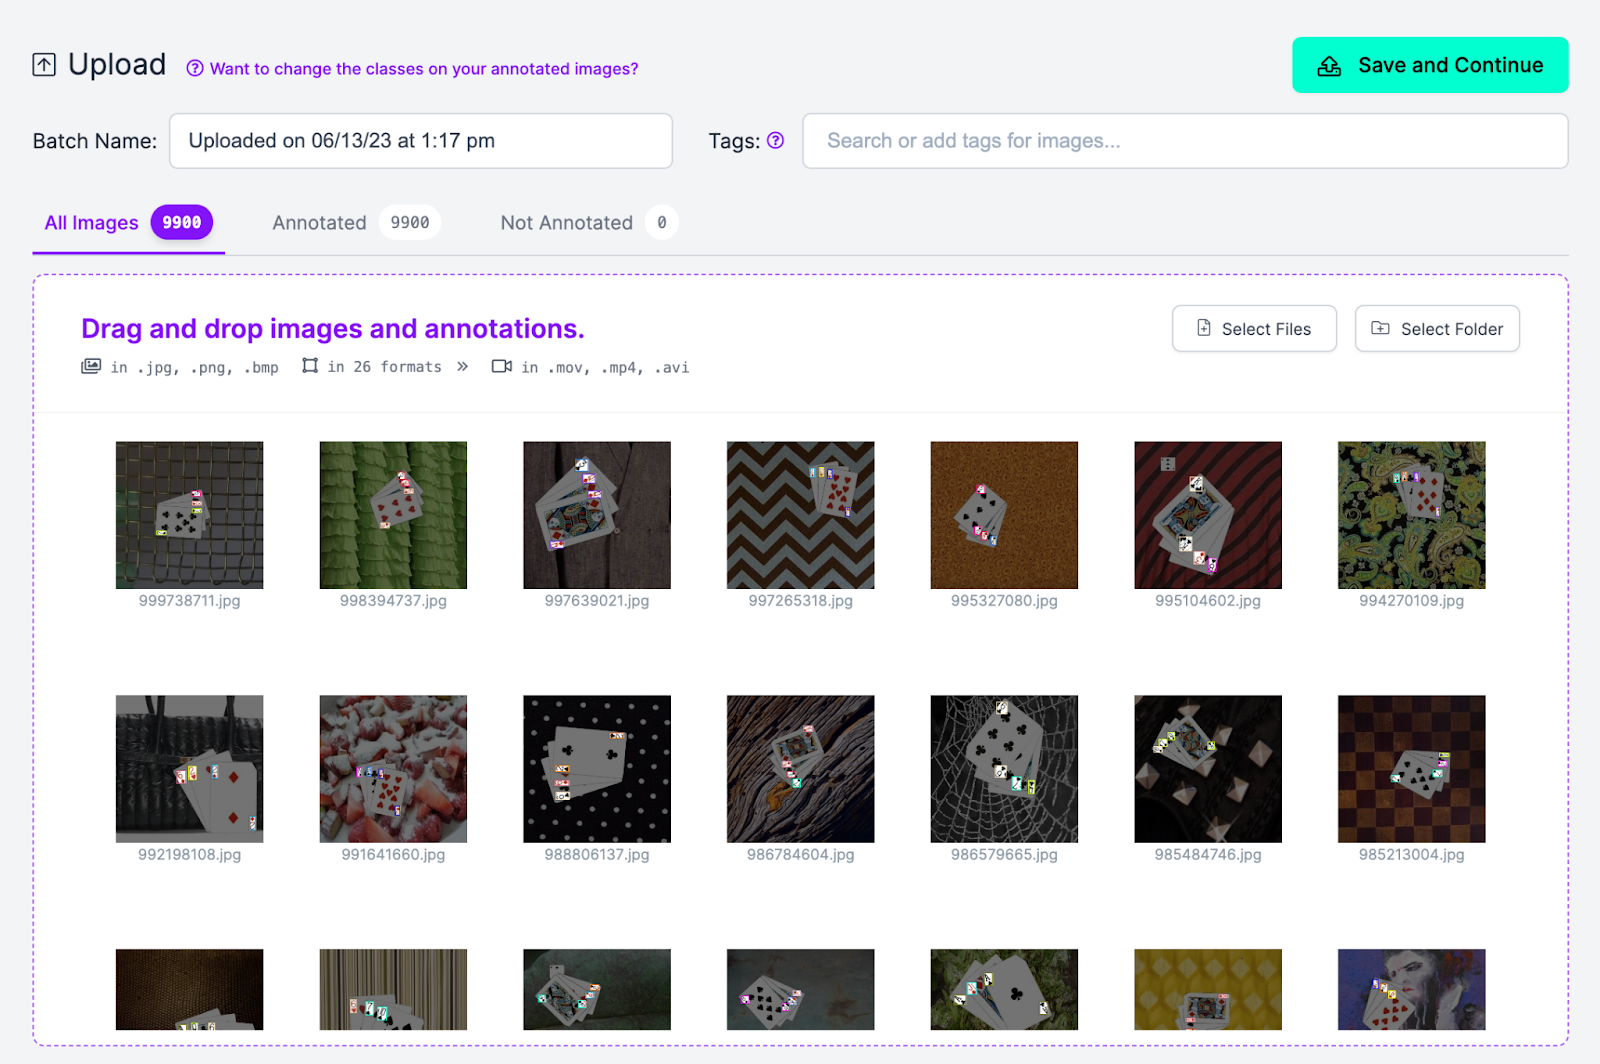
Once you have created a project, you will be asked to upload images for use in training your computer vision model.
If you have data, you can skip this step and upload your data directly into Roboflow, or collect your own data! If you do not already have data, we recommend exploring Roboflow Universe, a community with over 250,000 public datasets and 50,000 pre-trained models available for use in computer vision projects. You are able to use the data from a project or deploy any pre-trained models directly to Lens Studio (click here to skip to this step).
For our example, we will be using data from the Playing Cards Detection dataset from Roboflow Universe. To download a dataset, go to a project page on Roboflow Universe and click “Download this Dataset”. When asked, export your data in COCO format. A ZIP folder will be downloaded to your machine with all the images in the dataset, as well as any annotations.
0:00/1×
With a dataset ready, we can drop in the images to Roboflow.
When all the images have been processed, click “Save and Continue” to upload them to the Roboflow platform.
You will be prompted on how you want to split your data into train, test, and validation datasets. For our playing cards dataset, we can leave the values as they are. This dataset comes pre-split. If you are working with a different dataset, we recommend a 70/20/10 split between train, validation, and test images, respectively.

The images will now be uploaded to Roboflow. Uploading the playing cards dataset may take a few minutes, depending on your internet connection.
Step #2: Annotate Images
Computer vision models learn from annotations: boxes and polygons drawn around objects of interest, with associated labels that reflect what the object is. If you have images you need to annotate, we’ve got you covered! Using Roboflow Annotate, you can annotate and review annotations for all images in your dataset.
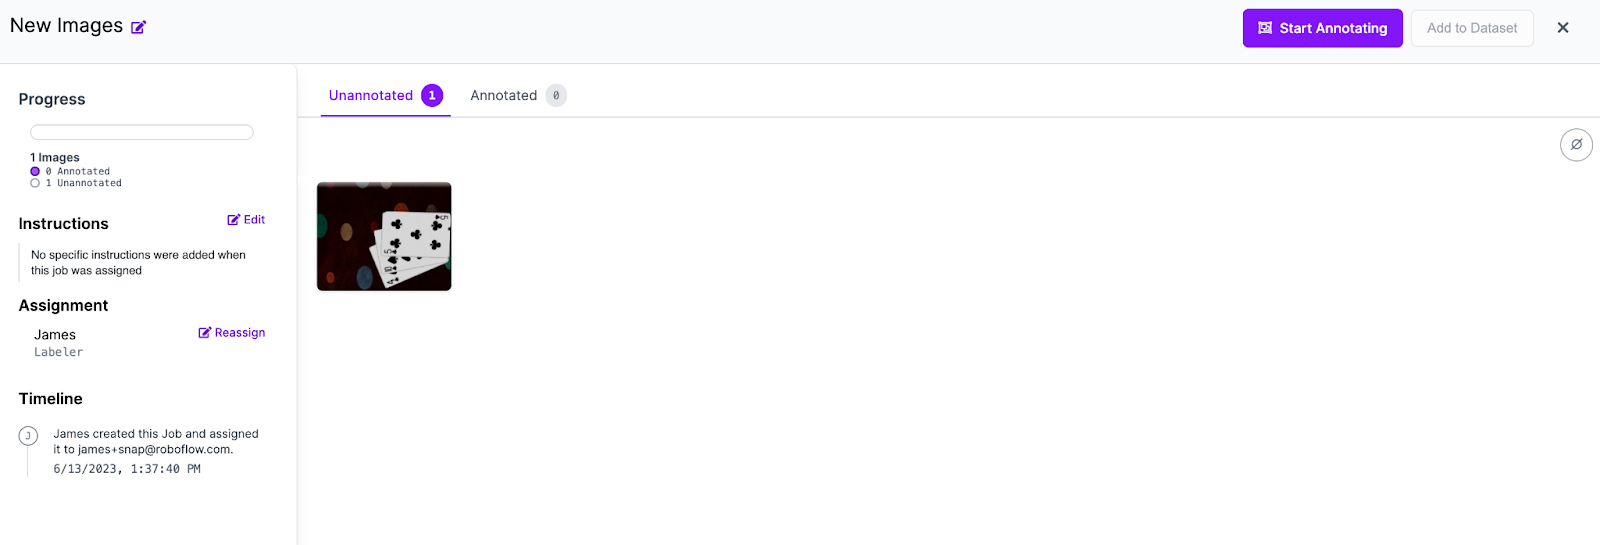
We have added an additional, unannotated image to our dataset to show how to annotate images. To annotate images in your dataset, click “Annotate” in the sidebar of the Roboflow platform and then select the batch of images you want to annotate:

Then, click on an image to add annotations:
Use your mouse to draw a bounding box around the objects of interest in your image. Then, specify the class you want to assign to the object. Here is an example of annotating a playing card in our dataset:
0:00/1×
You should annotate all instances of the objects you are interested in. This will help your model learn how to identify each object. See our guide on annotation best practices if you're new to creating training data for computer vision models.
Roboflow Annotate features Label Assist, an automatic annotation tool. Label Assist can annotate images automatically using:
- A model pre-trained on COCO (80 classes);
- Existing versions of your model hosted on Roboflow, and;
- Any model hosted on Roboflow Universe.
To learn more about Label Assist, check out our Label Assist guide.
Step #3: Add Images to a Dataset
Once you have annotated your images, you need to approve then add them to a dataset. This step is particularly useful if you have multiple people working on a project: you can review each label for quality.
Click “Annotate” in the sidebar of your project, then click on the batch of images you are uploading. Then, click the button to add images to your dataset:

From here, select a train, test, valid, split that is appropriate for your project (we recommend 70/20/10, respectively, as a default). Then, click “Add Images” to add your images to your dataset.
Step #4: Prepare Data for Training
Once you have annotated all of your images and added them to a dataset, you are ready to generate a dataset version. A version is a snapshot of the data in your project, frozen in time, with which you can train a computer vision model.
To generate a dataset version, click “Versions” in the sidebar of the Roboflow dashboard. At this stage, you will be able to add preprocessing steps and augmentations to images in your dataset. We recommend leaving the preprocessing steps as the default. If this is your first time training a model on your dataset, we recommend skipping augmentations, too.
Once you have trained your first version, check out our augmentations and preprocessing guide for tips on how these steps can help improve the accuracy of your model.
If you have downloaded data from Universe that already contains augmentations, we advise against adding more when you generate a dataset version.
Once you have chosen any augmentations and preprocessing steps you want to apply, click “Generate” to generate a dataset version:

This will create a new dataset version with which you can train your model.
Step #5: Train the Model
You can train your object detection model using Roboflow's hosted training, which leverages RF-DETR, a real-time transformer-based detector developed by Roboflow. To learn more about RF-DETR and how it compares to other detectors, check out our RF-DETR announcement post.
In this guide, we will use Roboflow for training. Click the “Start Training” button on the page associated with the dataset version you just generated:

This will open up a window asking for your training preferences. Click “fast” as your training option:

Then, click “Train from Public Checkpoint” and make sure MS COCO – a model trained on the Microsoft COCO dataset – is selected. Using this checkpoint is recommended for your first training run. Once you have a model that works as expected that you want to tune further, you may opt to train from a previous checkpoint.

Click “Start Training”. Your model will start training. You will receive an email when the training process is complete. You can monitor the progress of your model trains from the model page, where training graphs appear to show various key metrics:
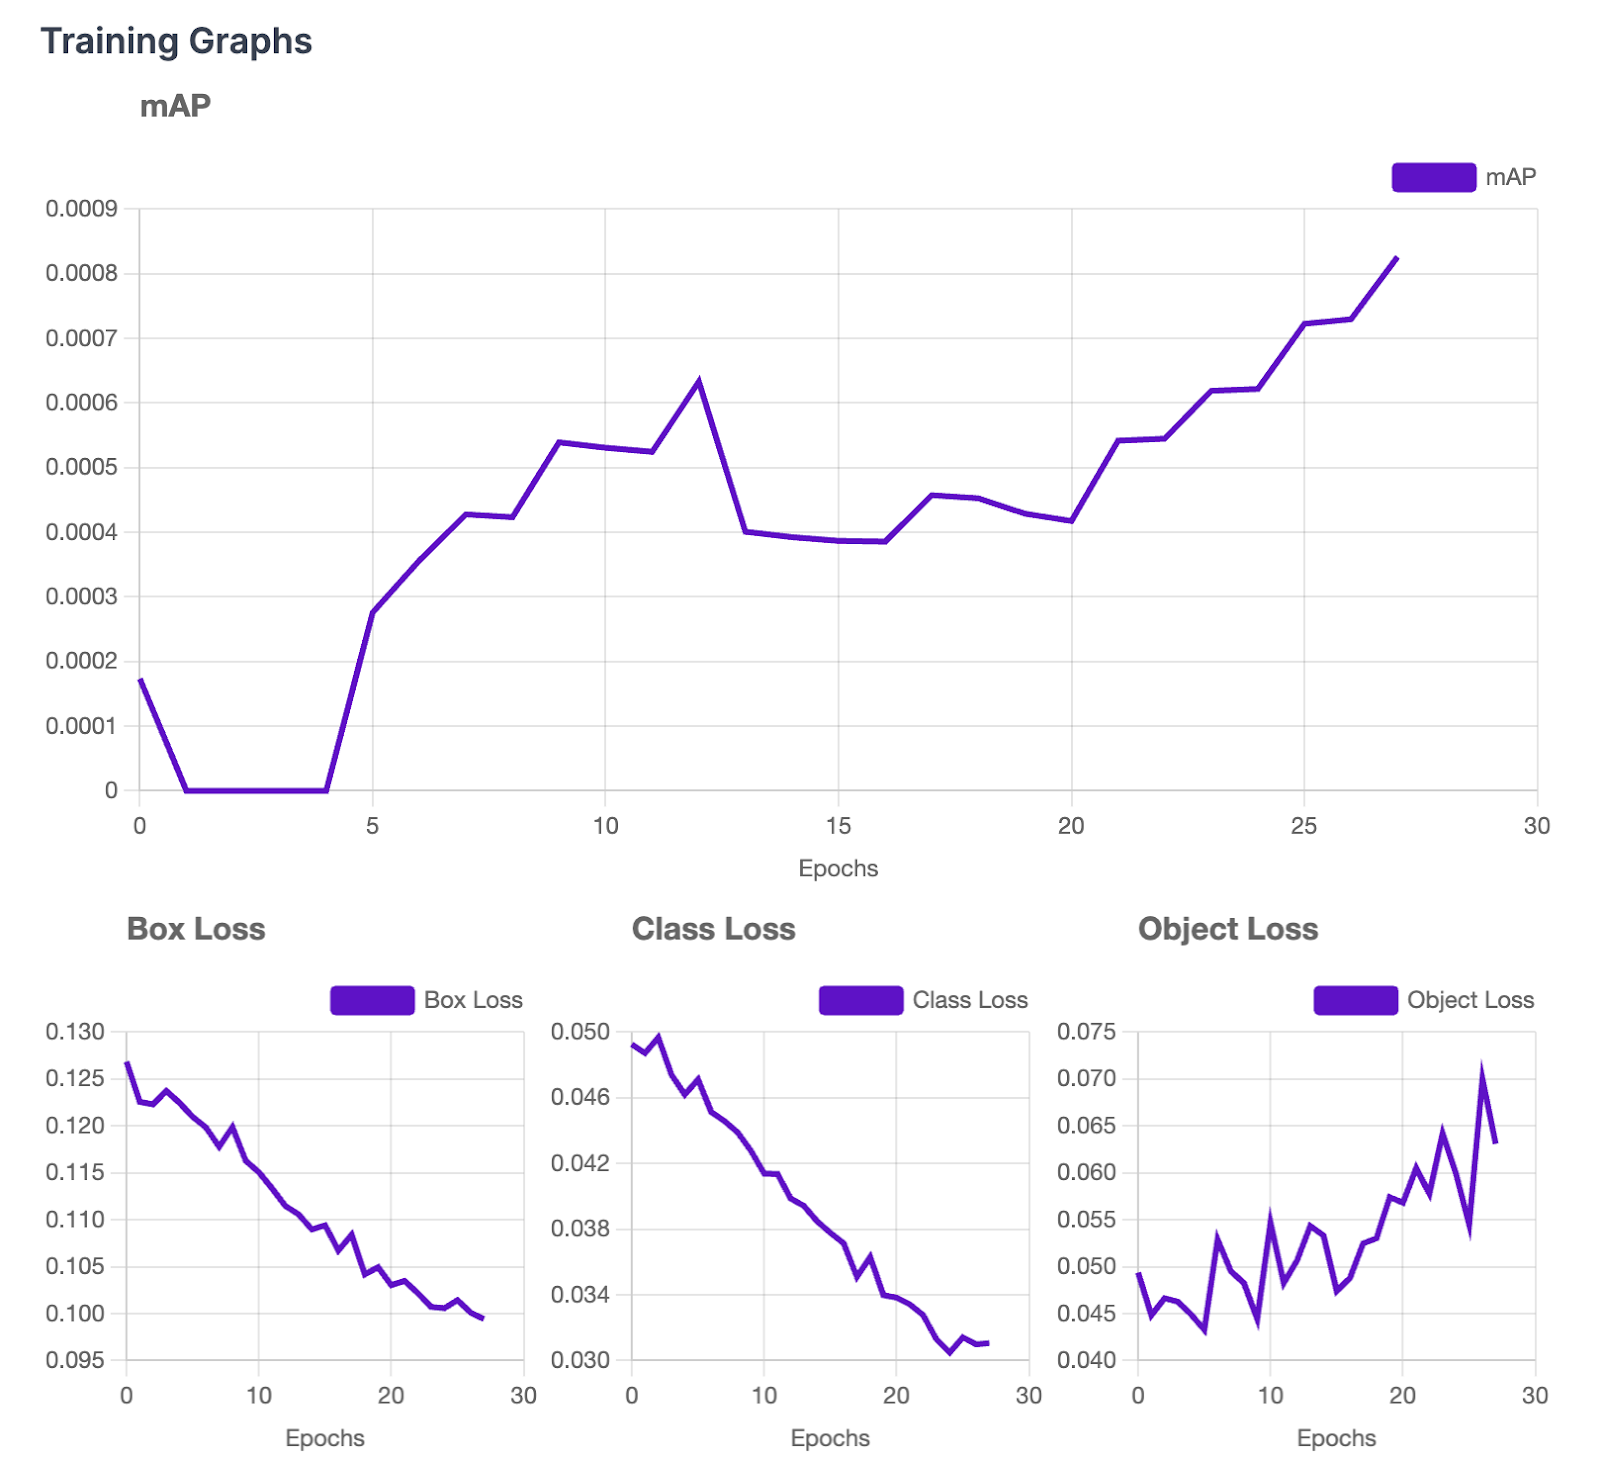
Generally, mAP should go up over time. mAP, short for mean Average Precision, is a metric that, in aggregate, shows how well your model performs.
After some time – depending on how large your dataset is – you will have a fully-trained model ready for use in SnapML. You may want to make a cup of tea or coffee and work on other tasks while you wait for training to complete.
Step #6: Export Model to SnapML
With a trained model ready in Roboflow, the final step is to deploy your model to SnapML.
Click on “Deploy” in the Roboflow sidebar, then scroll down until you see the “Use with Snap Lens Studio” box. Click “Export to Lens Studio”.

When you click this button, a pop up will appear showing information about the classes in your model.
These classes are ordered and will be used in the next step for configuring your model in Lens Studio. Take note of the class list for future use.
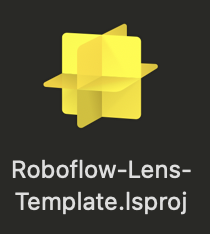
In addition, two files will be downloaded:
- The Roboflow Lens Studio template, with which you can use your weights in an application with minimal configuration, and;
- Your model weights.
The Roboflow Lens Studio template is 100 MB, so downloading the template may take a few moments depending on your internet connection.
With the template ready, we can start setting up our model in Lens Studio.
Step #7: Configure Model in Lens Studio
If you haven’t already installed Lens Studio, go to the Snap AR website and download the latest version of Lens Studio. With Lens Studio installed, we are ready to start configuring our model.
For this section, we will use the Roboflow Lens Studio template. But, you can use your model weights in any application with the MLController component.
Unzip the Roboflow Lens Studio template you downloaded earlier, then open up the “Roboflow-Lens-Template.Isproj” file in the unzipped folder.
When you open the application, you will see something like this:

By default, the template uses a coin counting model. For this example, we will use the playing cards model we built earlier. This application draws boxes around each prediction, but you can add your own filters and logic using Lens Studio.
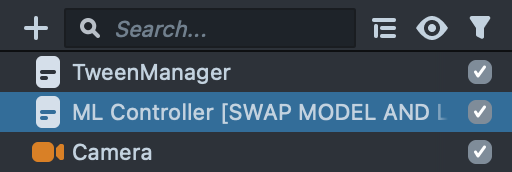
Click the “ML Controller” box at the top of the left sidebar in Lens Studio:
This will open up a box in which you can configure your model for use in the application next to the preview window:

Our demo application is configured for the coin counter example. To use your own model, first click the “ML Model” box:

Then, drag the weights downloaded from Roboflow into the pop up box:
0:00/1×
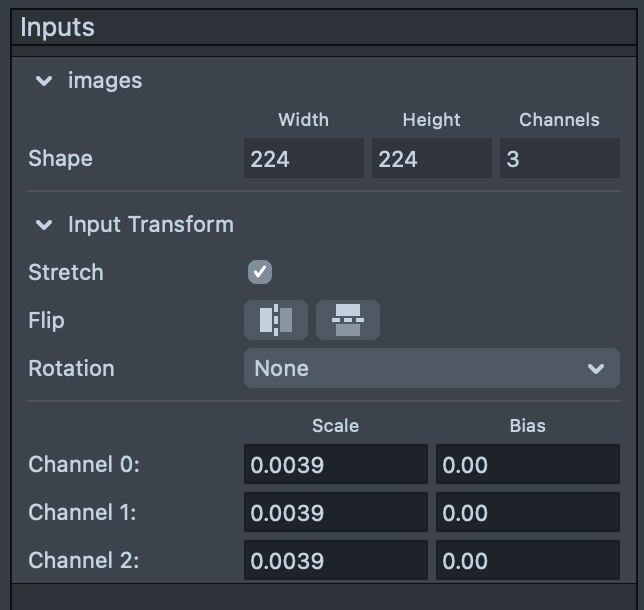
When you drag in the weights, you will be prompted with some configuration options. In the “Inputs” section of the pop up, set each “Scale” value to 0.0039. Leave the bias values as they are by default.
Then, click “Import” to import your model.
Step #8: Configure Classes in Lens Studio
We now have our model loaded into Lens Studio. There is one more step: tell our model what classes we are using.
In the “Class Settings” tab below the ML Model button that we used earlier, you will see a list of classes. These are configured for a coin counter example in our demo project, but if you are working with your own Lens Studio project these values will be blank.
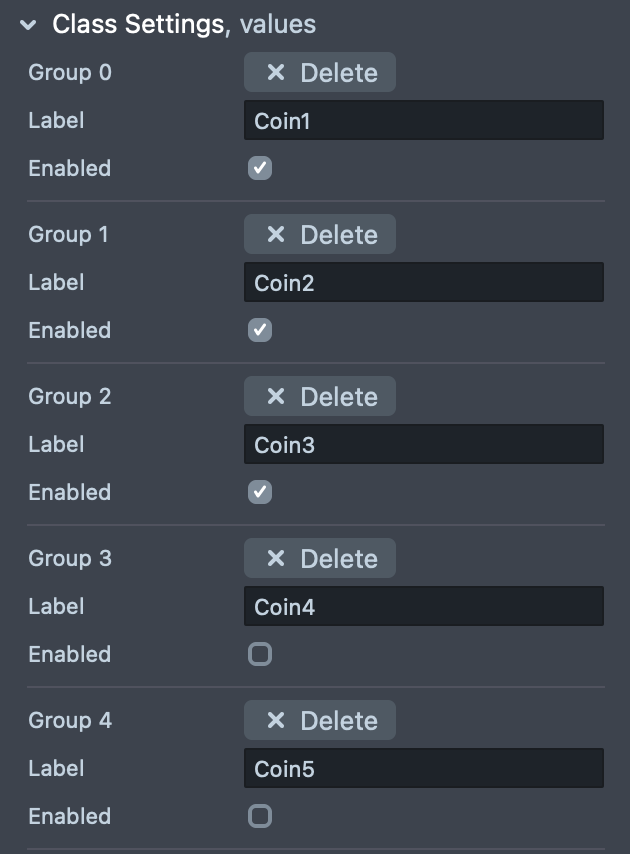
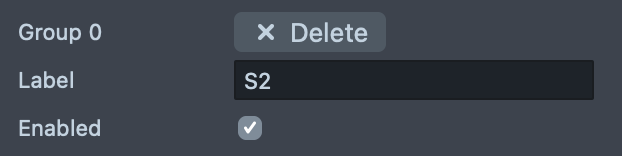
Here, we need to set our class names and labels. The labels must be in the order presented in the Roboflow dashboard. Here is an example of setting one of our values for the playing card application:
We need to do this configuration for each class in our model. You must specify all classes in your model so Snap can interpret the information in the model weights.
Now our application is ready to use! You can use the “Preview” box to use your application on your computer, or demo your application on your own device using the Pairing with Snapchat feature.
Conclusion
Roboflow provides a suite of features for use in building computer vision models, from an annotation platform to a solution for training computer vision models. Using Roboflow, you can build a model end-to-end, then export your model to Lens Studio for use in a Lens Studio.
In this guide, we walked through how to deploy a Roboflow model to Lens Studio so that you can create unique AR experiences. We collected and annotated data, reviewed annotations, generated a dataset version, trained a model, then exported our model to Lens Studio.
If you are interested in learning more about the features available in Roboflow, check out our Getting Started with Roboflow guide.
Cite this Post
Use the following entry to cite this post in your research:
James Gallagher. (Jun 22, 2023). How to Deploy a Roboflow Model to Lens Studio. Roboflow Blog: https://blog.roboflow.com/deploy-to-snap-lens-studio/