
This tutorial shows how to use Roboflow to annotate, preprocess, augment, and export a dataset in TFRecord format, then feed it into NVIDIA TAO Toolkit to fine-tune a YOLOv4 model for custom object detection. The guide covers creating a Roboflow project, applying resize and augmentation steps, generating a versioned export, configuring the TAO experiment spec, and running training, with the resulting model deployable to TensorRT and DeepStream for edge inference.
NVIDIA's TAO Toolkit provides a framework for fine-tuning popular computer vision models using your own data. In this tutorial, we'll demonstrate how to use Roboflow to curate a high-quality computer vision dataset that's compatible with NVIDIA's TAO Toolkit.
We'll walk through the process of annotating, creating a dataset, preprocessing and augmentation steps, generating versions, exporting data, and setting up a TAO Toolkit configuration to use our data!
Getting started with your dataset
First, head over to roboflow.com to make an account. You'll see an option to create a project, which is where we'll be storing our data and generating our datasets. To get started follow our docs to create a dataset.
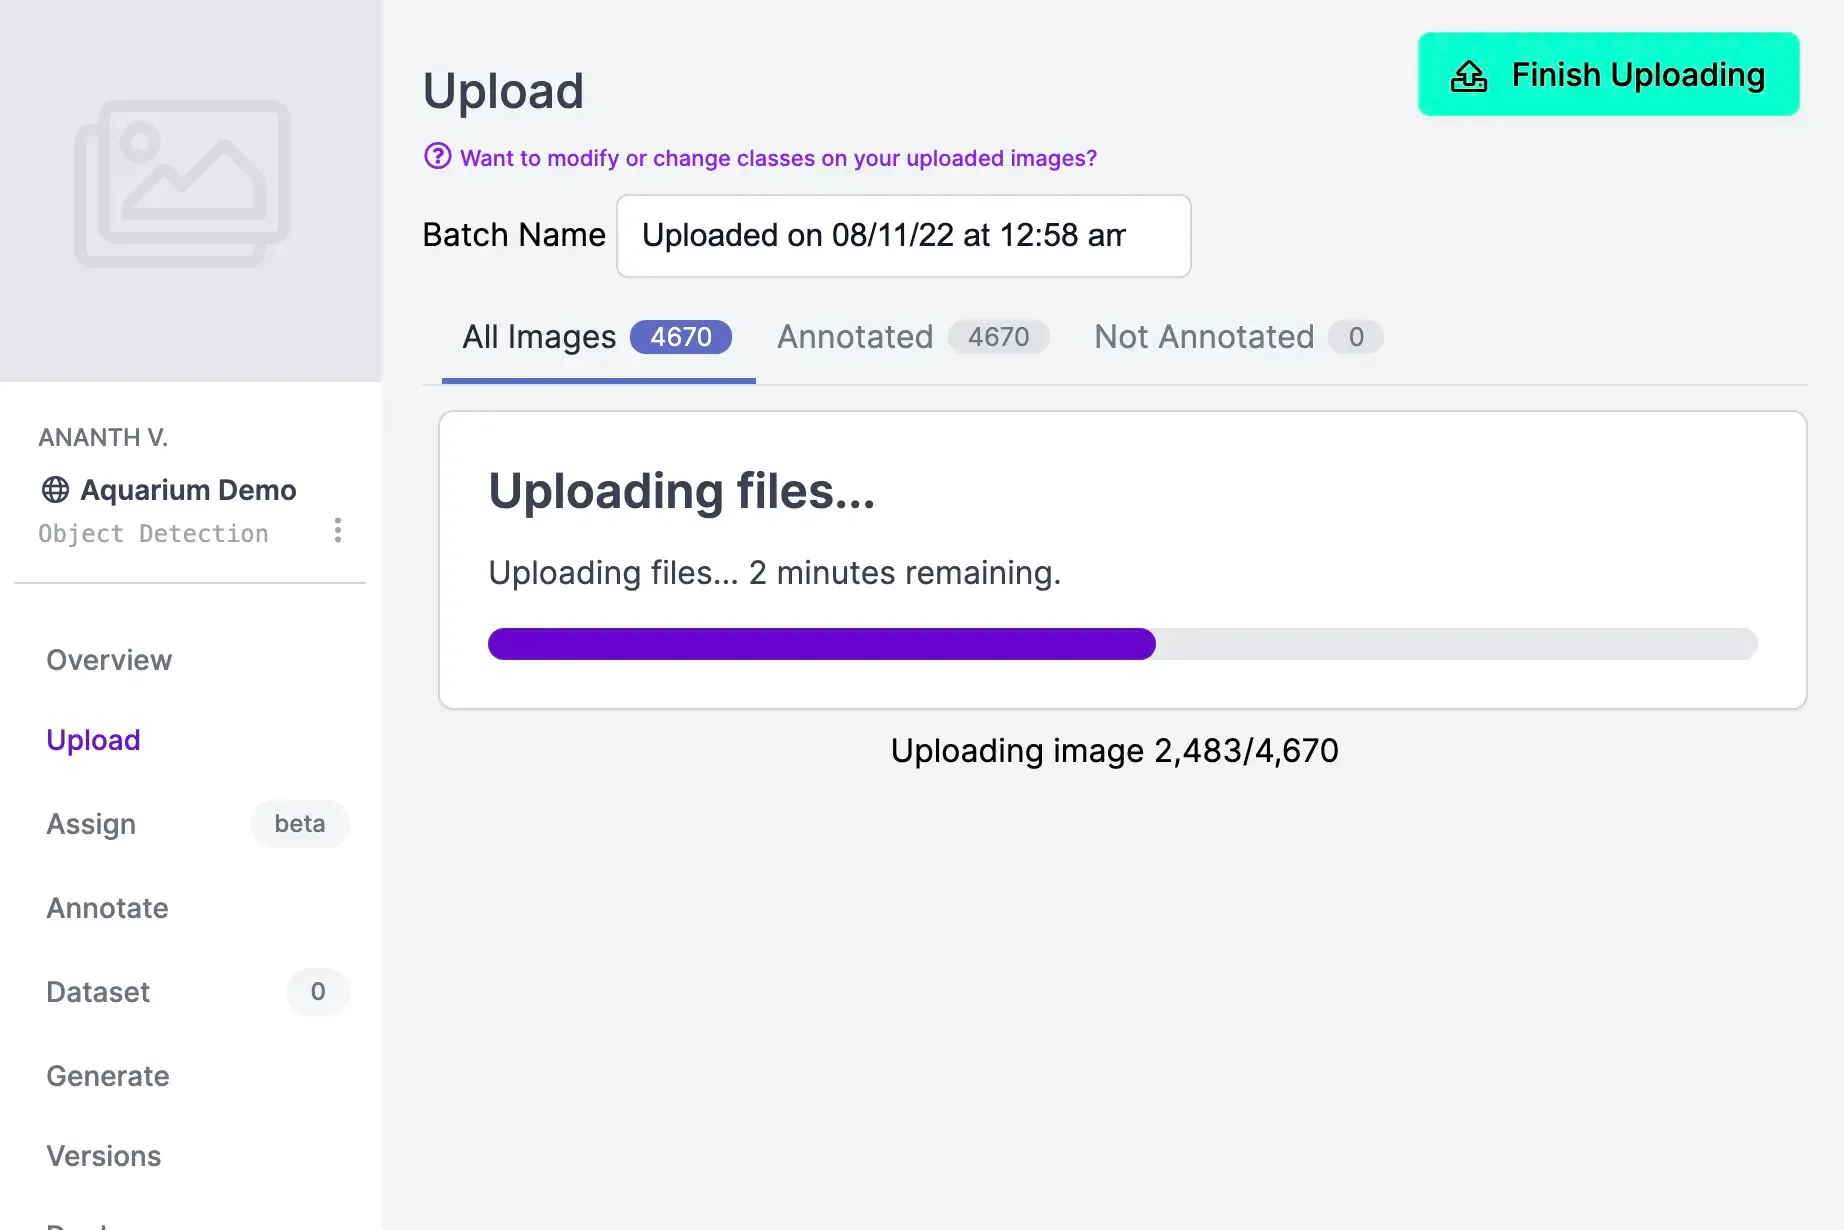
Under the "Upload" tab, you can upload pictures or videos you want to include in your dataset. Eventually, your NVIDIA TAO models will be trained on this data, so we'll want to make sure it's clean and represents what the model will be applied for in the real world.
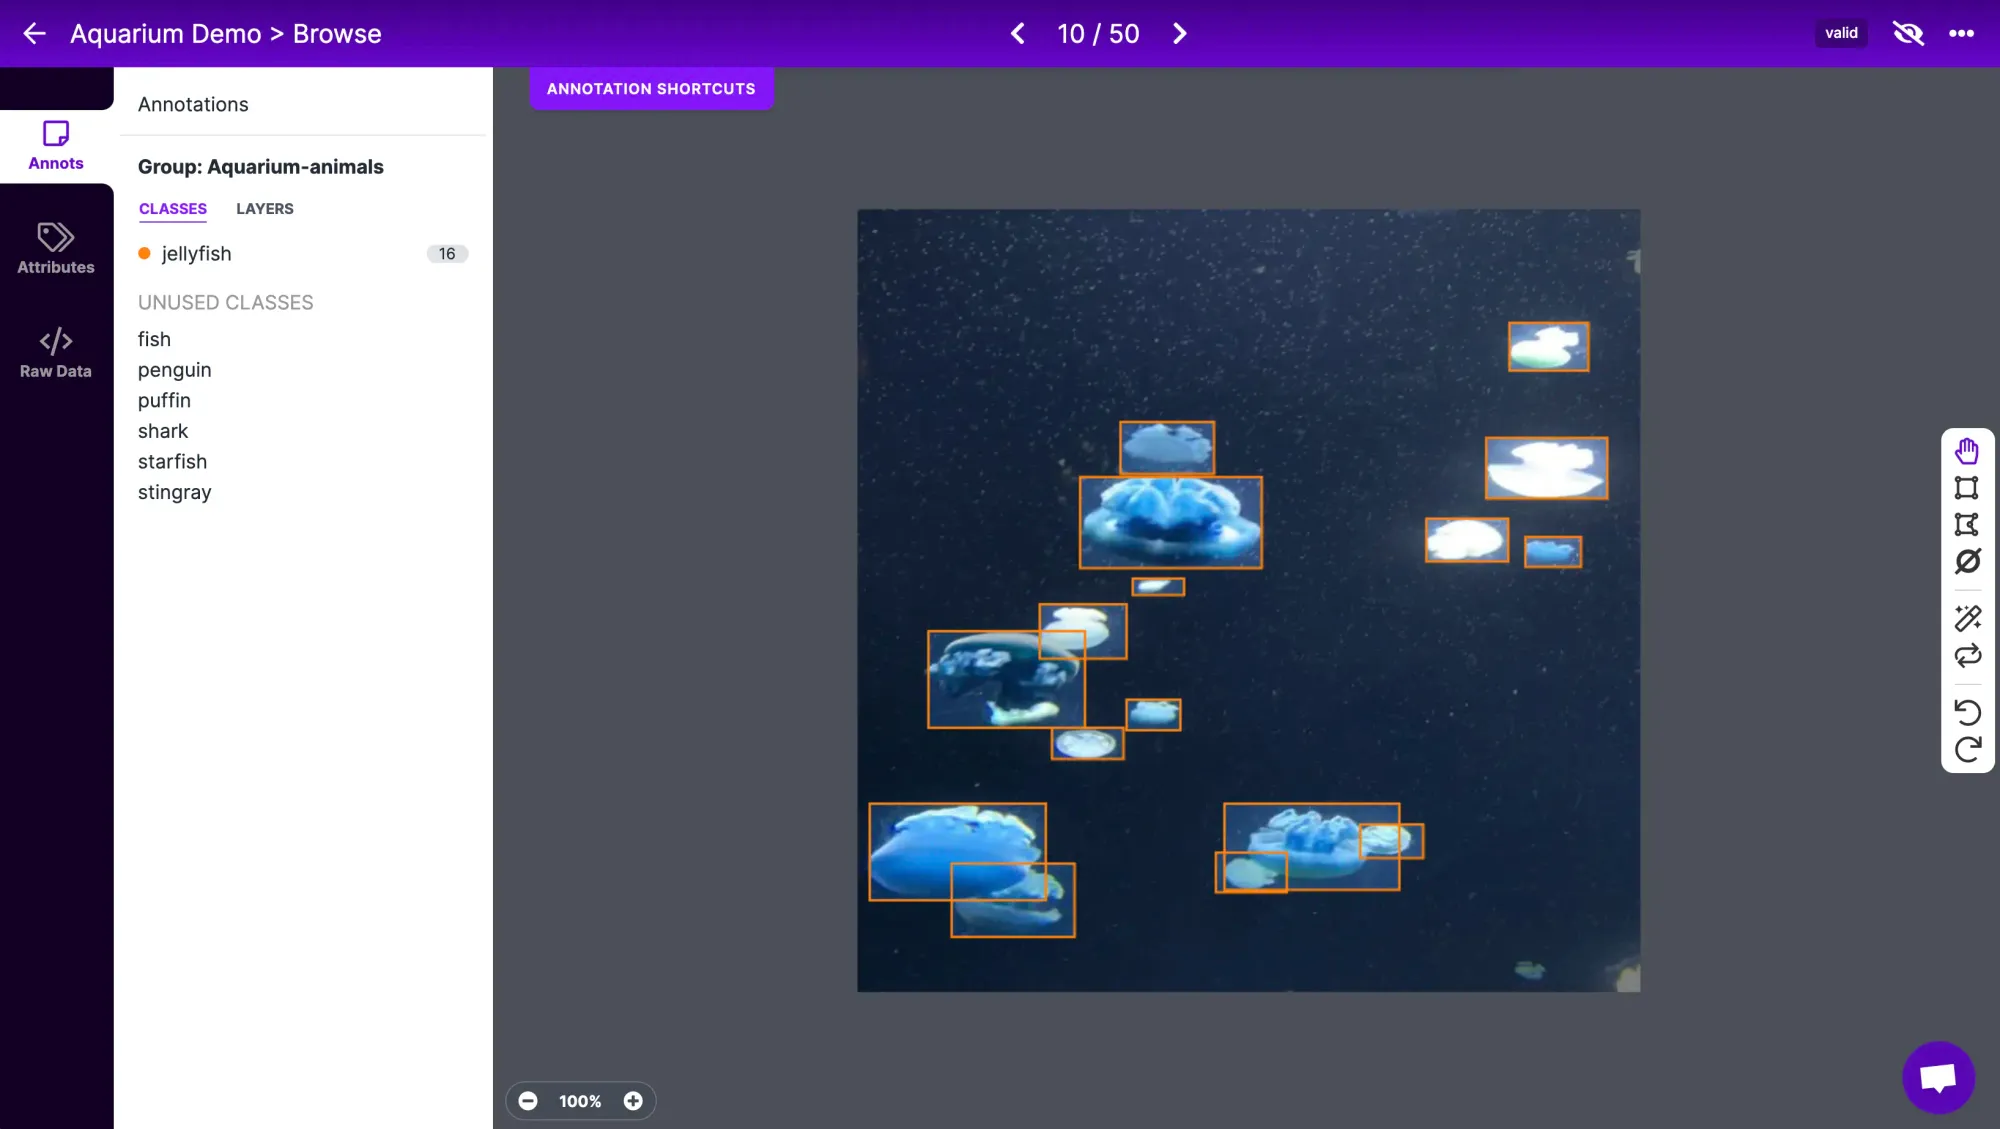
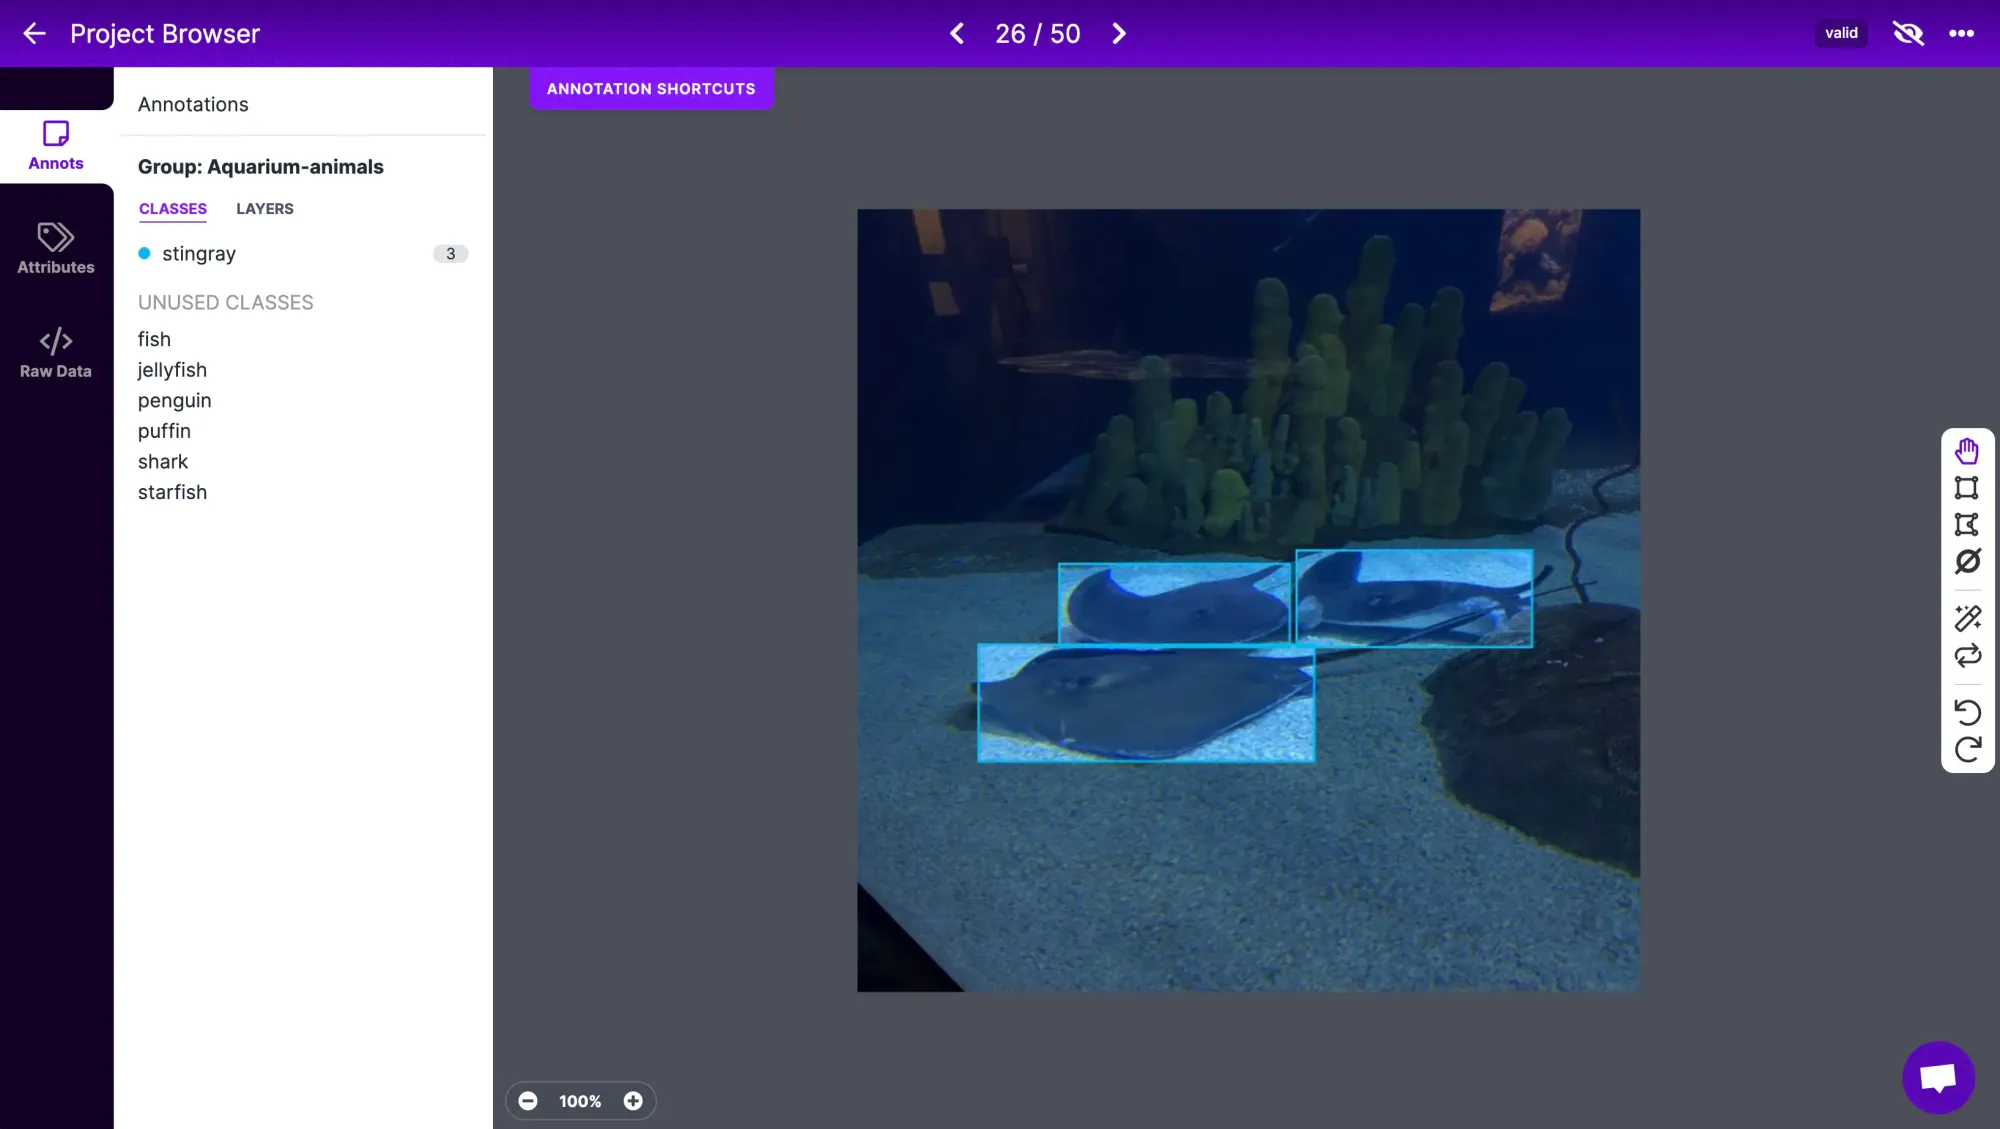
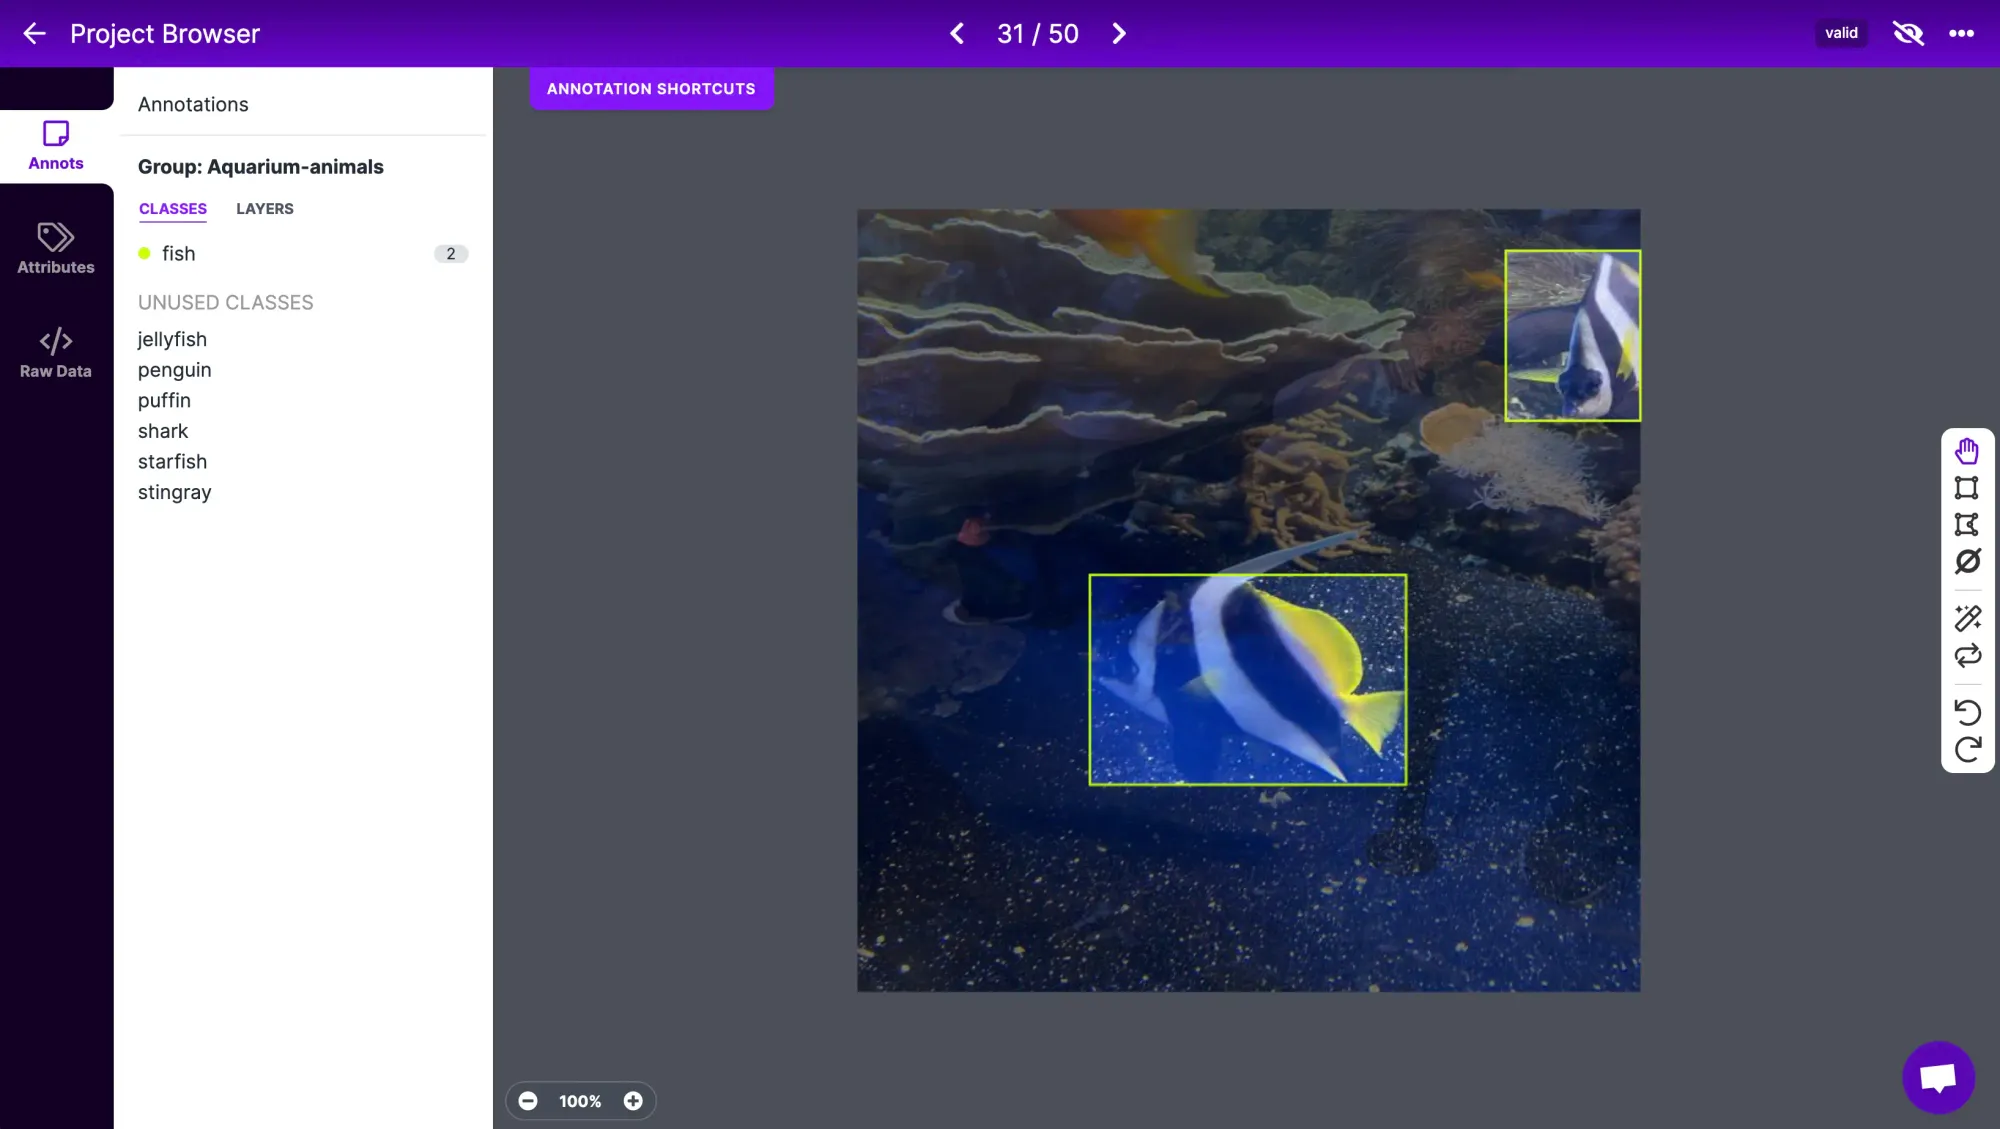
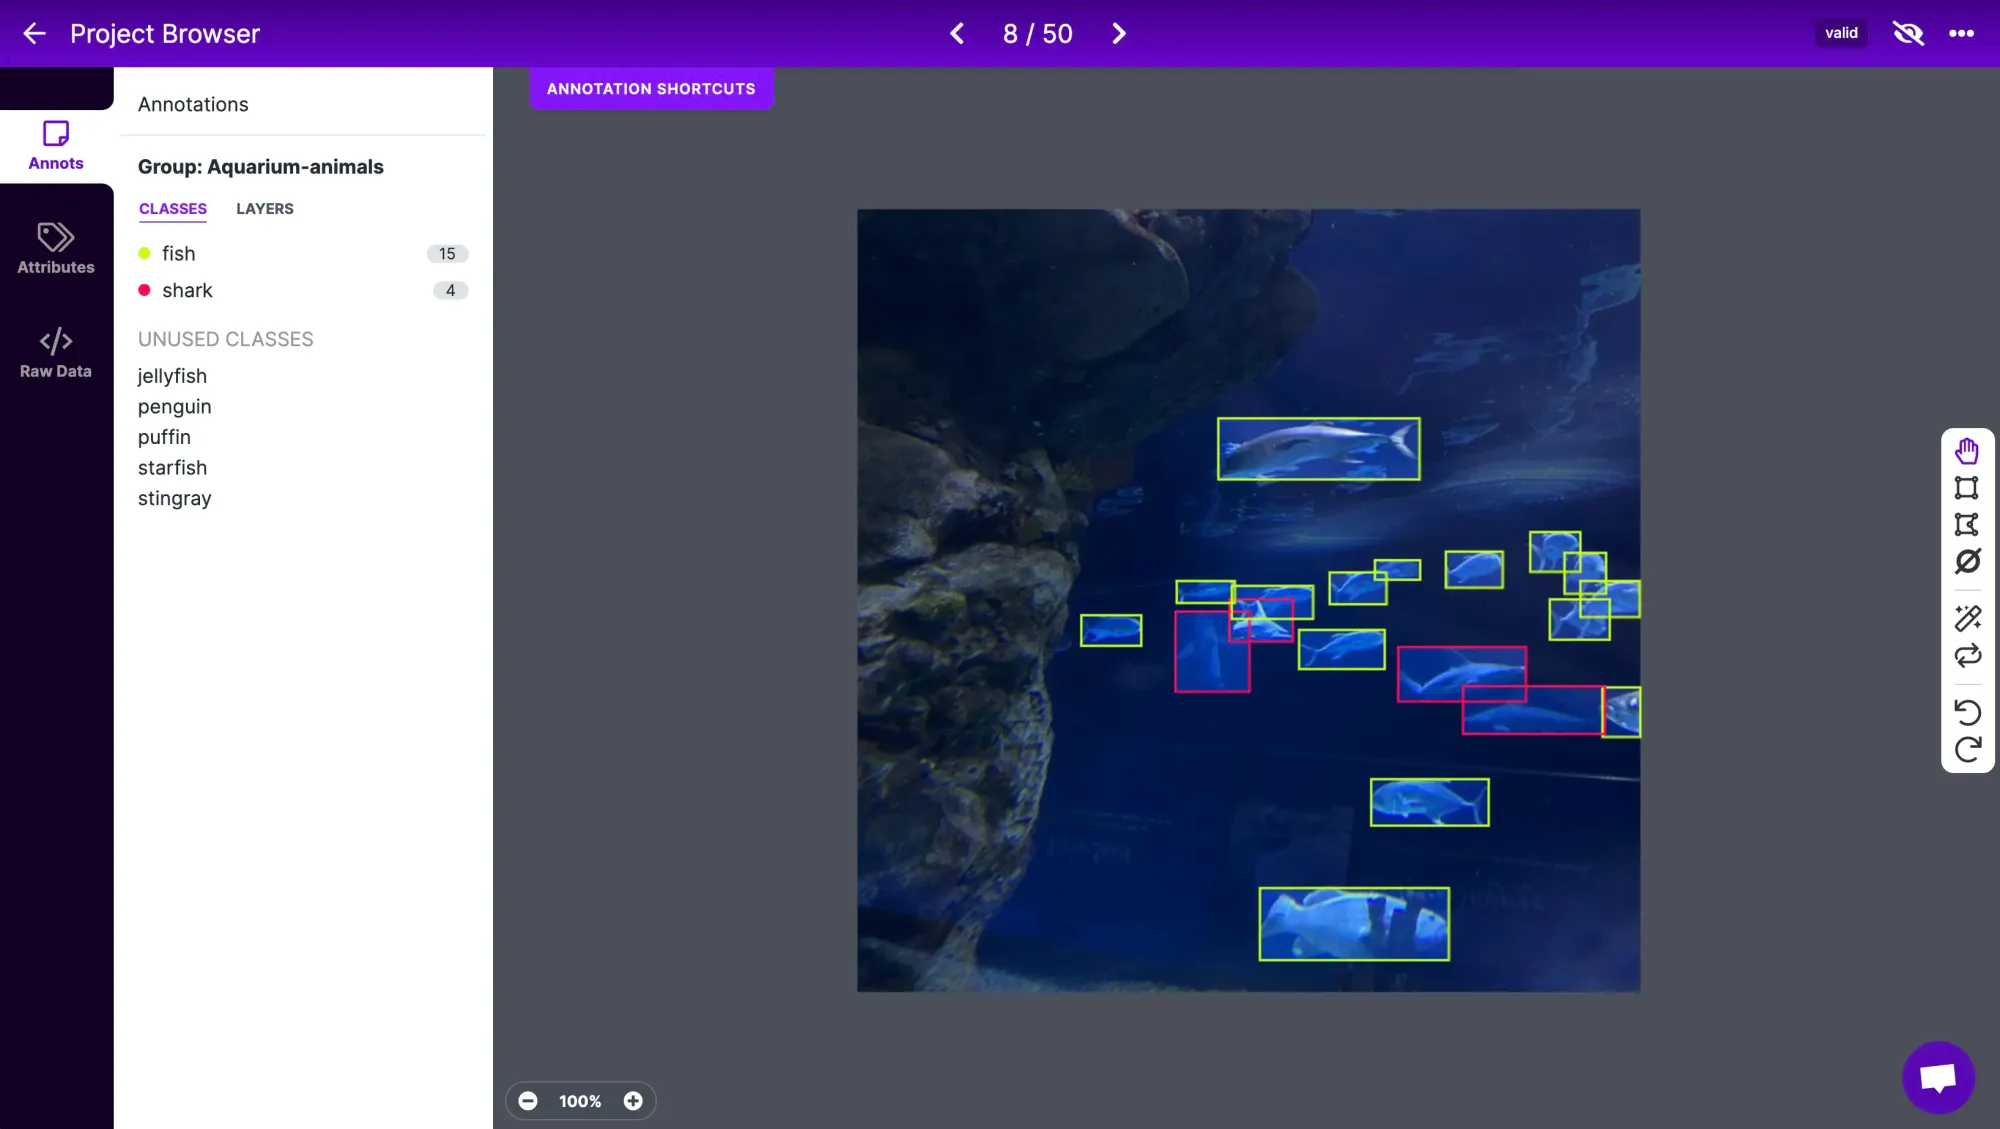
Under the Annotate tab, you'll see which pieces of data still need to be annotated. Annotation refers to labelling each object that you want to be detected in the training data. Keep in mind that this is what the model learns from – accurate annotations will help train a more accurate model.
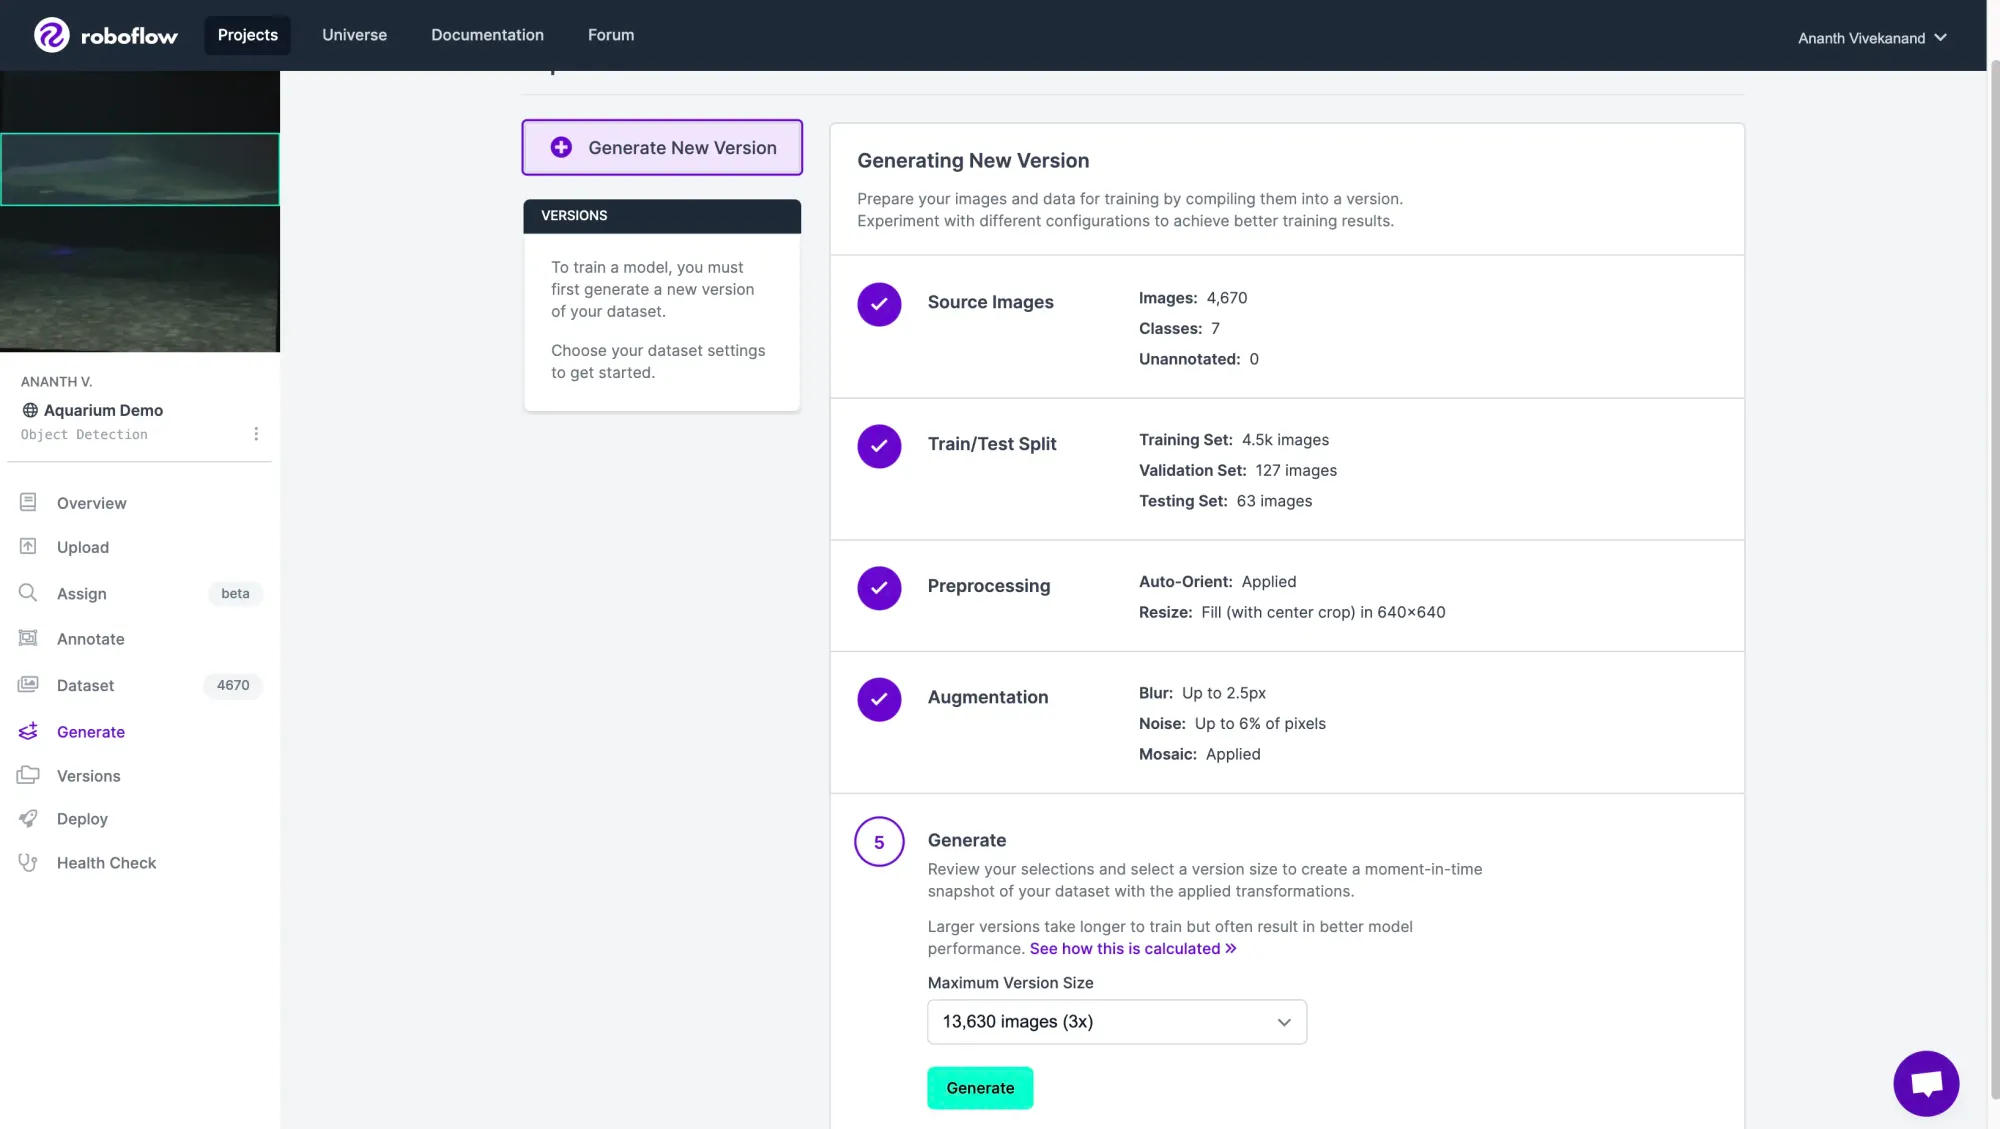
Under the Generate tab, you can generate a dataset from your annotated data. Here, you can choose to apply preprocessing and augmentations to your dataset.
Applying Preprocessing and Augmentations to datasets
Preprocessing and Augmentations are transformations that are applied to images in our dataset. Preprocessing steps, such as resizing or auto-orienting, are applied to all images – this is useful if we want all images to be the same size, for example.
Some convenient processing steps built into Roboflow:
- Auto-Orient: Discards EXIF rotations and standardizes pixel ordering.
- Resize: Downsize images for smaller file sizes and faster training. For using the NVIDIA TAO Toolkit, all of our images need to be the same size. I'd recommend resizing all images to 640 x 640 pixels.
On the other hand, augmentations are randomly applied to a subset of annotated images and generate new annotated images. By applying augmentations such as blur and random noise, our model will learn to be more robust to camera artifacts it'll see in the real world.
Here are some convenient augmentations built into Roboflow:
- Flip: This helps your model be insensitive to subject orientation.
- Grayscale: This forces models to learn to classify without color input.
- Noise: Adding noise helps models become more resilient to camera artifacts.
- Mosaic: Joins several training images together and can improve accuracy on smaller objects.
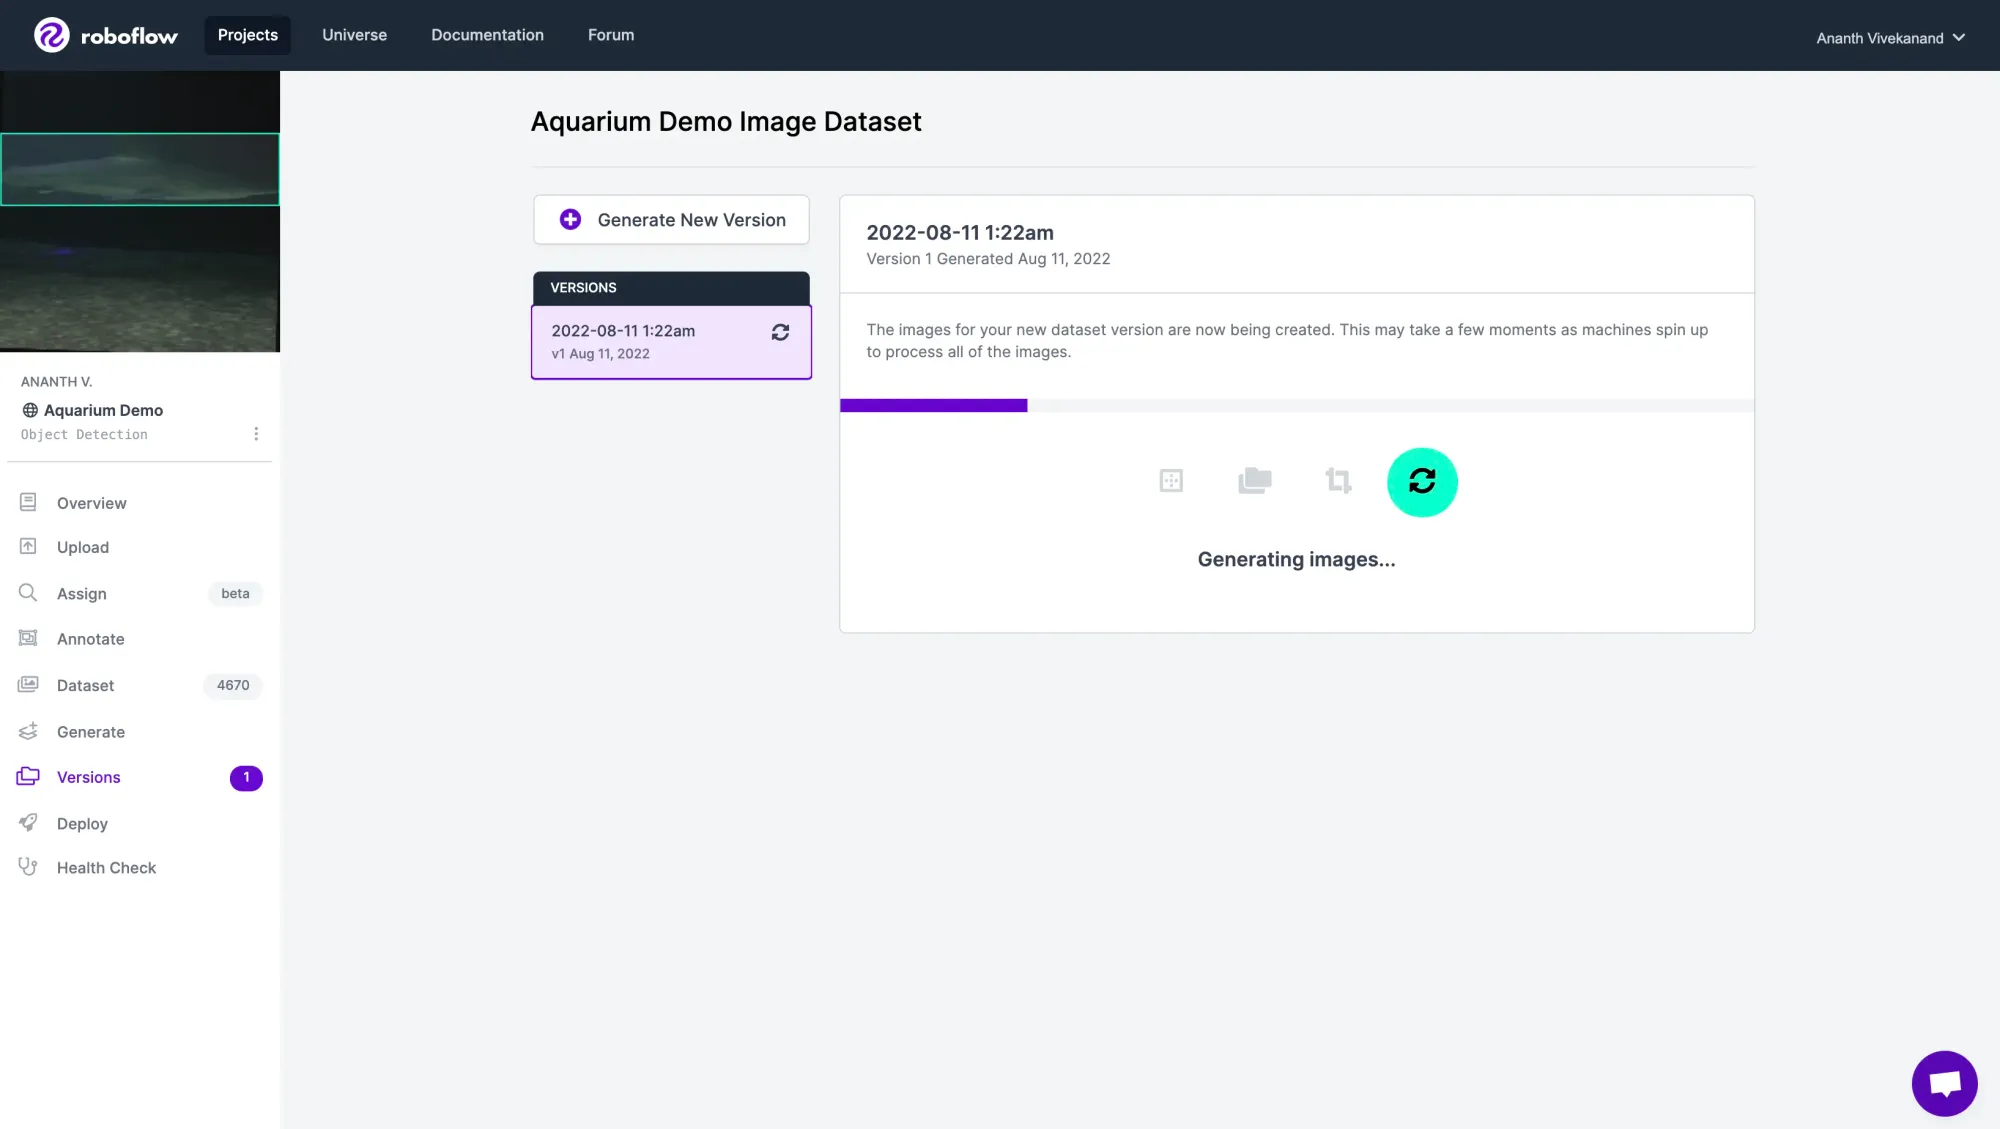
When you've selected the preprocessing and augmentation steps you'd like to use, click "Generate".
Congratulations! You've successfully created a computer vision dataset and expanded its size using image augmentations.
Using a custom dataset with NVIDIA TAO Toolkit
Download the Roboflow Jupyter Notebook from the Github repository. To use the NVIDIA Tao Toolkit, you'll need a supported GPU – you can find the complete list of recommended specs on NVIDIA's website. We ran this notebook on an A10G EC2 AWS instance.
Next, set up some key dependencies by following NVIDIA's page on the TAO Toolkit. Specifically, make sure to install docker, nvidia-container-toolkit and log in to NVIDIA's docker repository with docker login nvcr.io.
# Install the "nvidia-tao" and "roboflow" python packages.

import sys
!{sys.executable} -m pip install nvidia-tao
!{sys.executable} -m pip install roboflow

# Check if tao was successfully installed
!tao
# If that didn't work, try the command below:
!/home/<insert your username>/.local/bin/tao
The TAO Toolkit uses Docker containers for training, which means that we have to set up config files indicating what NVIDIA Docker containers can access. In the cell defining tao_mounts, change source to indicate the folder or directory that you'll be working in. I made a new folder called project to work in. Make sure to double-check all paths since they may vary in your setup!
Exporting your Dataset from Roboflow
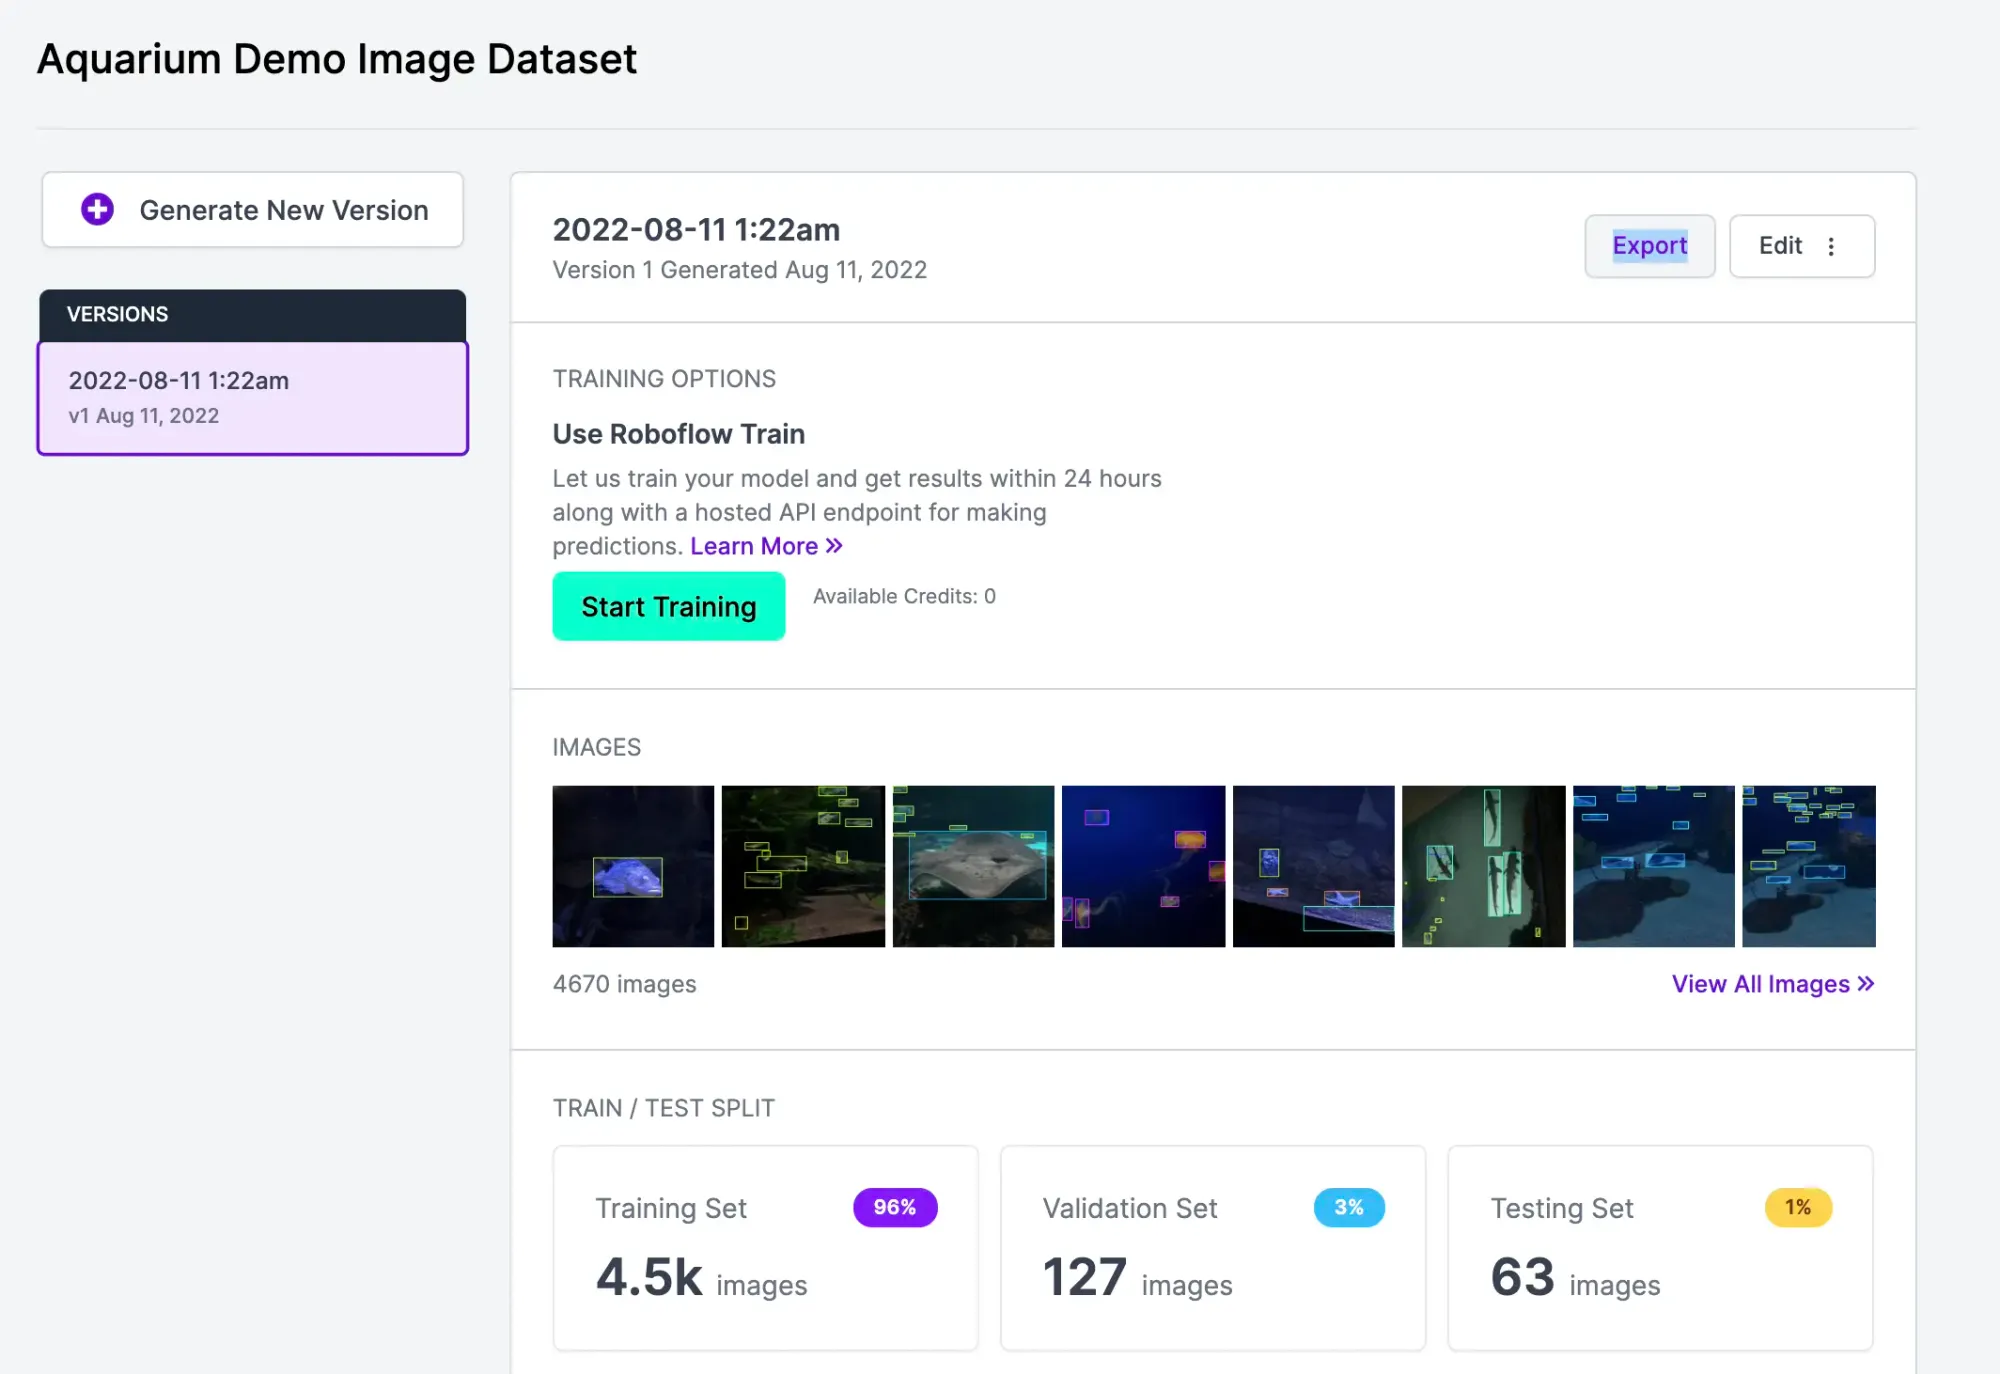
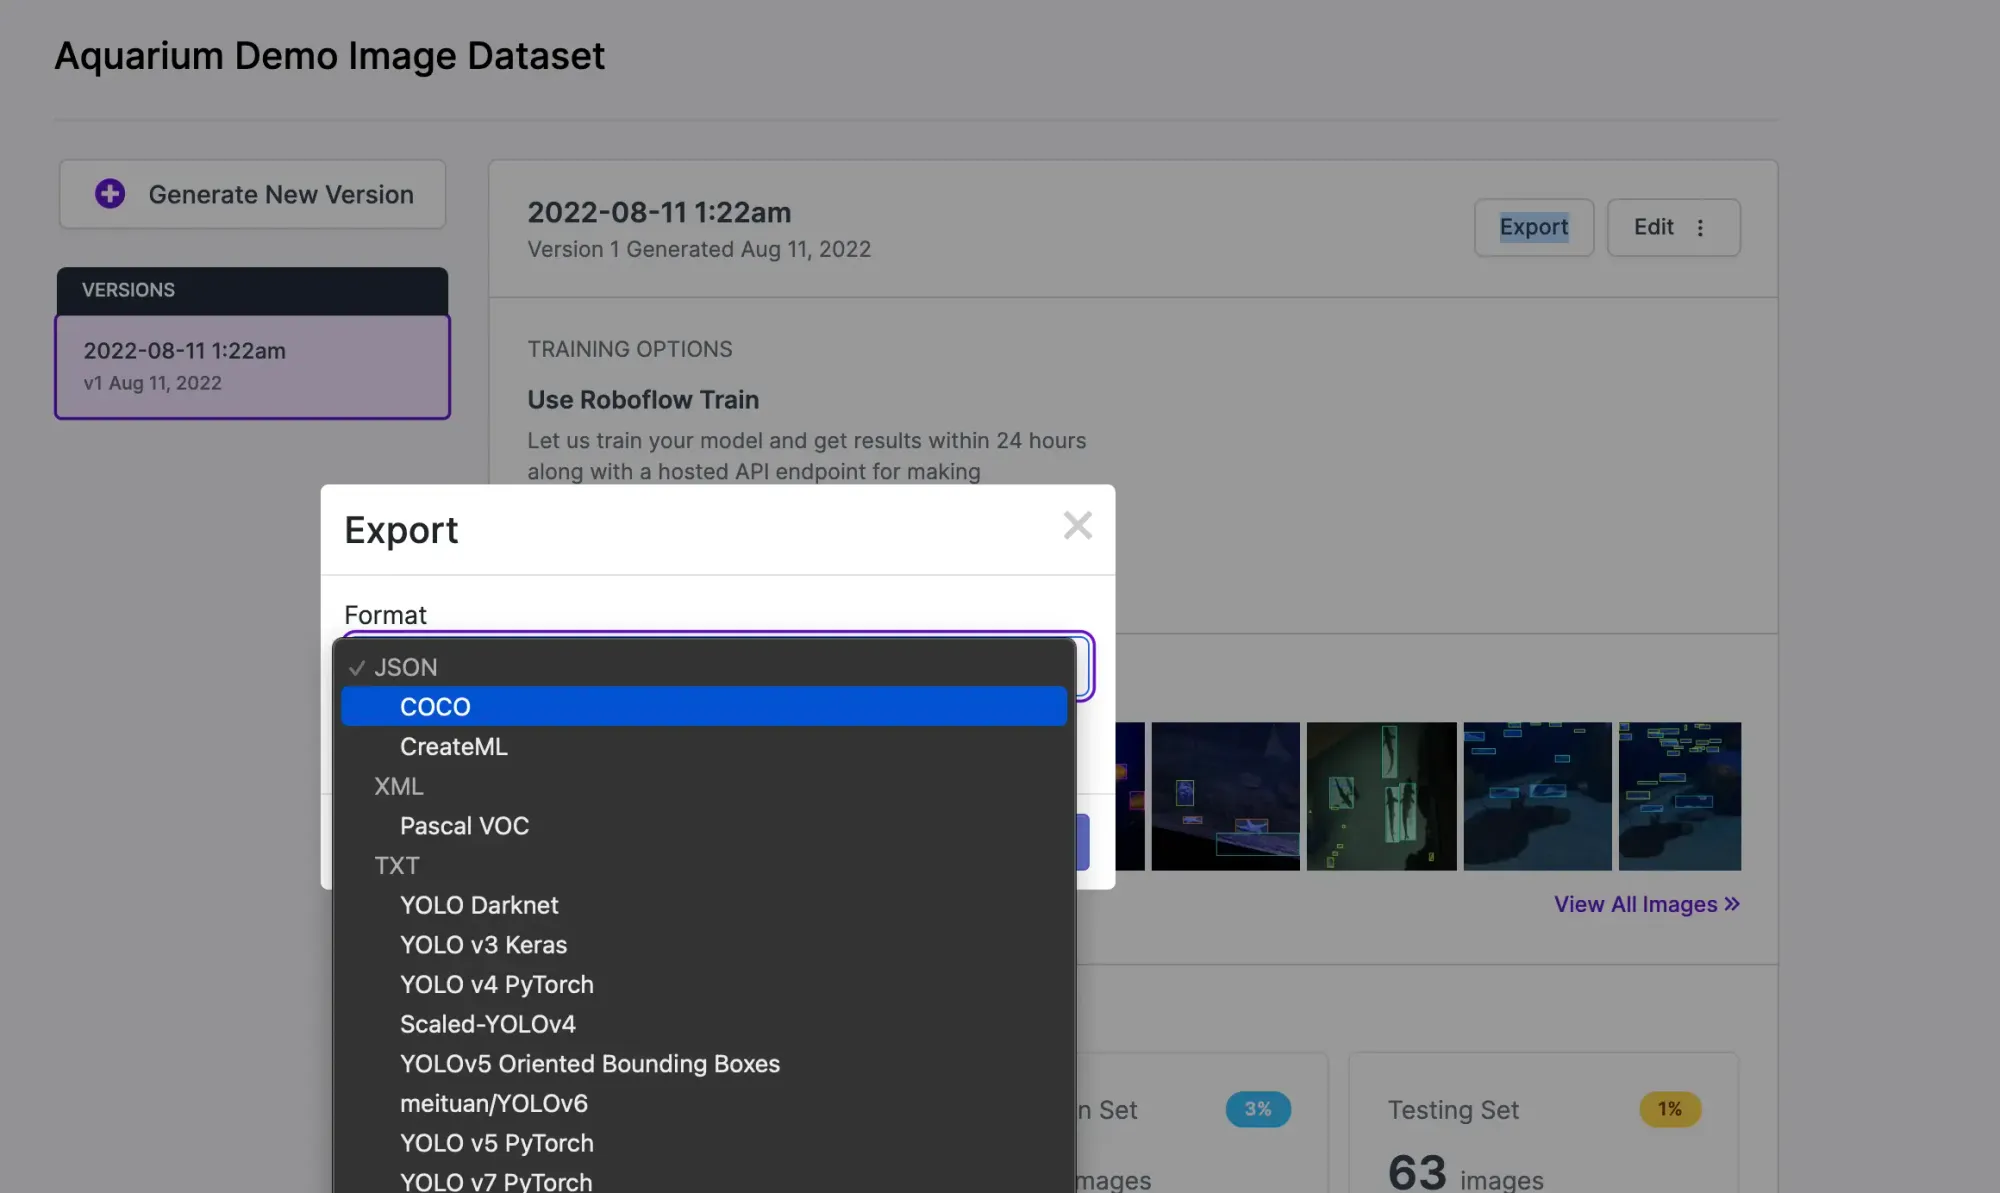
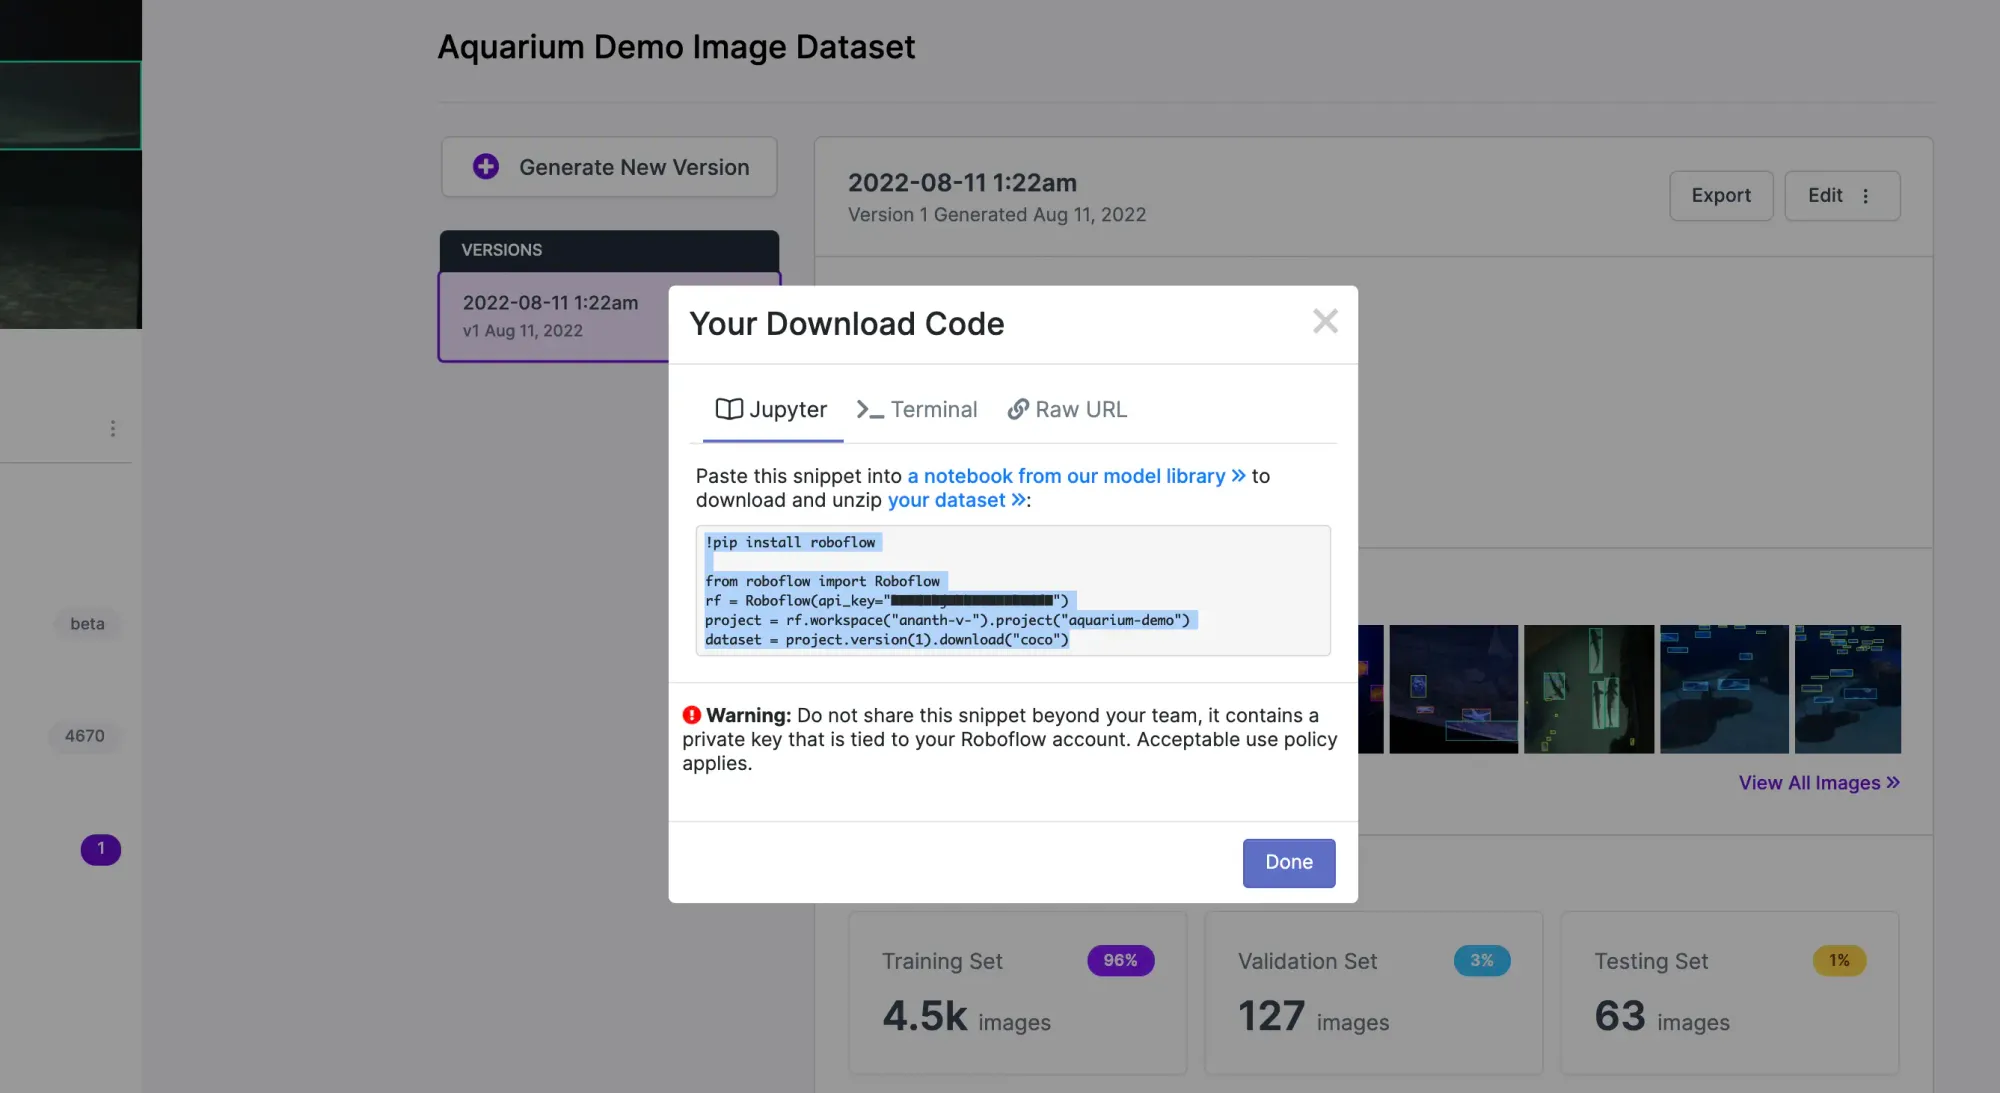
Under Versions, click Export. For the NVIDIA TAO Toolkit, we'll choose to export in the COCO format. Click "Show Download Code", copy over the snippet into the corresponding Jupyter Notebook cell, and run it to download the dataset.
Next, edit dataset_config in the next cell to reflect the location of the dataset. We want to define the location in terms of what the container can access – refer back to tao_mounts to see locate the folder destination.
Confirm the dataset is inside the folder we created earlier to work in (this will ensure that our container can access it).
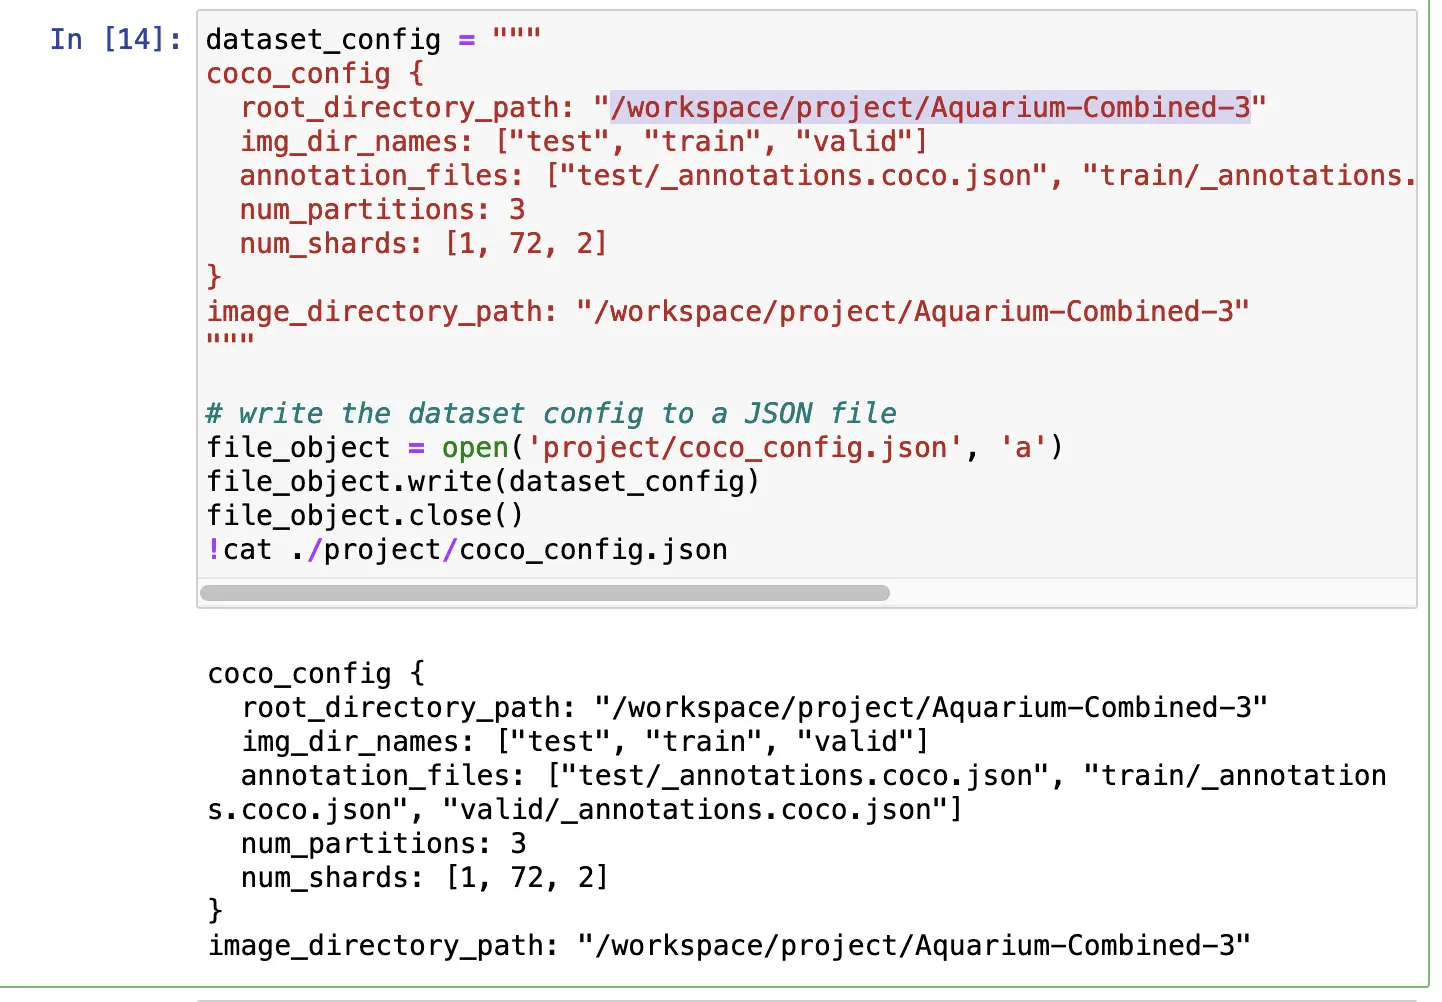
For me, Aquarium-Combined-3 was inside project, which I mapped to /workspace/project in tao_config. Therefore, the dataset's location in dataset_config should be /workspace/project/Aquarium-Combined-3.
The NVIDIA TAO Toolkit expects data to be in TFRecords, which we can convert to by running the following:
# Convert our dataset from the COCO format to TFRecords
!/home/ubuntu/.local/bin/tao yolo_v4 dataset_convert -d "/workspace/project/coco_config.json" --gpu_index 0 -o "/workspace/project/output.tfrecords"
# Make a new folder just for our TFRecord files
!mkdir project/output_tfrecords
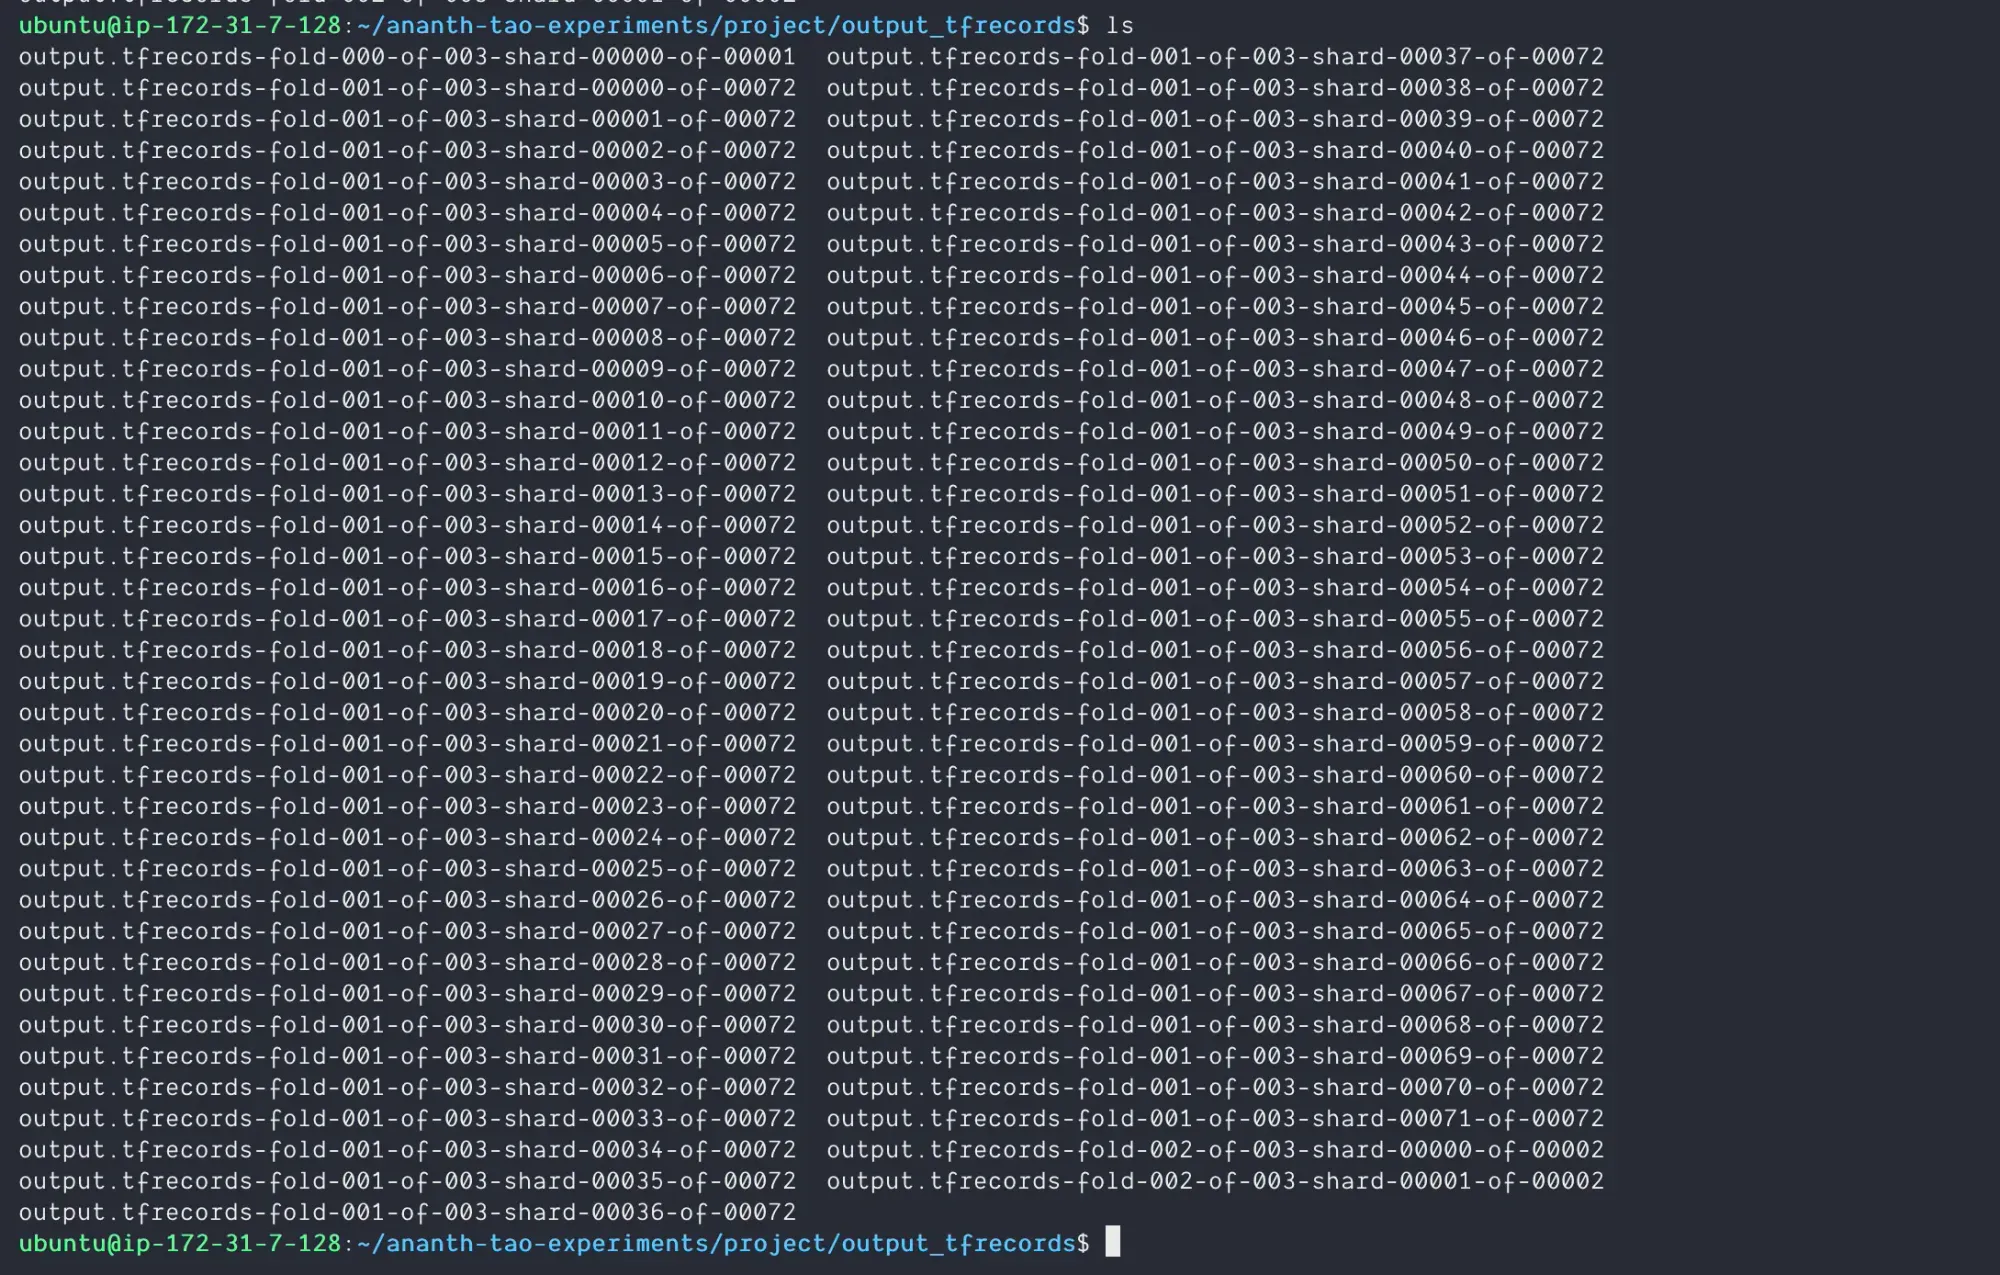
# Move our .tfrecord files to our new folder
!mv project/output.tfrecords* project/output_tfrecordsNow, inside output_tfrecords, I can see the new TFRecords that were generated:
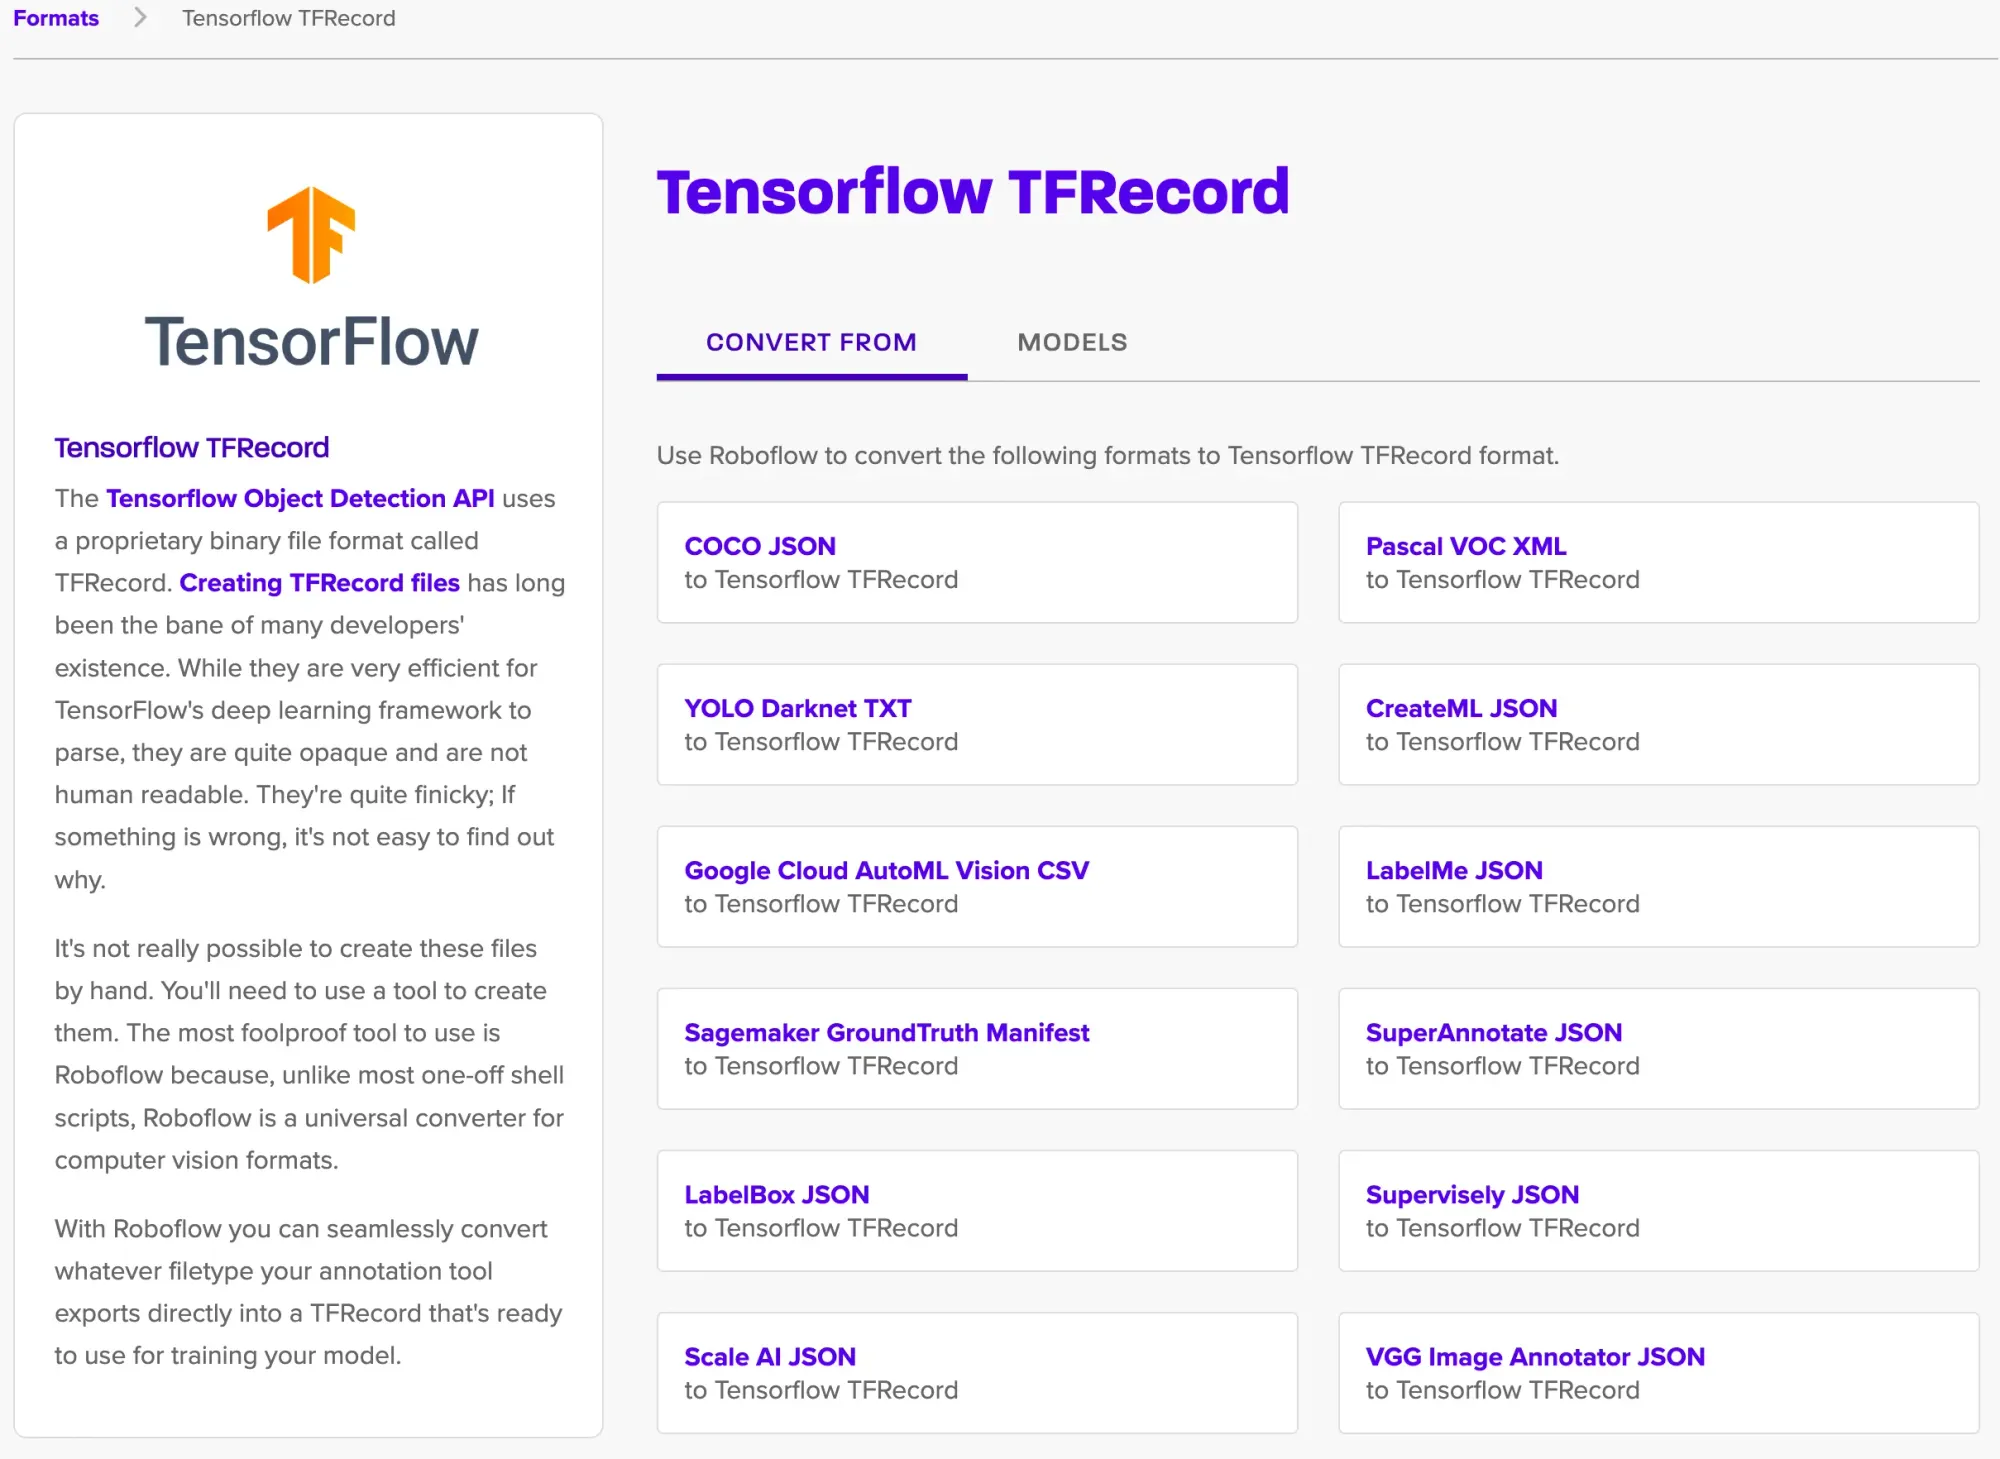
Roboflow offers a simple drag-and-drop format conversion tool for free if your data is in another format and needs to be convert to TFRecords.
In experiment_spec, we'll configure everything else we need to train our model. Follow NVIDIA's article on the various parameters you can configure. You'll probably want to modify data_sources under dataset_config to reflect your own TFRecord location and the target_class_mappings to reflect the labels of your own dataset.
And finally, we can train a YOLOv4 model by running the following:
!tao yolo_v4 train -e "/workspace/project/experiment_spec.json" -r "/workspace/project/run2" -k "roboflow" --use_amp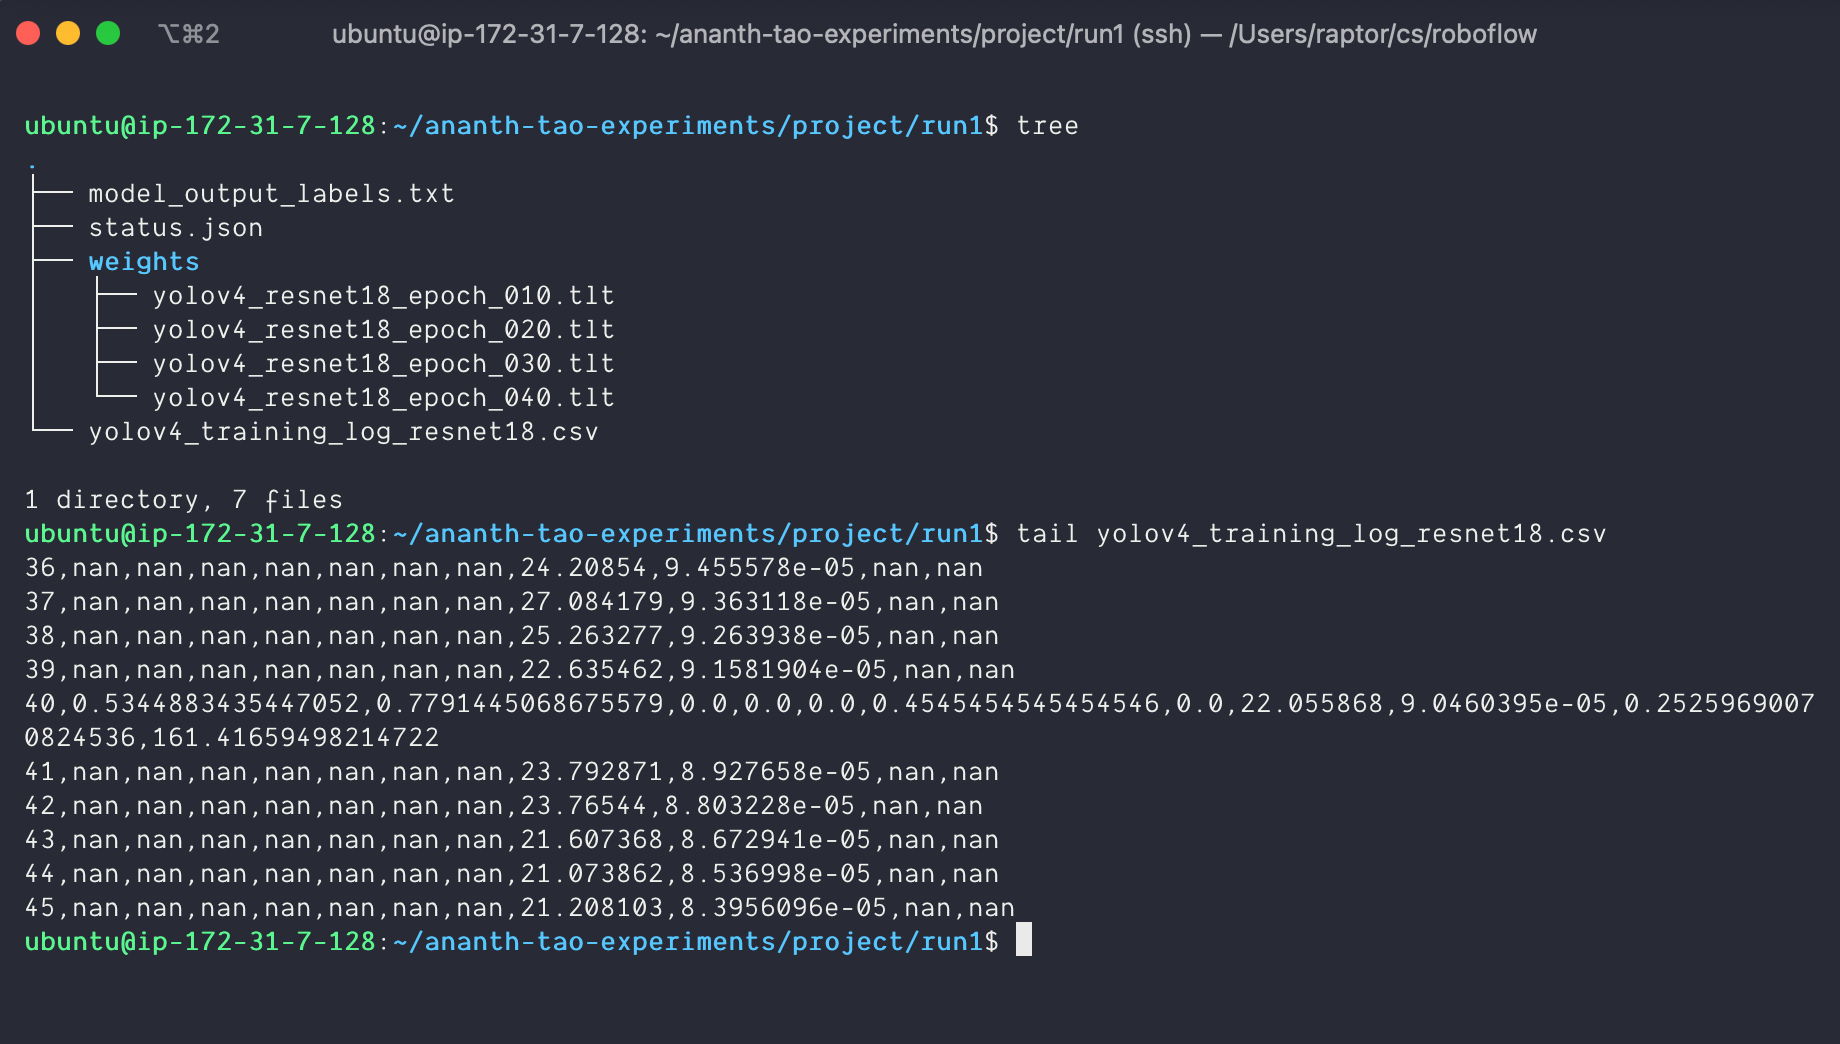
Building with Roboflow and NVIDIA TAO Toolkit
For next steps, follow NVIDIA's section on exporting your trained model and deploying it to platforms like TensorRT and DeepStream.
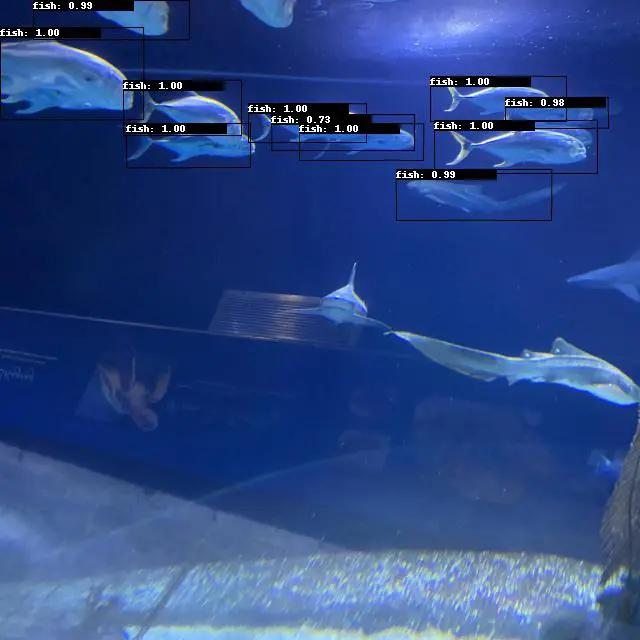
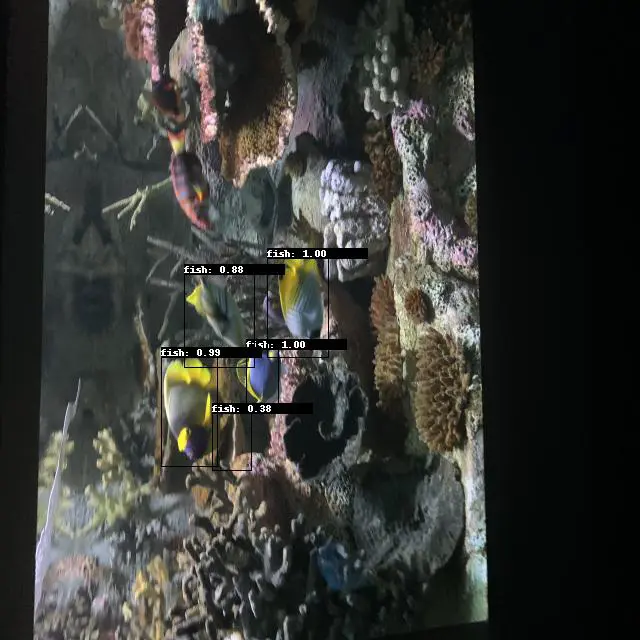
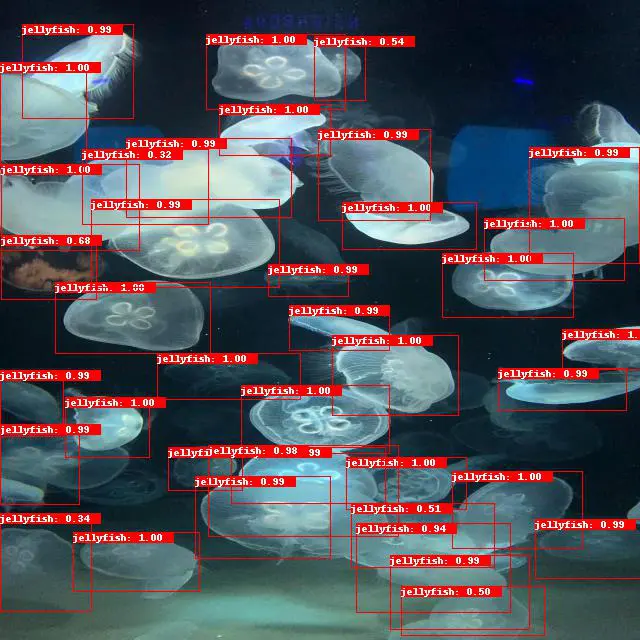
We can run inference on our trained TAO model with the following command. Just make sure to change the paths to reflect your experiment_spec.json, .tlt model location, and the output location for the labelled images.
!tao yolo_v4 inference -i "/workspace/project/Aquarium-Combined-3/test" -o "/workspace/project/Aquarium-Combined-3/test_output" -e "/workspace/project/experiment_spec.json" -m "/workspace/project/run1/weights/yolov4_resnet18_epoch_040.tlt" -k "roboflow"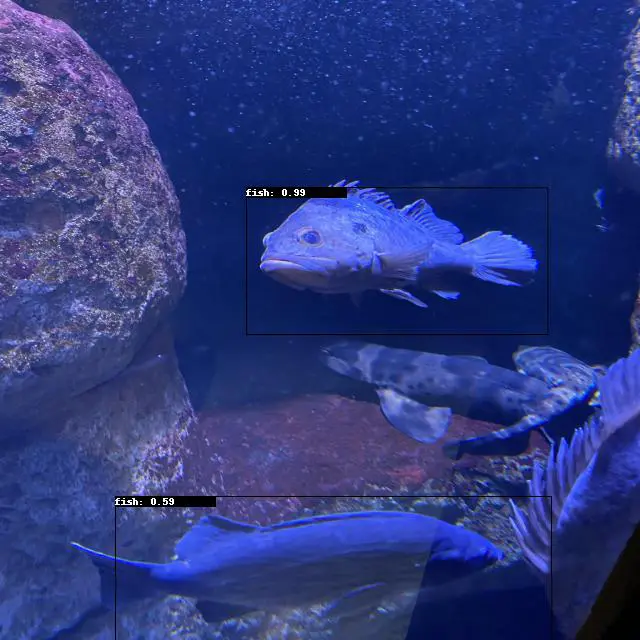
We're excited to hear about what you build! Feel free to post about your project experience in the Show & Tell section of our Community Forum, or contact us at hello@roboflow.com to inquire about being featured on our blog, newsletter, or Roboflow Universe.
Cite this Post
Use the following entry to cite this post in your research:
Ananth Vivekanand. (Aug 16, 2022). Building Custom Computer Vision Models with NVIDIA TAO Toolkit and Roboflow. Roboflow Blog: https://blog.roboflow.com/nvidia-tao-toolkit-roboflow/